

2008 30 Outlaw Updates "the last real baja"
 02-06-2020, 04:20 PM
#21
Registered
I�m not up on liner construction, so maybe these are dumb questions for the boat know it alls out there.. Is the liner solid where the motor mounts are bolted through or is there still a stringer under there and the liner fits tight around it? Surprised that there�s that much void between the liner and transom, I thought a liner boat got its structural integrity from the liner...?
 02-06-2020, 05:56 PM
#22
Registered
Thread Starter
I�m not up on liner construction, so maybe these are dumb questions for the boat know it alls out there.. Is the liner solid where the motor mounts are bolted through or is there still a stringer under there and the liner fits tight around it? Surprised that there�s that much void between the liner and transom, I thought a liner boat got its structural integrity from the liner...?
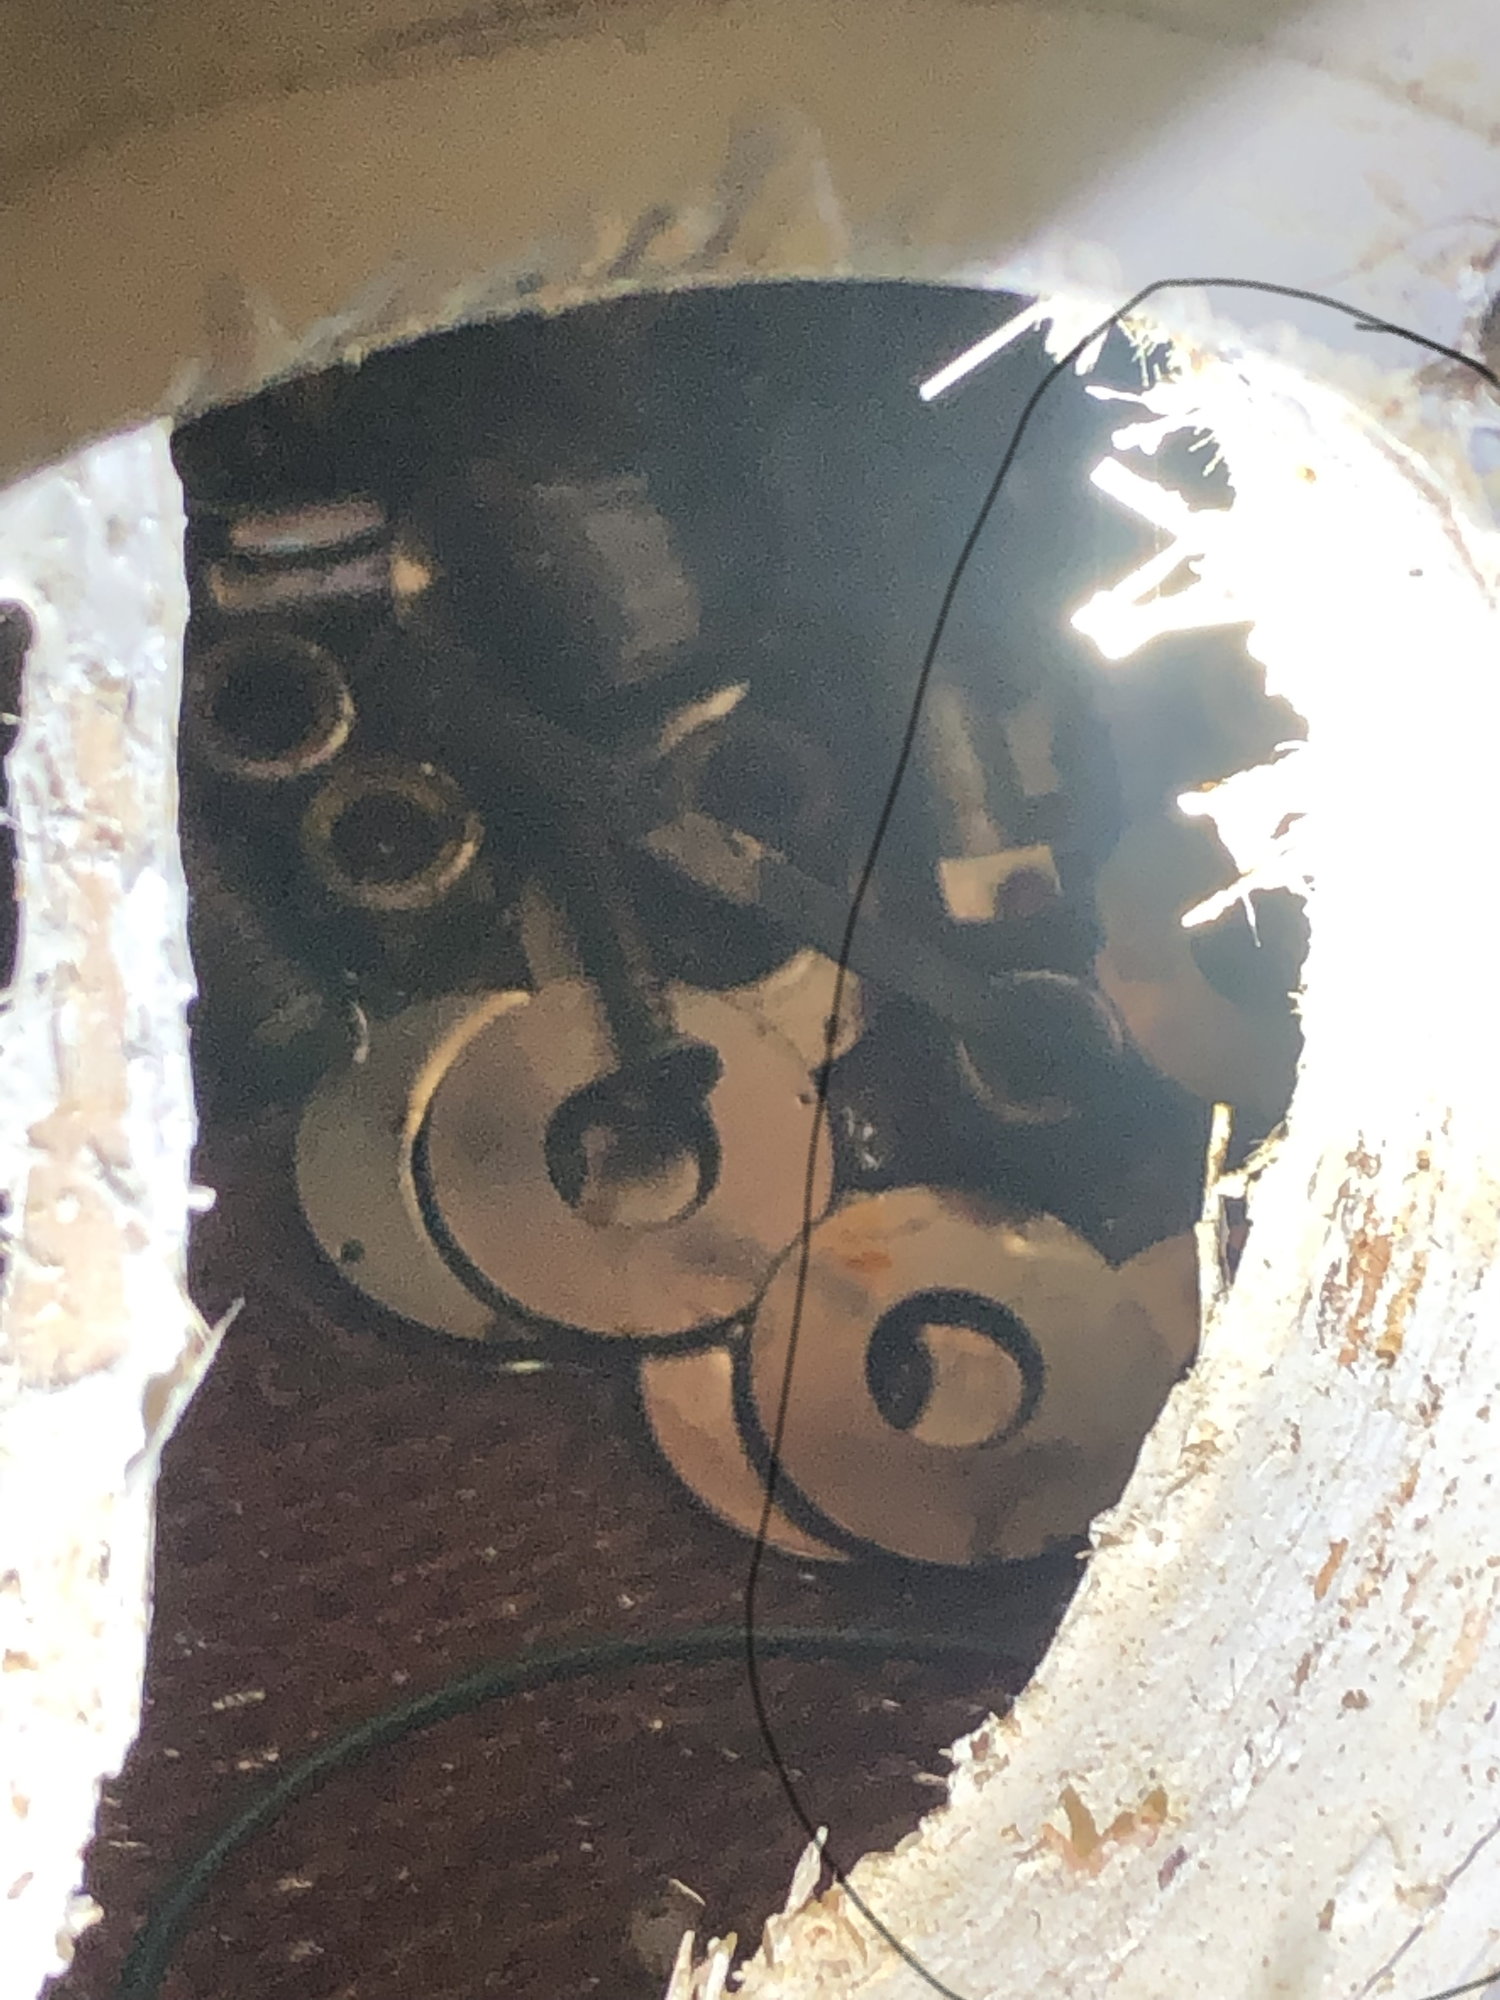
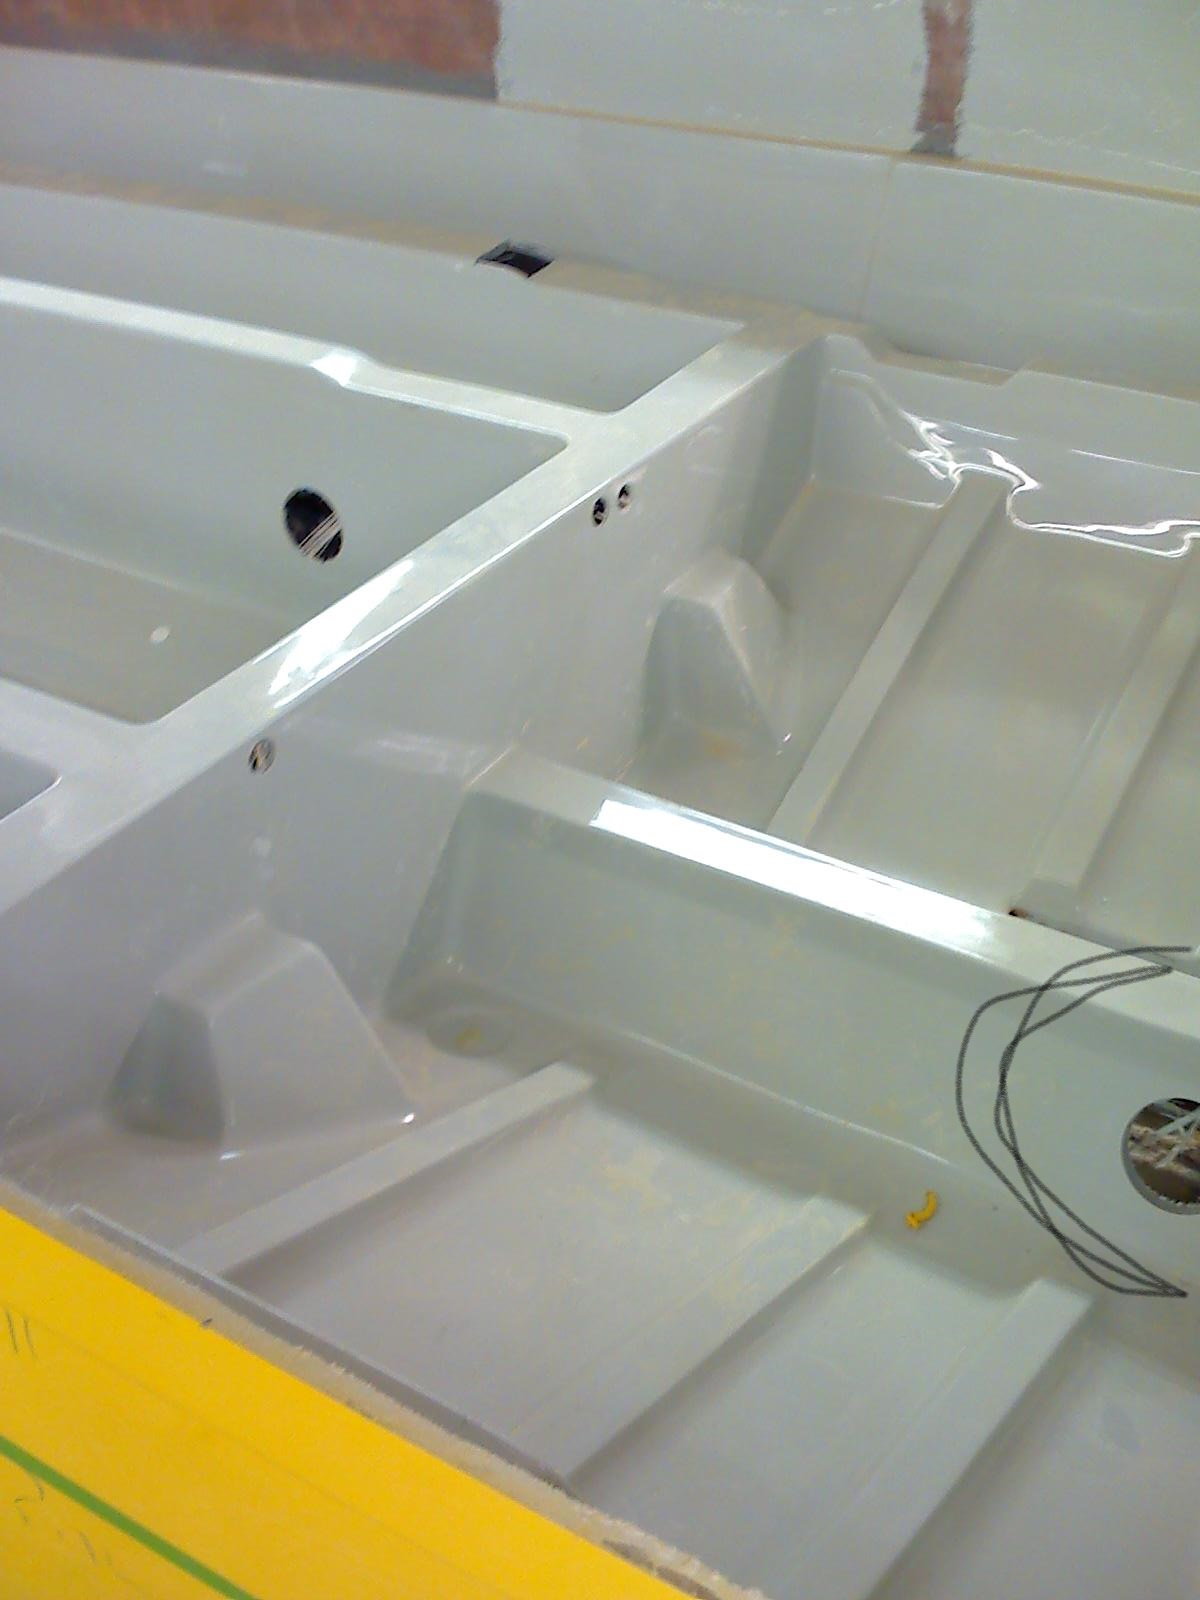
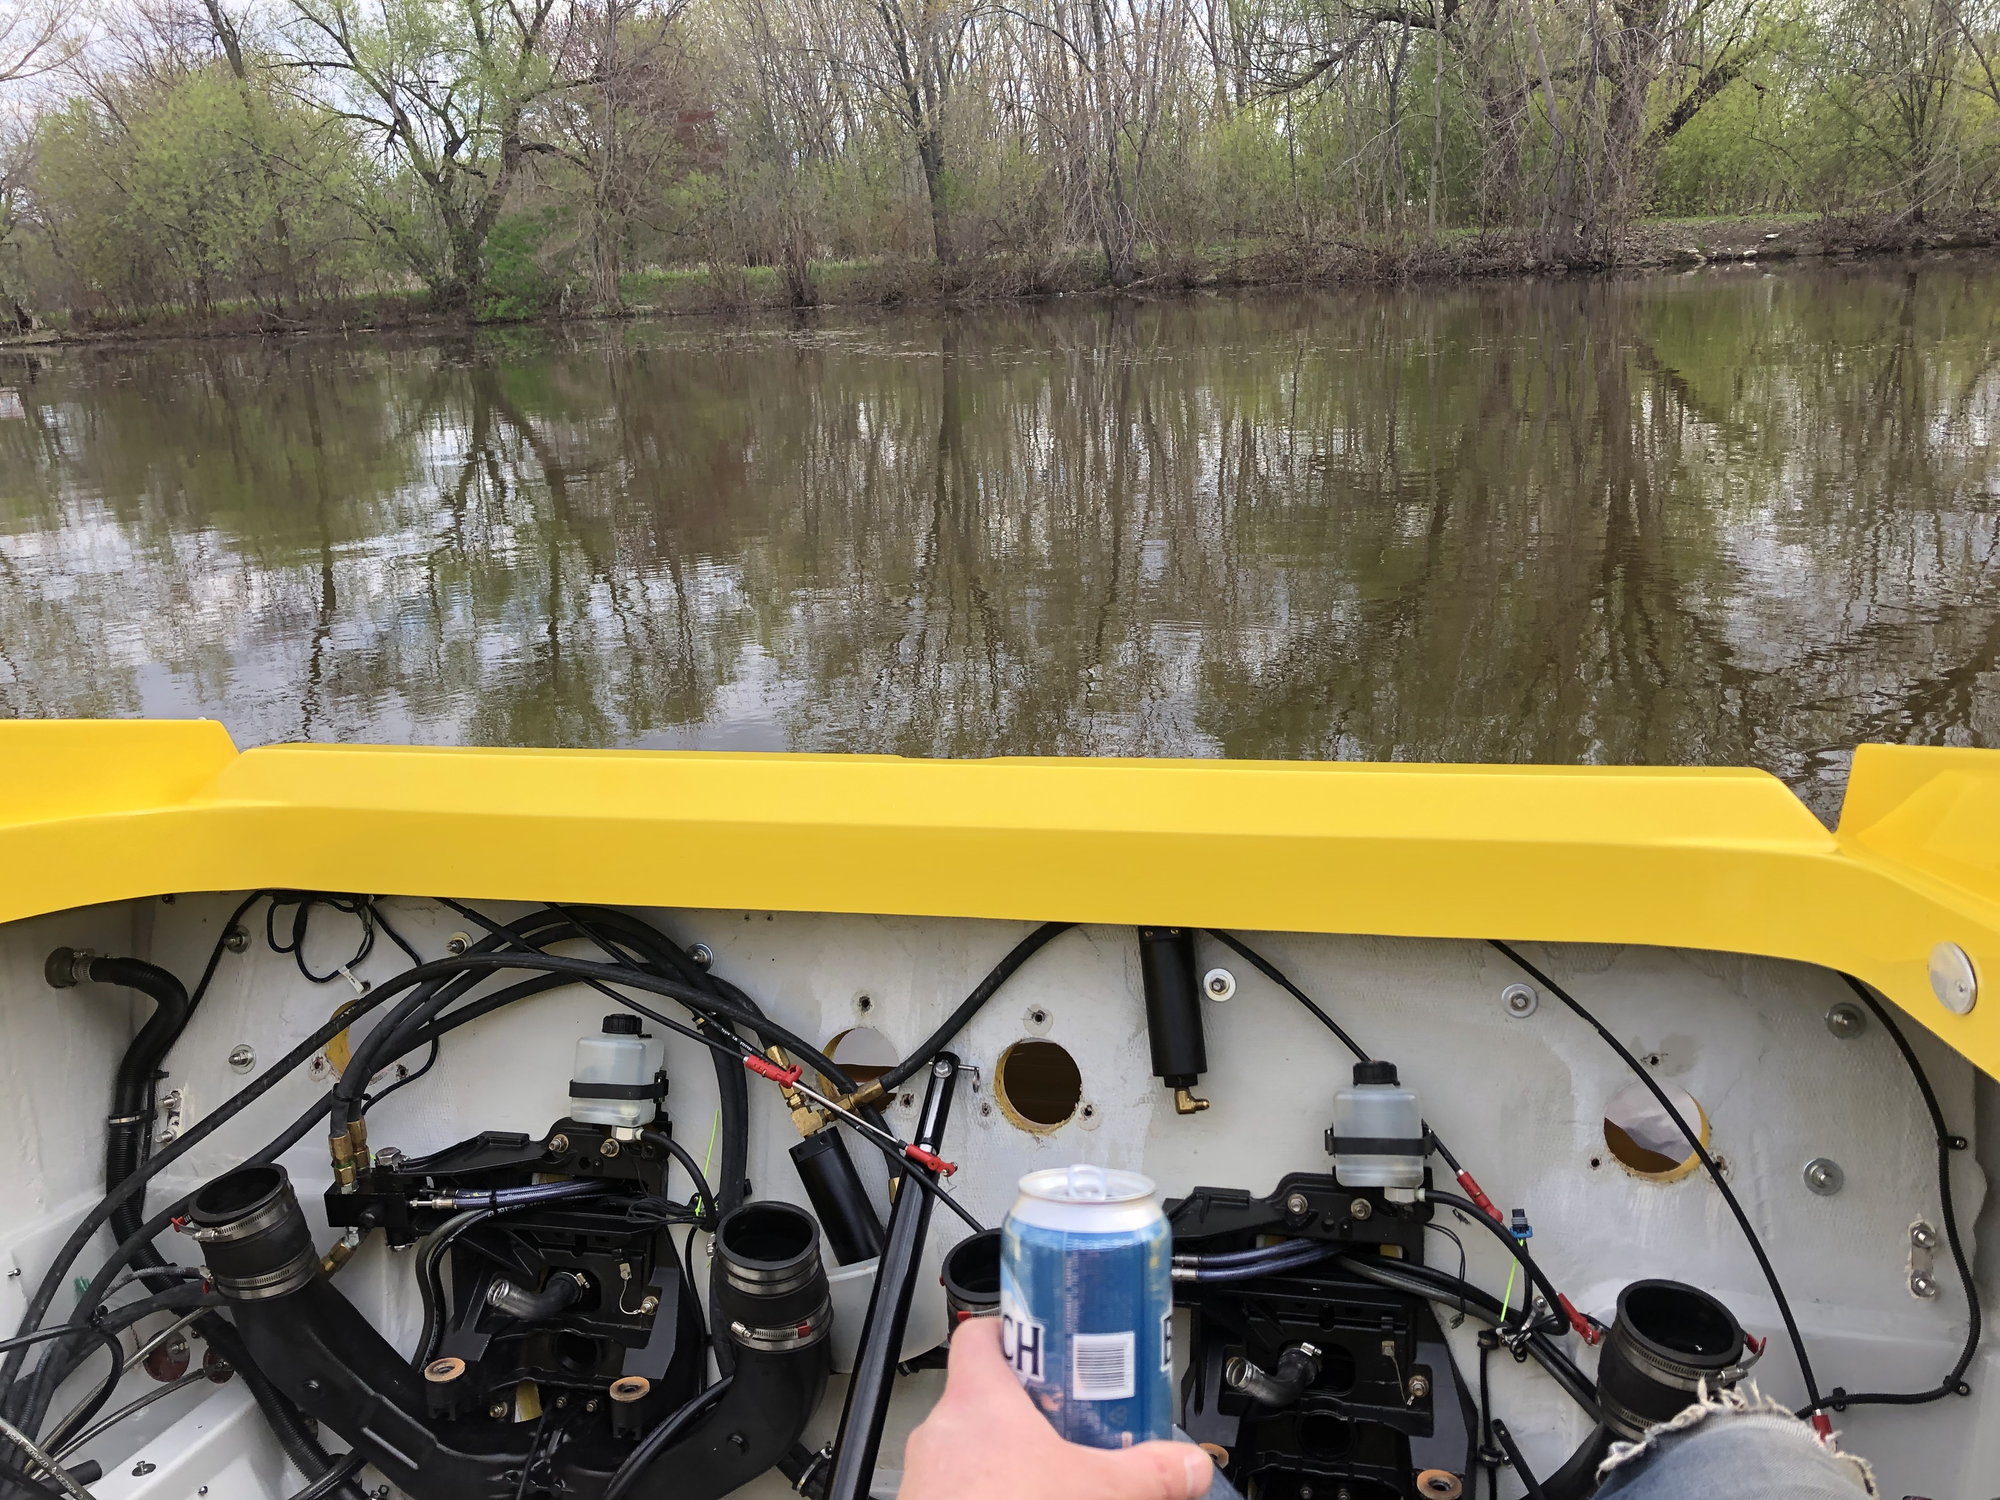
the middle "stringer" was a lot thicker! ~1.5"+ best photos i can find showing that... but there were definately NOT stringers under the liner, limited access in various locations but i could get boroscopes and my hands into places and nothing...
 02-06-2020, 06:05 PM
#23
Registered
Thread Starter
Just "wow" on the hardware residing in the void. Any residual water in there as well or all dry?
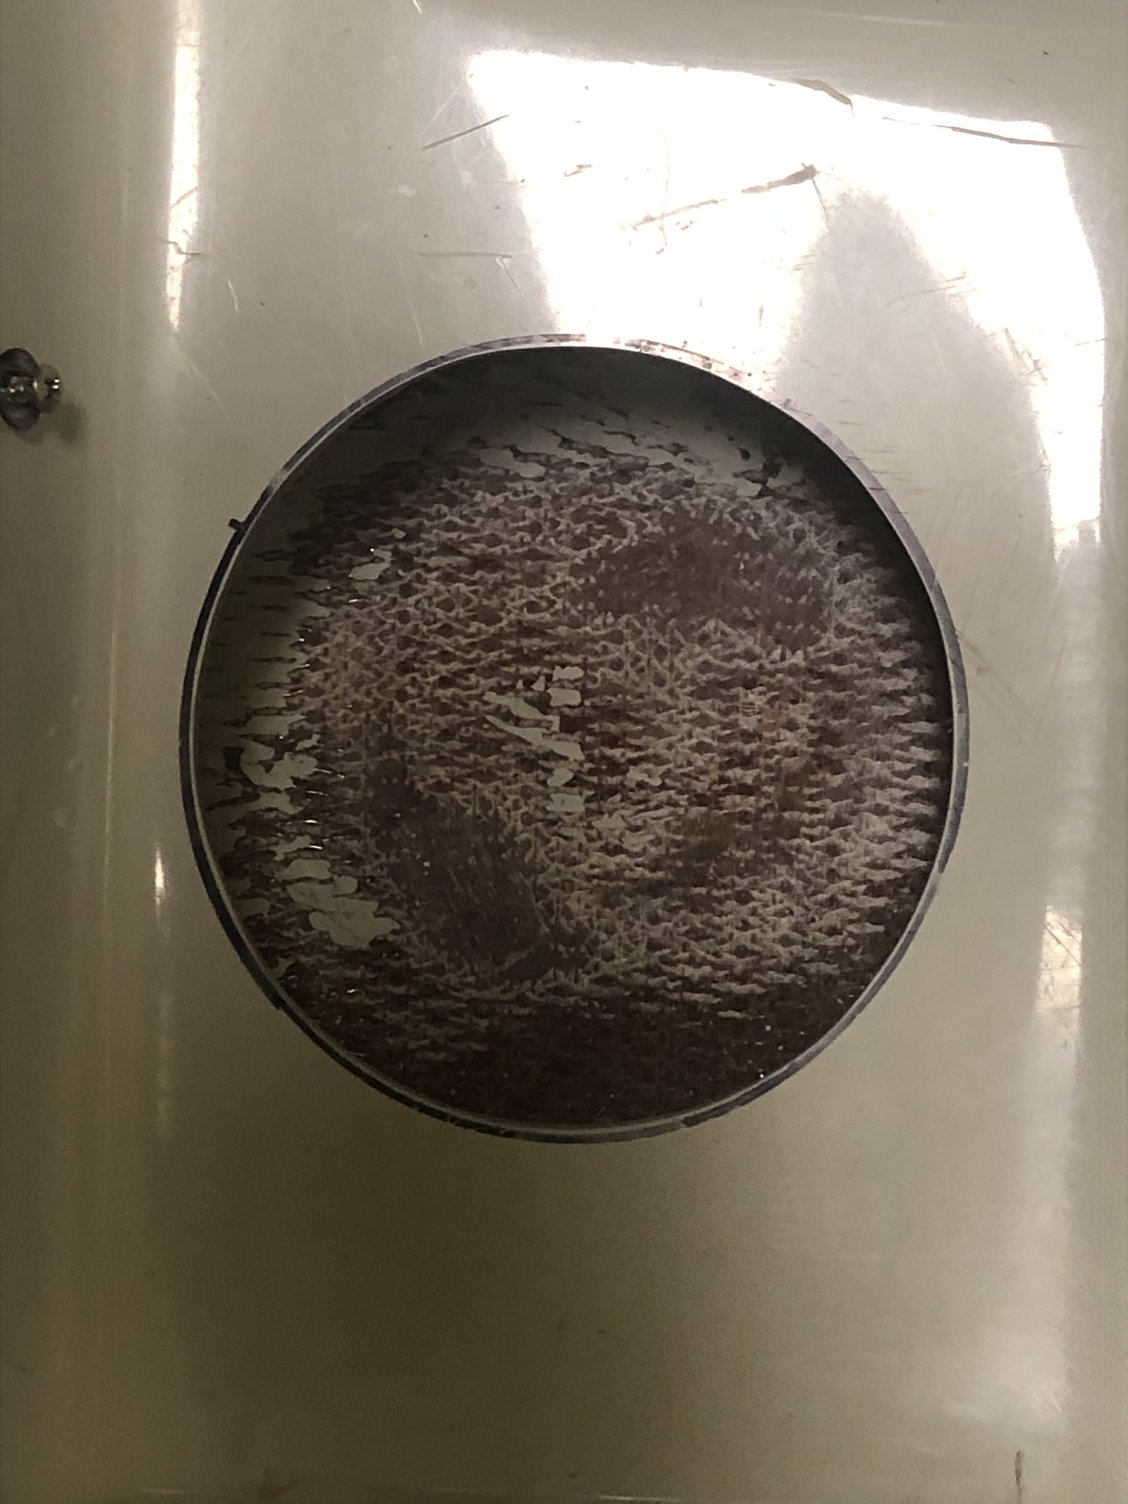
Appears the transom wood in the exhaust cutouts was not sealed with resin which is to be expected on a Baja. As far as you've gone now I'd go the rest of the way and remove the transom assemblies and check for moisture and seal the drive cutouts while doing the exhaust cutouts. Piece of mind for you and the next owner.
Nice job on the repair.
02-06-2020, 06:11 PM
#24
Registered
Thread Starter
BTW on a new boat I purchased back in the 90's one of the seat backs came loose and behind it was about a dozen or more random holes drilled into glass near where the mounting clips were installed. It was like someone was bored waiting on some screws or something and sat there and just randomly drilled one hole after another thinking that no one would ever see them.
02-11-2020, 07:08 PM
#25
Registered
Thread Starter
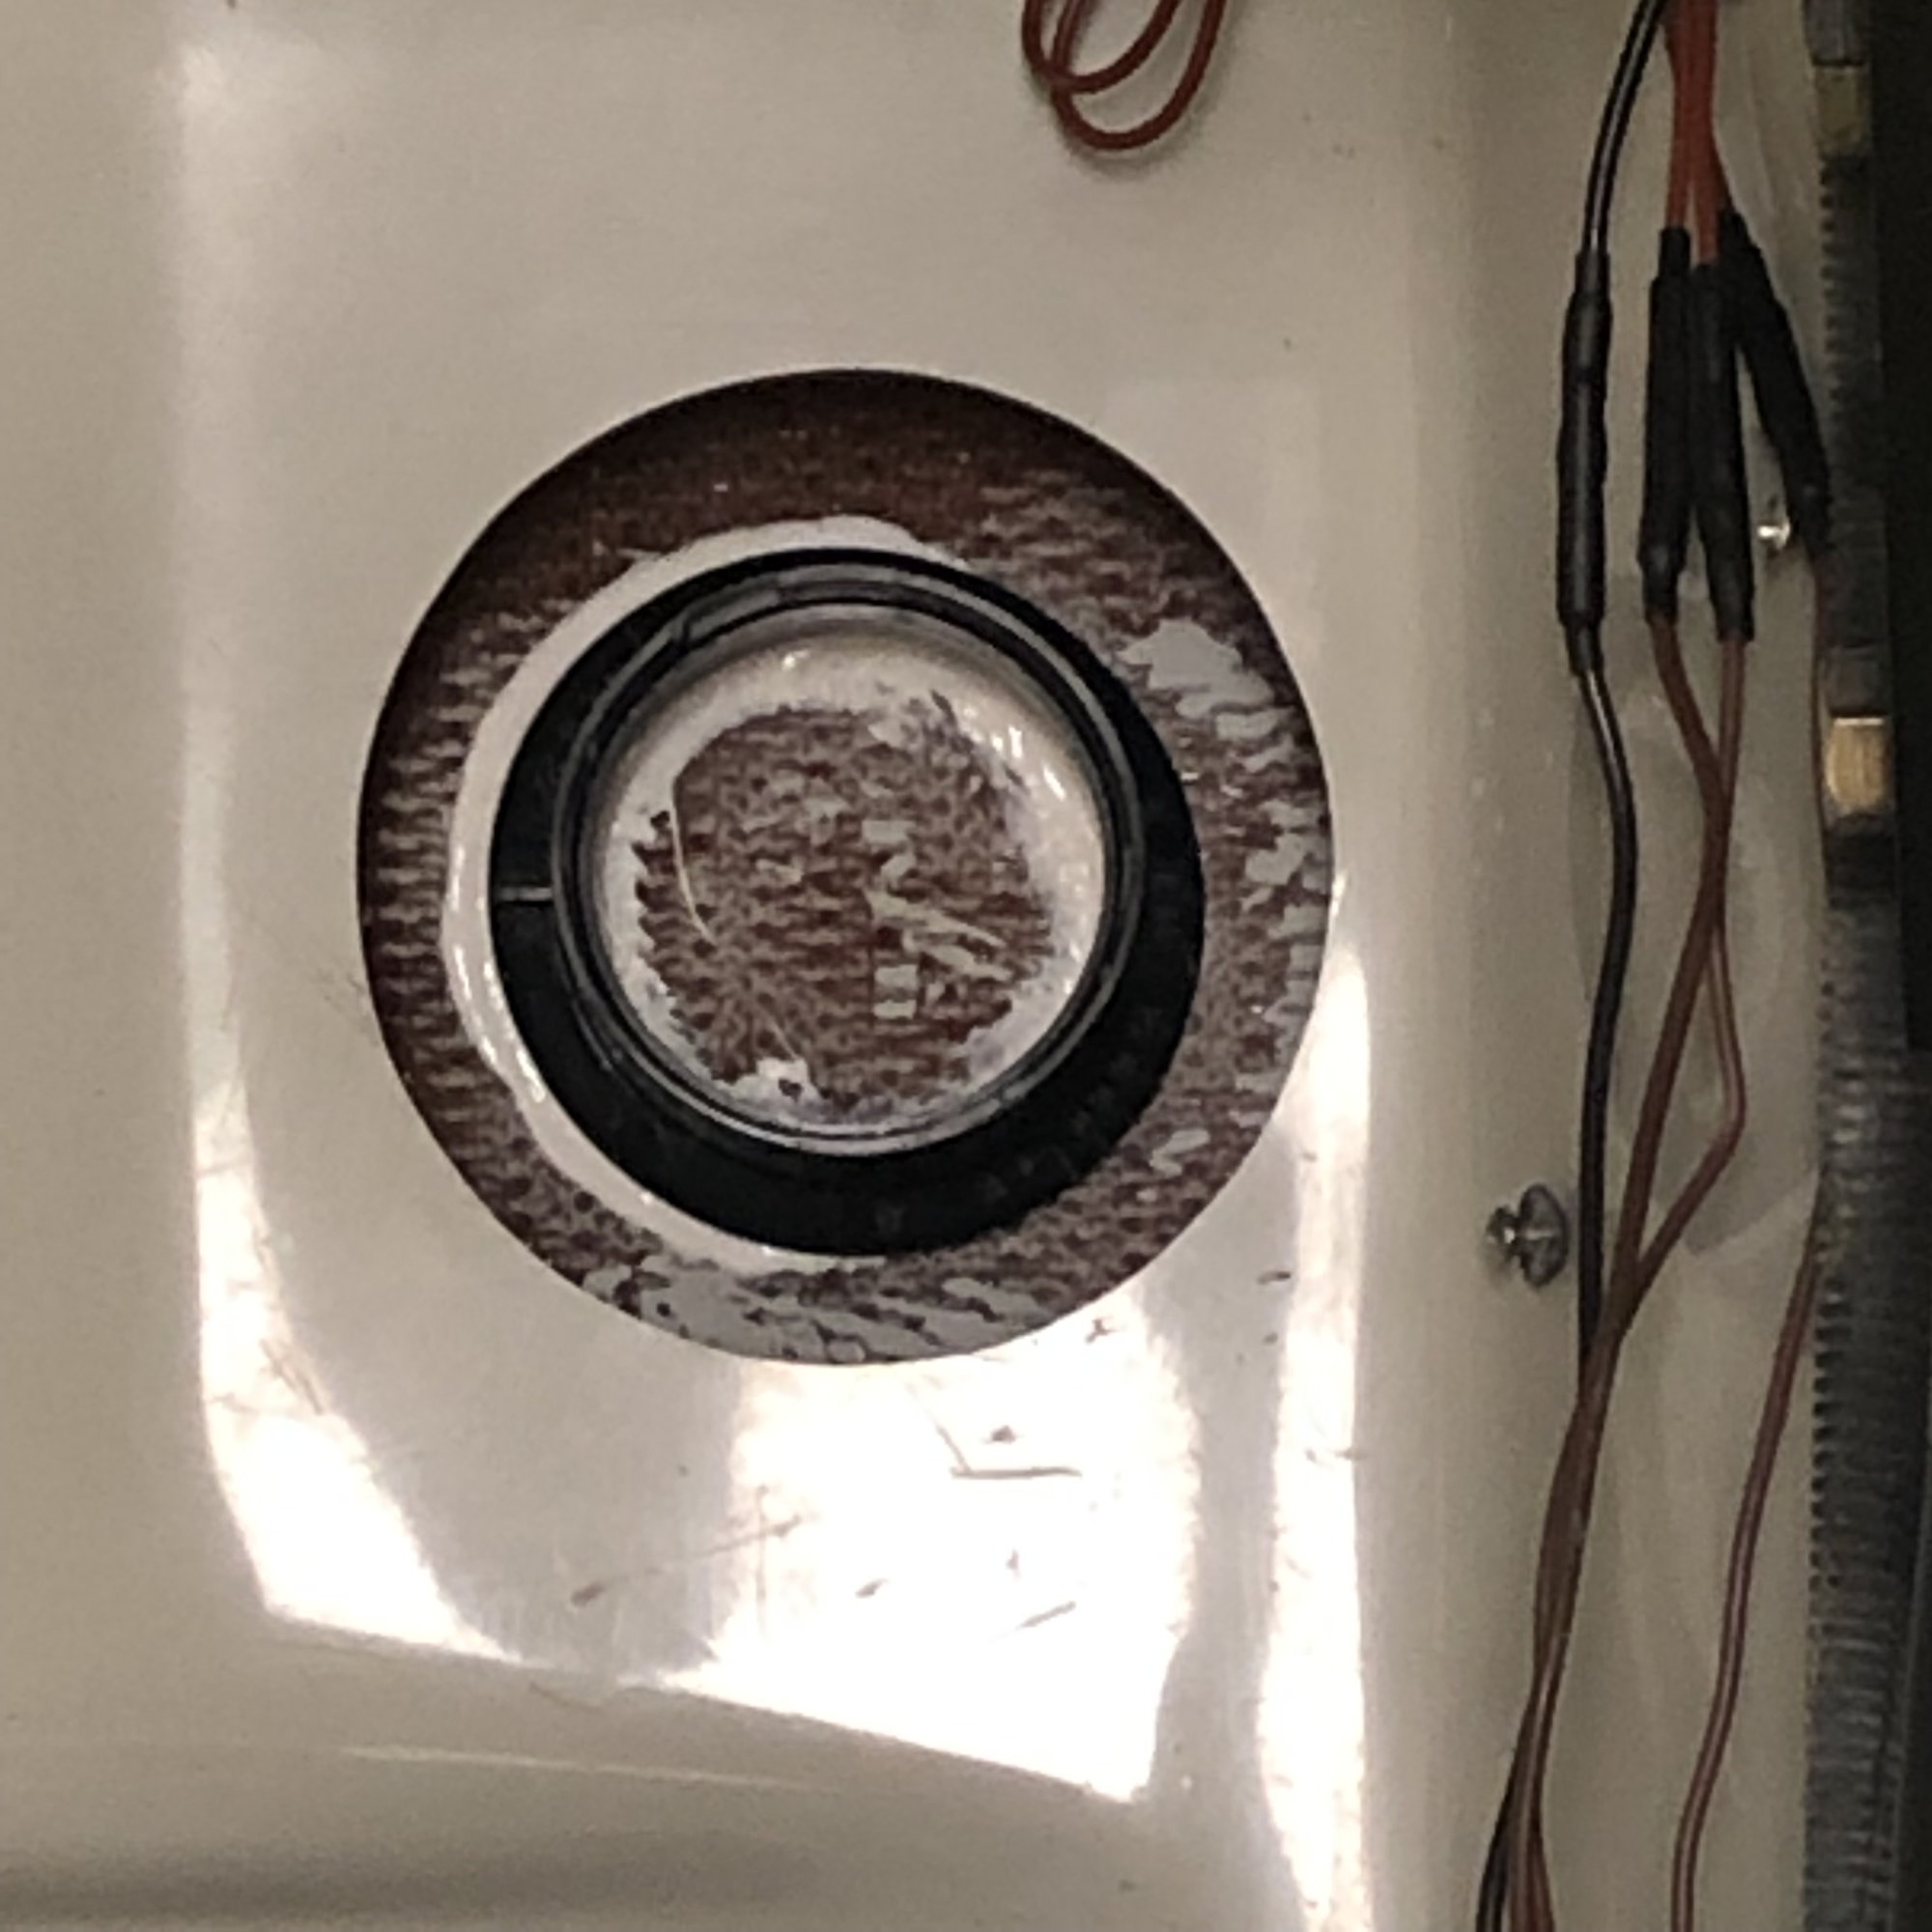
so like stated before the depth finder stopped working,then started working intermittently, the ammount of work involved to get down there it was decided to start with a new transducer and fresh install, a little bit of original riggging clean up and done... 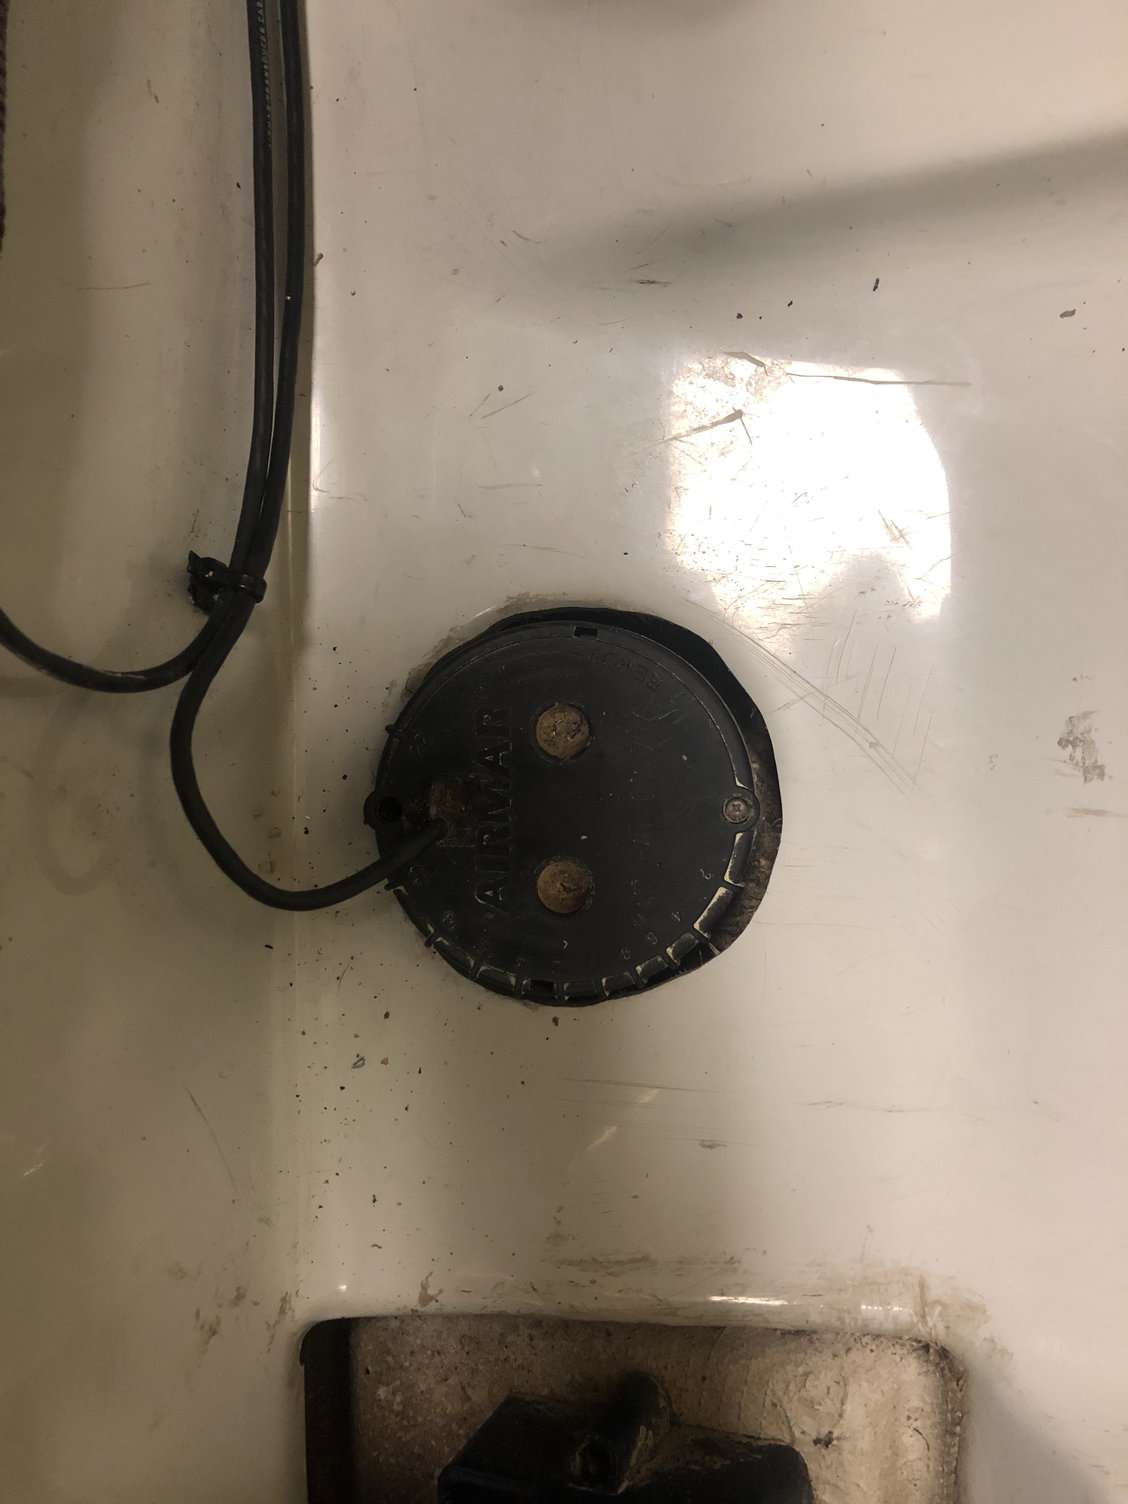

02-24-2020, 11:05 AM
#27
Registered
Thread Starter

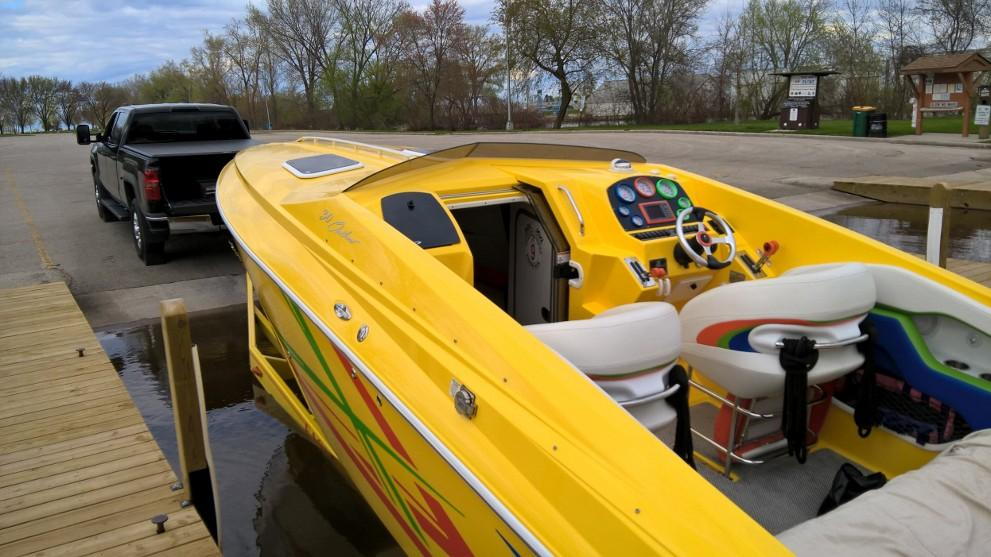
Water leak testing� sat at the launch for a couple hours, enjoyed the spring day, had a few beers, no water leak! So the right tab lower mounting bolt was the problem! Depth finder install was good, no leaks.

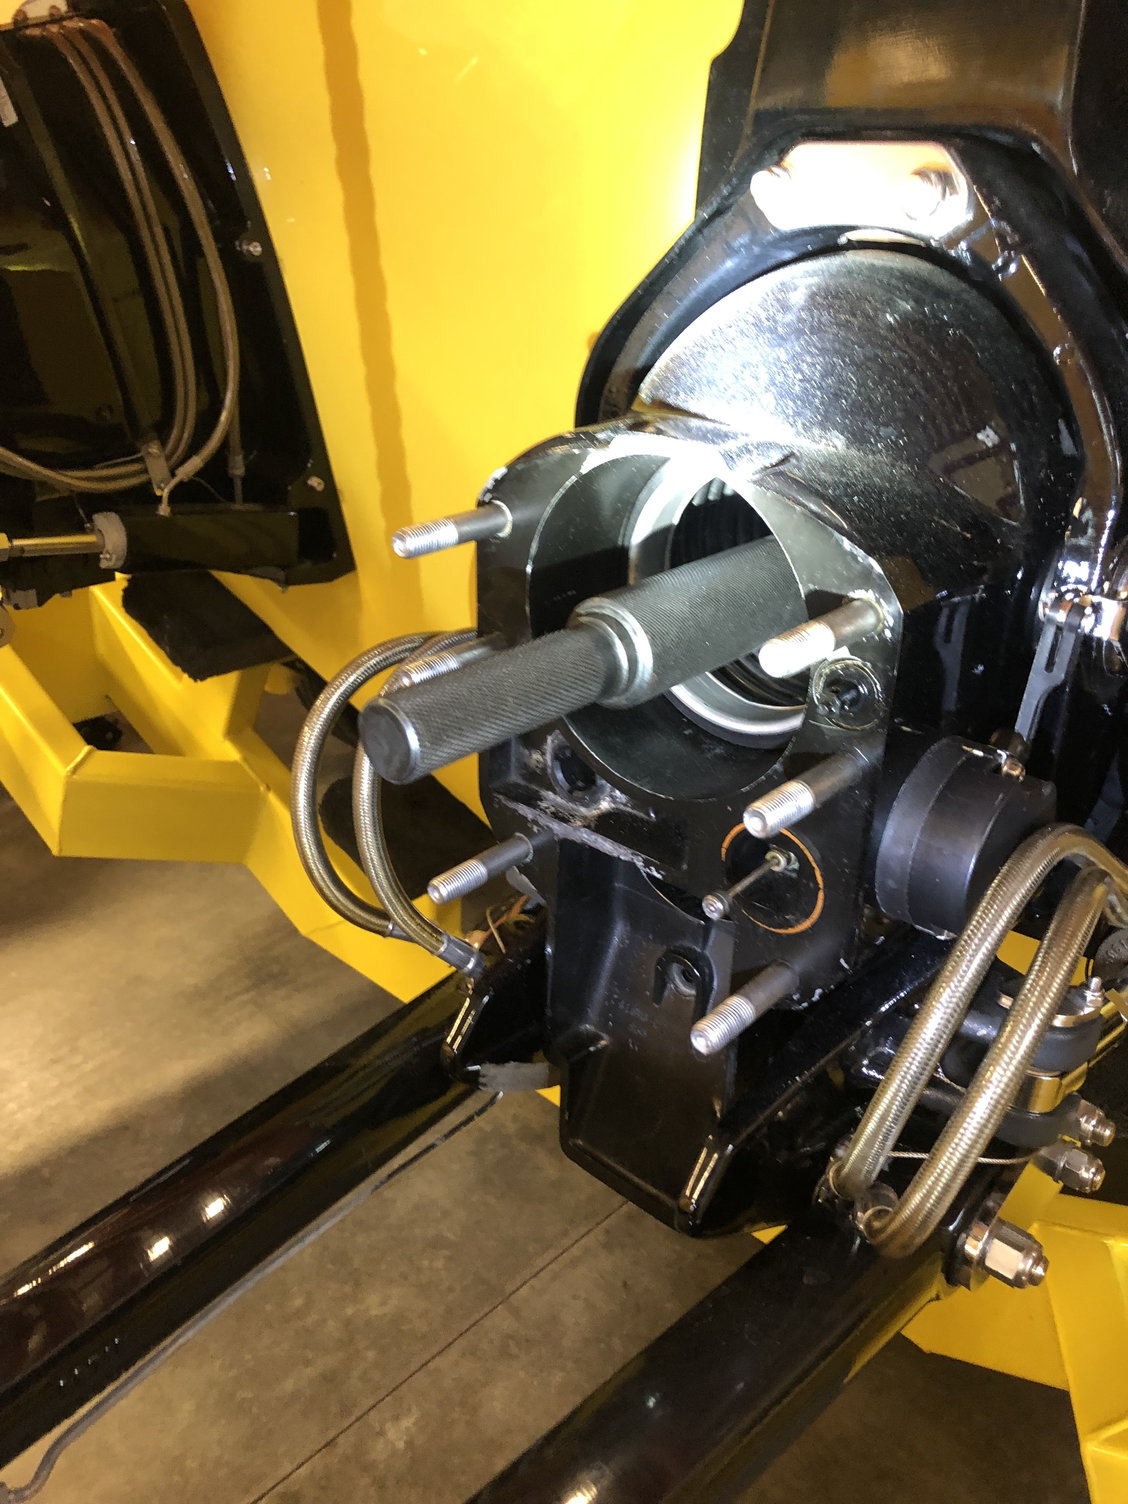

Little bit of updating, got the new style stickers for the ITS transom and drives, went back and forth about the alignment� shouldn�t have changed with offshore mounts but a $100 alignment bar was cheap assurance that they were aligned� and they were perfect, engines went back in in the same spot.

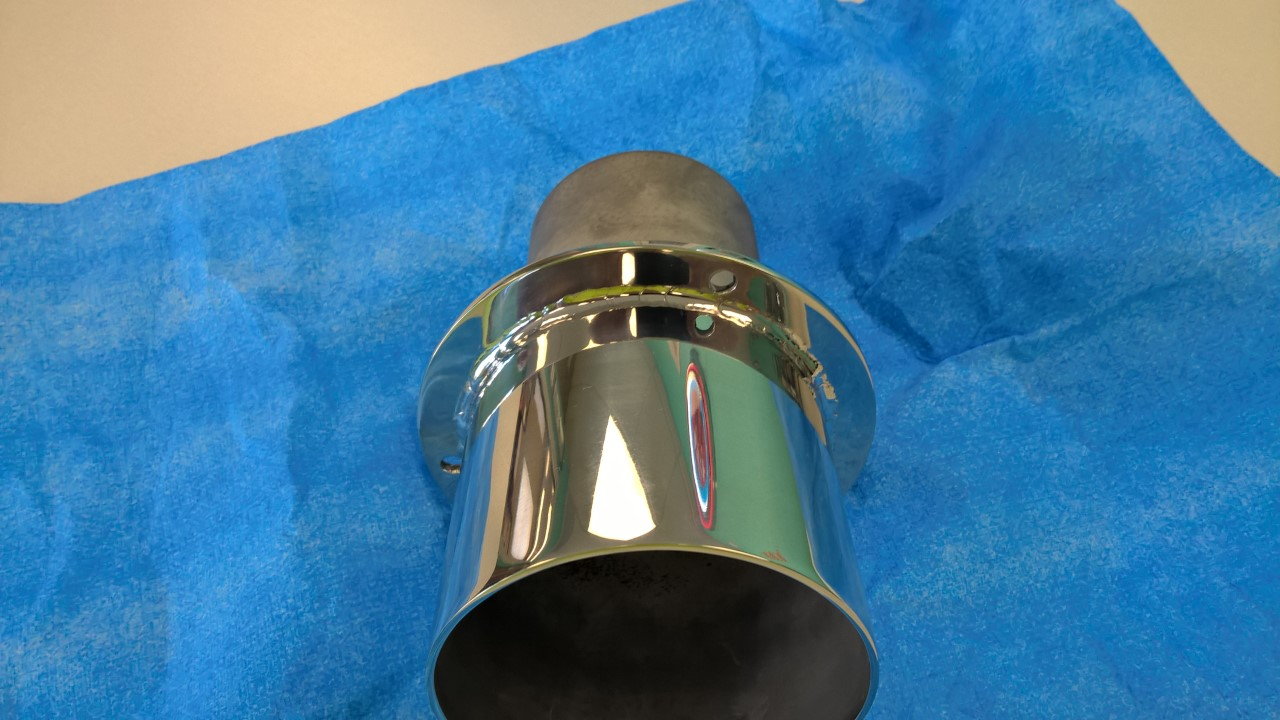

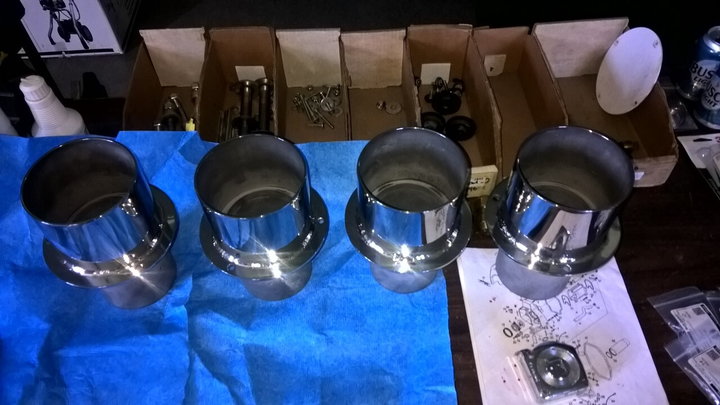
And after several years of behaving and being a law-abiding boater� it was time to take the factory Corsa mufflers off! Made a difference! She has a nice bark now. The mufflers had an oversize flange and the normal tips would require new holes, so I went to my local fab shop and they made custom tips, the 4� needed for the header side, and then 6� outside with an oversize flange to use the original holes. Then dropped them off at local plating shop for the polish job and they informed me you can�t chrome plate stainless steel�
02-25-2020, 08:52 AM
#28
Registered
Wow that is a lot of work, but well worth it for a cool boat. I do have one question though, why is a Wisconsin boy enjoying Bush Lights Vs Old Style, Miller or another local brew??? Oh BTW, make sure you seal the transom holes real well before installing the exhaust tips or other external items. Best place for water intrusion and transom rot to start. Seen it on several boat where we have replaced the factory tips, where the lack of or the original sealant had dried out or was never there.
02-25-2020, 10:16 AM
#29
Registered
Thread Starter
Wow that is a lot of work, but well worth it for a cool boat. I do have one question though, why is a Wisconsin boy enjoying Bush Lights Vs Old Style, Miller or another local brew??? Oh BTW, make sure you seal the transom holes real well before installing the exhaust tips or other external items. Best place for water intrusion and transom rot to start. Seen it on several boat where we have replaced the factory tips, where the lack of or the original sealant had dried out or was never there.

and yeah to sealing the tips, I was able to retain the orig gasket and well as a nice bead of 3M 3000 to seal them, hind sight is 20/20 never though of sealing the actual wood on the transom before I put it all back together, but I am pretty confident it won't be an issue... with how I sealed the tips to the hull and how high the tips are above the water line i am more concerned about ever getting them off again then water getting in . boat has also been stored in a fully climate controlled environment from day one. you can still smell the fiberglass resigns when you go in the cuddy.
02-26-2020, 08:40 AM
#30
Registered
LOL, good answer !! Backing down is when the water gets forced around the exhaust seal. I would highly recommend sealing all the wood in the transom where there have been holes drilled. Just sayin...……...Good Luck ! Wish I had your garage. I looked at one this past weekend, these Ozark boys have a lot of $$$$ signs behind their eyeballs. If the mancave is finished inside at all and has a furnace and you can see the lake in the middle of WINTER it is worth too much..LOL
Last edited by Helmwurst; 02-26-2020 at 08:41 AM. Reason: Spelling

