whats the deal with mechanical trim indicators????
 02-15-2012, 09:07 AM
#31
Registered
Thread Starter
again ladies and gentlemen:
feel free to offer criticism or even bash my design! lol i welcome any input.
i may have missed the mark in some way...buti gotta tell ya it works AWESOME for my single engine cat.
i feel that 200 bucks shipped is a great price considering that the single headsup indictaor made by the "real" offshore co. is 399 plus shipping. (although it does include the cable for that price) but the cable is 30-40 bucks.
 02-15-2012, 02:02 PM
#32
Registered
Common dude Photobucket.com its so easy even a caveman can do it.
PICS!
PICS!
 02-15-2012, 02:47 PM
#34
Registered
Join Date: Aug 2007
Location: Sandown, NH - Sebago Lake Region, ME
Posts: 2,960
Likes: 0
Received 7 Likes
on
7 Posts
again ladies and gentlemen:
feel free to offer criticism or even bash my design! lol i welcome any input.
i may have missed the mark in some way...buti gotta tell ya it works AWESOME for my single engine cat.
i feel that 200 bucks shipped is a great price considering that the single headsup indictaor made by the "real" offshore co. is 399 plus shipping. (although it does include the cable for that price) but the cable is 30-40 bucks.
feel free to offer criticism or even bash my design! lol i welcome any input.
i may have missed the mark in some way...buti gotta tell ya it works AWESOME for my single engine cat.
i feel that 200 bucks shipped is a great price considering that the single headsup indictaor made by the "real" offshore co. is 399 plus shipping. (although it does include the cable for that price) but the cable is 30-40 bucks.
 I have a few questions....
1. How do you plan to do the indicator marks on the actual extension rod?
2. Will the indicator marks be numbered and if so how do you plan to keep the rods from turning inside the housing?
3. Is the $200 include powder coat or polishing of some sort?
02-15-2012, 03:44 PM
#35
Registered
Thread Starter
So now that I have seen the photos and finally got them posted I have a few questions....
1. How do you plan to do the indicator marks on the actual extension rod?
2. Will the indicator marks be numbered and if so how do you plan to keep the rods from turning inside the housing?
3. Is the $200 include powder coat or polishing of some sort?
I have a few questions....1. How do you plan to do the indicator marks on the actual extension rod?
2. Will the indicator marks be numbered and if so how do you plan to keep the rods from turning inside the housing?
3. Is the $200 include powder coat or polishing of some sort?
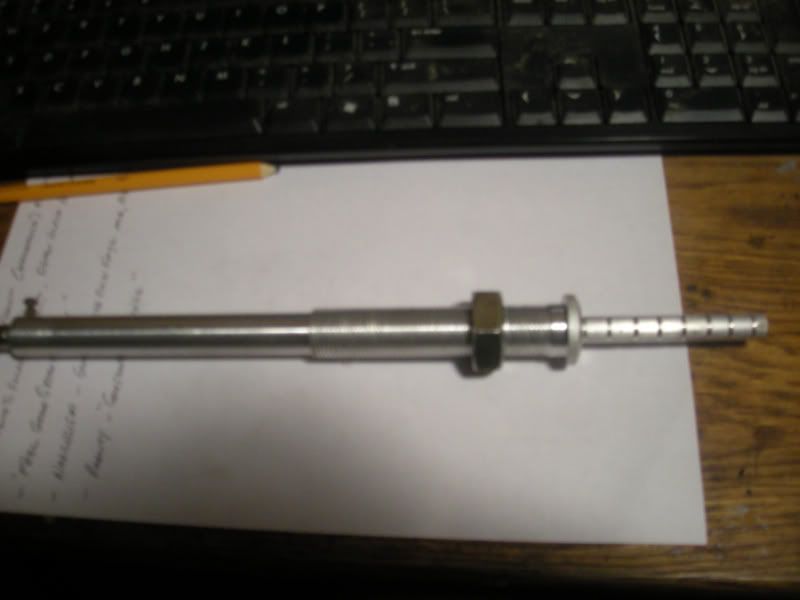
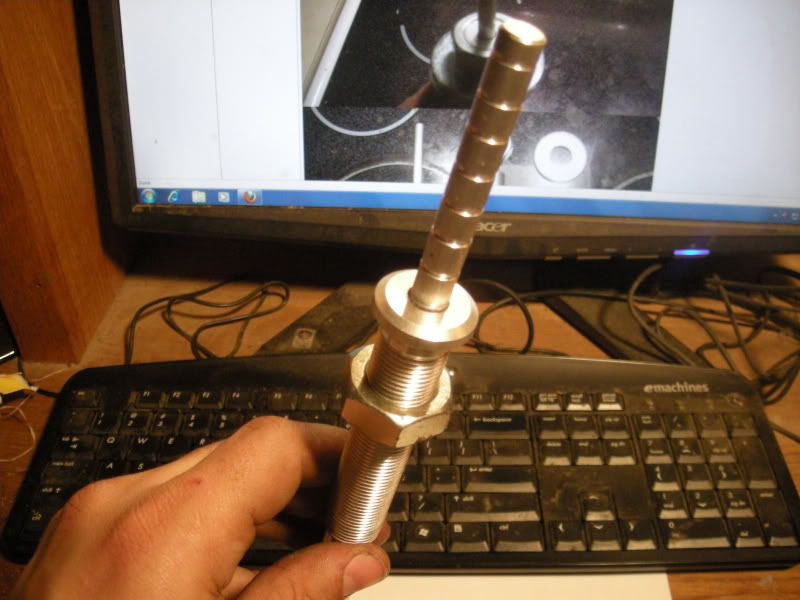
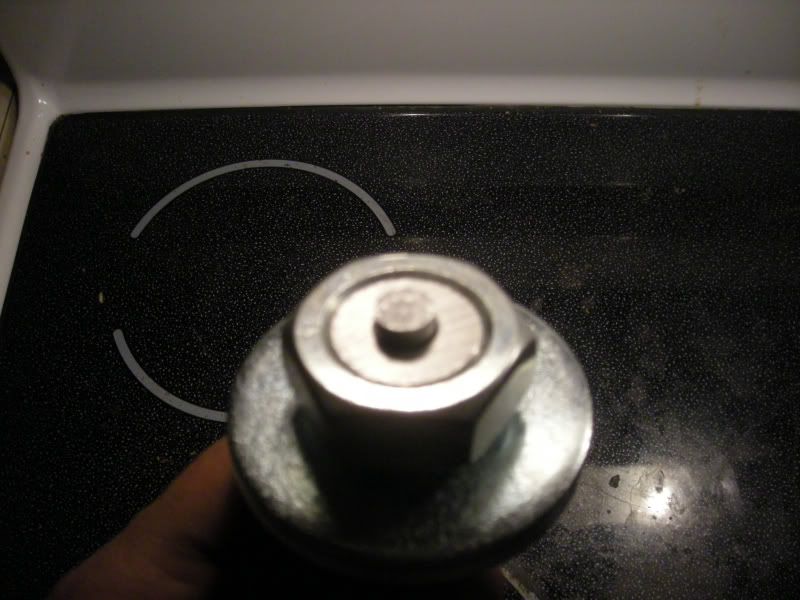
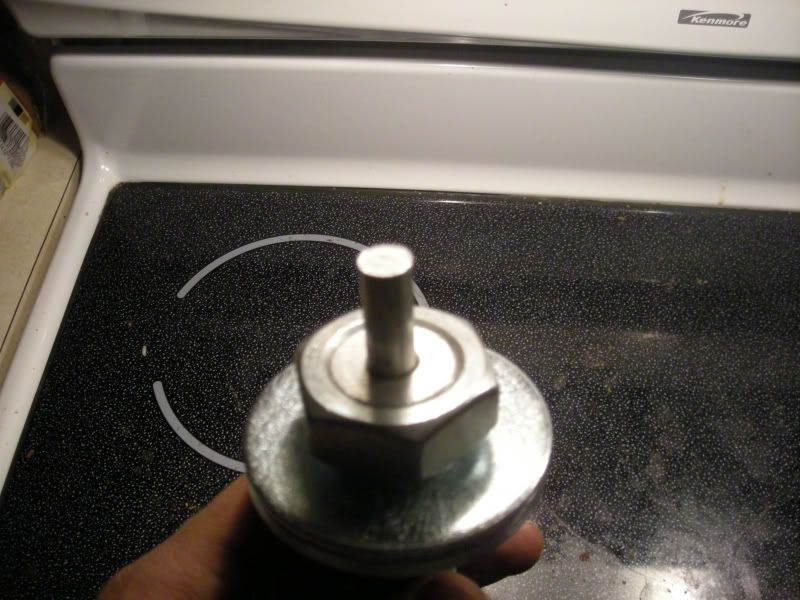
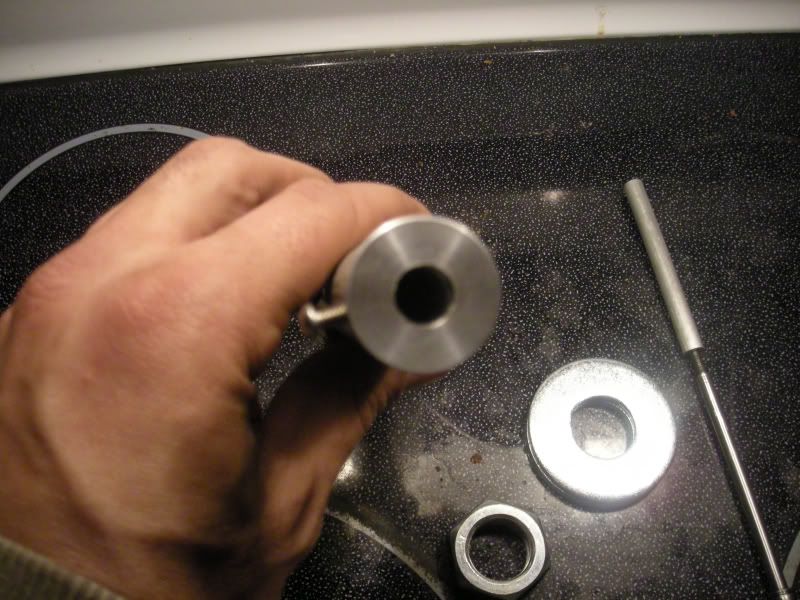
1A) the marks on the indicator rod will be machined with a lathe and be spaced aprox .375" apart. im putting 5 individual marks on mine) they will be color coded. i may do numbers later but i really see no point in having numbers ...most regular trim gauges do not. but it can be done without too much ado.
2A)i have the rod secured with a nylon jam nut that is inside the bore on the bottom of the indicator rod. the height of the rod is adjustable.
3A) the $200 includes shipping and all installation hardware. i will polish the body and the rod on the lathe...although i have to say it shouldnt be a major concern since the thing is gonna be under the dash its entire life.....but nonetheless i will make it as sporty as i can.
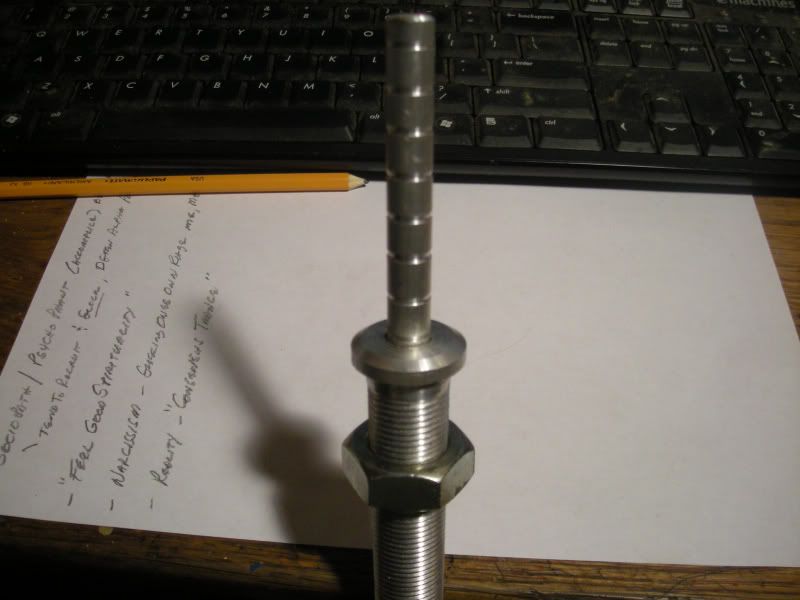
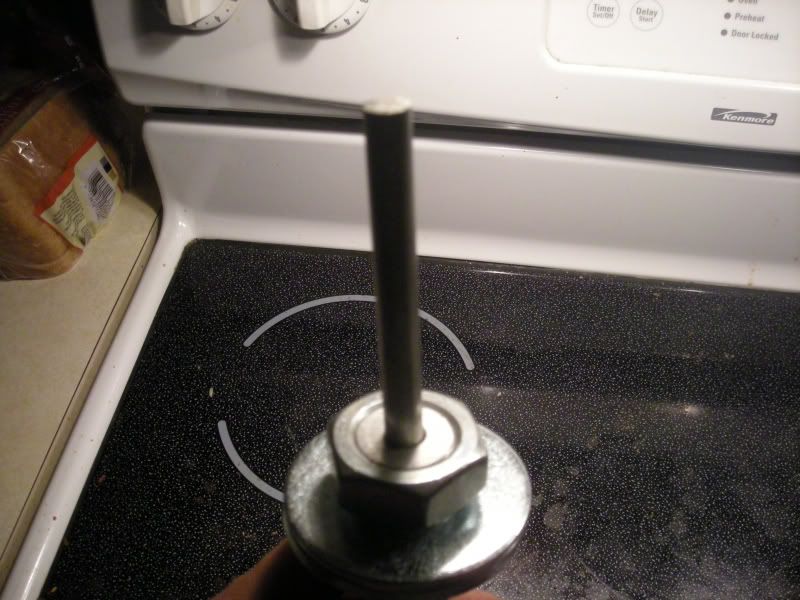
i also going to make another prototype model in the near future...just to see how it looks...the mechanical aspect of the unit is exactly the same...just a solid billet aluminum body that has the upper flange machined onto it instead of the upper Jam nut.
Last edited by 2tonchevy; 02-15-2012 at 03:59 PM.
02-16-2012, 01:46 AM
#36
Registered
Join Date: Jul 2006
Location: Oshawa, Ontario, Canada
Posts: 2,034
Likes: 0
Received 1 Like
on
1 Post
How difficult would it be to adapt your design to a system that used the digital indicators? I have twin ram tabs now that work great, but, the electric indicators are pooched, it would be cheaper to buy a set up from you, even with the cost of the cable than to buy another electrical indicator kit, I would probably just leave the trim gauge the way it is since it works fine.
Let me know, thanks!
Michael
Let me know, thanks!
Michael
02-16-2012, 08:15 AM
#37
Registered
Thread Starter
het Micheal!
i am not familiar with you particular set so im only shootin from the hip here. perhaps someone else will chime in:
if your system uses a mechanical actuator and a 33c cable then it will be very easyl plug and play basically. being that your gauages are didital, i assume this means that your gauges are digital and the actuator is solid state...ie...a load bank or electrical position indicator....i think you would also have to buy the mechanical actuators for your tabs. thisis not a big deal andmay still be cheaper than replacing your existin. i do knoe that once this mechanical system is installed you will NEVER have to woor about it failing again. the digital trim/tab systems SUCK in my experience. every boat i have ever had them on has failed regularly. water and submerged electronics dont mix.
if your lookin at an even comparable amount of money i would replace your enitre trim indication system with mechanical. you will never look back.
the cables are 30 bucks, a single trim actuator will cost around 180 (some cheaper some more expensive) im not sure on the tab actuator, and two of my indicators is 350 shipped to your door (or 200 for a single). this puts the cost of the entire heads up kit at 410 dollars. thats less than the nearest competitors heads up indicator alone.
just an idea. again it matter not to me what you do...im not inthe business of making boat parts. but i do know what works and what does not. mechanical is the $h!t. im just offerin to help out some like minded boaters and make a few bucks at the same time.
Last edited by 2tonchevy; 02-16-2012 at 08:19 AM.
02-16-2012, 01:31 PM
#38
Registered
I've been looking at heads up indicators and I see what you are designing so what extra would need to be bought that you can't supply? The Indicator for a singe engine will have 2 trim tabs and 1 drive indicator. I will need to buy 3 33c cables for my boats length, 3 thru hull fittings for the cables to go through, and how will they attach to the drive and tabs? Is that correct or am I missing something?
02-16-2012, 03:56 PM
#39
Registered
Thread Starter
I've been looking at heads up indicators and I see what you are designing so what extra would need to be bought that you can't supply? The Indicator for a singe engine will have 2 trim tabs and 1 drive indicator. I will need to buy 3 33c cables for my boats length, 3 thru hull fittings for the cables to go through, and how will they attach to the drive and tabs? Is that correct or am I missing something?
what i am offering is the heads up indicator/gauge only.
you will need to buy a 33c cable and an actuator (the part that hooks the opposite end of the cable to the drive) for each application you desire to monitor. ie: 1 drive and 2 tabs = 3 heads up indicators (500 dollars shipped for all three) 3 - 33c cables (bout 30 bucks each) and 3 actuators (the drive actuators vary from 150 to around 300 dollars each from what ive seen) and 3 through hull fittings (bout 20 bcks each)
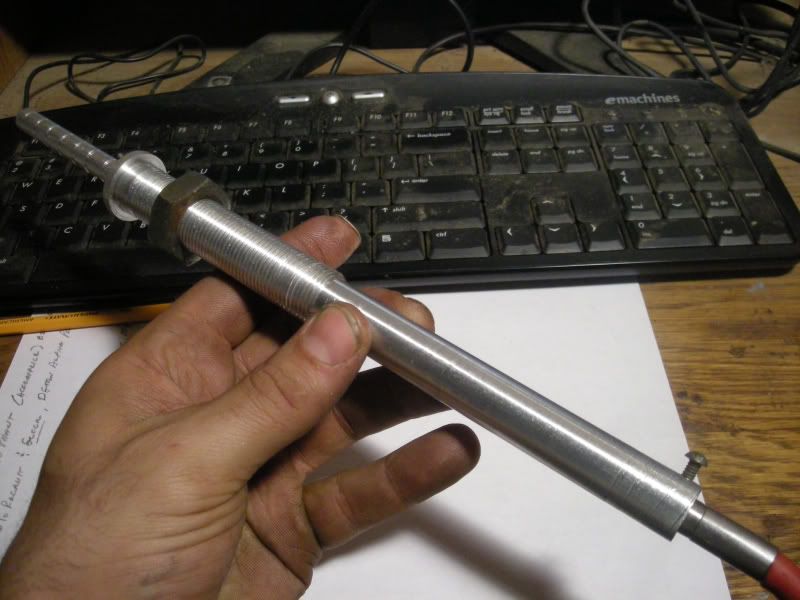
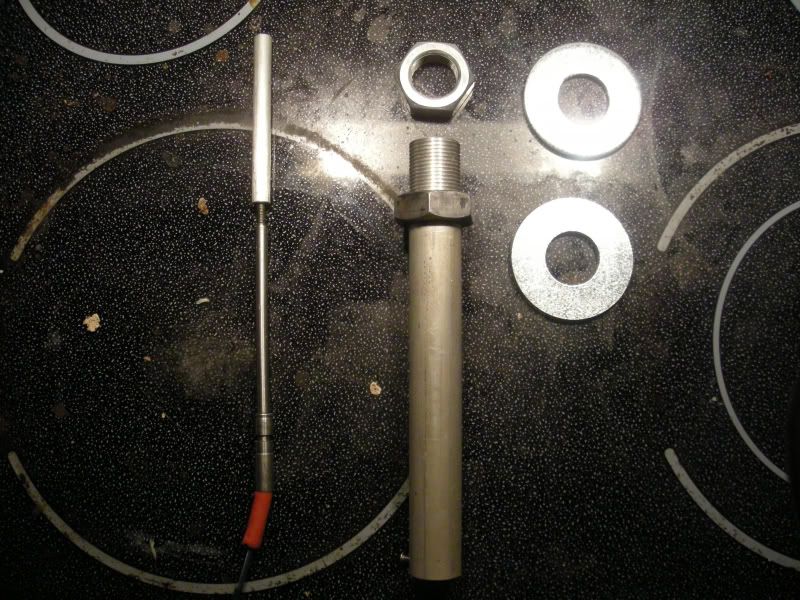
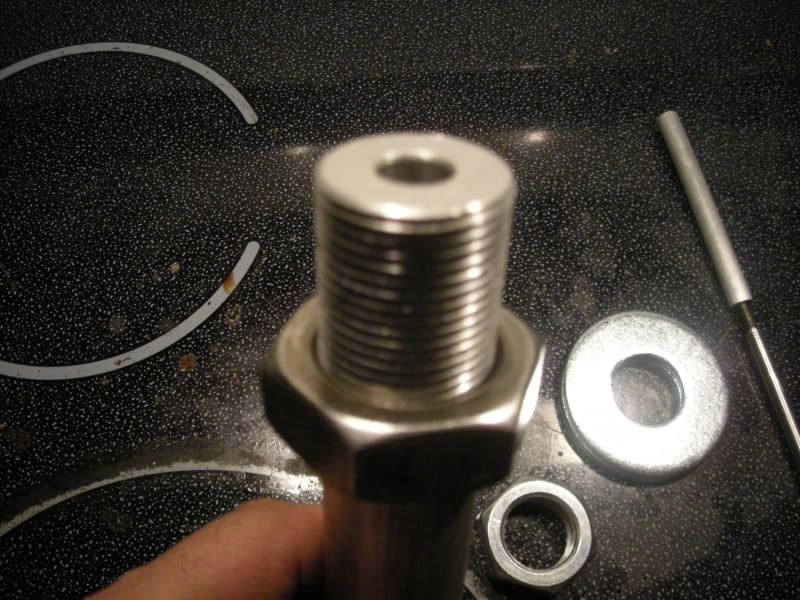
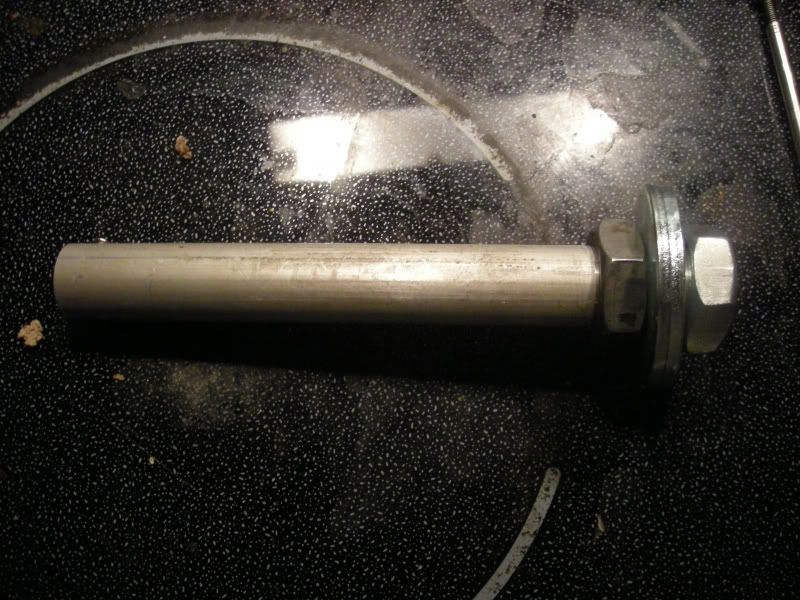
i have just finished my second prototype today and its alot cleaner and even simpler to install. i am going to see if i can talk 502ss into posting pics for me again. lol
it requires only one 3/4 hole to be drilled into the dash/mounting surface and uses only one stanless 3/4 NF jam nut and washer from the bottom side. the above appearance is alot more trick imo.