

Classic 22 with arneson
 03-31-2017, 11:27 PM
#1
Registered
Thread Starter
Join Date: Mar 2015
Posts: 36
Likes: 0
Received 0 Likes
on
0 Posts
Classic 22 with arneson
Hello All,
I originally posted all this up on Donzi.net but thought since I had some questions from fellow members I thought I might introduce myself and share my project.
I was having problem after problem with my traditional drive and was tired of dealing with drive issues and the wife was not having it. So it was either an XR or Arneson. I called and spoke with Rick and even before I bought the unit he was more than willing to help me understand why the Arneson would work on my boat, he really is a very patient, friendly, and very knowledgeable guy, he is a real asset to the boating community.
If you have any questions, comments, or otherwise please feel free to ask.
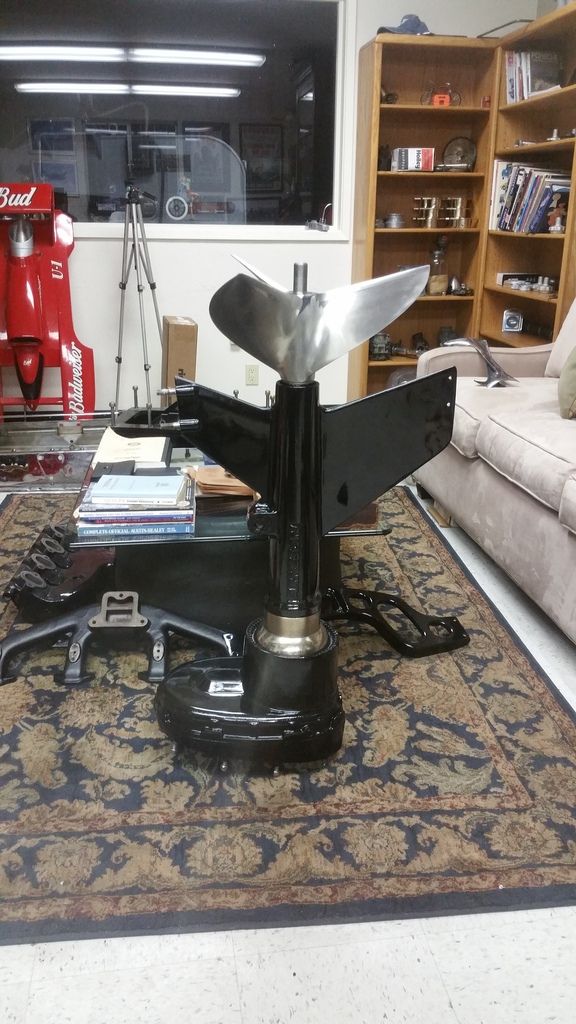
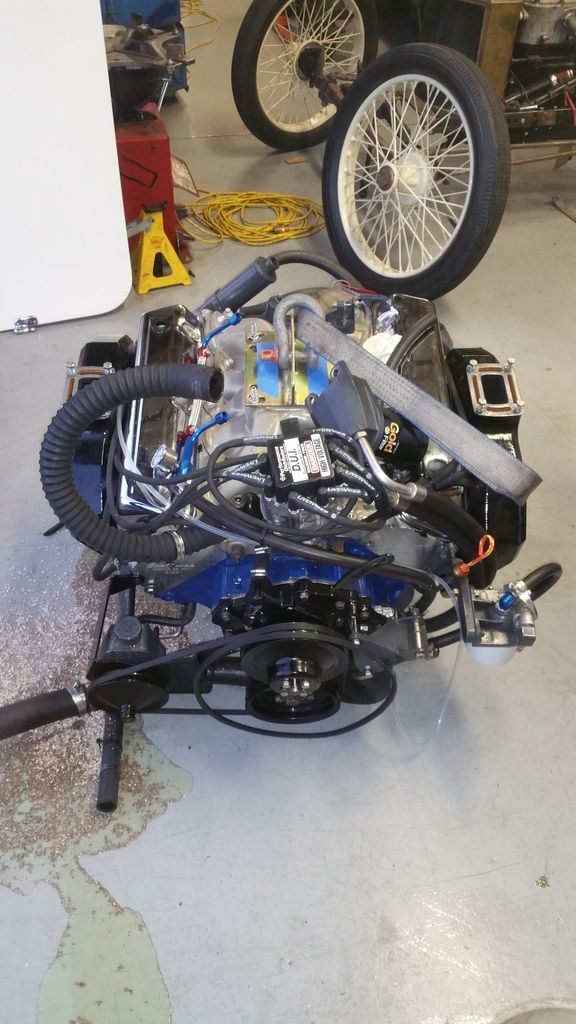
I picked up a used Bravo conversions asd6 kit and started with the conversion.
So here it goes.
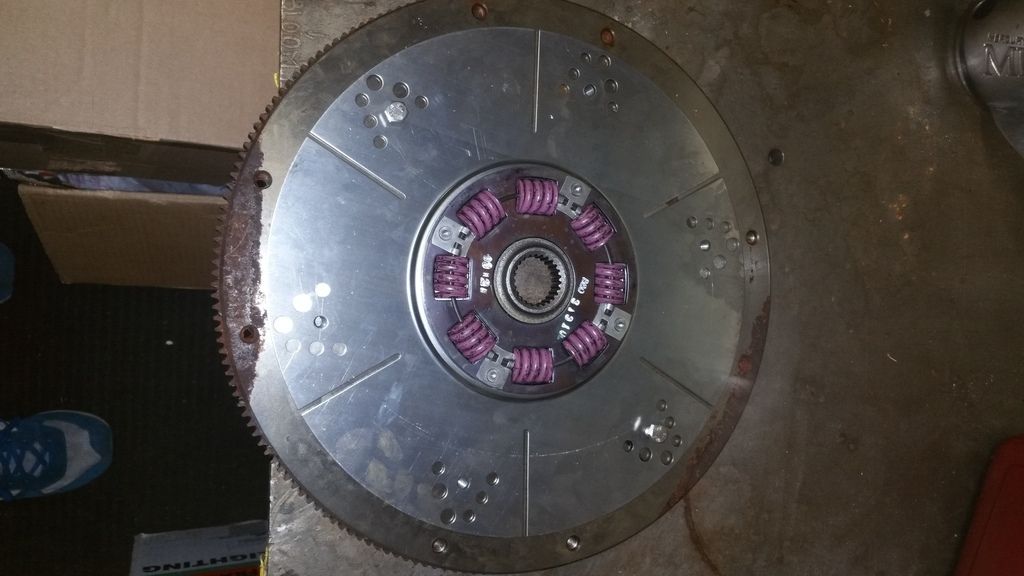
Step 1, adapt my BBF to the Velvet drive.
More to come...
I originally posted all this up on Donzi.net but thought since I had some questions from fellow members I thought I might introduce myself and share my project.
I was having problem after problem with my traditional drive and was tired of dealing with drive issues and the wife was not having it. So it was either an XR or Arneson. I called and spoke with Rick and even before I bought the unit he was more than willing to help me understand why the Arneson would work on my boat, he really is a very patient, friendly, and very knowledgeable guy, he is a real asset to the boating community.
If you have any questions, comments, or otherwise please feel free to ask.
I picked up a used Bravo conversions asd6 kit and started with the conversion.
So here it goes.
Step 1, adapt my BBF to the Velvet drive.
More to come...

 03-31-2017, 11:34 PM
#3
Registered
Thread Starter
Join Date: Mar 2015
Posts: 36
Likes: 0
Received 0 Likes
on
0 Posts
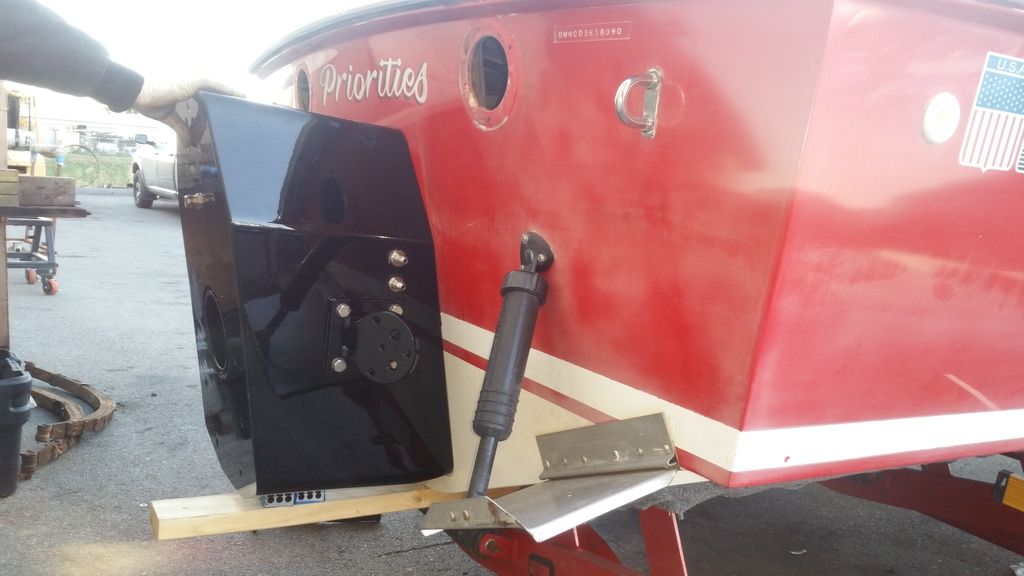
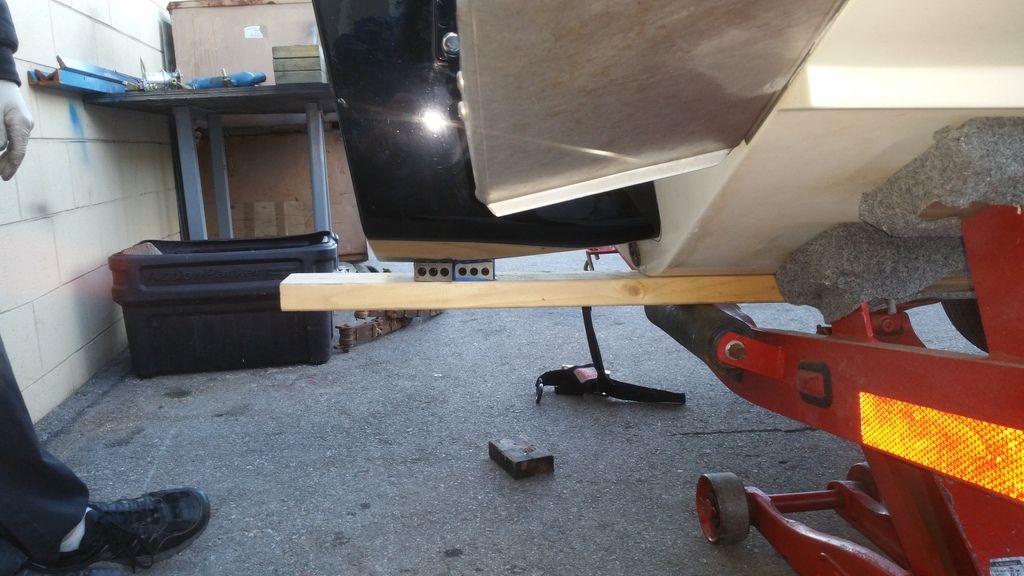
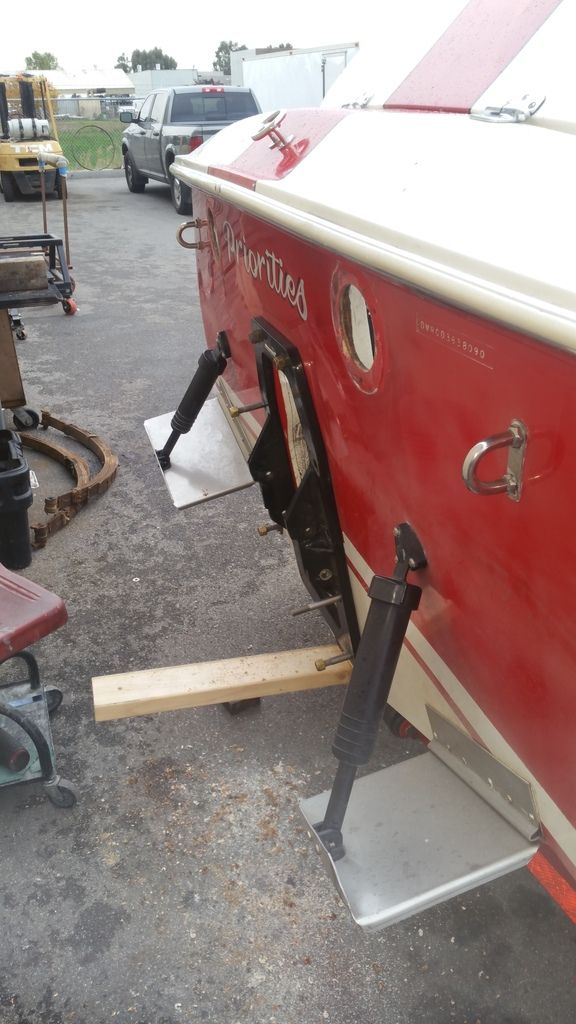
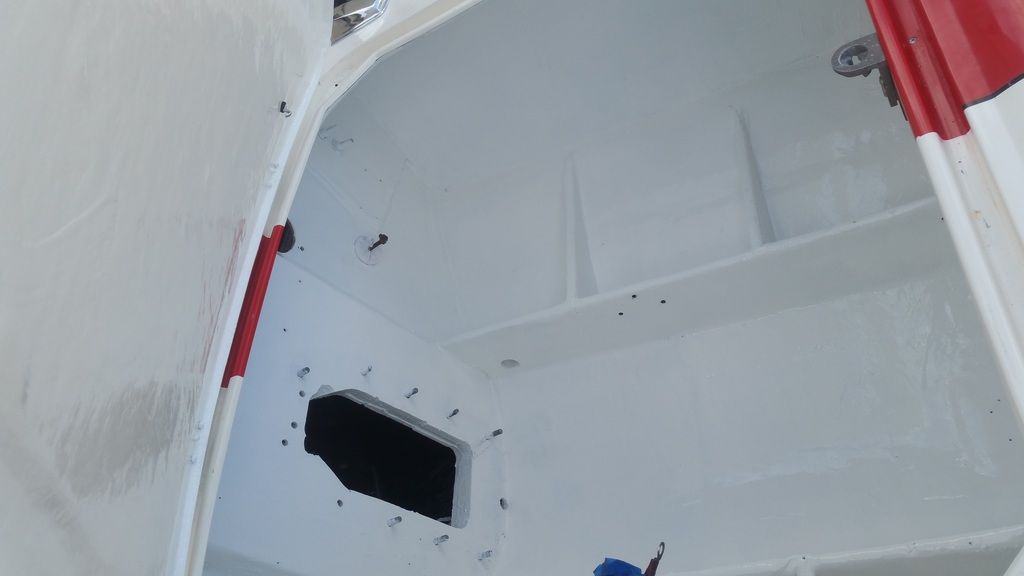
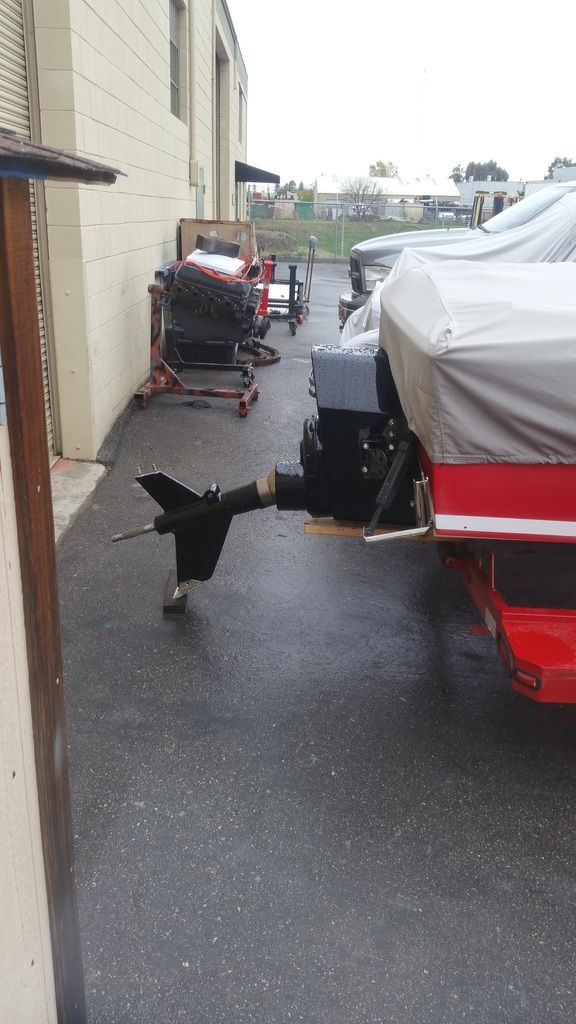
Next Rick described to put a board under the boat so that the stand off box is about 1" above the lowest point of the boat. basically you dont want the box dragging in the water. If it does, it will push the bow down. Mark the top and bottom of the box and make sure that everything clears and should work. Later we will makes sure the next unit is centered.

03-31-2017, 11:40 PM
#4
Registered
Thread Starter
Join Date: Mar 2015
Posts: 36
Likes: 0
Received 0 Likes
on
0 Posts
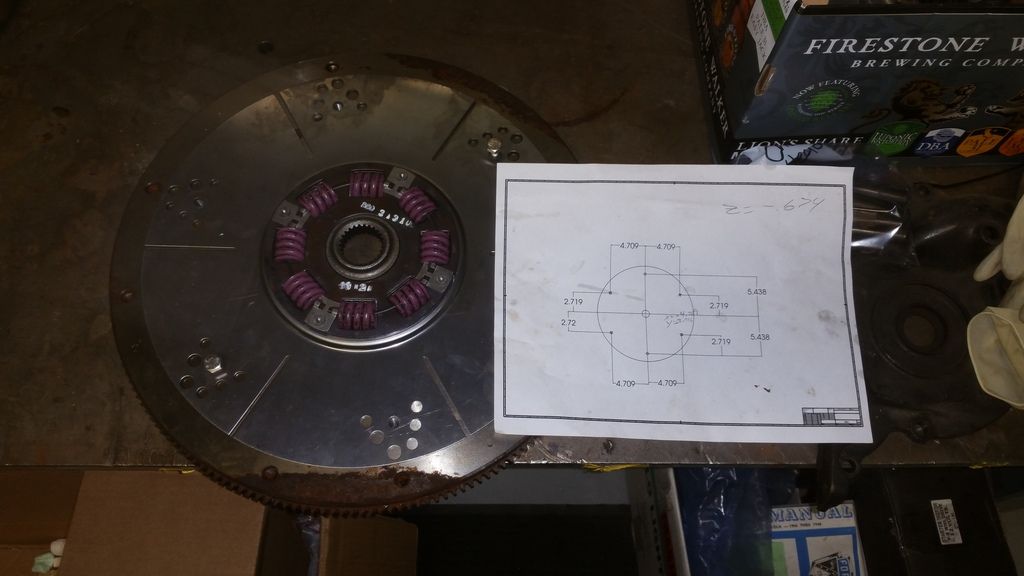
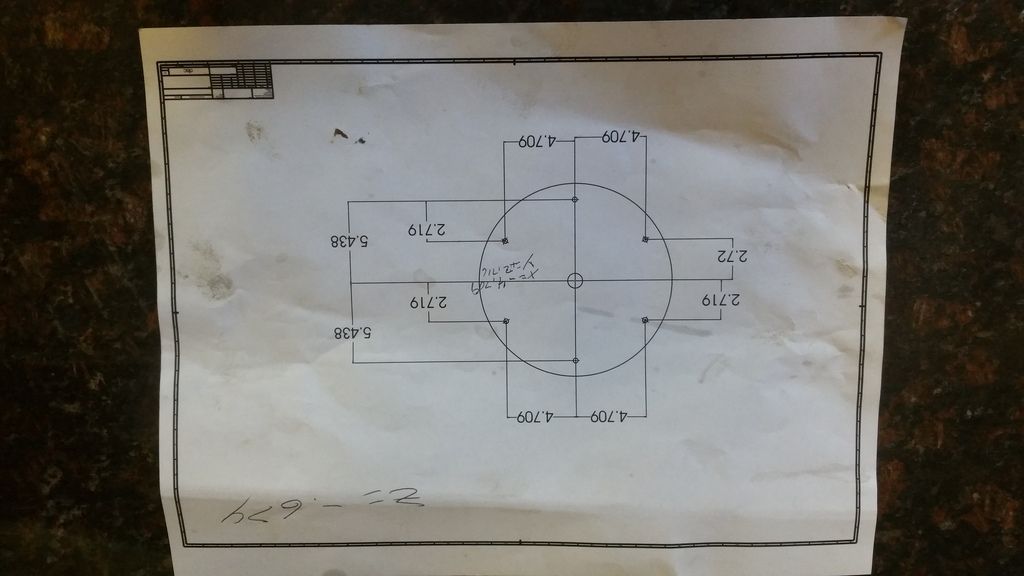
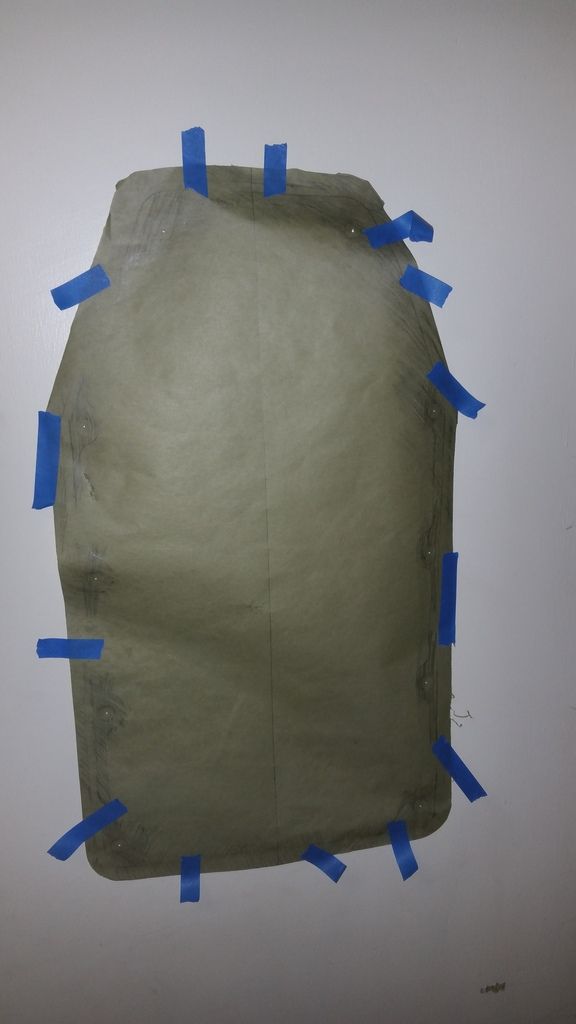
To make sure the box is centered I made a paper template of the exact box and marked the centers of all the holes. Then I center punched the stud holes and prepped to drill.
I made a jig to drill the holes perfectly square to the transom, all worked out great.


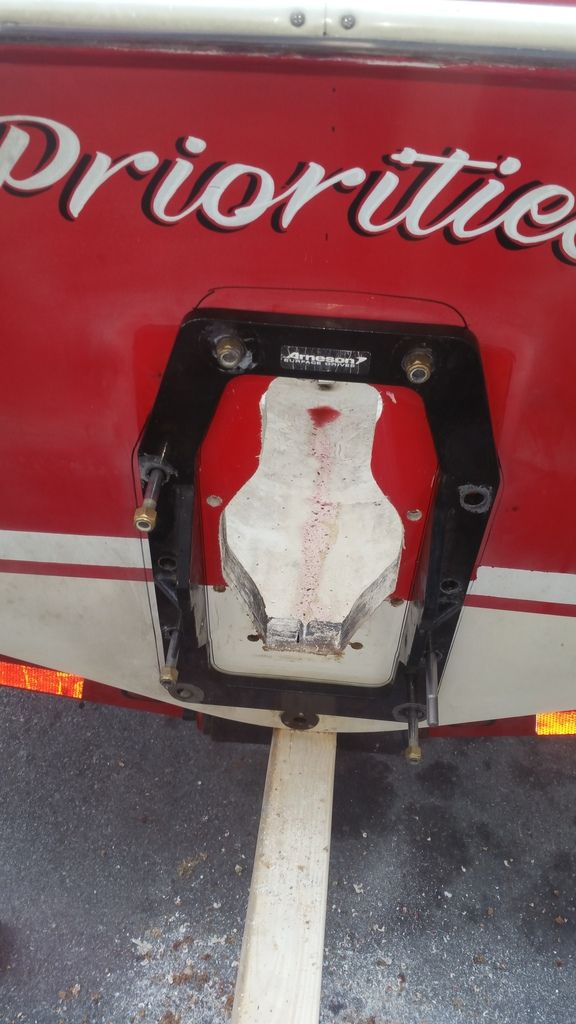
I used the inner motor mount for a template of what I will probably need to cut out for the transmission to fit.
I made a jig to drill the holes perfectly square to the transom, all worked out great.
I used the inner motor mount for a template of what I will probably need to cut out for the transmission to fit.
03-31-2017, 11:46 PM
#5
Registered
Thread Starter
Join Date: Mar 2015
Posts: 36
Likes: 0
Received 0 Likes
on
0 Posts
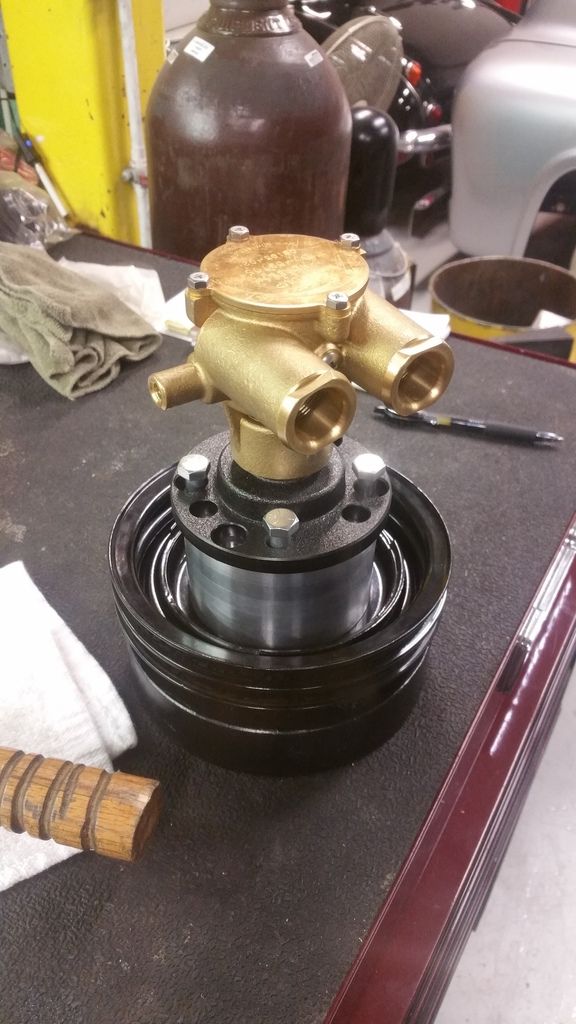
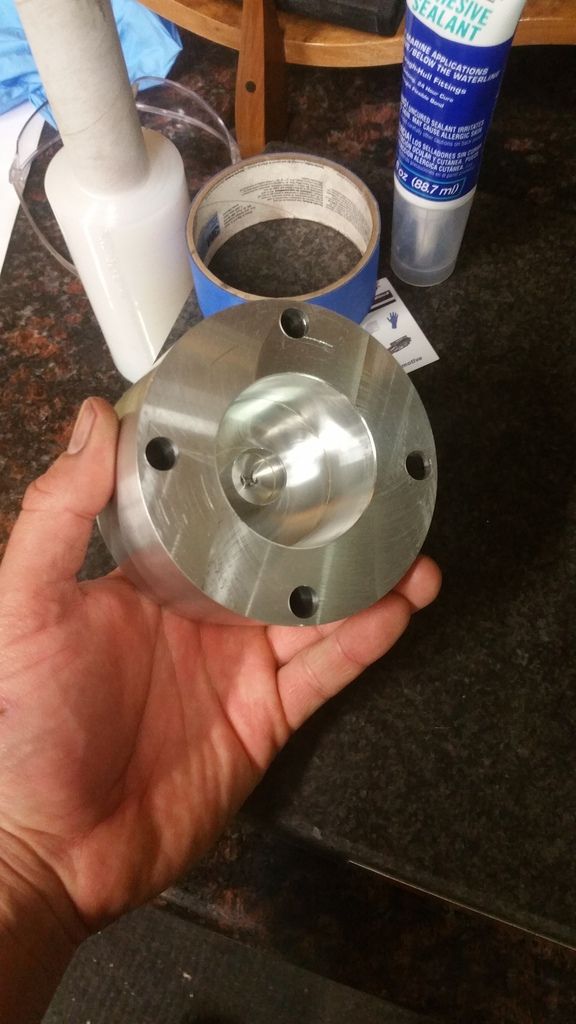
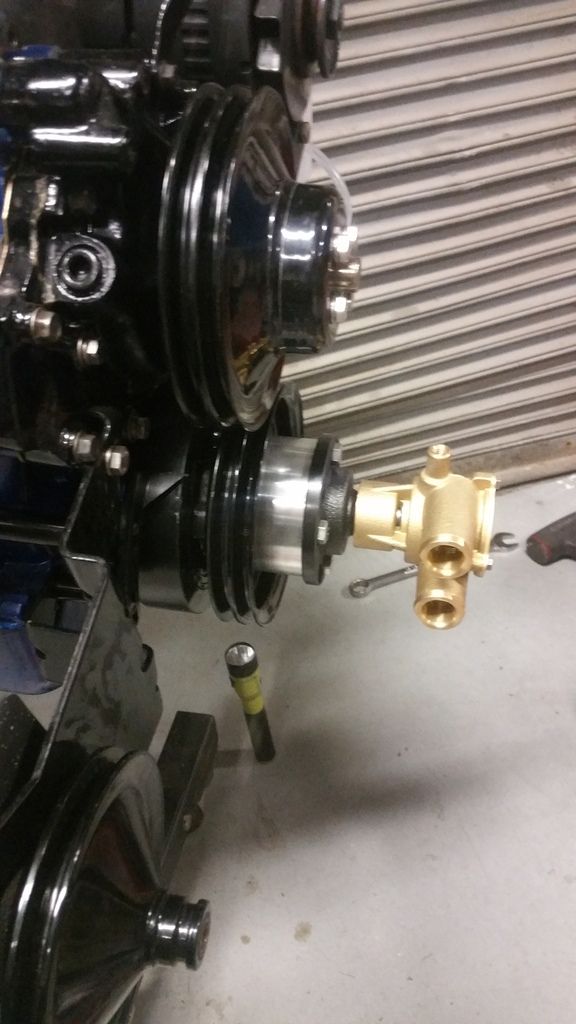
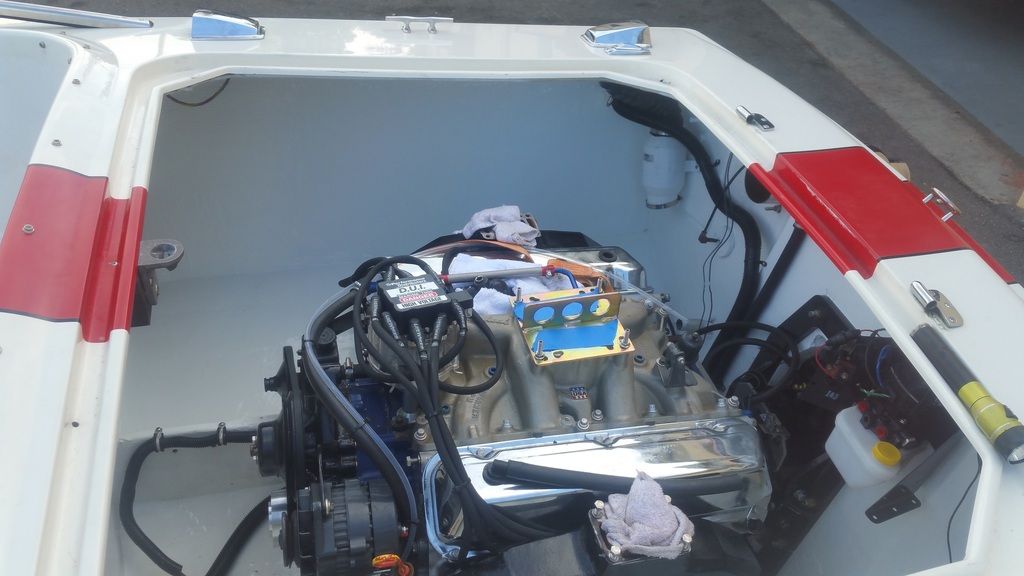
Next I needed to move to a crank mounted water pump because the original was mounted in the drive. Being a 460 I didn't have a lot of options so I made everything that I needed.

 03-31-2017, 11:53 PM
#8
Registered
Thread Starter
Join Date: Mar 2015
Posts: 36
Likes: 0
Received 0 Likes
on
0 Posts
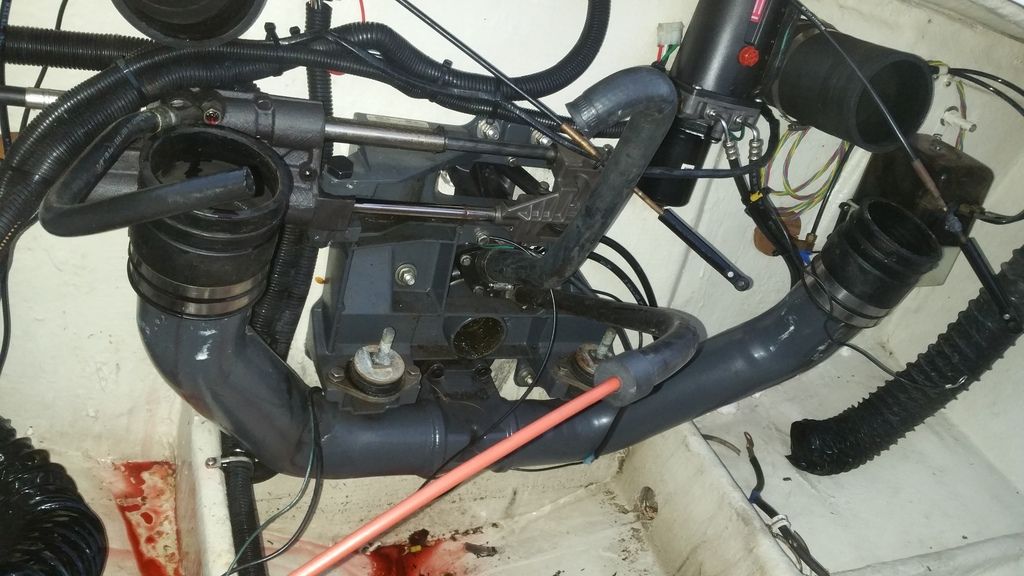
Next I wanted an original equipment look for the dash and other stuff so I fabricated a piece to hold the Char-Lynn behind the original steering mount. It looks factory, and I'm happy.
03-31-2017, 11:56 PM
#9
Registered
Thread Starter
Join Date: Mar 2015
Posts: 36
Likes: 0
Received 0 Likes
on
0 Posts
03-31-2017, 11:58 PM
#10
Registered
Thread Starter
Join Date: Mar 2015
Posts: 36
Likes: 0
Received 0 Likes
on
0 Posts

