

Need a new depth finder.

 05-01-2021, 10:09 PM
#12
Registered
Thread Starter
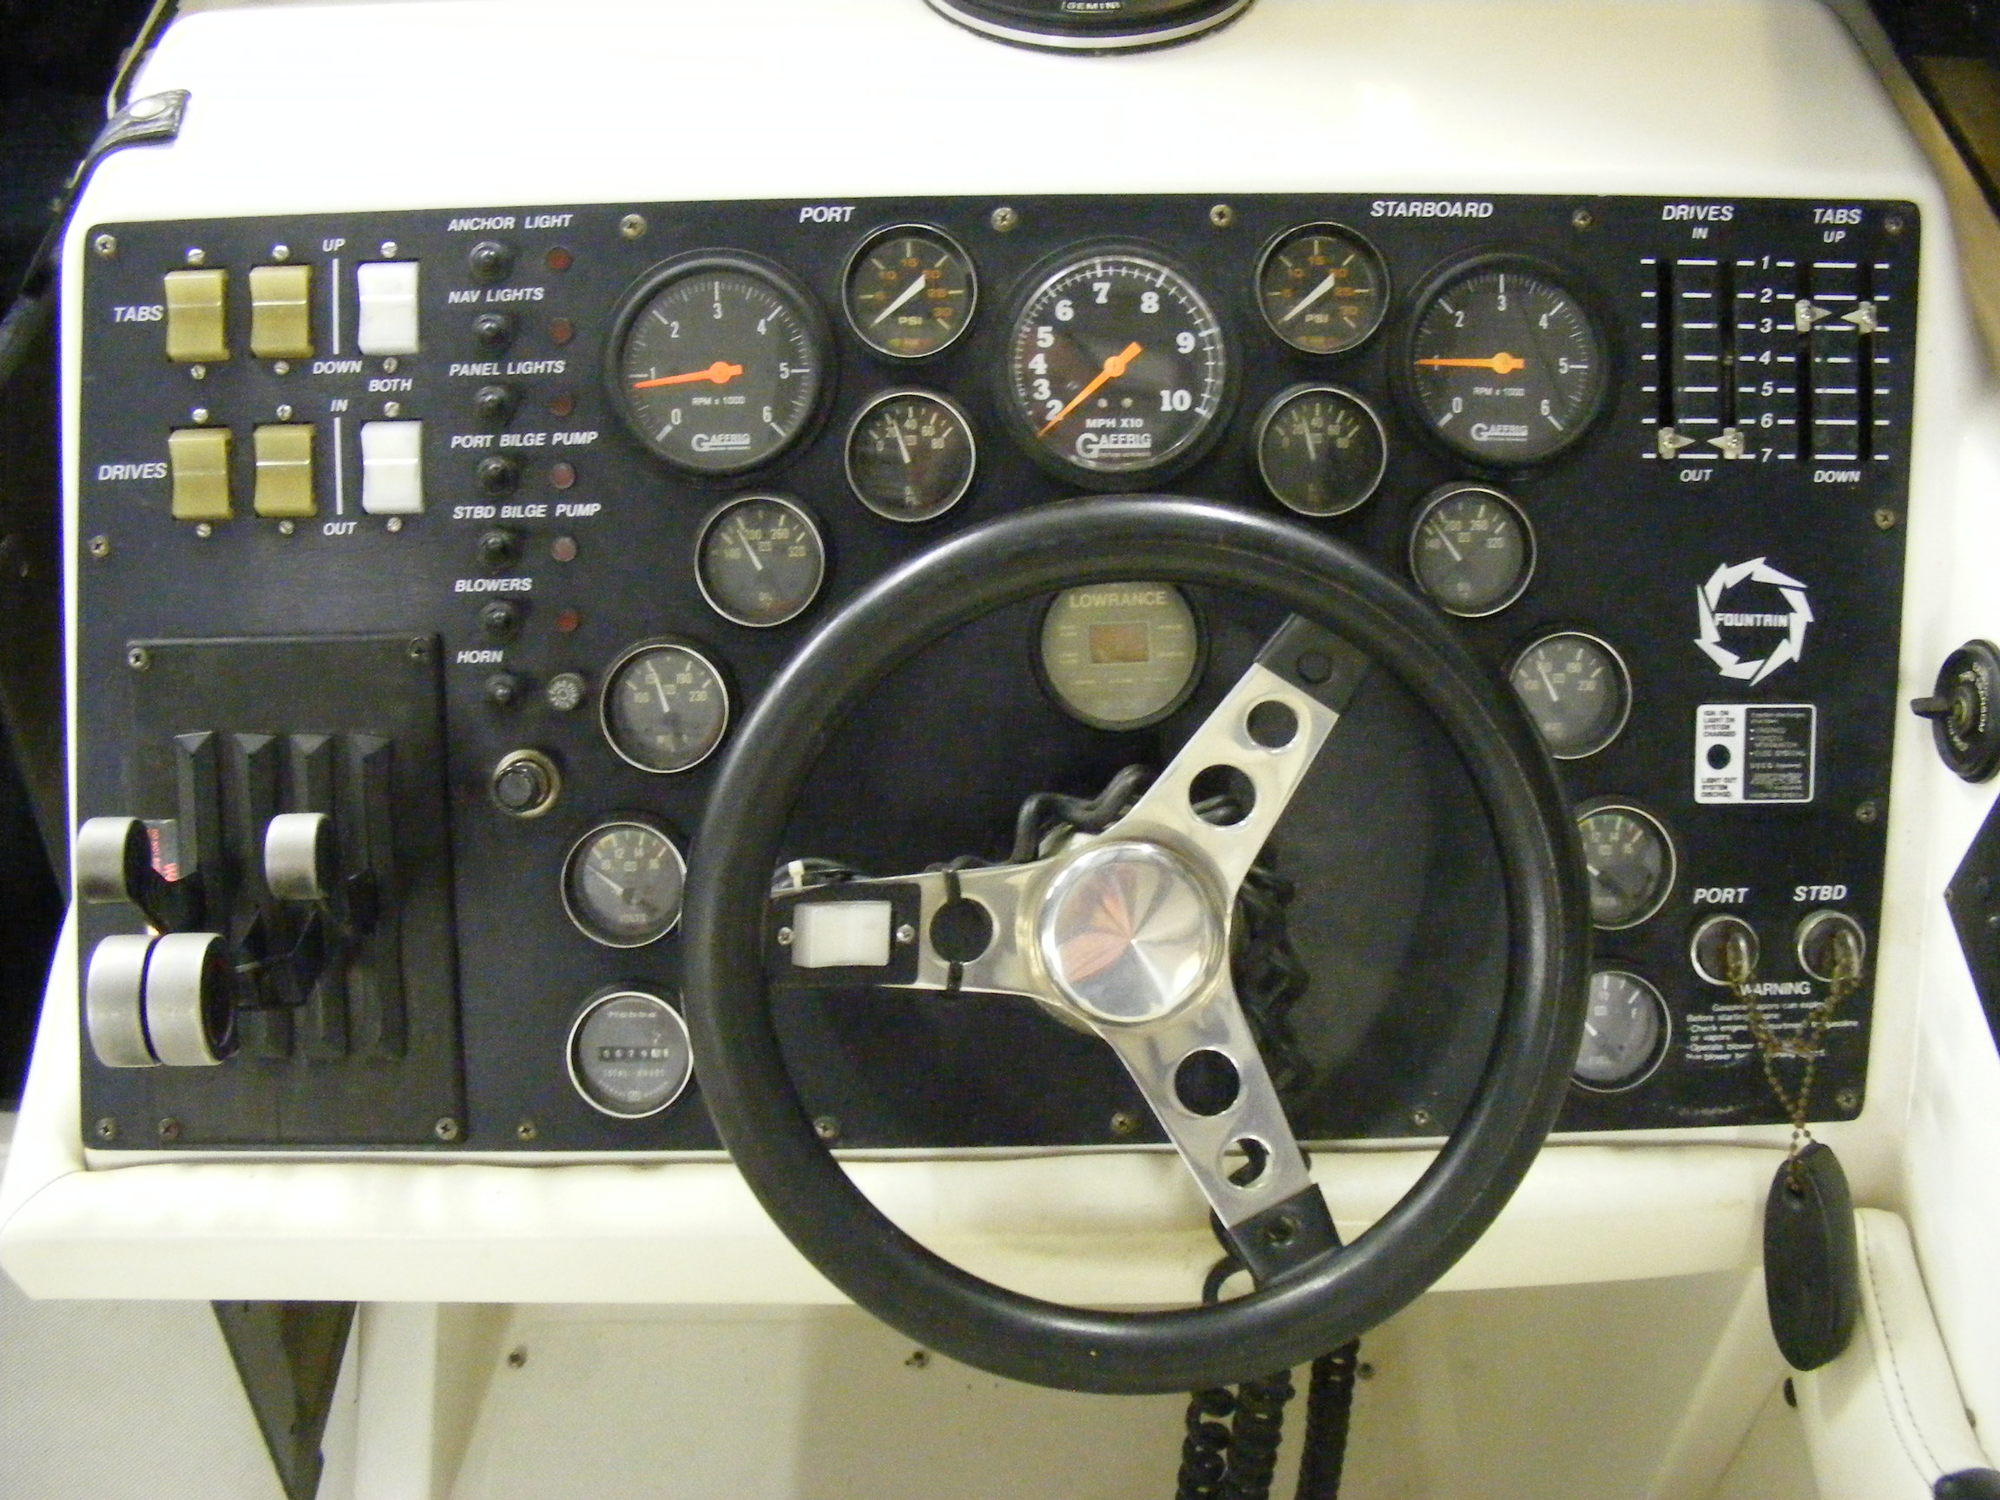
Depth gauge is behind steering wheel just under speedo.
05-03-2021, 04:07 PM
#13
Registered
This looks like a good option for the price. You might have to make a trim ring or gut your old one and put this one inside the old one. Could also glue on a backer plate behind dash , drill it to 2 inches and flush mount.
Chris
Chris
05-03-2021, 05:40 PM
#14
Registered
Thread Starter
I was looking at that one (2" Hawkeye). Would need adapter/washer, etc Good reviews but it doesn't sound like it works well with an "in-hull" sensor.
Hummingbird HDR650= For 2" hole. Outer bezel ring of gauge is 2.4" across. Hole I need to fill is 2.5". Would need adapter/washer. Comes with transom mount transducer that some say can be glued inside hull.
Faria= For 2" hole. Would need adapter/washer, etc. Comes with a in-hull sensor and mount that uses RV antifreeze. Decent reviews. Red backlighting is a plus for me. It's currently leading the pack for 2" instruments.
Still trying to avoid a 2" gauge if possible.
Gutting the old one might be an option. I did something very similar with my anchor light socket that had an odd sized hole in hull..
Toy'ed with idea us using a GPS/fish finder for depth display and fill old depth gauge hole with something else like maybe a eng sync_meter. Most fish finders need a sensor in the water to work well.
BTW, discovered there's a LOT of misconception on the net about "thru-hull" sensors. Some believe a "shoots thru the hull" sensor is the same as a "thru-hull" sensor, which they are not. Some amazon/ebay sellers/reviewers apparently don't know the difference either..
"In-hull" sensor= glues inside boat, shoots thru the hull, not in direct contact with the water. Needs to be secured level and have no air/wood between it and water. Fiberglass ok. Transducers made for in-hull mount are supposed to be "optimized" to read return signals thru hull. Needs level topped resin bed to glue sensor to OR use a tube filled with liquid that's glued to bottom of bilge.
"Thru-hull" sensor= Works great. Have to drill a large hole in bottom of boat, mount sensor (hope it doesn't leak), in contact with water. Unclear how much deadrise it can work with. 10 degs max?? Saw another sensor that was angled and supposed to work up to 20 degs deadrise. Think I'm at 24 degs.
While I'm at it: "Transom mount" sensor= Hangs off outside of transom, Works great, looks like crap on a go fast, removes itself above 70 mph. May cause water leak/rot in transom.
05-08-2021, 09:33 PM
#15
Registered
Thread Starter
Gave up on a larger guage and ordered the 2" Faria with the in-hull transducer and the special pipe thingy that glues to bottom of bilge. In regards to gauge mounting, found a 2.5" X 2" PVC pipe reducer that might just work with a little massaging and some flat black paint.
Last edited by zz28zz; 05-08-2021 at 09:37 PM.
06-15-2021, 01:27 PM
#16
Registered
Thread Starter
Gave up looking for pvc bushing and went home brew. Looked thru my cabinet and found a plastic top from a spray can that had an ID of 2.5". Mixed up a runny batch of resin/filler and poured it in the cap. Next day drilled a 2" hole down the center and removed plastic cap from outside.. Gauge fits perfect in the home brew "bushing"and bushing fits nice in dash. Glassed in the " bushing" into the dash so it was flush with outside.
Used outonsafari's hole saw idea. Got to the.metal store abt 1/2 hr before closing Fri. Metal cutting guy had already went home. Picked up a small sheet of 22ga stainless and made a
trim ring with that. Painted it flat black to match its surroundings.
If I was doing it again, I wouldn't have made the bushing soo deep. Transducer wire connector latch is on the side of gauge and actually sticks out a bit. Had to cut out a chunk of the bushing to clear the connector latch. Lesson is to mock up the gauge/ bushing with Transducer wire connected next time.
Went on test drive Sunday. Very happy with the Faria's performance. Seemed to work well up to at least 50mph. Didn't look at it above those speeds.
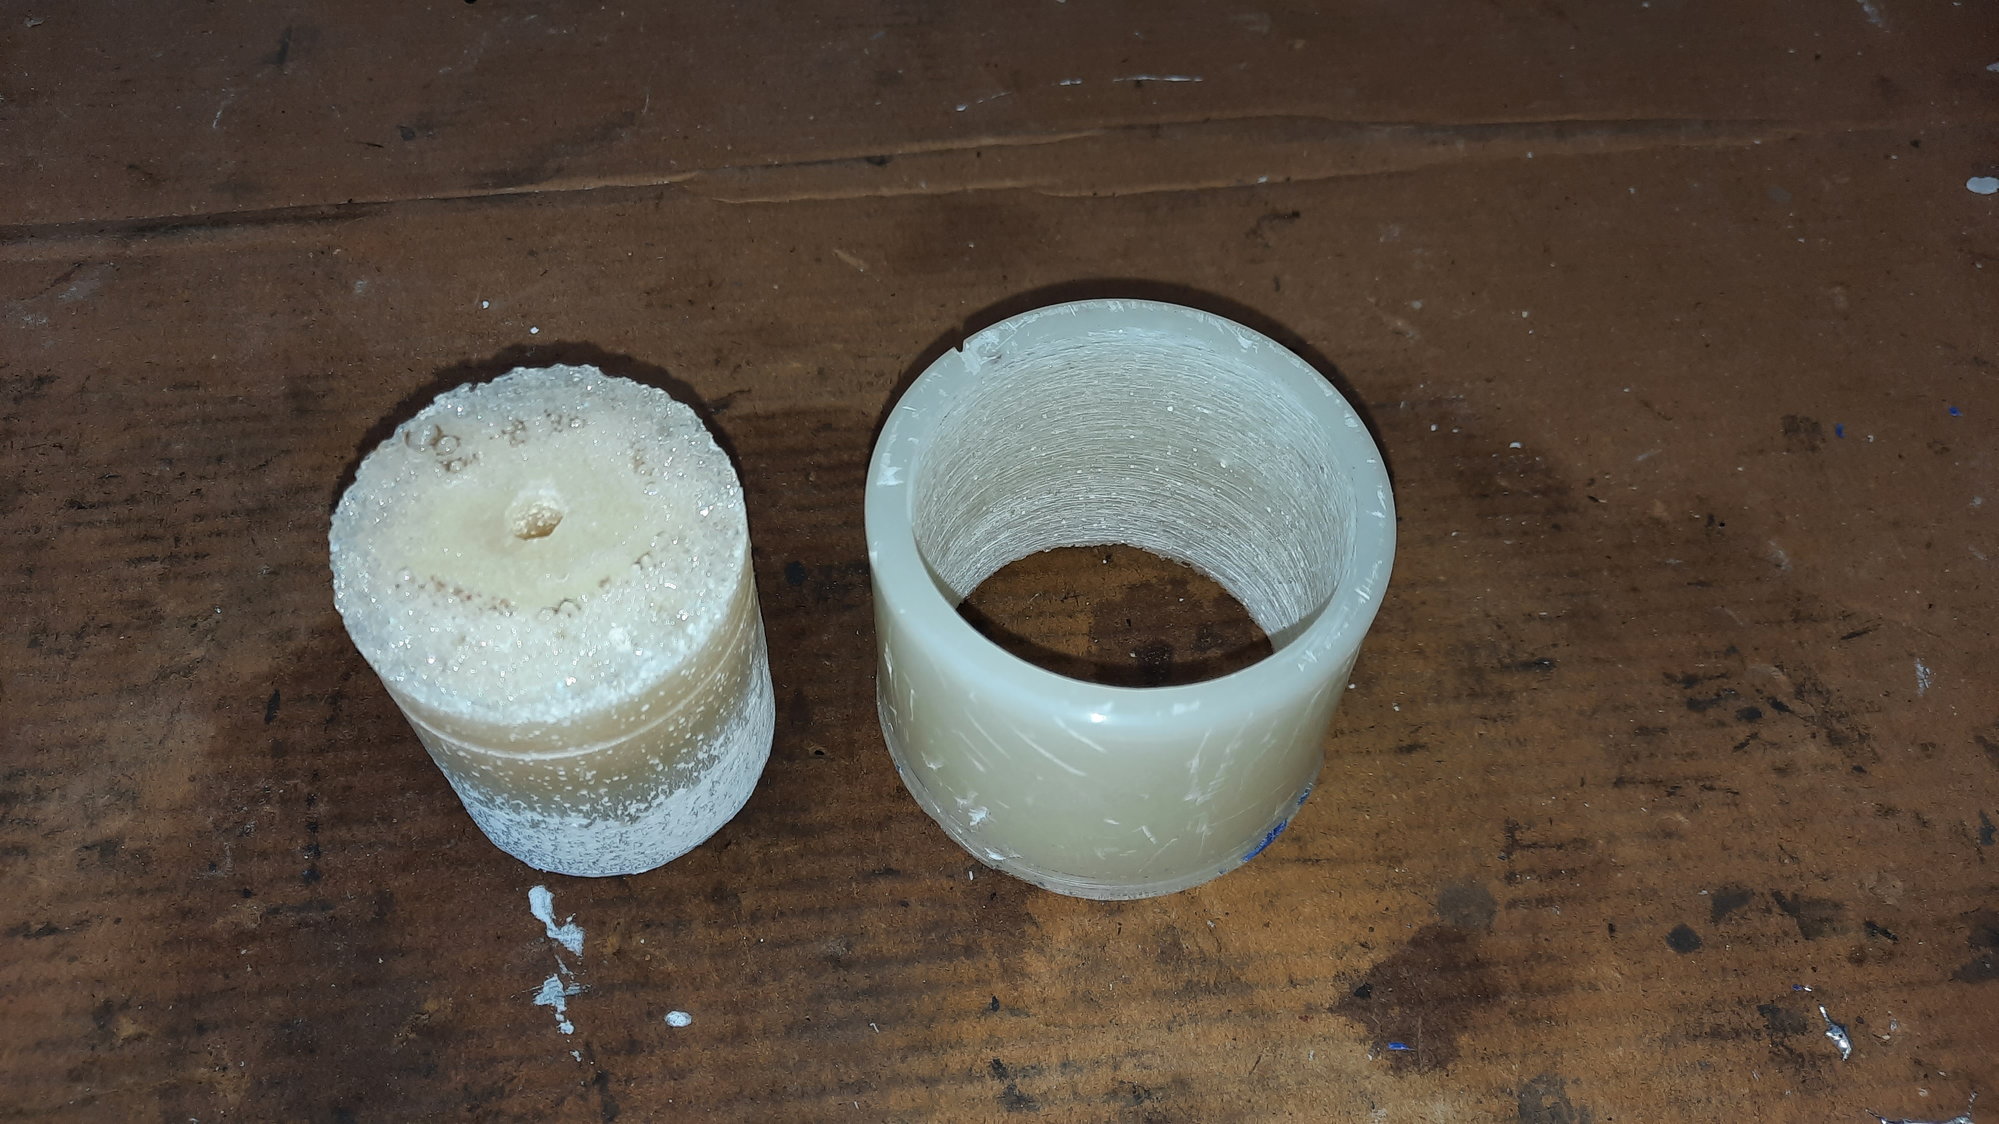
Home brew bushing.
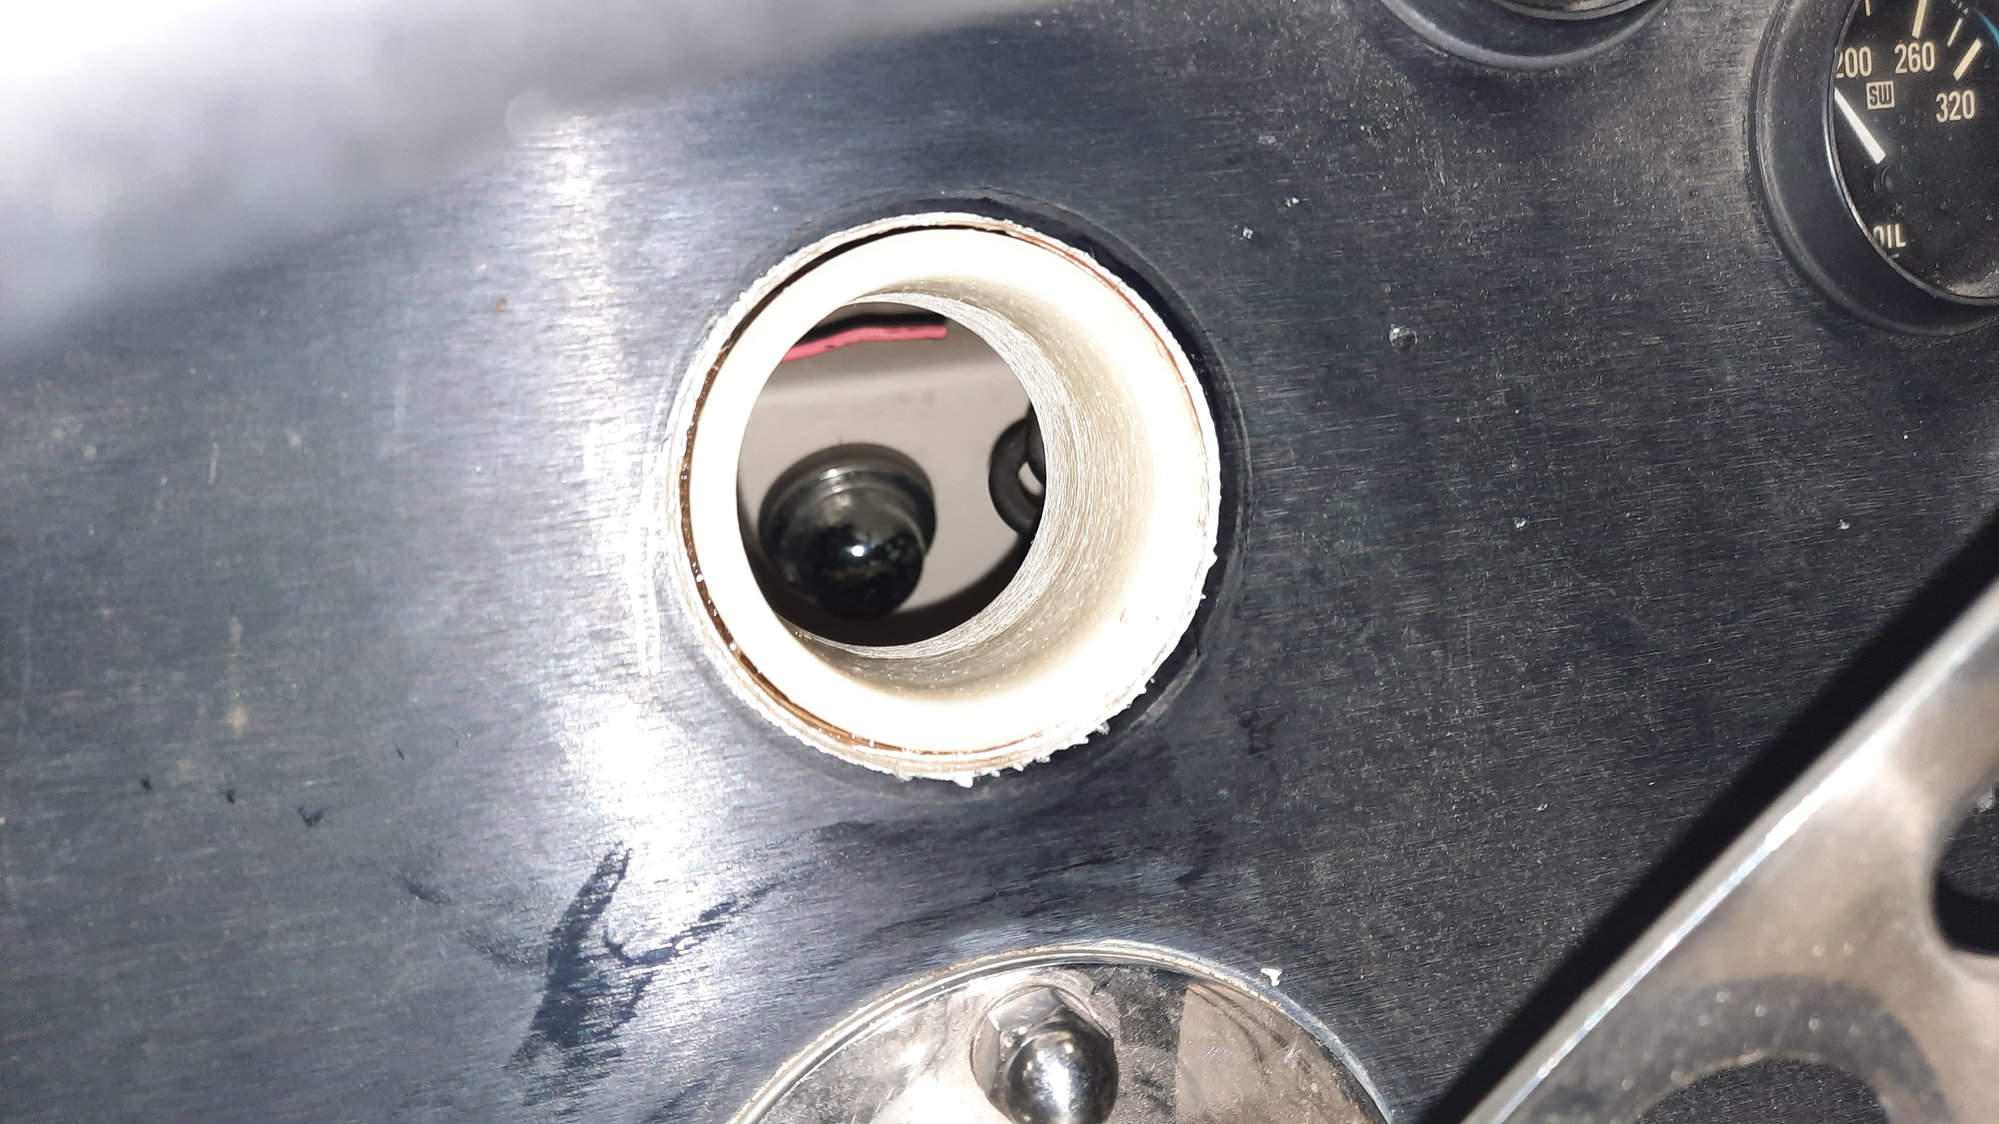
Bushing resin'ed in.
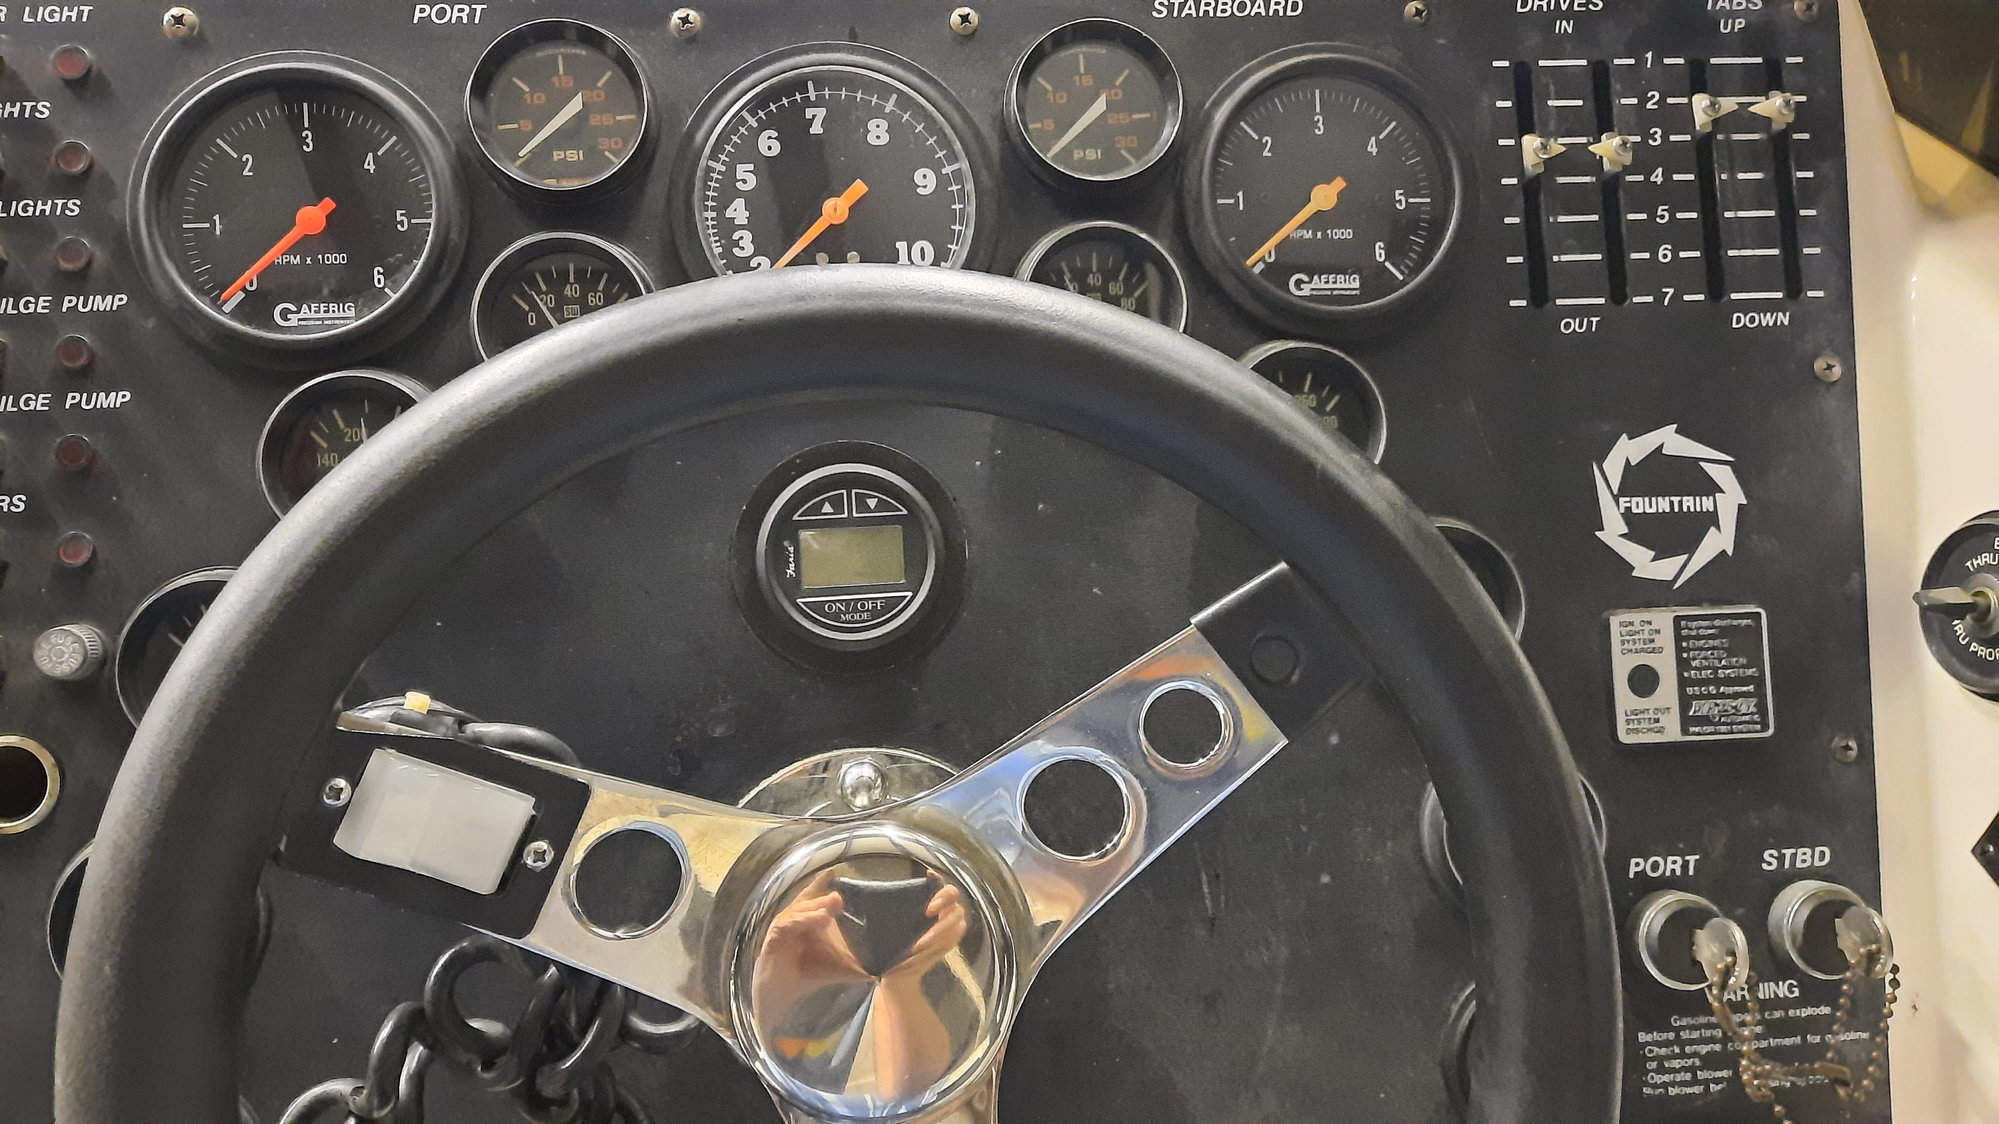
Guage installed.
Used outonsafari's hole saw idea. Got to the.metal store abt 1/2 hr before closing Fri. Metal cutting guy had already went home. Picked up a small sheet of 22ga stainless and made a
trim ring with that. Painted it flat black to match its surroundings.
If I was doing it again, I wouldn't have made the bushing soo deep. Transducer wire connector latch is on the side of gauge and actually sticks out a bit. Had to cut out a chunk of the bushing to clear the connector latch. Lesson is to mock up the gauge/ bushing with Transducer wire connected next time.
Went on test drive Sunday. Very happy with the Faria's performance. Seemed to work well up to at least 50mph. Didn't look at it above those speeds.
Home brew bushing.
Bushing resin'ed in.
Guage installed.
The following 2 users liked this post by zz28zz:
AmiableDave (06-15-2021), Padraig (06-15-2021)
06-16-2021, 07:32 AM
#17
Registered
Genious idea with the paint cap, nice job
06-16-2021, 12:29 PM
#18
Registered
Thread Starter
I think the cap was from a can of spray carpet cleaner. I measured numerous ones trying to find one just the right size. For an added bonus, cap also had a dimple in the center which helped center the pilot bit of the 2" hole saw.
Thx again for hole saw idea for the trim ring. I'll be using that idea over and over again I'm sure.
Thx again for hole saw idea for the trim ring. I'll be using that idea over and over again I'm sure.
06-16-2021, 01:18 PM
#20
Registered
On my old 95' 32' (same 2-1/2" old Lowrance depth finder opening) I went to Home Depot and found a large metal washer that would cover the 2-1/2 hole and had a 2" ID for the new gauge. I painted it black to match the dash and installed the new depth finder. The hardware that came with it worked I did not use a filler plug or anything I just cranked it down real tight once the gauge was centered in the hole. I later installed a 7" Garmin up on top of the dash (MUCH better) and removed the 2" depth finder and replaced it with an Innovate dual channel 2" AFR gauge. My washer and its hardware still worked.

