

Transom/Stringer Replacement
 10-08-2007, 02:17 PM
#61
Registered
Join Date: Sep 2006
Posts: 29
Likes: 0
Received 0 Likes
on
0 Posts
Will only let me use 5 images per post so here is a little background info on the previous posts
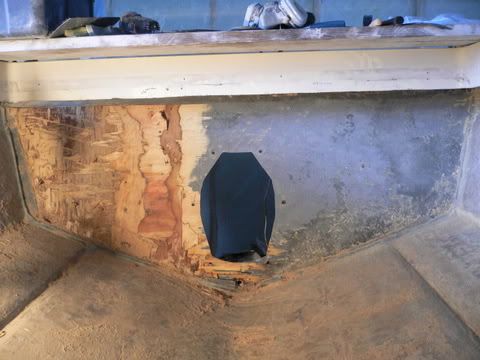
Removing the old transom. Almost finished. Notice the line of resin oround the outside of where the old transom was. This is the "gap" that is needed. Grind out the old, in with the new.
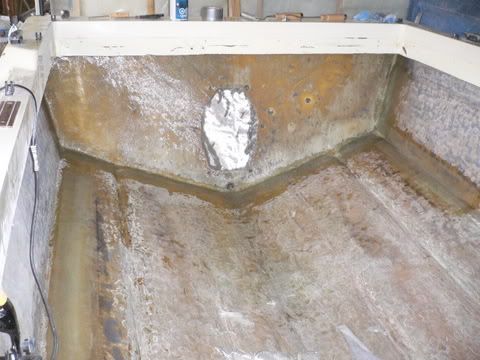
Here is the biax I used before installing the transom piece.

And wetted out with epoxy
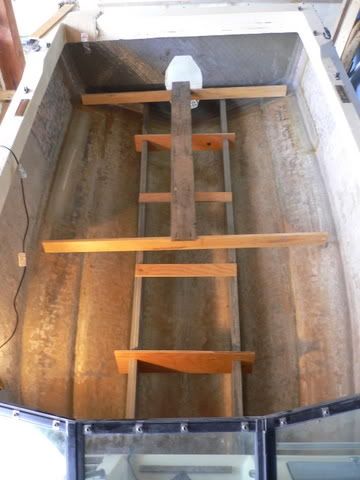
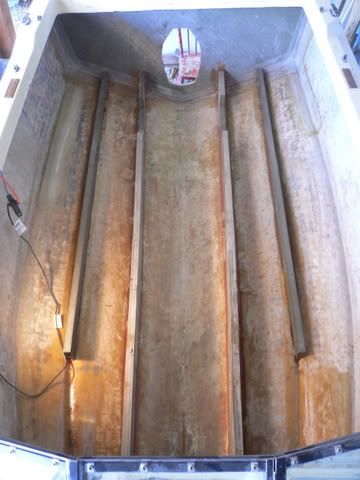
I used what was left of the centre two stringers, some string, braces and cross members to "recreate" the bottom of the old floor level.
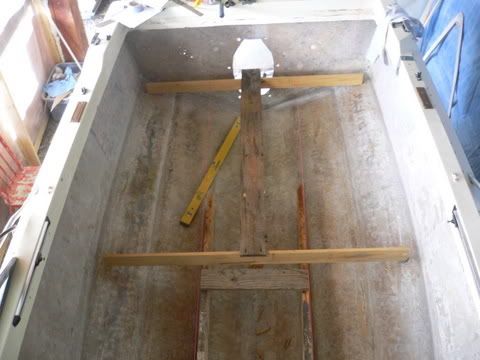
The level is the underside of the 1x4s and the pink string. I then marked the hull with a permanent marker once I was satisfied.
Removing the old transom. Almost finished. Notice the line of resin oround the outside of where the old transom was. This is the "gap" that is needed. Grind out the old, in with the new.
Here is the biax I used before installing the transom piece.
And wetted out with epoxy
I used what was left of the centre two stringers, some string, braces and cross members to "recreate" the bottom of the old floor level.
The level is the underside of the 1x4s and the pink string. I then marked the hull with a permanent marker once I was satisfied.
Last edited by mtnrat; 10-08-2007 at 02:23 PM.
 10-08-2007, 02:57 PM
#62
Registered
Join Date: Sep 2006
Posts: 29
Likes: 0
Received 0 Likes
on
0 Posts
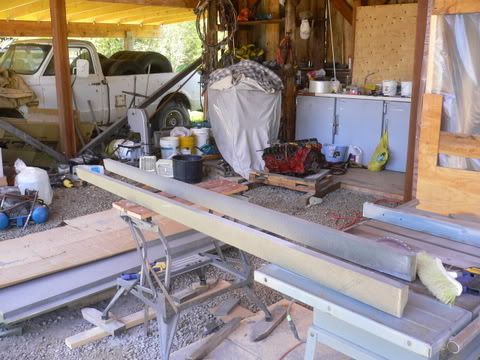
Laminated stringers with 3/4" coosa bluewater 26.
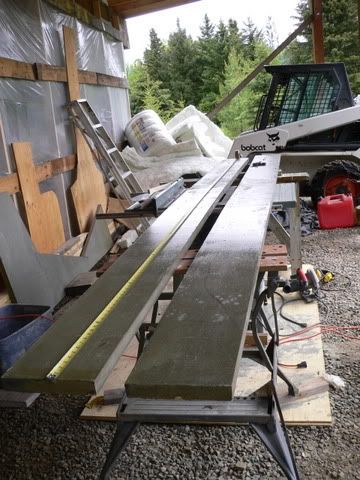
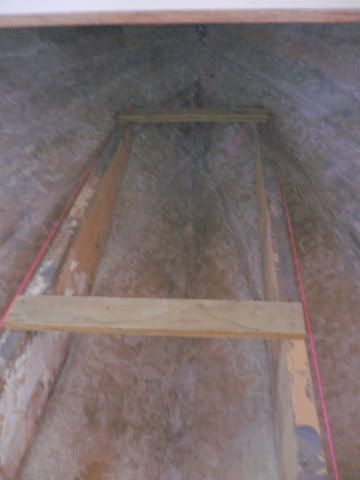
Measurements from under the pink string and transferring them to stringers
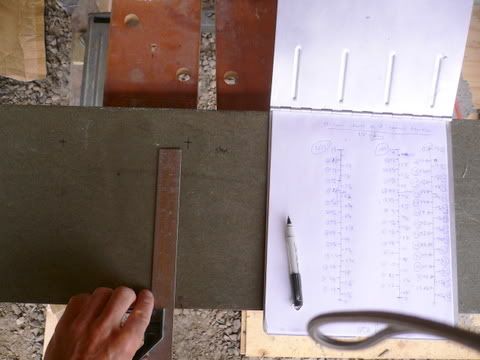
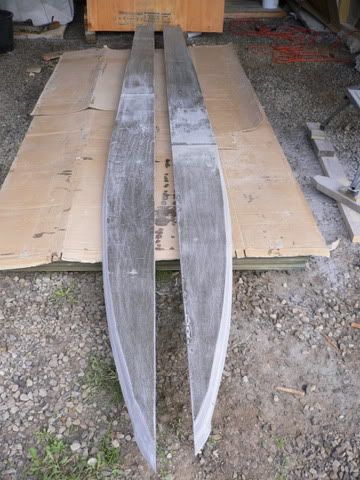
Cut stringers that had to be put in place and trimmed to fit. Much trial and error fitting.
Made some bracing to hold the spacing between the stringers properly.
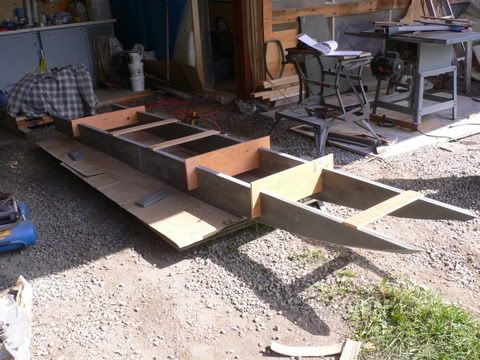
In place and checked with jig.
Measurements from under the pink string and transferring them to stringers
Cut stringers that had to be put in place and trimmed to fit. Much trial and error fitting.
Made some bracing to hold the spacing between the stringers properly.
In place and checked with jig.
10-08-2007, 03:03 PM
#63
Registered
Join Date: Sep 2006
Posts: 29
Likes: 0
Received 0 Likes
on
0 Posts
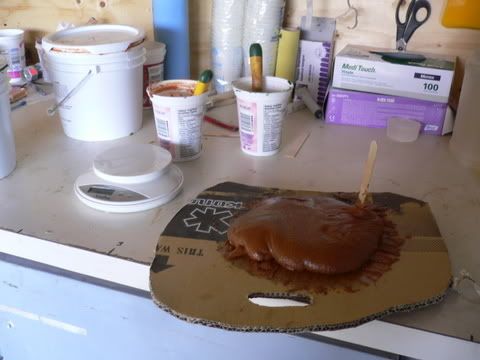
Epoxy and wood flour to glue the stringers down. I also used some silvertip ezfillit but it gets expensive fast, but it did show me the proper consistency to get the mixture to.
Glued down
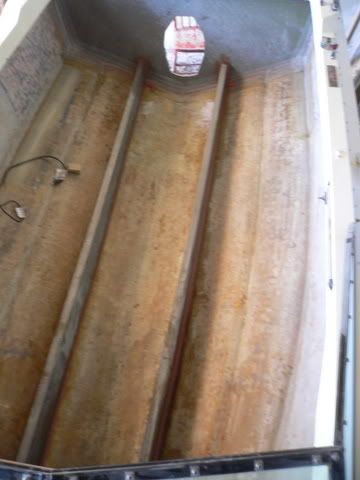
Smaller second set of stringers.
Glued down in place.
I used a straight edge to get the stringers level, using the marks I had made with the jig that delineated the bottom of the floor. I let the first two cure before installing the second two.
Glued down
Smaller second set of stringers.
Glued down in place.
I used a straight edge to get the stringers level, using the marks I had made with the jig that delineated the bottom of the floor. I let the first two cure before installing the second two.
Last edited by mtnrat; 10-08-2007 at 03:07 PM.
10-22-2007, 08:41 PM
#66
Registered

All i can say is that i painted the transom,mounted the bracket,the motas are goin on this week and the riggin done correctly by Marine 2000,and the rest is up 2 me!!! tripps


