Hole removal
#21
Registered
Thread Starter
Pulled the gorilla tape from outside and discovered lots of air bubbles in the cured resin. Drilled it back out and tried again. 2nd attempt had a small void visible on both of the 1/2" holes. Ground it out with a Dremel bit to see how deep it was. Went abt 1/8" deep to verify I was at the bottom of void. Wasn't sure if gelcoat would fill the void or if I needed to mix up a small batch of resin/filler. Went with just the gelcoat and that seems to have worked.
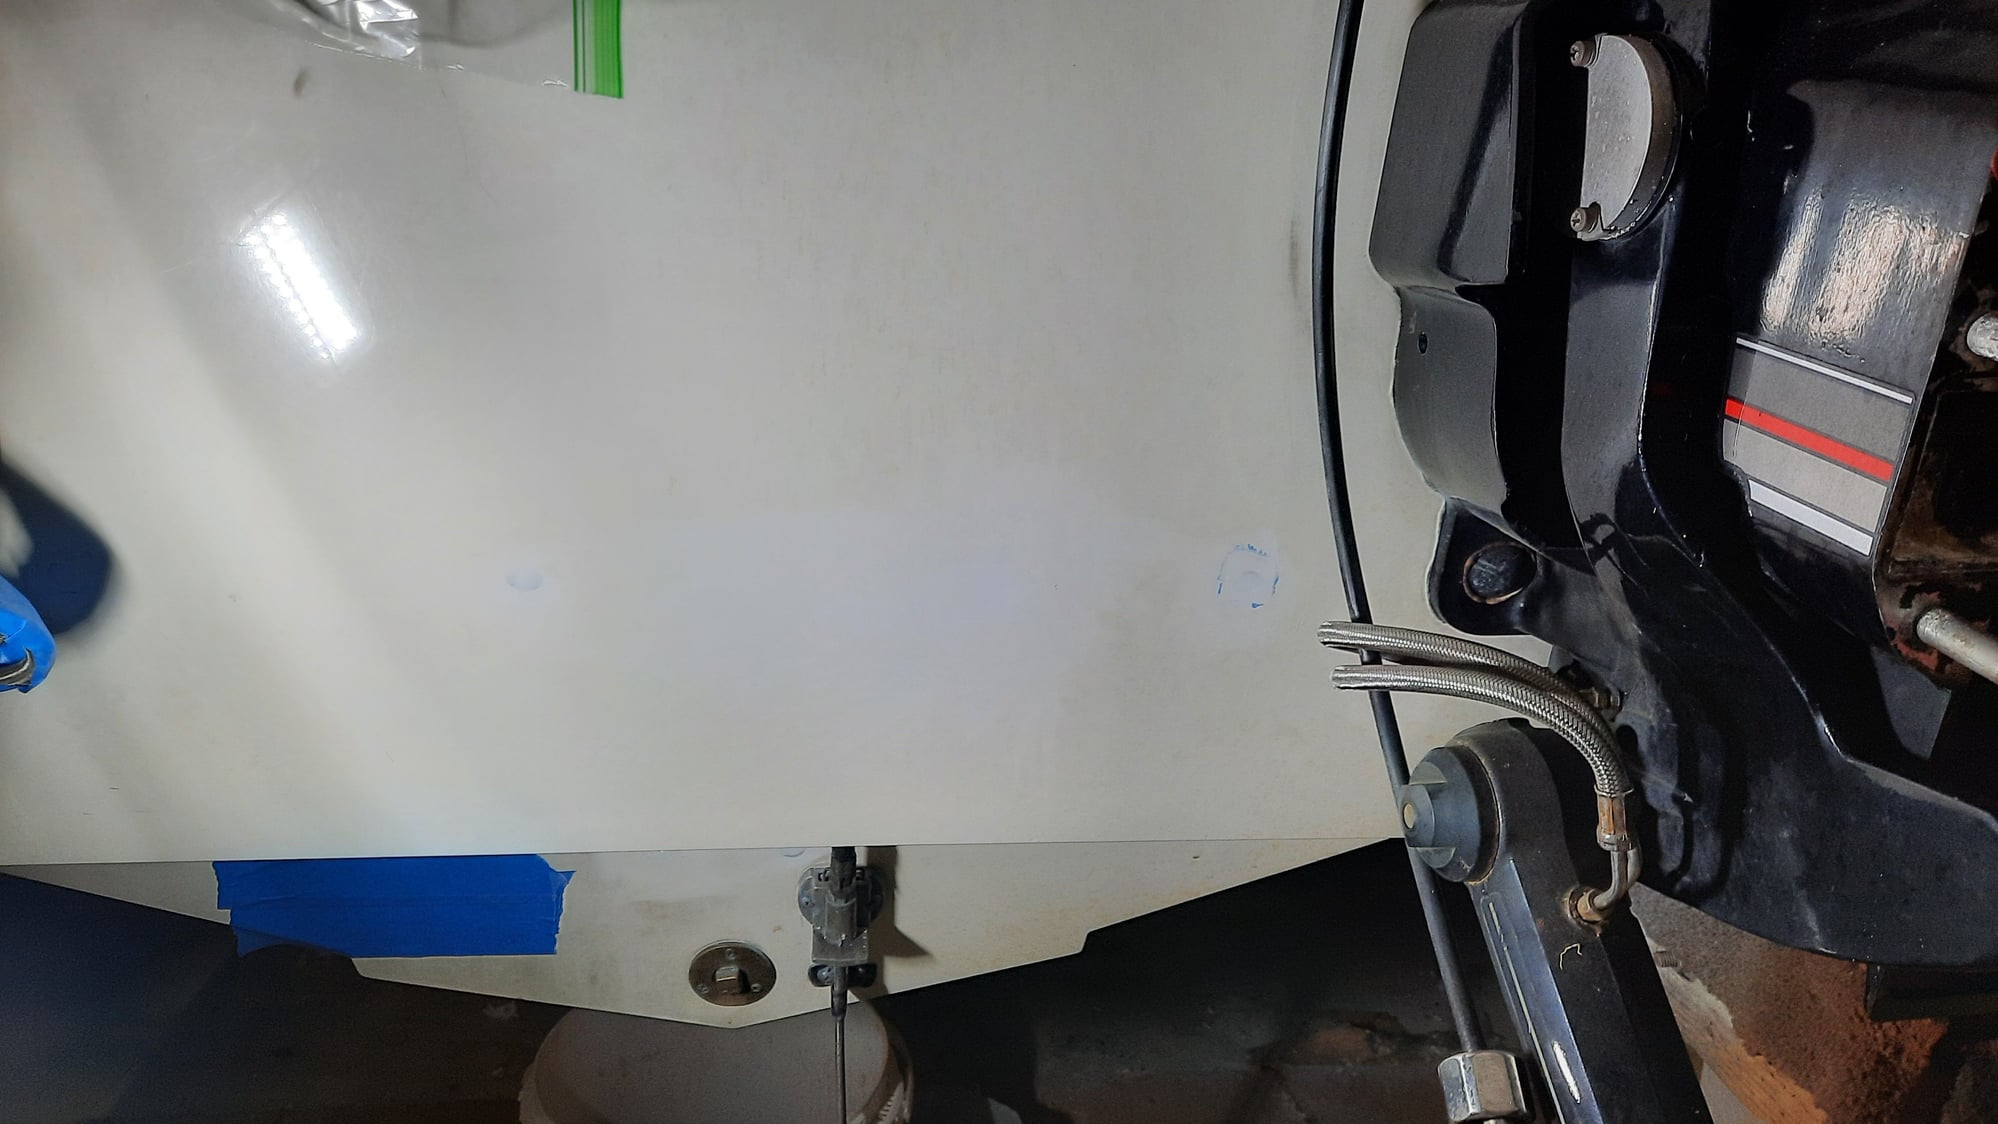
However, the outline of all the holes I attempted repair are visible thru the gelcoat. Thinking I need more taper in the existing gelcoat surrounding hole.
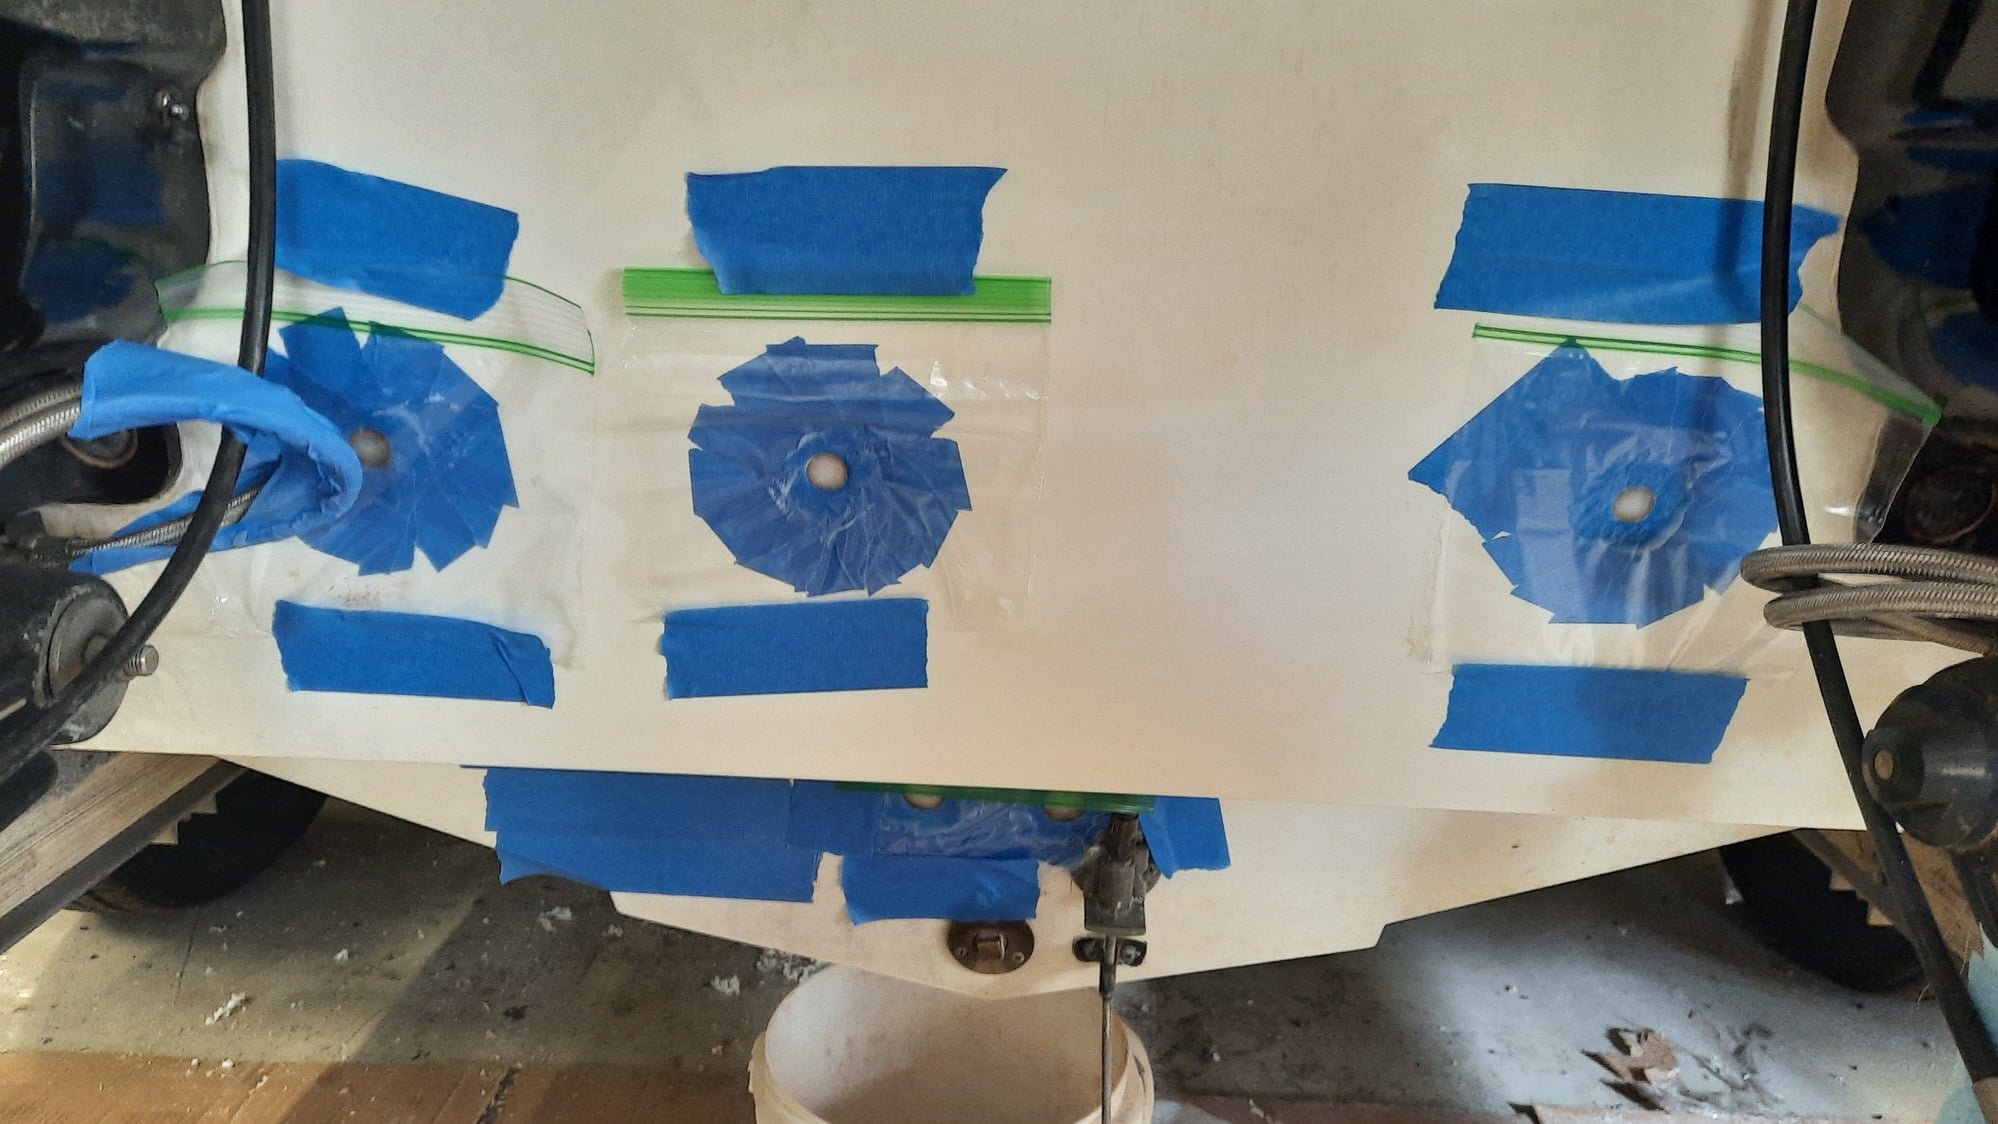
Only thing I had handy was a tapered stone that chucks up into a drill. That gave some taper the the surrounding gelcoat but made hole too deep to fill with gelcoat alone. Mixed a peanut butter batch of resin/filler and used a sandwich baggie to place over hole so I could see how much resin I had in the hole. Filled to abt .020" below the surface. Hopefully this will give me the right thickness of gelcoat and blend in a little better. We'll see..
#22
Registered
Thread Starter
Got the gelcoat dry sanded and then wet sanded to 400 grit. Can't see the hole any longer and still have 3 finer grits of wet sanding left to do. Feeling good abt the strategy so prepping the remaing holes the same way. Getting a smooth taper in the surrounding gelcoat has been fairly labor intensive since I don't have any kind of power tool bit that will give me the desired taper. Had to use skinny strips of 80 grit paper to form the surrounding gelcoat into a funnel shape. Then used 180 grit emery cloth to smooth the tapered area in the gelcoat. 5 more holes to go.
#23
Registered
Thread Starter

Holes still visable on left and right sides of pic but the hole in between the 2 has disappeared. Yeah!!
The following users liked this post:
Rookie (05-24-2021)
#24
Registered

mixing cabosil into gelcoat works very good, 4 ounces of gel and 1 tablespoon of cabosil at a time until desired thickness.
it will look grainy like sand at first, but let it sit 15-20 minutes and it gets creamy.
ive thickened resin and gel then put the cups in ziplock bags overnight or up to a couple days in the fridge and they've worked fine.
i'm no body guy at all and its tough to make the outline go away, opening up the area around the outline helps but that makes the repair area bigger, that's where the thickened gel comes into play, swipe it on like filler, Again, i'm a total amatuer but it has gotten me onto the next part of the job.
Last edited by outonsafari; 05-25-2021 at 07:01 AM.
#25
Registered
Thread Starter
Wow. This is the first I've heard abt using cabosil ( or anything else) to thicken the gelcoat. Wasn't aware it could be stored after mixing either. Sound like a good excuse for a mini- fridge in the shop. 
My gelcoat mixes last abt 15 mins before they start getting clumpy.. I've been continously applying the gelcoat until is starts to not run out ( verticle surface), then add a little more so it's definitely protruding above the surrounding gelcoat.
Read somewhere the fresh gelcoat is supposed to be covered with plastic while it drys. Not sure if that's true or not. Did it with and without and didn't seem to make any difference.
Just to follow up on my prev inquiry abt desired gelcoat thickness, the directions on the can say 20 mils (.020"). My first successful gelcoat repair measured .020 to .040" deep and looks to have worked well.
Thx for all the help guys. The light at the end is getting brighter and brighter. Here's where I'm at now.. All of my remaining repairs have been prepped and ready for gelcoat.

#26
Registered
Yep gelcoat really seems to kick off fast once its activated that's why i pre thicken the gel and resin before activating.
hard to know how much thick gel or resin is needed so i just mix in small batches or mix 16 ounces and break that batch up into 4 oz so there is consistency, whatever doesn't get used that day goes in the fridge.
Thickened gel is great on the vertical. Gel can be covered with plastic but there are additives that work better, they only need to be on the topcoat, hence small batches.
it's hard to not see any gel touch up unless your a pro, that's why my boat looks like a leopard, spots everywhere
#27
*
#28
Registered
That's a real nice compliment, thank you.
Truth is i can see and feel the hi and lo spots no problem (long as it's shiny) after boardsanding however, those spots are just reversed.
i have a 1/10th of the skill and none of the patience required to make things look good.
rough it right in, keep it out of direct sunlight and from squinting distance it's beautiful.


