

Pop-up Cleat installation
 04-06-2023, 04:39 PM
#1
VIP Member
Thread Starter
Guys,
I'm getting ready to install pop-up cleats in our boat. I've never cut into a boat hull before, and I obviously don't want to screw this up. So, I'm consulting the oracles.....
I'll have to cut clearance slots after removing the static cleats. What is the best blade to use so as to ensure I won't chip the gelcoat? I've bought a jigsaw with a 360� rotating head, which can be locked at 180� (eBay.... you'd be surprised how hard these are to find), allowing for the orbital action to make for a "down cut".
Pretty sure I'll have to remove one cover snap (the swivel headed saw may relieve me of this complication), which is a Phillips head screw type. This should just screw back in, right...? Should I use any kind of adhesive when reinstalling?
I am planning to seal the wood, newly exposed from cutting the clearance slot, with West Systems epoxy. This part is a well-trodden path for me. This will take more time than removal and reinstallation combined.")
What sealant should I use when installing? I have my preferences when doing home repair/remodel work, but I don't know if there are better options for marine applications. I'm assuming silicone and thinking white. I'm open to any brand specific suggestions.
Thanks. Brad.
(937)545-8991
I'm getting ready to install pop-up cleats in our boat. I've never cut into a boat hull before, and I obviously don't want to screw this up. So, I'm consulting the oracles.....
I'll have to cut clearance slots after removing the static cleats. What is the best blade to use so as to ensure I won't chip the gelcoat? I've bought a jigsaw with a 360� rotating head, which can be locked at 180� (eBay.... you'd be surprised how hard these are to find), allowing for the orbital action to make for a "down cut".
Pretty sure I'll have to remove one cover snap (the swivel headed saw may relieve me of this complication), which is a Phillips head screw type. This should just screw back in, right...? Should I use any kind of adhesive when reinstalling?
I am planning to seal the wood, newly exposed from cutting the clearance slot, with West Systems epoxy. This part is a well-trodden path for me. This will take more time than removal and reinstallation combined.
What sealant should I use when installing? I have my preferences when doing home repair/remodel work, but I don't know if there are better options for marine applications. I'm assuming silicone and thinking white. I'm open to any brand specific suggestions.
Thanks. Brad.
(937)545-8991
 04-06-2023, 10:14 PM
#2
Registered
I wouldn’t use silicone. I’d use a poly sealant, 3M 4200 or 4000 UV. The 4000 is designed to withstand the UV from the sunlight, but the 4200 has a little stronger bond. Just don’t use 5200 unless you never want to take that off ever again. It’s permanent.
04-06-2023, 10:23 PM
#3
Registered
Oh, and use a little on the screw threads for your snap as well. Just don’t reef down too hard on any of the screws right away, you will squeeze all the sealant out. What I’ve been told is when bedding, you want to install the hardware you want to bed, with the compound around its base, then apply some to the screw threads. Then *gently* tighten the attachment screws, and leave alone until the bedding compound has had some time to set. Then fully tighten. This way you will be less likely to squeeze all your bedding compound out.
But before applying any sealant, temporarily mount your hardware and apply some painters tape a couple millimeters from the edge of your hardware. Then do the bedding above. Pull the tape off before it fully cures. The tape will save cleanup from the sealant that does squeeze out.
But before applying any sealant, temporarily mount your hardware and apply some painters tape a couple millimeters from the edge of your hardware. Then do the bedding above. Pull the tape off before it fully cures. The tape will save cleanup from the sealant that does squeeze out.
04-06-2023, 10:55 PM
#4
VIP Member
Thread Starter
Roger that.
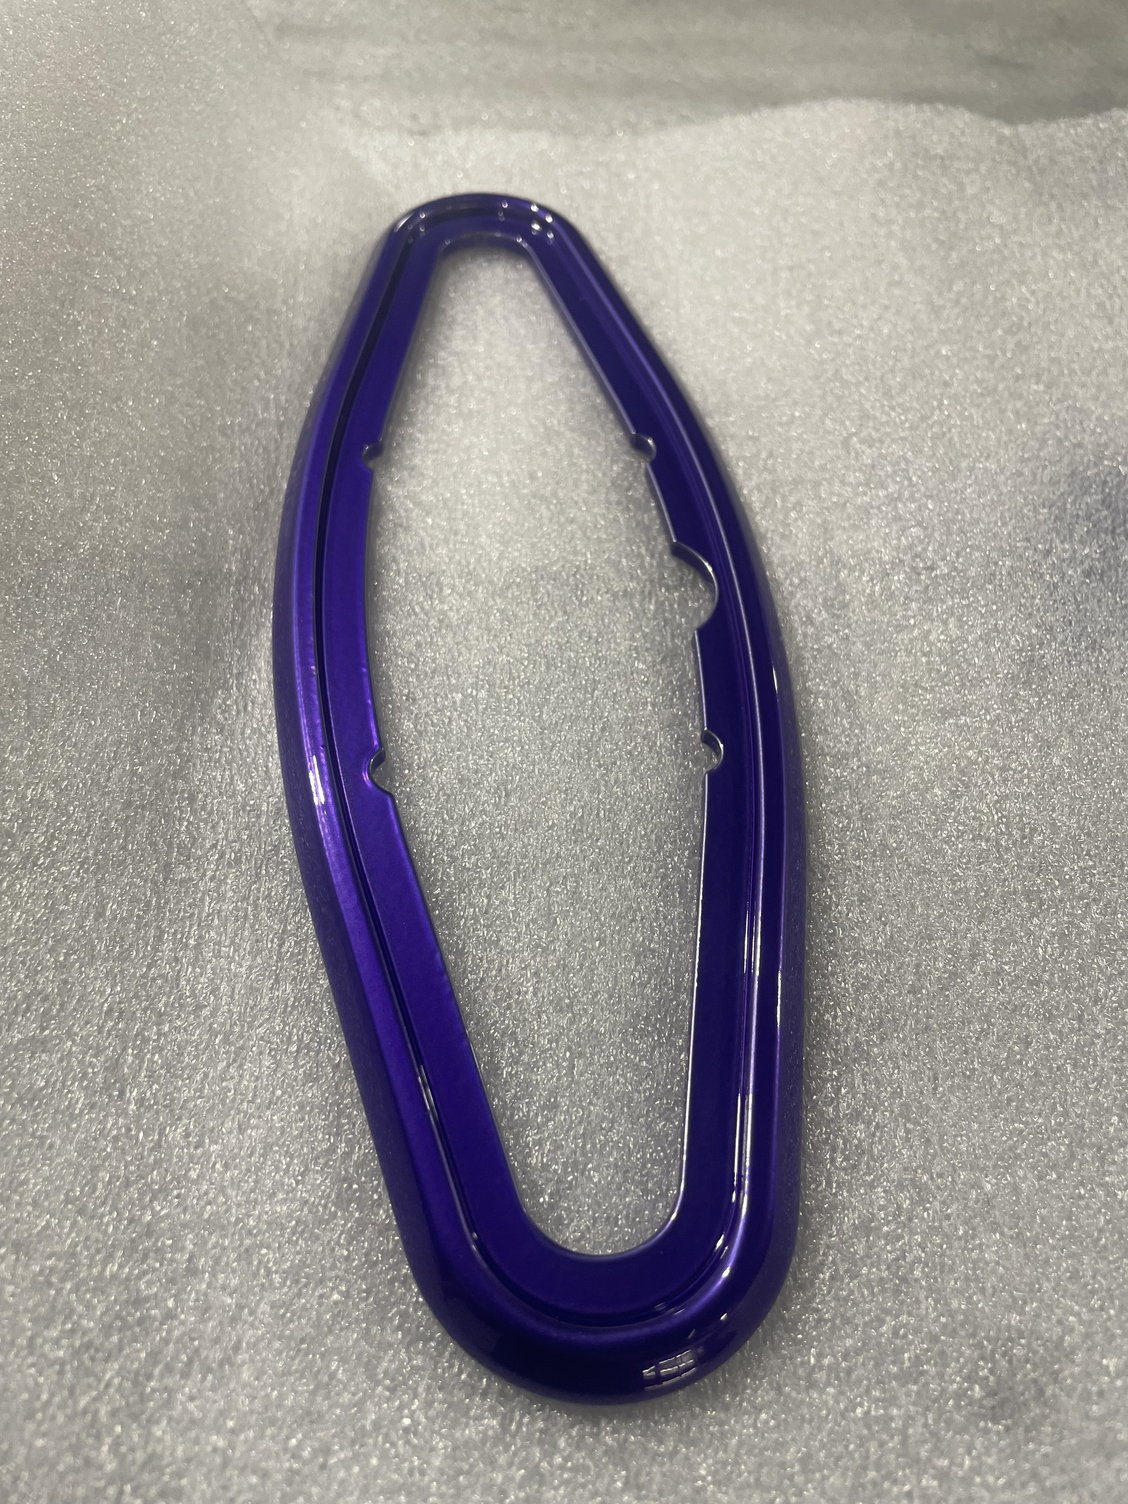
I forgot to mention, I am also installing bezels, strictly for cosmetic reasons, and I wouldn�t want a white bead of sealant standing out like a sore thumb between the polished stainless of the cleats and the purple of the bezels. Are there any clear options that aren�t silicone, or is it reasonable to expect to be able to remove all visible white sealant between the cleat and the bezel?
Thanks. Brad.
(947)545-8991
04-06-2023, 11:47 PM
#5
Charter Member # 55
I used clear Silicone when I replaced some chipped up cleat bezels on mine. The 20+ year old factory clear silicone was still sealing them tight when I removed them as well.
I've cut plenty of holes in my boats. I've used jig saws, hole saws and dremels. For what you are doing, I would probably use a dremel, die grinder or roto zip with a tile bit. Have some extra bits/blades, whichever way you go.
I've cut plenty of holes in my boats. I've used jig saws, hole saws and dremels. For what you are doing, I would probably use a dremel, die grinder or roto zip with a tile bit. Have some extra bits/blades, whichever way you go.
The following 3 users liked this post by Griff:
04-06-2023, 11:58 PM
#6
Registered
I use Loctite PL Series for white polyurethane marine sealant. It's thick and not runny like 3M marine sealants. Much easier to work with. You can also pick it up at Home Depot $10/tube. Lay down tape where you drill or cut. I pilot holed everything with a cardboard template and then used Diablo spade bits to drill out holes. To enlarge stuff I use zip bits or carbide burrs. Chamfer all edges when done.
Post 75 is how I installed mine.
Extreme Measures... Make Over Edition
Post 75 is how I installed mine.
Extreme Measures... Make Over Edition
04-06-2023, 11:59 PM
#7
VIP Member
Thread Starter
I used clear Silicone when I replaced some chipped up cleat bezels on mine. The 20+ year old factory clear silicone was still sealing them tight when I removed them as well.
I've cut plenty of holes in my boats. I've used jig saws, hole saws and dremels. For what you are doing, I would probably use a dremel, die grinder or roto zip with a tile bit. Have some extra bits/blades, whichever way you go.
I've cut plenty of holes in my boats. I've used jig saws, hole saws and dremels. For what you are doing, I would probably use a dremel, die grinder or roto zip with a tile bit. Have some extra bits/blades, whichever way you go.
For consideration�. I am going to be cutting through both glass/gelcoat and a wood backing block. I won�t really know how thick my total cut will be until I get the static cleats off the boat.
I used a Dremel to open up some speaker holes for the new speakers I installed shortly after buying the boat. It was pretty easy in the side interior walls, but it was a PITA under the rear seat where there was a plywood plate behind the fiberglass.
Thanks. Brad.
(937)545-8991
04-07-2023, 06:48 AM
#8
VIP Member
Roto-Zip for the win...I didn't realize how much I needed one until the first time I used it, and now it is a "go to tool of choice".
__________________
Baja 252 Islander
Baja 252 Islander
The following users liked this post:
Gimme Fuel (04-07-2023)
04-07-2023, 08:46 AM
#9
Registered
They work great, just go slow and dont force it. I would usually get about 1.5 speaker holes from a single bit with a bit of changing guide depth to cut on different parts of bit length.
04-07-2023, 10:18 AM
#10
Forum Regulator
Roto-zip type tool, and use the TILE bits. You will go through several of them so buy a pack.
You will have to perfect the speed to no go too fast to break the bit, but not so slow that you cook the fiberglass. It's an extra-medium pace.
DEFINITELY wear goggles. It would be VERY beneficial to have a helper with a shop vacuum right there with you, sucking up all of the dust.
You will have to perfect the speed to no go too fast to break the bit, but not so slow that you cook the fiberglass. It's an extra-medium pace.
DEFINITELY wear goggles. It would be VERY beneficial to have a helper with a shop vacuum right there with you, sucking up all of the dust.
The following 4 users liked this post by Sydwayz:

