


My new project - 86 - 272 LS

 11-01-2012, 08:41 PM
#172
Registered
Thread Starter
Pulled the drives off today, came off easy. But then again they should as they haven't been on long! Engine hatch cover is also removed and sitting in a bag to keep it clean for the winter.
Tomorrow we may get the star board motor pulled out or at least prepped to come out. We drained the block today getting it ready to work on and that was easy! I added ball valves to the two block drains and a ball valve to the intake manifold in back. Just crack them all open and the water drains, no more plugs to try and pull.
Next week or the week after I am going to lift it off the trailer and set it down on blocks to work on the bottom. Off to start searching the technical section on how best to refinish the bottom myself.
Brian
11-02-2012, 08:25 AM
#174
Registered
Thread Starter
So I am looking at laying the boat over on its bottom so the other side is sticking up in the air and sanding the entire side then paint. Lift it back up and rotate it to do the other side. What a project.
I keep thinking for the money I should just lift it up, pull the trailer out and go get that bravo hull from lil-red to drop my sbc's in. Oh-well.
Brian
11-02-2012, 08:36 AM
#175
Registered
Thread Starter
So I have compiled what my winter to do list is. Important so I know what is involved and makes me feel good when I can check something off.
Trailer: Repair a couple of bent bunk rollers, touch up paint, add battery and intall the 5,000 winch I bought.
Hull: Sand and paint the bottom, repaint the stripes on top of deck, modify front deck area.
Powertrain: go through SB motor, check port motor, redo fuel pump system with two new pumps, fix shift interupts.
Cockpit: Modify rear bench seat so back of seat is removable to access engines, replace wood in one more bench cushion, redo three more pieces of the black vinyl trim in cockpit (top pieces), Install two side wing pieces in windshield, mount fire extinguisher, and add a shade top or bimini.
Dash: build new dash housing, add safety lanyard, add launch/docking checklist at helm.
Cabin area: Secure porti potti, add step in cabin, refinish cabin seats and install, add storage/shelving area next to seats in old sink/cooler area, redo v-berth.
And a lot of general cleaning and polishing! No problem, right?
Brian
11-02-2012, 09:16 AM
#176
Registered
Thread Starter
How hard can it be?????????

Brian
11-02-2012, 09:21 AM
#177
Registered
I put in new vortec motors and they were not drilled or tapped for the mechanical pumps. I know you can drill and tap them for mechanicals, I opted not to for the "simplicity" of an electrical pump. I mean, millions and millions of cars/trucks are built every year now with electrical pumps that run for years and years.
How hard can it be?????????
Brian
How hard can it be?????????
Brian
11-02-2012, 02:21 PM
#178
Registered
Thread Starter
Gees, 19 pages and 178 post so far - easy to loose information here. OK, I had a question asked about my swim platform. Went back and I really kind of glossed over that on page 9 at post 87, so here is more information.
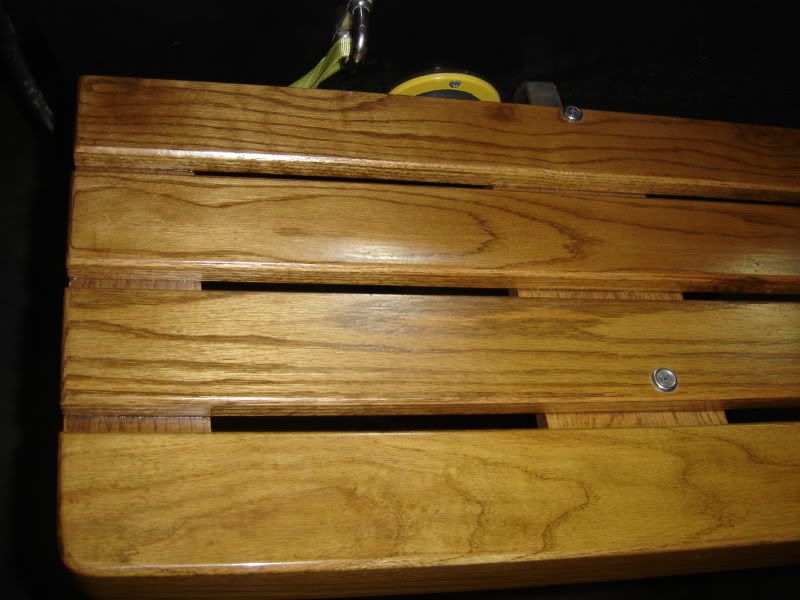
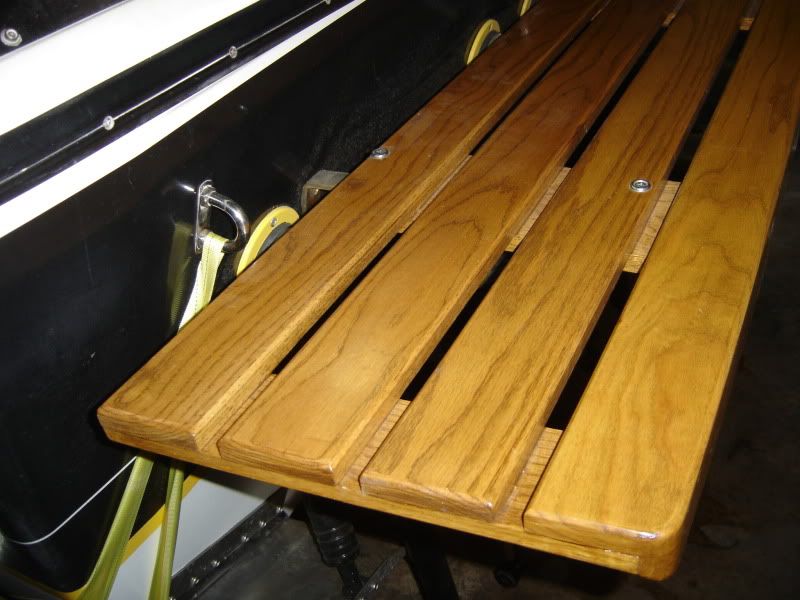
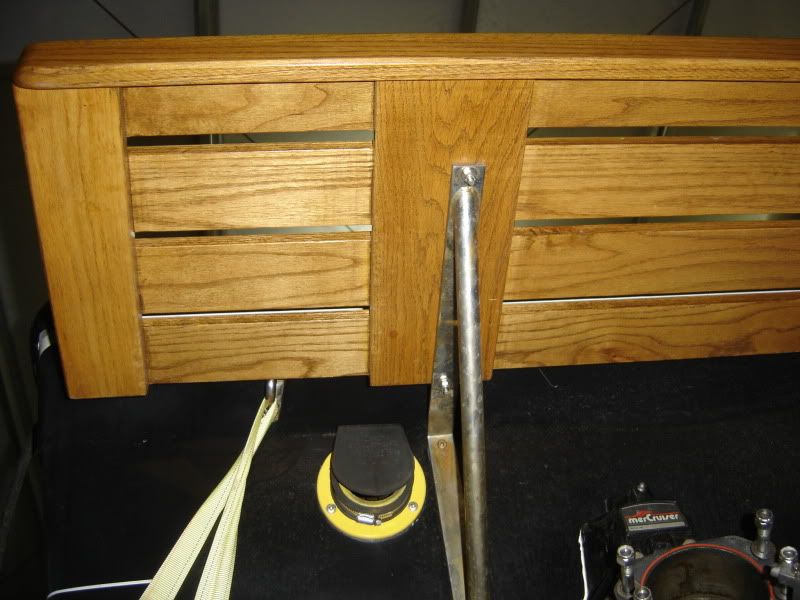
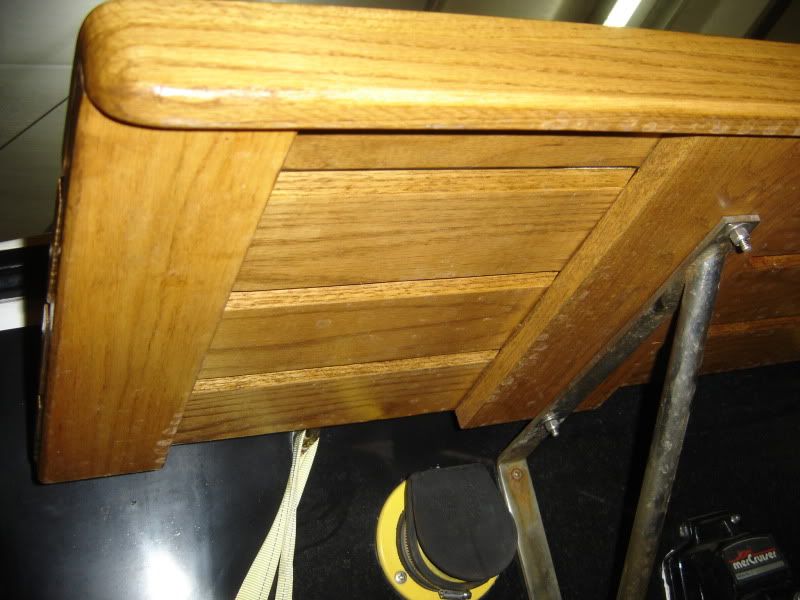
The swim platform is made of oak. The main surface is four 1 x 4 oak pieces. The back of it has a 1x2 piece of oak underneath it to finish and add strength. They are held together by pieces of 1x4 on the ends and middle and 1x6 at the mounting location underneath. The whole thing was glued together very well using water proof urethane glue (gorilla) so should never come apart. After routing the edges and sanding everything, it was stained and coated in 3 or 4 coats of semi-gloss urethane. The two original mounting brackets were reused. I thought about adding another set on the outside, but the swim platform is very strong as is. Way stronger than the lighter teak.
Keep in mind I am trailering my boat and it normally is stored inside, so sun and water exposure to the oak is minimal. This may not work out to well for you if you have a boat that is NOT afraid of the water like mine is. Just sayin....
The 1x4's are spaced apart 3/4" as I used the cutoff ends to space them during gluing which worked well. the front is 84" wide and the back is 80 7/8" wide. Or it was before I rounded the corners. It is 16 3/8" front to back. It follows the size and end taper of the original platform
11-02-2012, 04:43 PM
#180
Registered
Thread Starter
No backing plate on the inside. The bottom is just screwed in, stainless 1/4" screw I believe. The top is thru bolted. 1/4" I believe, washer inside. It goes through the heavy part of the transom.

