


Older Formula Sealing Up Sone Water Leaks
 10-12-2024, 08:27 PM
#1
Hi Guys,
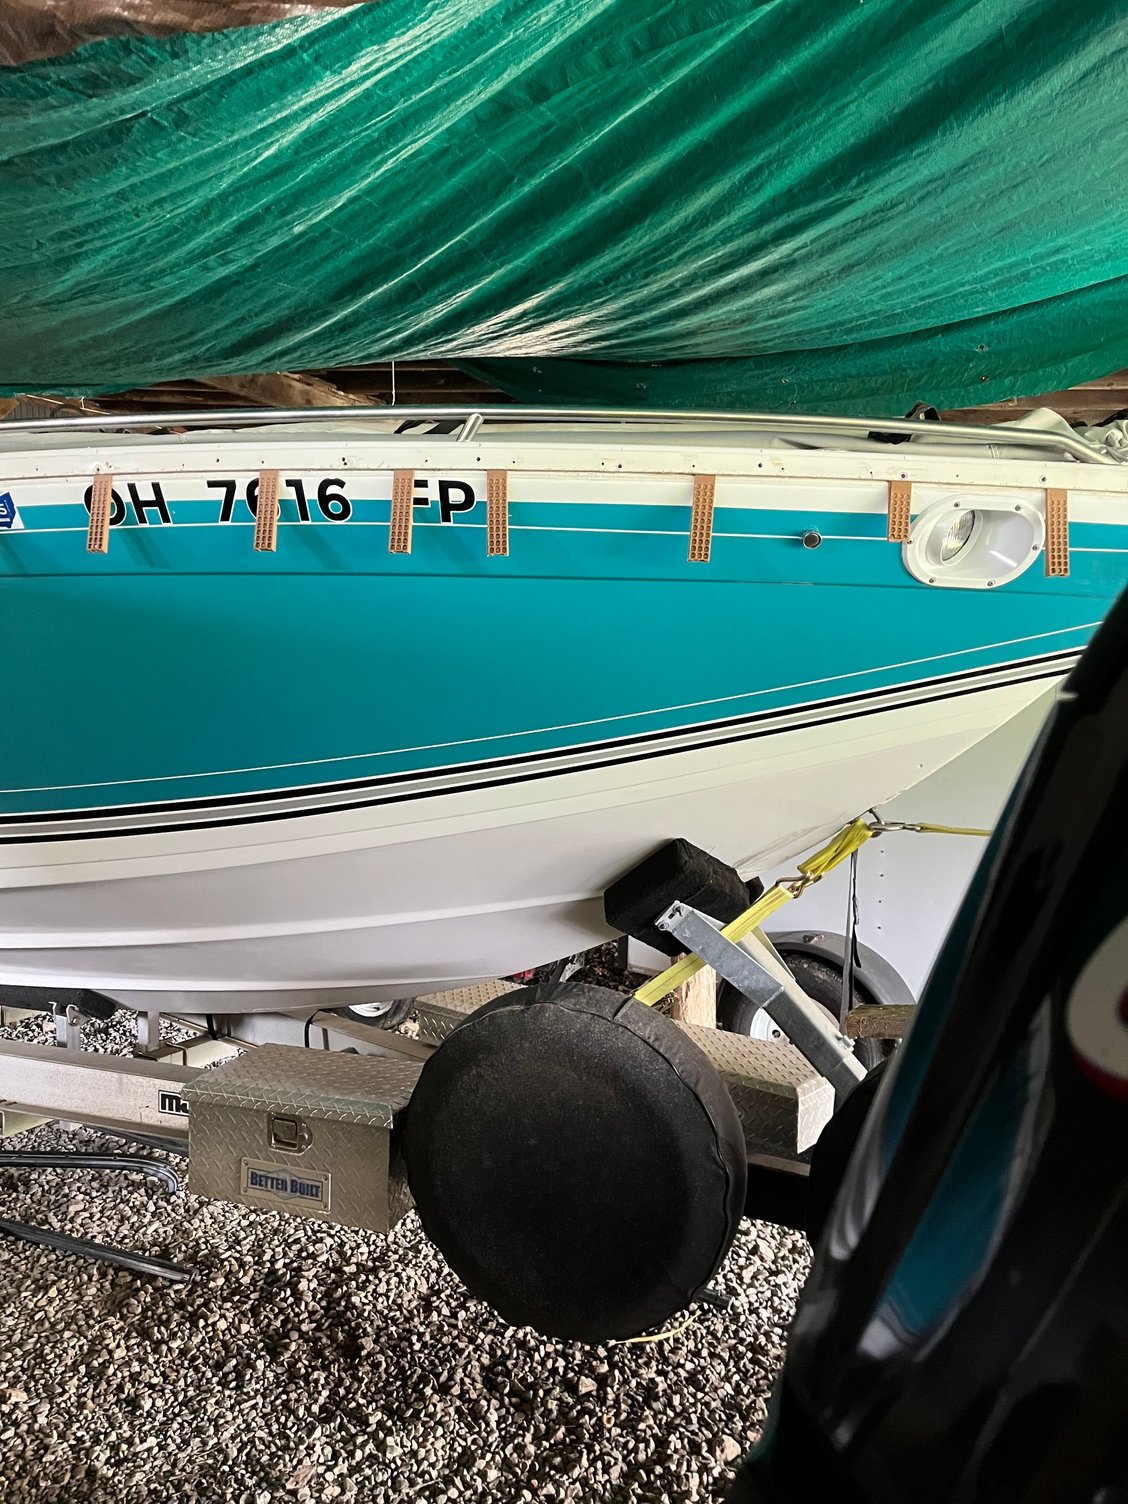
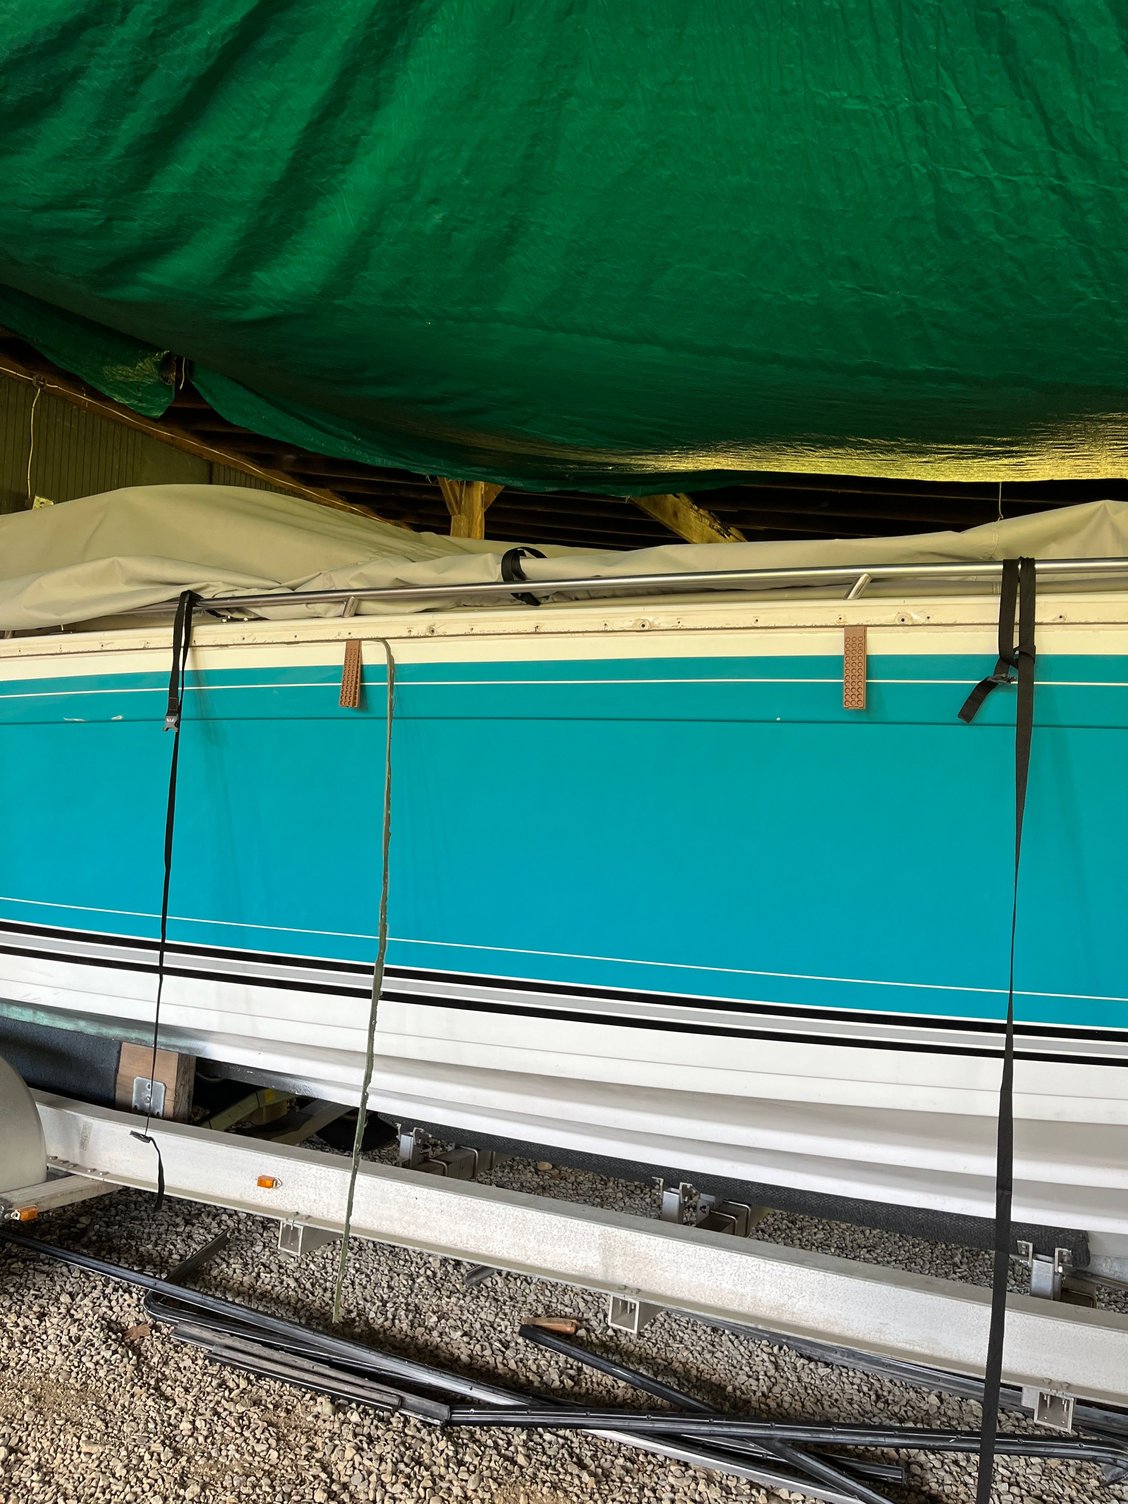
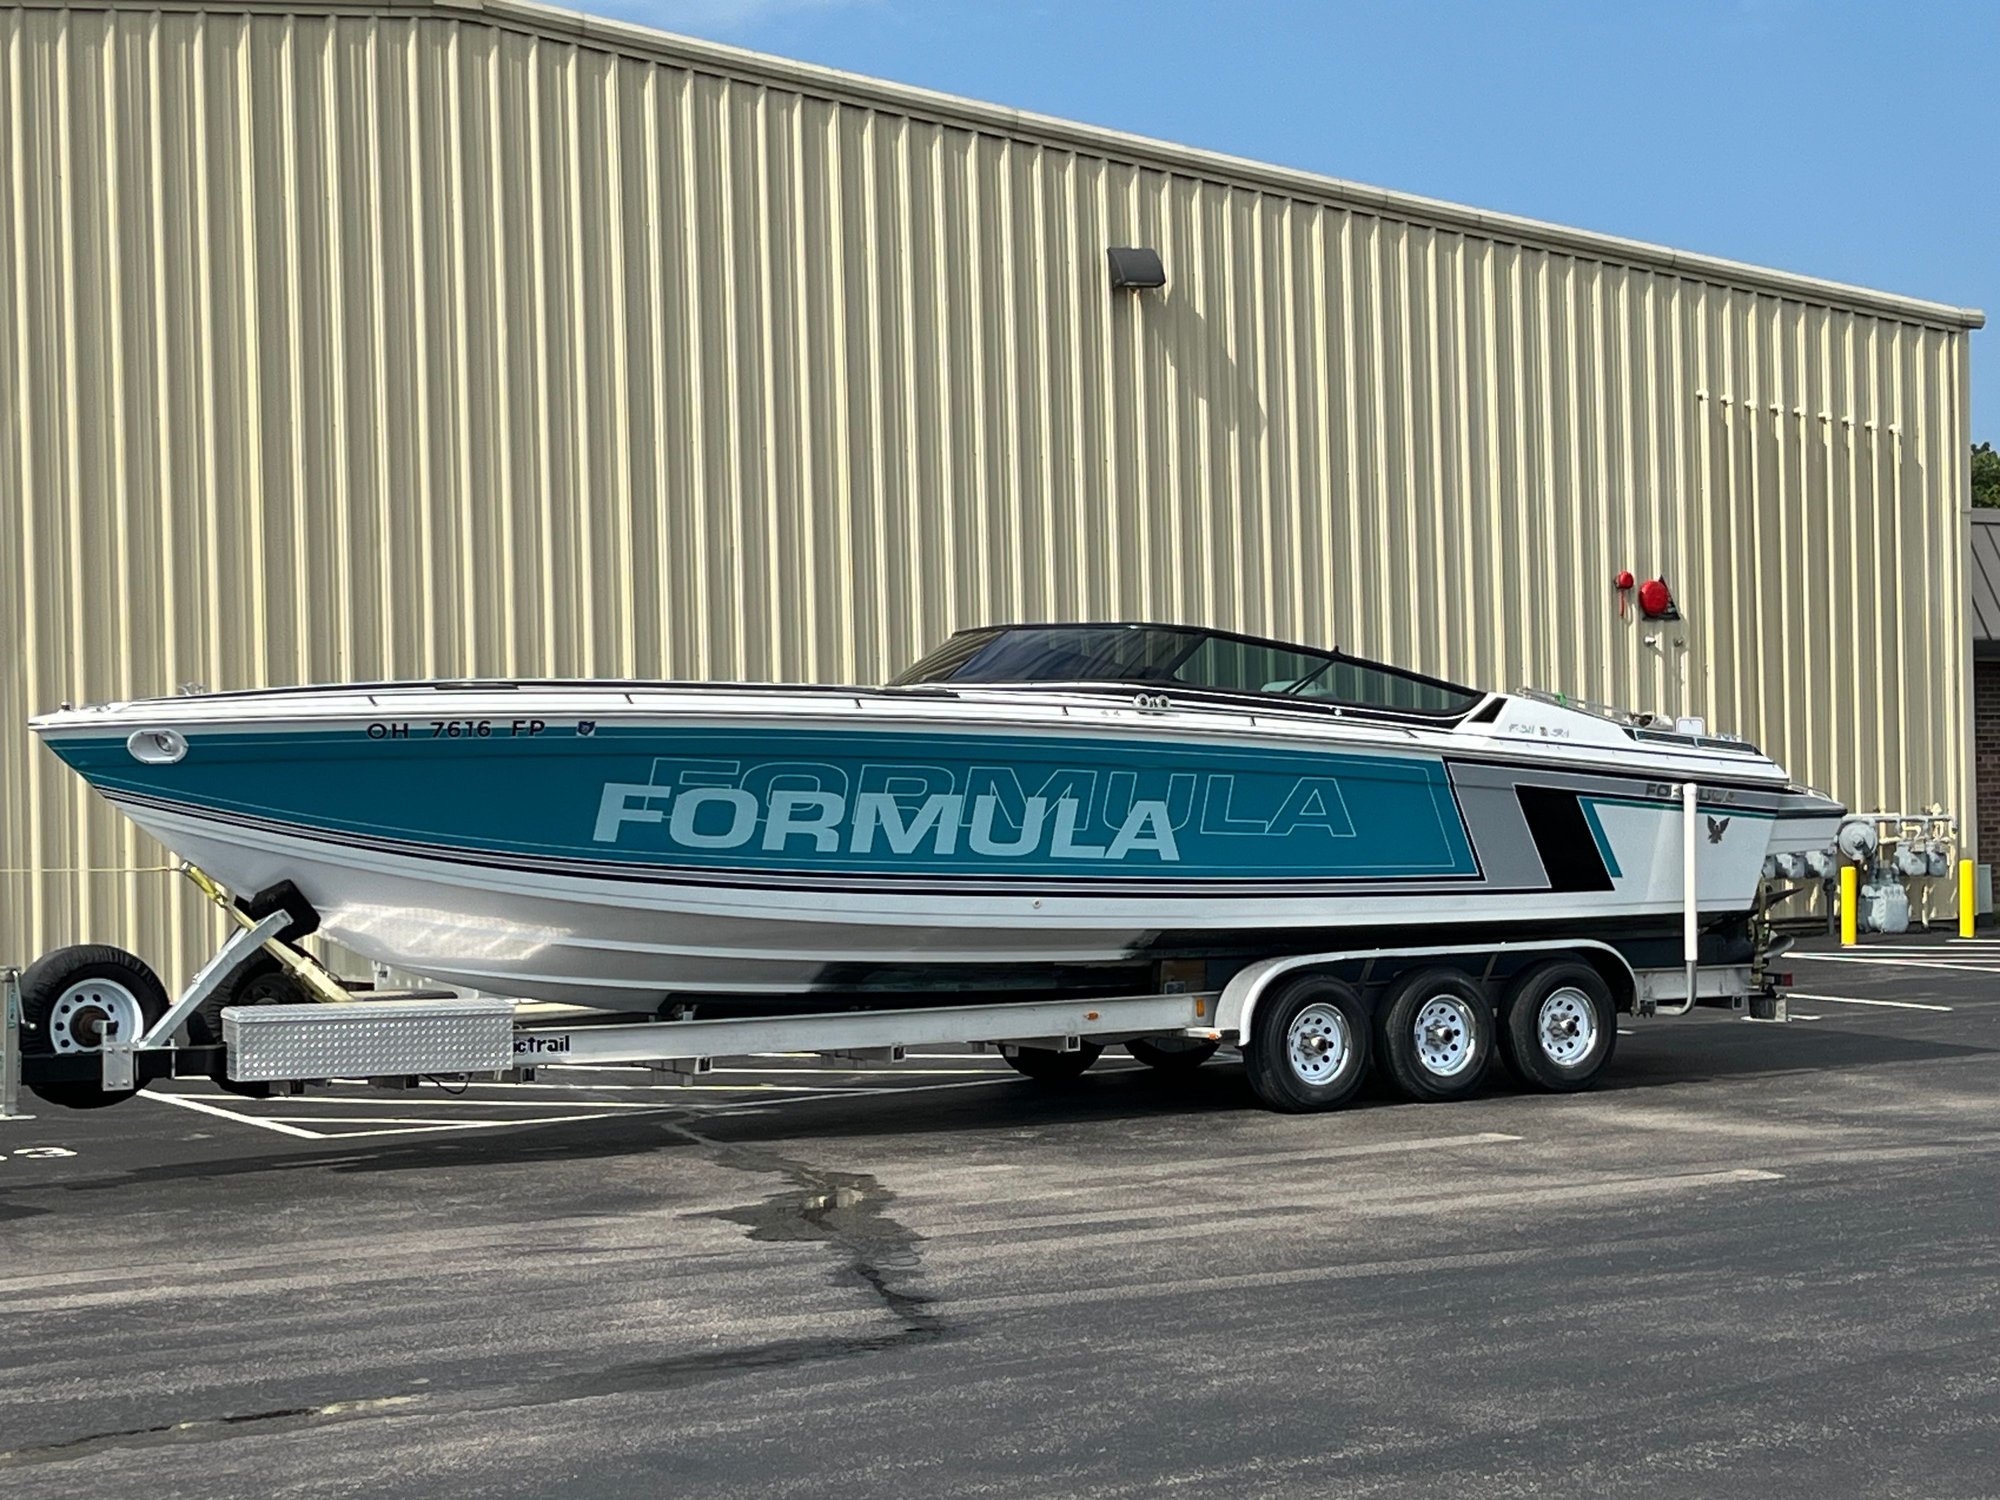
Was talking to Tomz and thought I’d Sahara some work I had done on my ‘89 311. Over the winter into this spring I pulled the old rub rail off, with primary goal to just replace with a white rub rail. After removal of the old black one, which is just screwed to the hull joint with 1/4 inch screws, you could see the deck to hull joint.
On my boat, you could see the deck to hull was bolted every 19” with a 1/4” Philips screw//bolt. The head of the screw was all that was against the deck and then there was a 1”x4” /1/4” aluminum plate stock inside the hull with a nut holding the deck to hull secure.
In between that deck and hull was suppose to be this “superior green adhesive to seal and secure that deck to hull joint. Let me tell you, IT IS NOT a quality adhesive. That old adhesive was rock hard and not holding anything together and was the reason for water leaks into the boat at the hull which definilty caused headliner root.
in addition, the through bolts every 19” were not all secure, and you could easily push the hull in about 2 inches at some locations.
to remedy that problem, I just removed all Phillips screws and put plastic shims to separate the deck joint and pulled out all the old green adhesive. Then I used Loctite Marine Adhesive between the joint, and removed by shims. While sealant was still wet, I drilled out the existing bolt holes slightly larger and also put an extra bolt hole such that my spacing was every 9”. I used stainless 1/4” pontoon floor casters that had a larger flatter diameter surface to go against the deck to hull joint. I made up some additional 1x4” plate stock and through bolted the joint.
The joint is much more secure.
Then I proceeded to remove my deck hatches. When I got to those nuts on the backside of mine, I noticed that some of those bolts were loose. I painted the hatches up and resealed with silicone and rebolted.
Then I loosed up the stainless grab rail on deck and put silicone up the stud hole and resecured.
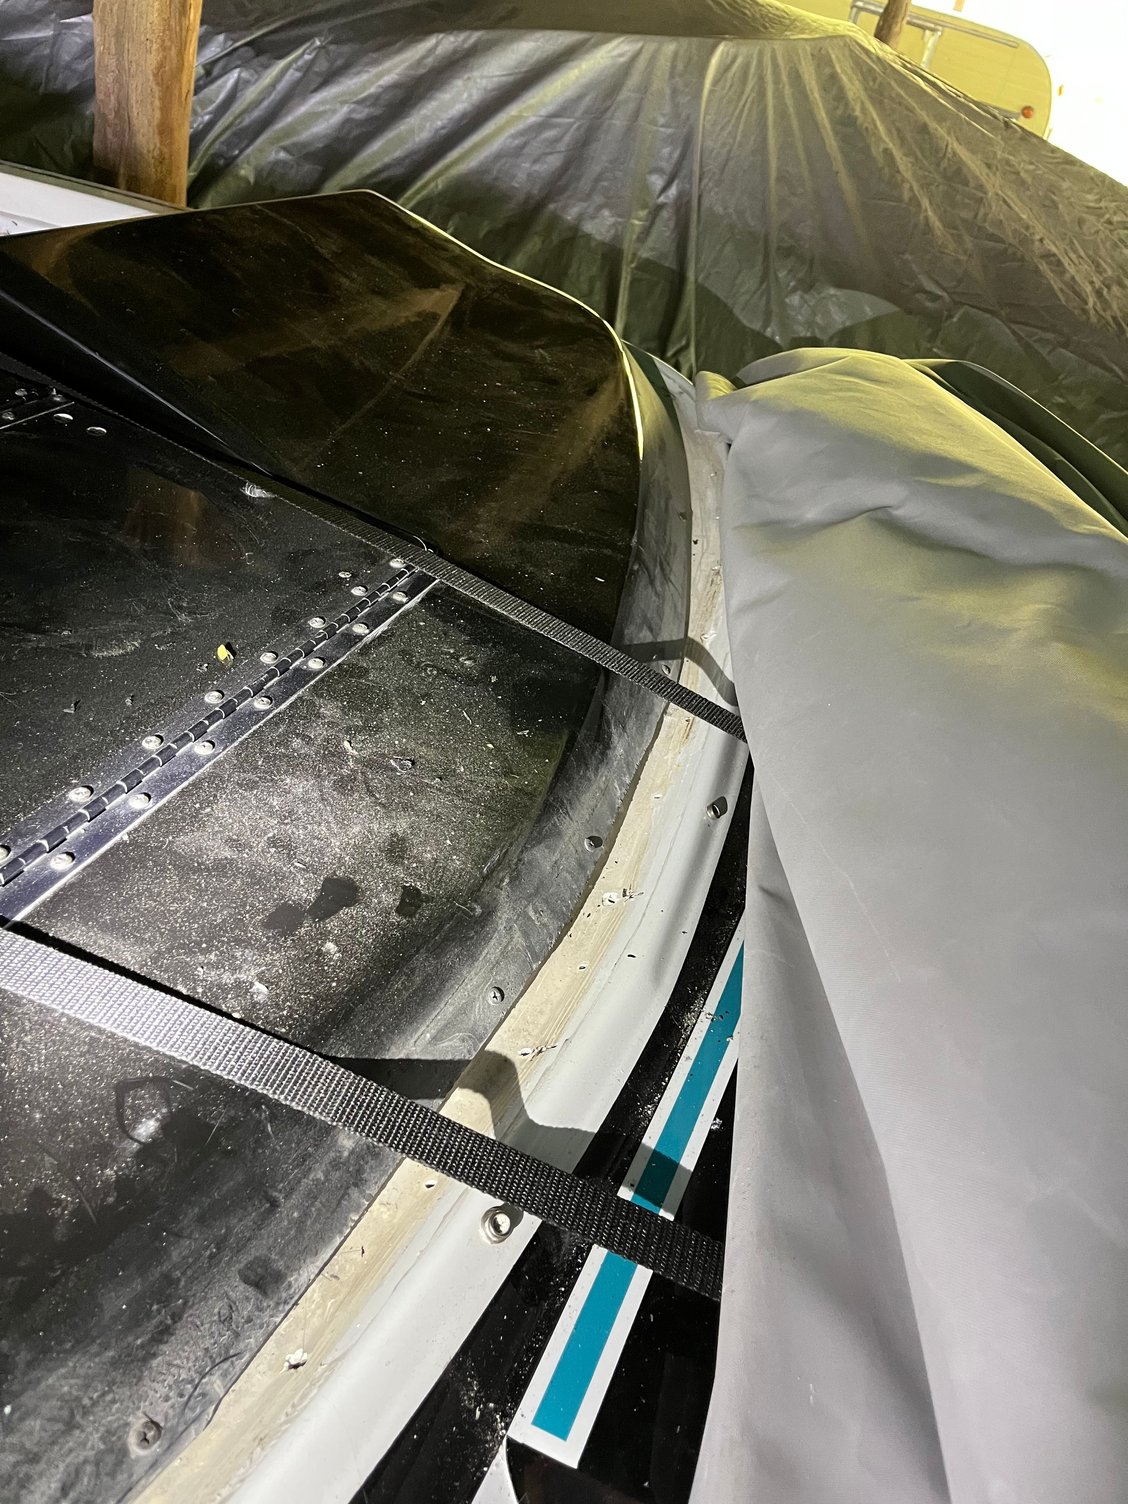
I then pulled the entire windshield off, glass panes and frame. On the front windshield location, you could see the seperate, black dash panel that was attached to the deck. I loaded the space between the dash panel and where the windshield frame would go with black silicone. (You would never see it. There is a distinct gap, that to me was obvious where water might pool and collect and then run down behind the dash panel and into the cabin, and make its way behind the step. I put the window frame back on, secured it with #8 bolts I think vs the original #6. I bolted the frame to the deck on the port and starboard all the way up as far as I could reach, then did the front portion of windshield frame with #8 screws. The center of windshield for the bolts as you could easily see those once you loosed some of the headliner in center above the step.
Put the window panes back in.
Boat sat outside in some rain storms and NO MORE WATER under the step.
I’ll post some pics below.
Was talking to Tomz and thought I’d Sahara some work I had done on my ‘89 311. Over the winter into this spring I pulled the old rub rail off, with primary goal to just replace with a white rub rail. After removal of the old black one, which is just screwed to the hull joint with 1/4 inch screws, you could see the deck to hull joint.
On my boat, you could see the deck to hull was bolted every 19” with a 1/4” Philips screw//bolt. The head of the screw was all that was against the deck and then there was a 1”x4” /1/4” aluminum plate stock inside the hull with a nut holding the deck to hull secure.
In between that deck and hull was suppose to be this “superior green adhesive to seal and secure that deck to hull joint. Let me tell you, IT IS NOT a quality adhesive. That old adhesive was rock hard and not holding anything together and was the reason for water leaks into the boat at the hull which definilty caused headliner root.
in addition, the through bolts every 19” were not all secure, and you could easily push the hull in about 2 inches at some locations.
to remedy that problem, I just removed all Phillips screws and put plastic shims to separate the deck joint and pulled out all the old green adhesive. Then I used Loctite Marine Adhesive between the joint, and removed by shims. While sealant was still wet, I drilled out the existing bolt holes slightly larger and also put an extra bolt hole such that my spacing was every 9”. I used stainless 1/4” pontoon floor casters that had a larger flatter diameter surface to go against the deck to hull joint. I made up some additional 1x4” plate stock and through bolted the joint.
The joint is much more secure.
Then I proceeded to remove my deck hatches. When I got to those nuts on the backside of mine, I noticed that some of those bolts were loose. I painted the hatches up and resealed with silicone and rebolted.
Then I loosed up the stainless grab rail on deck and put silicone up the stud hole and resecured.
I then pulled the entire windshield off, glass panes and frame. On the front windshield location, you could see the seperate, black dash panel that was attached to the deck. I loaded the space between the dash panel and where the windshield frame would go with black silicone. (You would never see it. There is a distinct gap, that to me was obvious where water might pool and collect and then run down behind the dash panel and into the cabin, and make its way behind the step. I put the window frame back on, secured it with #8 bolts I think vs the original #6. I bolted the frame to the deck on the port and starboard all the way up as far as I could reach, then did the front portion of windshield frame with #8 screws. The center of windshield for the bolts as you could easily see those once you loosed some of the headliner in center above the step.
Put the window panes back in.
Boat sat outside in some rain storms and NO MORE WATER under the step.
I’ll post some pics below.

The following 4 users liked this post by MyIsland3:
The following users liked this post:
rak rua (10-13-2024)
10-12-2024, 11:22 PM
#8
BEACH PARTY / HOLLOWPOINT
Thanks for posting the details on the reseal. I really think that our Formula family can really learn a lot from the process.
Formula built a great boat, but they were production boats and could very well suffer from some of the shortcuts that could be evident in a more mass-produced product. Over the summer, the conversations we had while the work was being done really shed some light on those potential shortcuts. Following the above could really go a long way to making these boats really solid and keeping water away from areas that could cause issues.
Well done sir!
The following users liked this post:
sonicss42 (Yesterday)
The following users liked this post:
TomZ (10-13-2024)


