Hydro Dipping
 12-27-2015, 04:50 PM
#21
Registered
These are some parts I did for a statement v-bottom. The steering wheel and speaker pod were done in a plastic tub from Walmart and I did the counter top in a jacuzzi. The counter top was a really big part with some difficult angles. I thought it was going to take 10 tries to get it right and somehow it looked right on the first try.
 12-27-2015, 05:52 PM
#22
Registered
These are some parts I did for a statement v-bottom. The steering wheel and speaker pod were done in a plastic tub from Walmart and I did the counter top in a jacuzzi. The counter top was a really big part with some difficult angles. I thought it was going to take 10 tries to get it right and somehow it looked right on the first try.
12-27-2015, 07:56 PM
#24
Registered
12-28-2015, 12:05 AM
#25
Registered
Join Date: Sep 2012
Location: New Bern, NC
Posts: 616
Likes: 0
Received 0 Likes
on
0 Posts
Sweet! I have a hot tub on the back deck. I guess I could use the heater in that to stable the water temps. Will the hot tub clean up after using it for a hydro dip tub, or is this a bad idea?
12-28-2015, 12:27 PM
#26
Registered
12-28-2015, 05:08 PM
#27
Registered
I've wired up 5-6 hydro dip tanks for some local body shops/custom shops and I'm amazed at the consumption of electricity they use. Being around them I have watched and had some things done for myself by them in the testing phase and it's definitely an art to get it to lay perfectly.
The ones I've installed are 250 gallon tanks approximately 8x4 and maybe 30" deep. The heater runs for 4-5 hours to heat the water to 90 degrees. They say 86-93 is the temp the water needs to be for the activator to set up. Basically they lay the film in the water and then spray the activator onto the film, dip the part into the film and it is transferred to the object being done. Then while the object is submerged you have to wave the water around to break up the leftover print. Then you have to rinse the dipped object in cold water to rinse off the activator I'm guessing. Like said above the best durability is when you clear coat it.
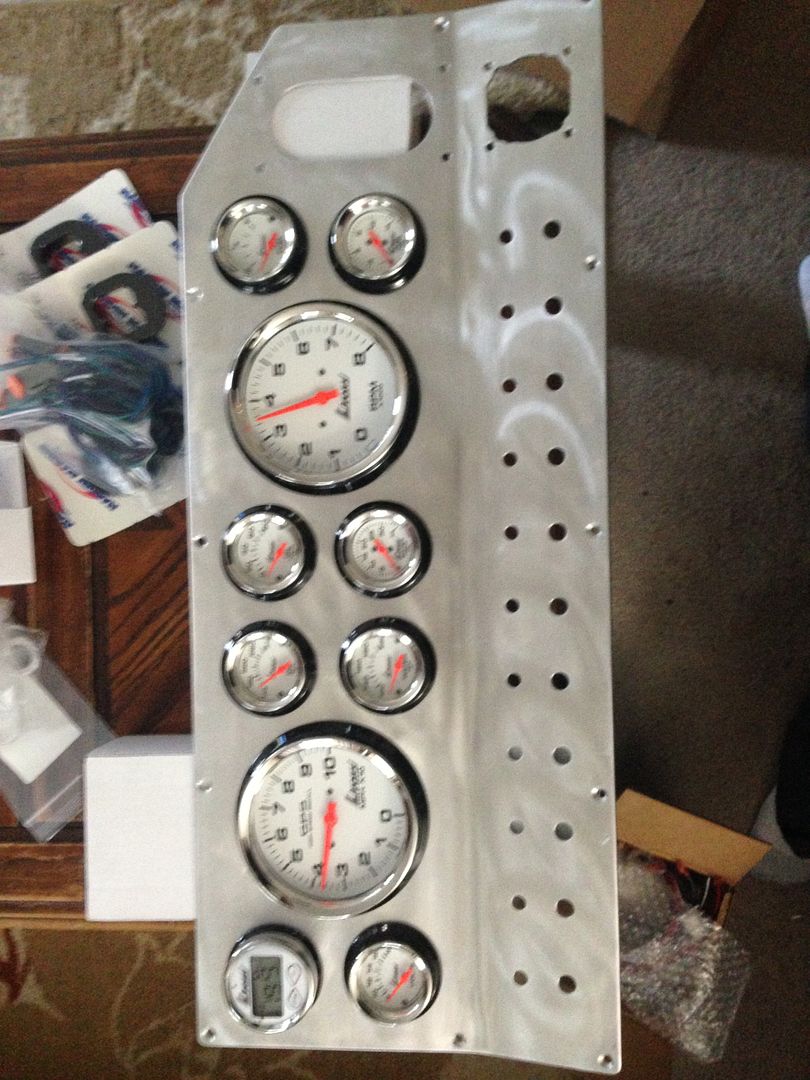
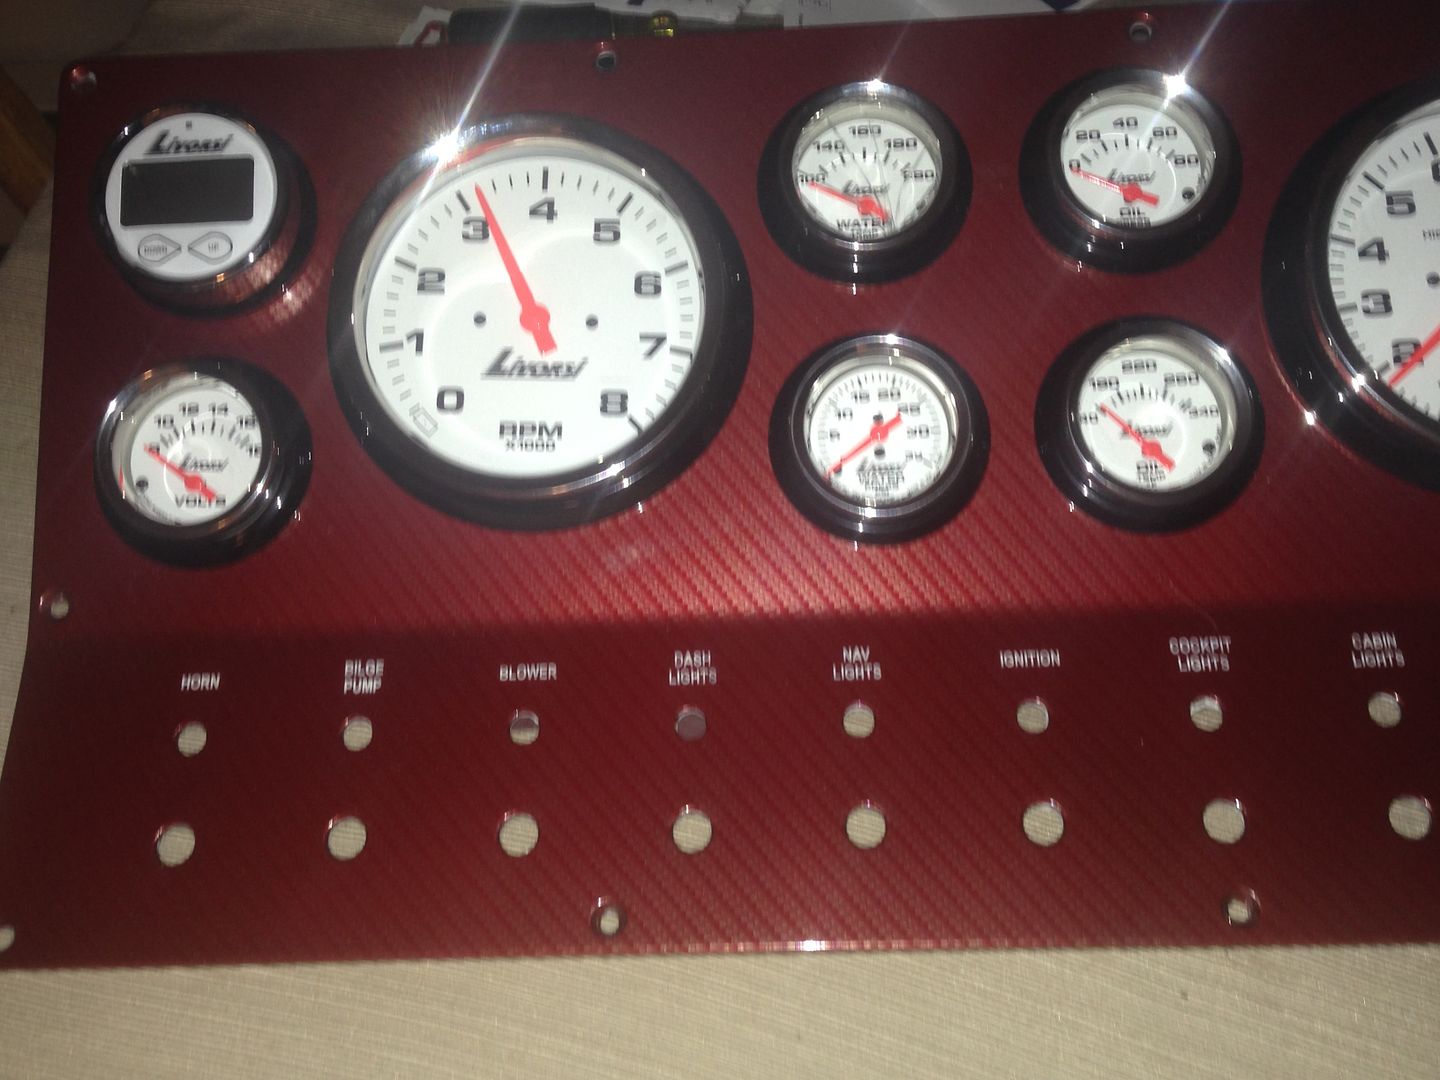
Also I think it was said above but the graphics themselves are transparent so doing them over a base color is how you achieve the best look. Here is a dash I had done in 2 different colors.
Oh and about using the hot tub idk that I would use it only because the water gets nasty after a week or two. The shops I helped out were draining it every 2 weeks because it was gross.

[URL=http://s63.photobucket.com/user/mickeymcclgn/media/240%20sport/2E0F5122-1E0B-49D8-AB7D-980932EC310A.jpg.html]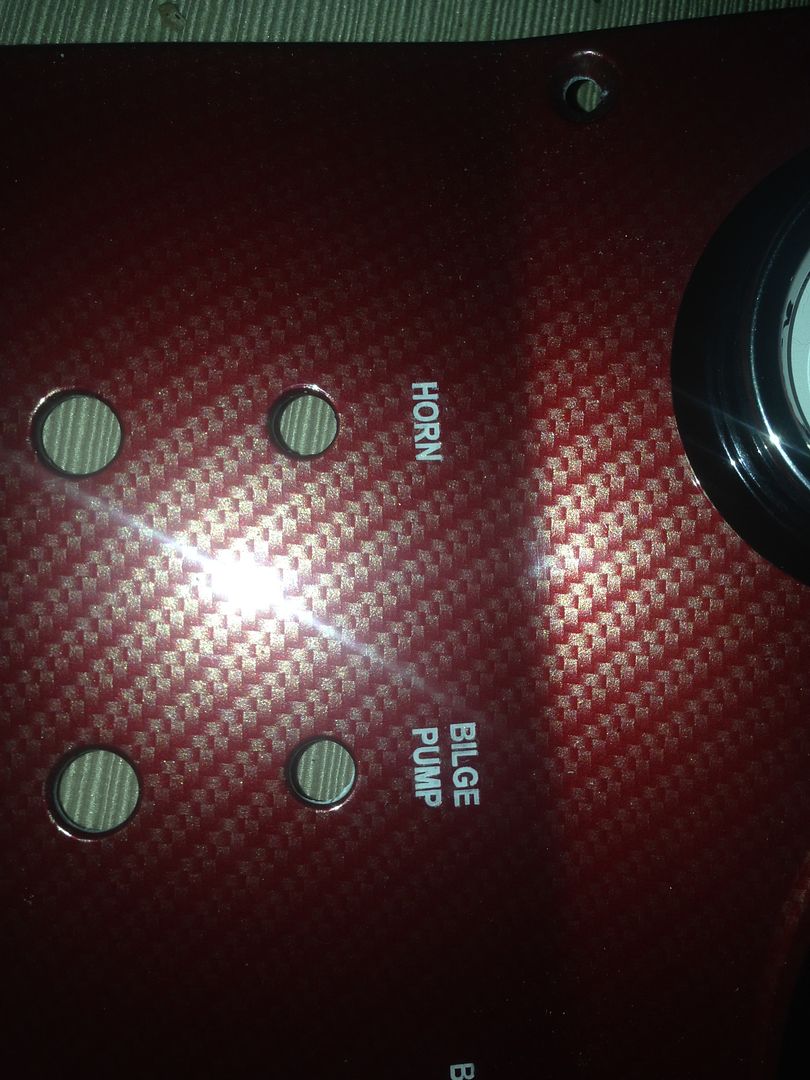 [/
[/
The ones I've installed are 250 gallon tanks approximately 8x4 and maybe 30" deep. The heater runs for 4-5 hours to heat the water to 90 degrees. They say 86-93 is the temp the water needs to be for the activator to set up. Basically they lay the film in the water and then spray the activator onto the film, dip the part into the film and it is transferred to the object being done. Then while the object is submerged you have to wave the water around to break up the leftover print. Then you have to rinse the dipped object in cold water to rinse off the activator I'm guessing. Like said above the best durability is when you clear coat it.
Also I think it was said above but the graphics themselves are transparent so doing them over a base color is how you achieve the best look. Here is a dash I had done in 2 different colors.
Oh and about using the hot tub idk that I would use it only because the water gets nasty after a week or two. The shops I helped out were draining it every 2 weeks because it was gross.

[URL=http://s63.photobucket.com/user/mickeymcclgn/media/240%20sport/2E0F5122-1E0B-49D8-AB7D-980932EC310A.jpg.html]
[/

Last edited by mickeymcclgn; 12-28-2015 at 05:11 PM. Reason: Added Info
12-28-2015, 10:37 PM
#30
Registered
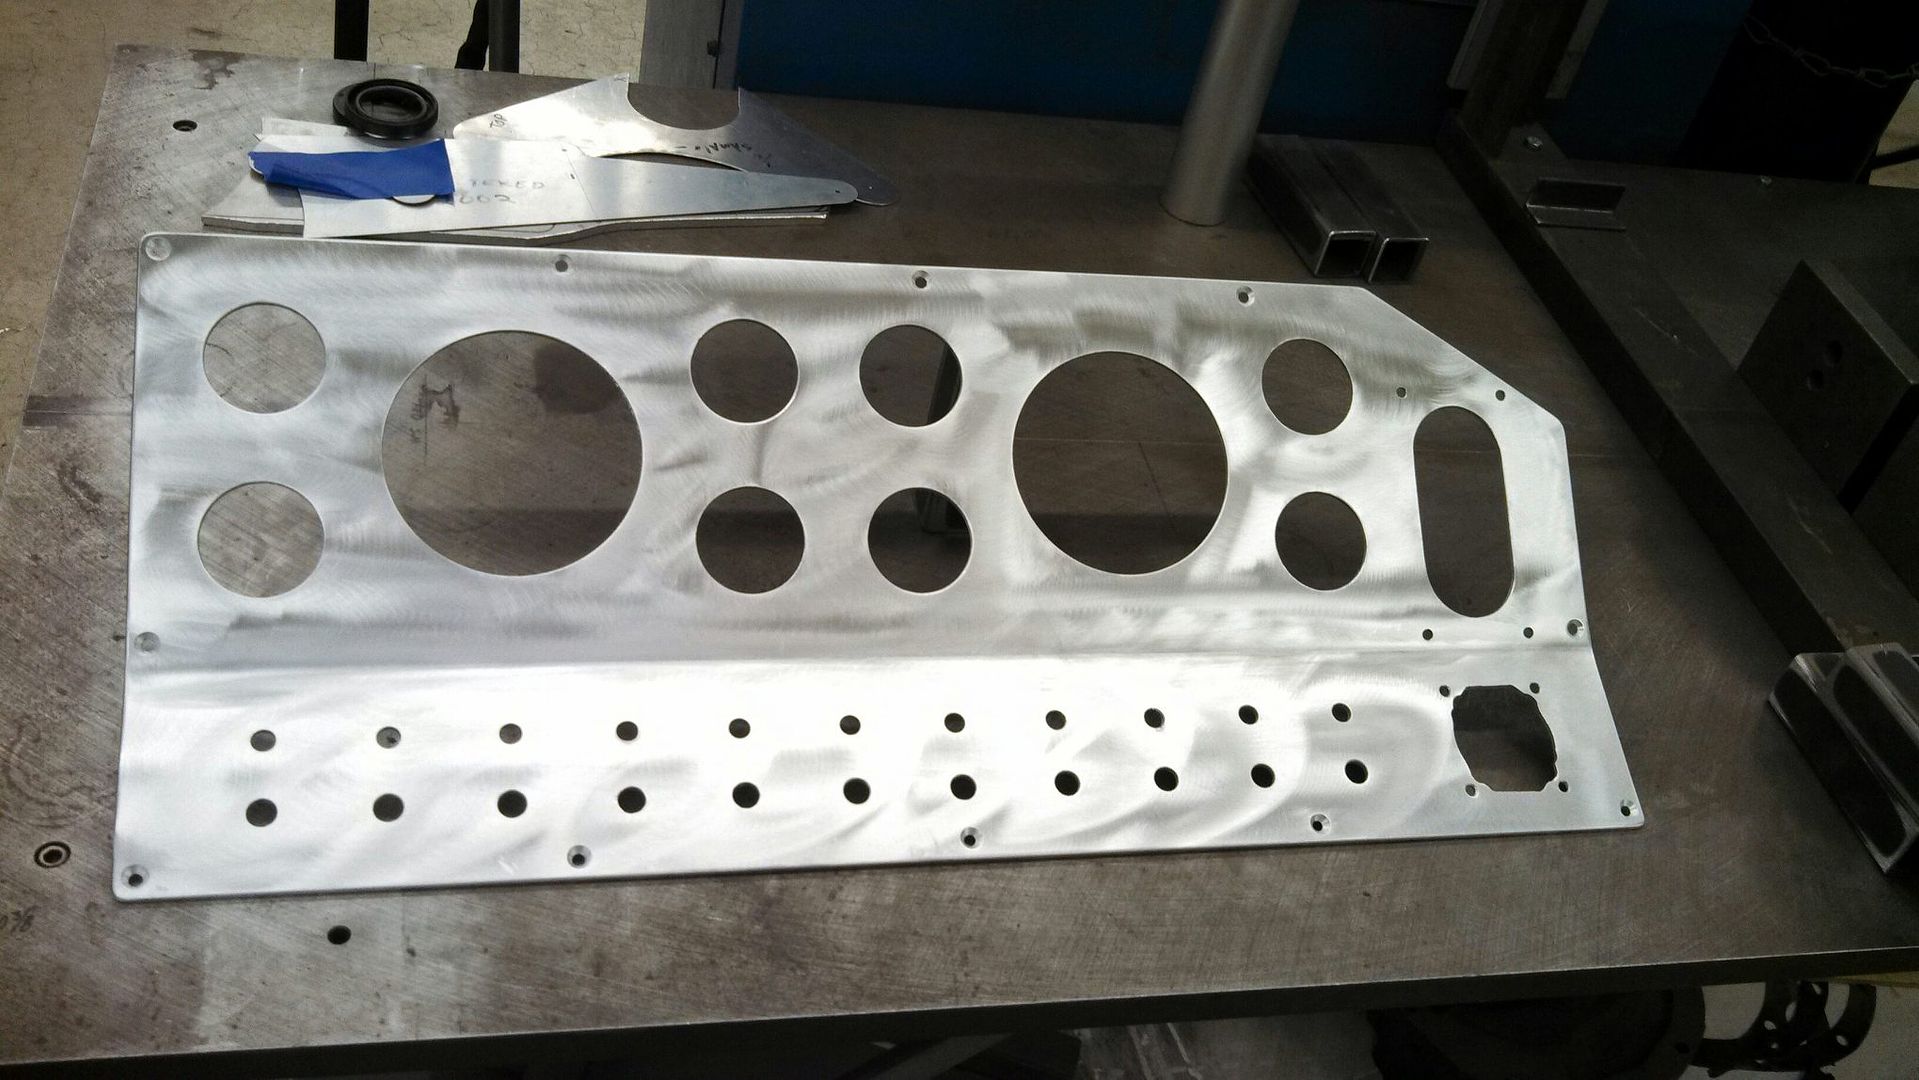
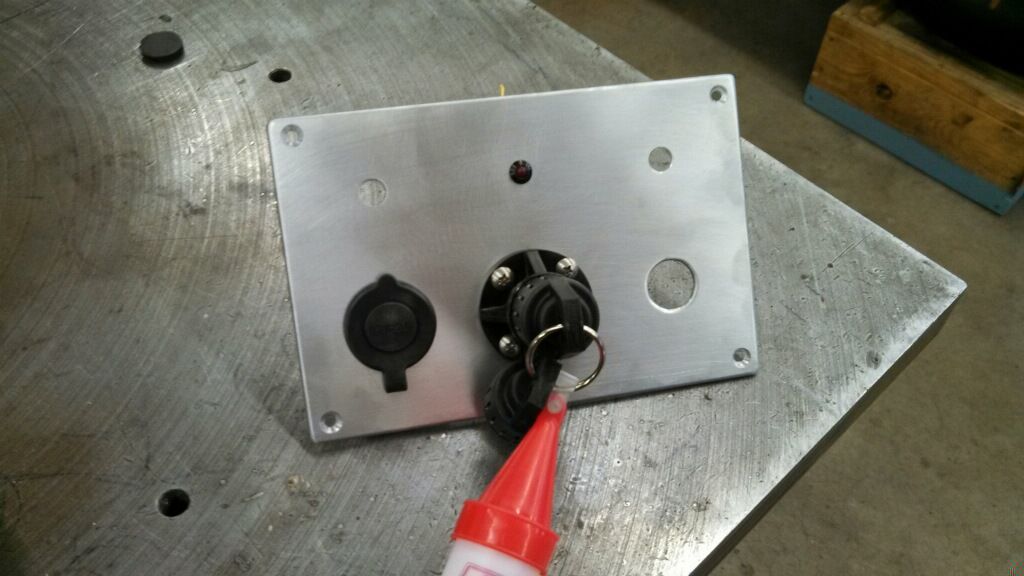
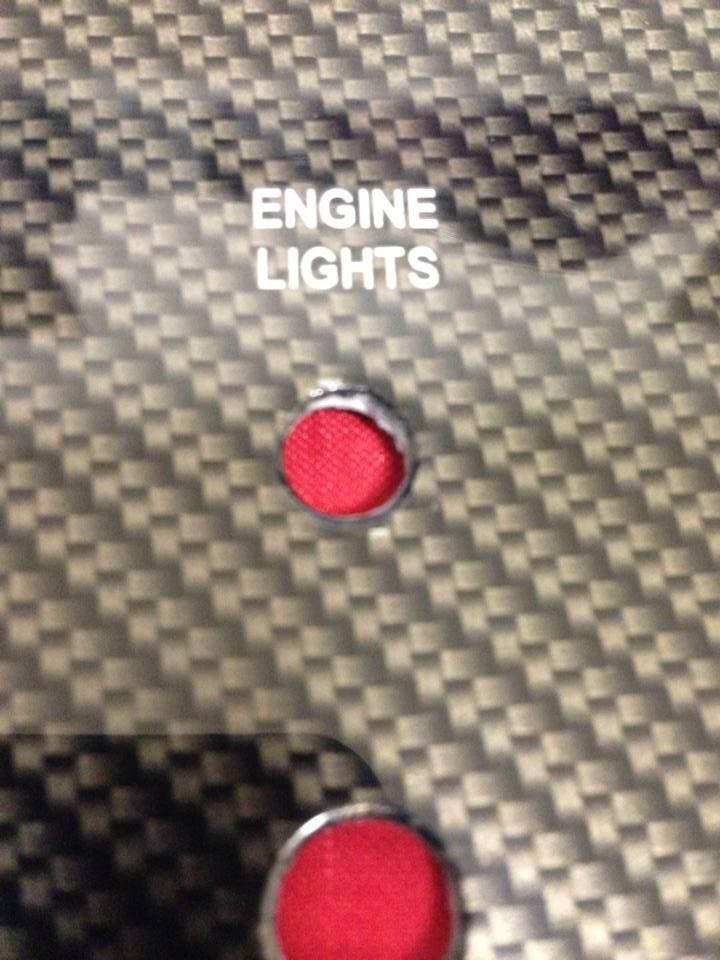
The panel is made from a sheet of 1/8" aluminum, after I broke Afew acrylic ones I made and I have a friend that does laser etching for nasa so he took care of all the engraving. It's simply the bare aluminum that you can see. But we cleared over it once it was done so that the aluminum didn't get funky over time. Here's the panels pre being dipped.