

88 Seebold Silver Eagle 265 restoration thread!
 12-01-2012, 09:06 PM
#11
Registered
Thread Starter
Join Date: Jul 2012
Posts: 130
Likes: 0
Received 0 Likes
on
0 Posts
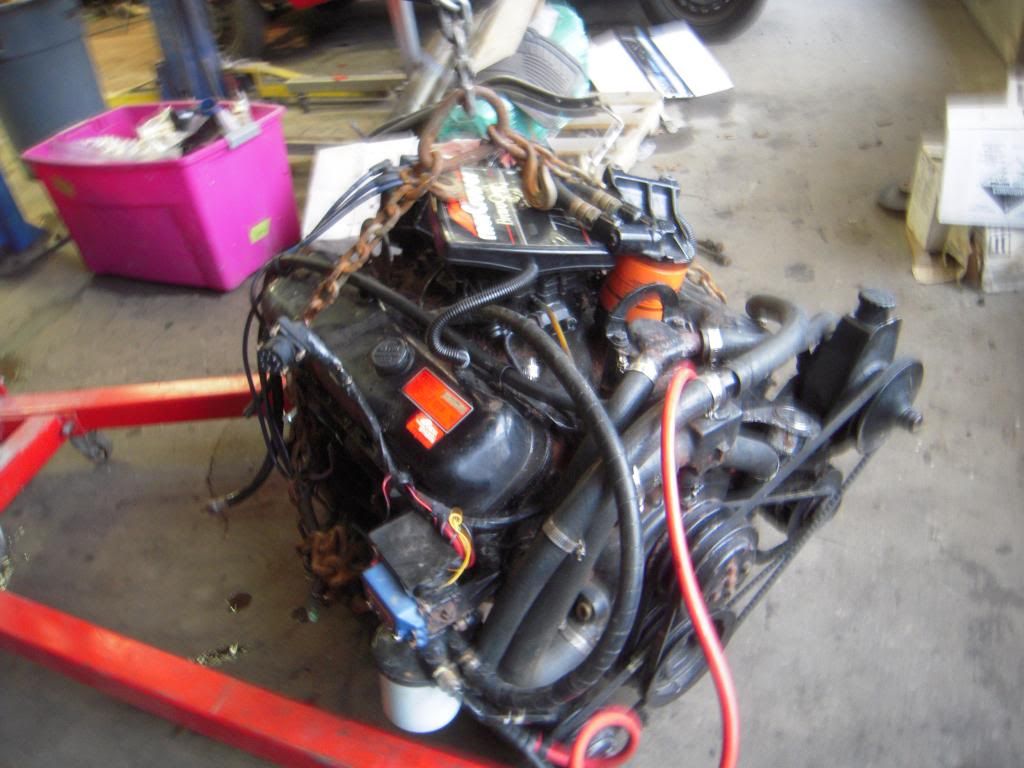
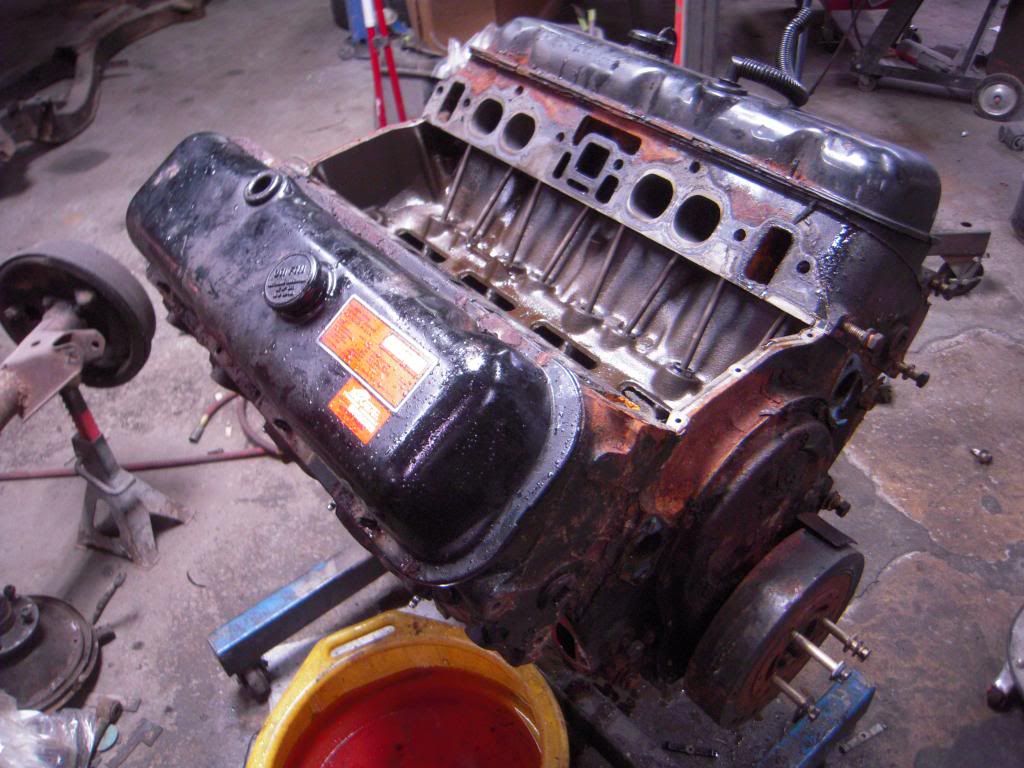
Ripped into her some more last weekend and now I will be replacing the rotted engine compartment bulkhead and rotted engine stringers. I think the guy who redid the engine compartment just added onto the original stringers. After I popped out the bulkhead I found that the front 12 inches of the engine stringers is wet and rotted. So out came the motor today, its an externally rusty mess but the internals are spotless. I'm going to clean it all up and paint it Sonic Blue Base clear. The engine compartment is going to get repainted white for a more modern look. I also plan on refinishing the transom plate and out drive while everything is stripped out. I think I lucked out and the transom is nice and solid, I'll find out for sure once I remove the transom assembly and engine stringers. Fingers crossed. Here's some pics of the motor after I got it in my shop and stripped down. I'll get some pics up of the bilge area tomorrow after I strip everything out.

 12-01-2012, 09:49 PM
#12
Registered
Join Date: Sep 2004
Location: Tarpon Springs, FL Winter/LBI, NJ Summers
Posts: 497
Likes: 0
Received 0 Likes
on
0 Posts
ha, i had same issues...but transom was almost shot too...i actually used www.rot doctor.com products that turned the wood to rock...great product. Though im sure some will say replacing is better, was a ton cheaper/easy to apply and lasted for years...http://www.rotdoctor.com/
i would add it anyway to parts you think aren't rotten...
i would add it anyway to parts you think aren't rotten...
12-02-2012, 08:33 AM
#13
Registered
I was planning on putting a trim switch right in front of the control so when full throttle I can have my hand on the throttle and put a finger forward and run the switch. I may consider your method tho. That would definitely make it easier. My buddy has the switch in front of the control in his 23 Velocity and says its tricky.
When I restored my current 24' Sonic I put the buttons right in the handle. My controls are the same as your but bought Gaffrig versions that ended up being too big. The buttons on the levers are hollow though w/plastic caps cover the openings.
W/mine out, I opened up the holes w/a die grinder to accept the Gaffrig buttons. I then filled the whole cavity w/black silicone.
They work great and have had zero issues and are a thousand times better than buttons on the dash.
12-02-2012, 03:10 PM
#14
Registered
Thread Starter
Join Date: Jul 2012
Posts: 130
Likes: 0
Received 0 Likes
on
0 Posts
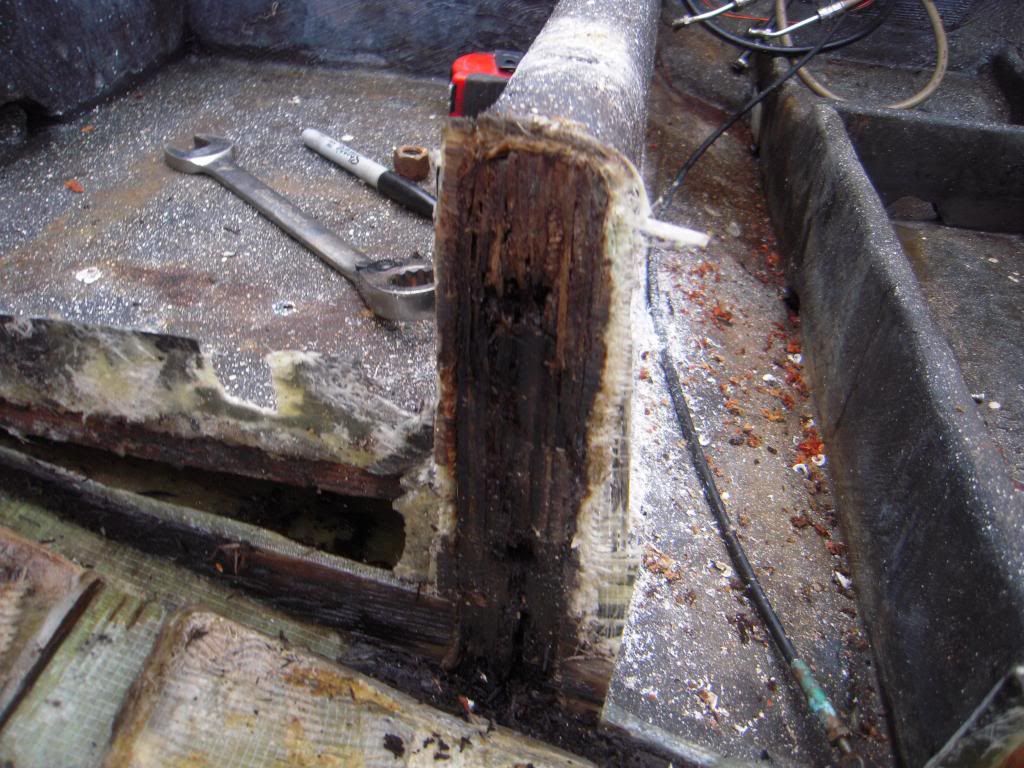
Well, I got the engine compartment all stripped down. I almost thought I would be able to get away with sectioning in the front foot of the stringers because the rest of it feels solid but the whole thing is wet. So I'm gonna have to replace them as a whole. I lucked out and the transom is solid as a rock. I'm gonna sand and resin the key hole and then gel coat it as an added protection against moisture. I also for the life of me cant get the gimble housing off the back of the boat! It will not budge at all! I pushed on it as hard as I could then moved on to using my 5 pound slide hammer still nothing and then as a last resort hooked a chain to it and pulled it with our shop truck. Its like its bonded to the damn hull! I guess I'm just gonna leave it on and have to work around it unless someone can give me some tips. I did the gimble right in my old Wellcraft and that fell off but this one is stuck! Well here are some pictures of her. I'll probably get to cutting out the engine stringers next weekend and then start grinding out everything to get it ready for installation of the new stuff.
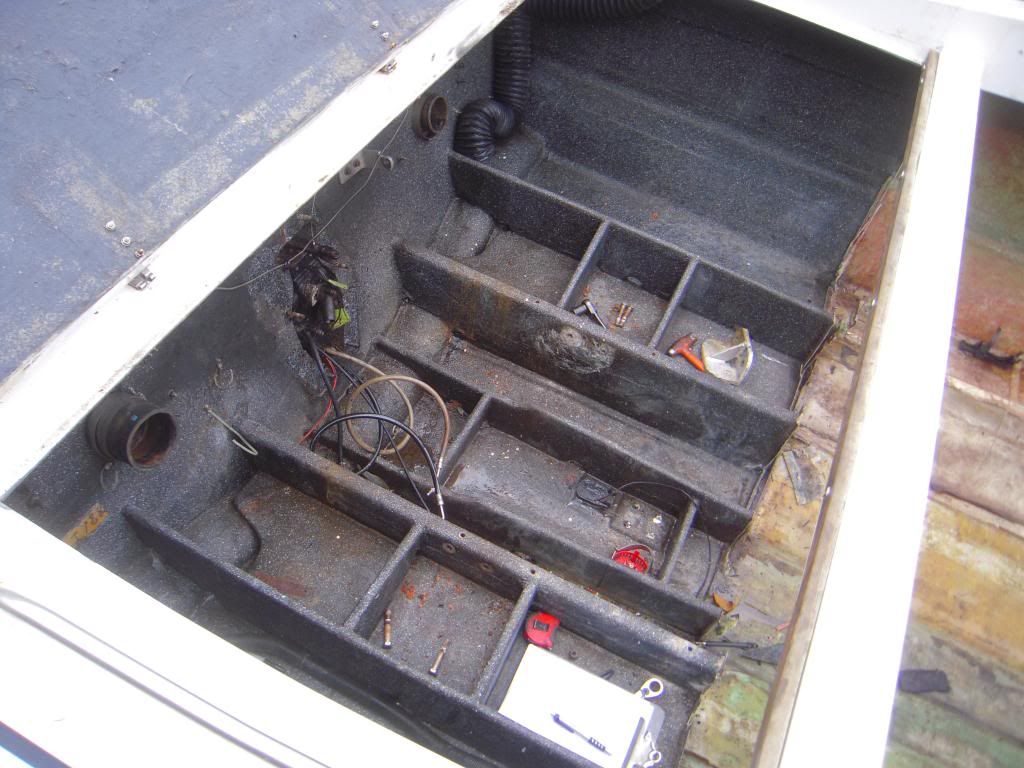
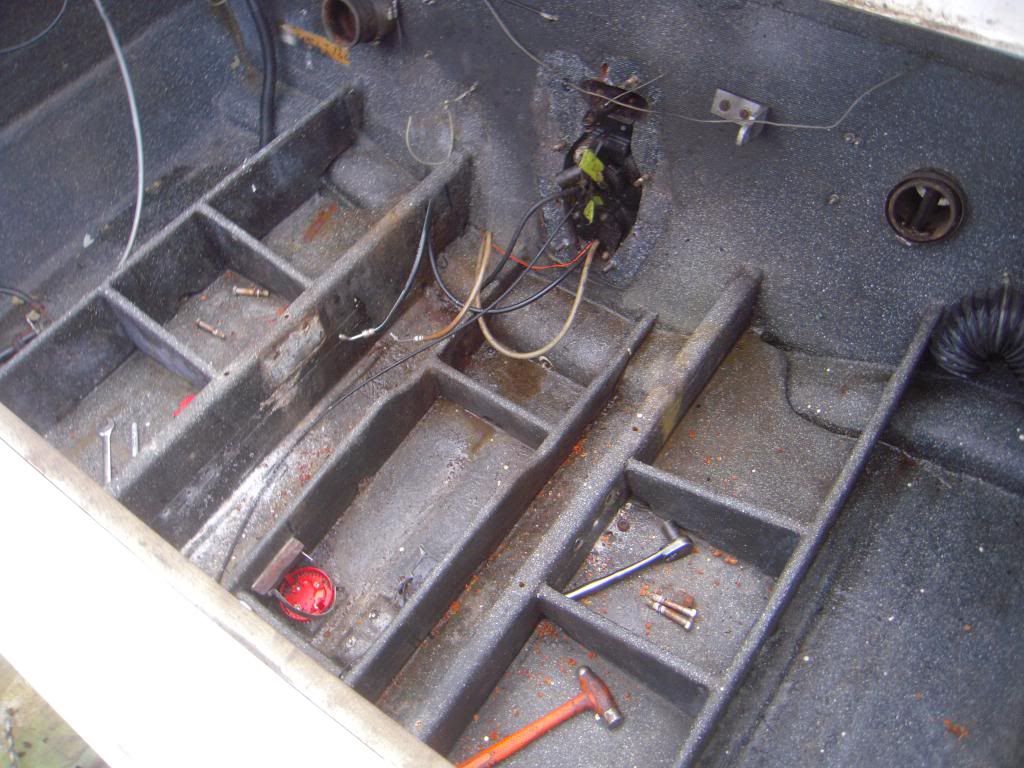
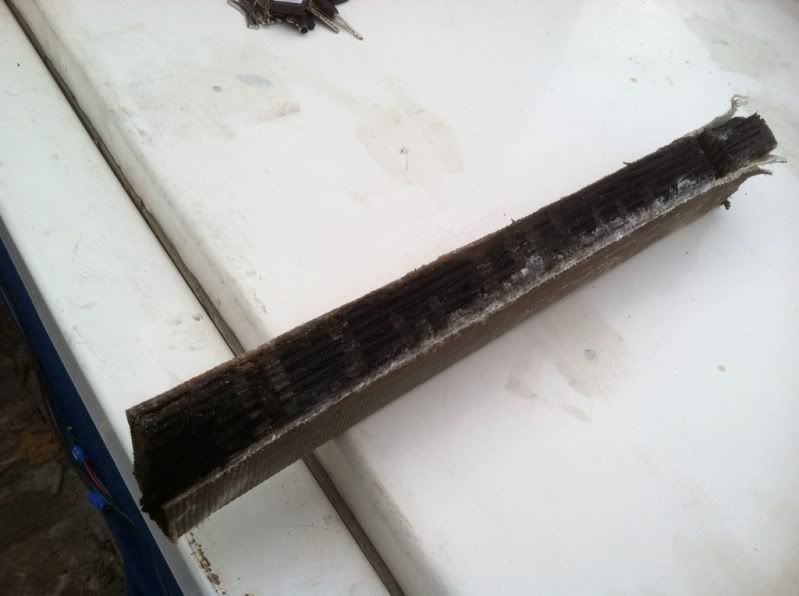
This is the worst of the two.
This is the worst of the two.
12-02-2012, 06:43 PM
#15
Registered
Join Date: Oct 2012
Location: 65065, MO
Posts: 16
Likes: 0
Received 0 Likes
on
0 Posts
I saw this thread earlier in the week. Awesome thread and keep them coming, it is nice to see this boat around still. I remember this boat back when it was close to new down south. Cool to see you keeing it alive.
12-02-2012, 07:55 PM
#16
Registered
Thread Starter
Join Date: Jul 2012
Posts: 130
Likes: 0
Received 0 Likes
on
0 Posts
I'm glad someone likes it. Haha. It's been difficult finding info on them though. I found the builder (Bill Seebold) on Facebook and he won't tell me much about them. Haha My boat before this was a 19 foot 1984 Wellcraft sunhatch with a thru hulled 305 and it just wasnt cuttin it. I sold it thinking about looking for a pachanga 22 formula 223ls, etc and then my girlfriend found this beaut. I drove 6 hours to MA with a buddy and took her home. It had sat for 6 years prior and the guy I bought it from was flipping it and said she fired right up with a fresh battery. I love how rare it is. I'd like to say this boat is stayin with me for a loooong time. I'm gonna try to paint it this year but after all the wood, fiberglass, and interior re do it may not be in the budget this year.
12-03-2012, 11:15 PM
#17
Registered
Join Date: Oct 2012
Location: 65065, MO
Posts: 16
Likes: 0
Received 0 Likes
on
0 Posts
It will be a handful getting it back to its former glory, but on a positive note, you will have learned so much bout it and you will no what you have. A solid rare boat that is done to your styled.
12-04-2012, 06:10 AM
#18
Registered
Thread Starter
Join Date: Jul 2012
Posts: 130
Likes: 0
Received 0 Likes
on
0 Posts
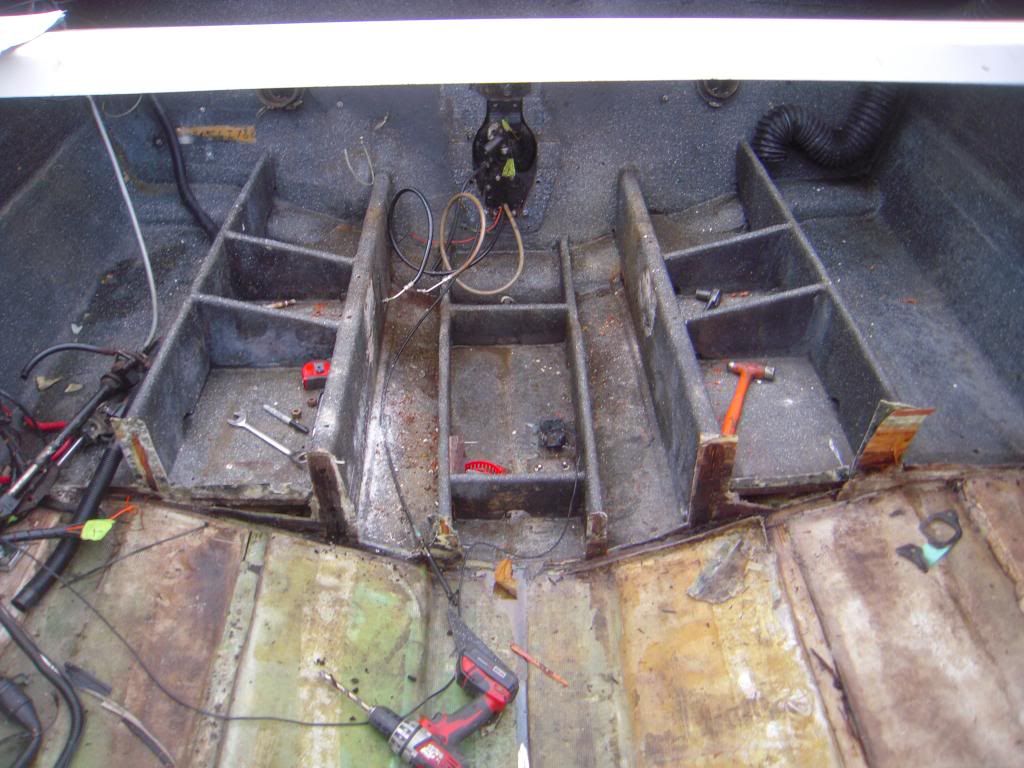
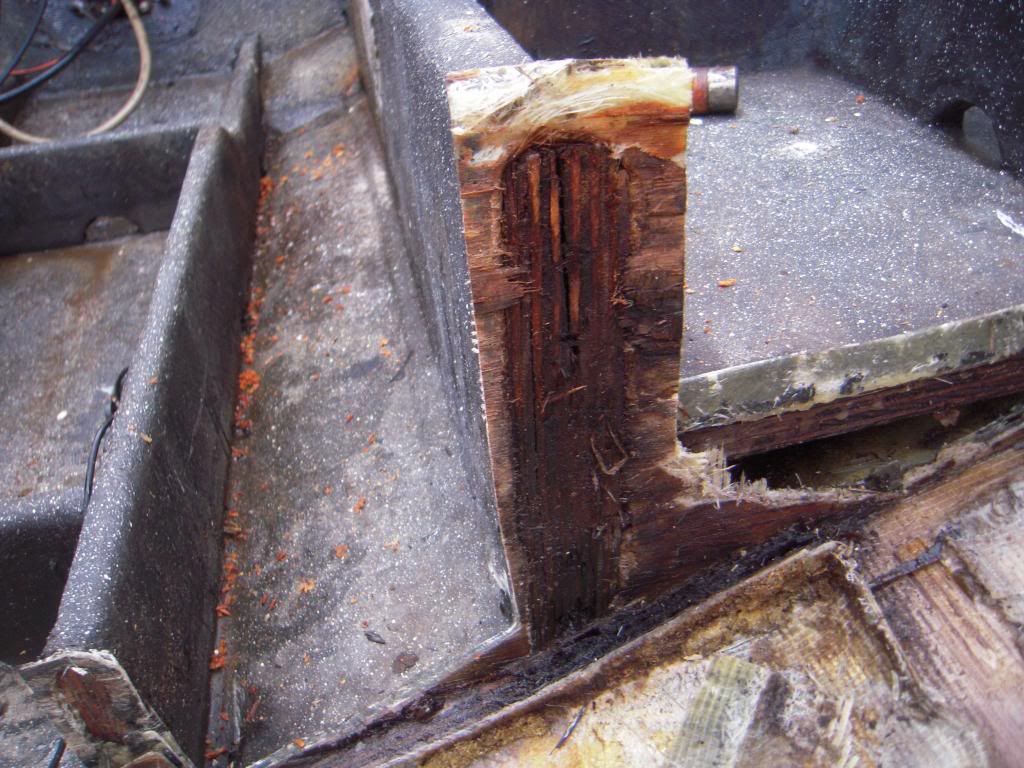
Exactly! With any old boat you dont really know what youre getting into so when its done I will have an almost brand new boat. Here's some more pics of the destruction.
I didnt feel like carrying around my drive or shelling out the money for a drive stand so I made one out of cheap angle iron.
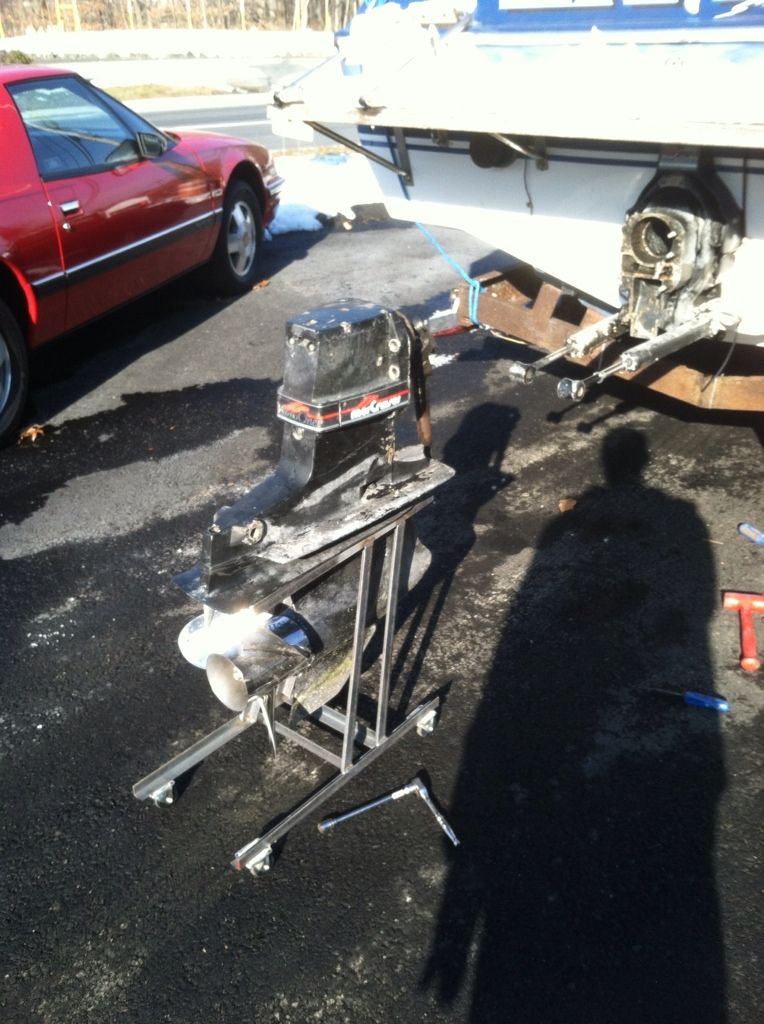
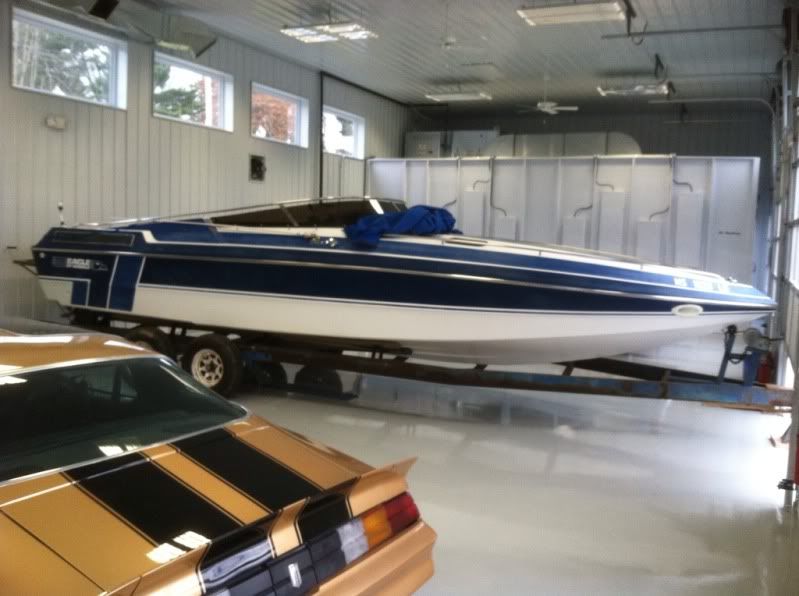
Without the swim platform she just bbbarely squeeze into our new shop (classic car restoration).
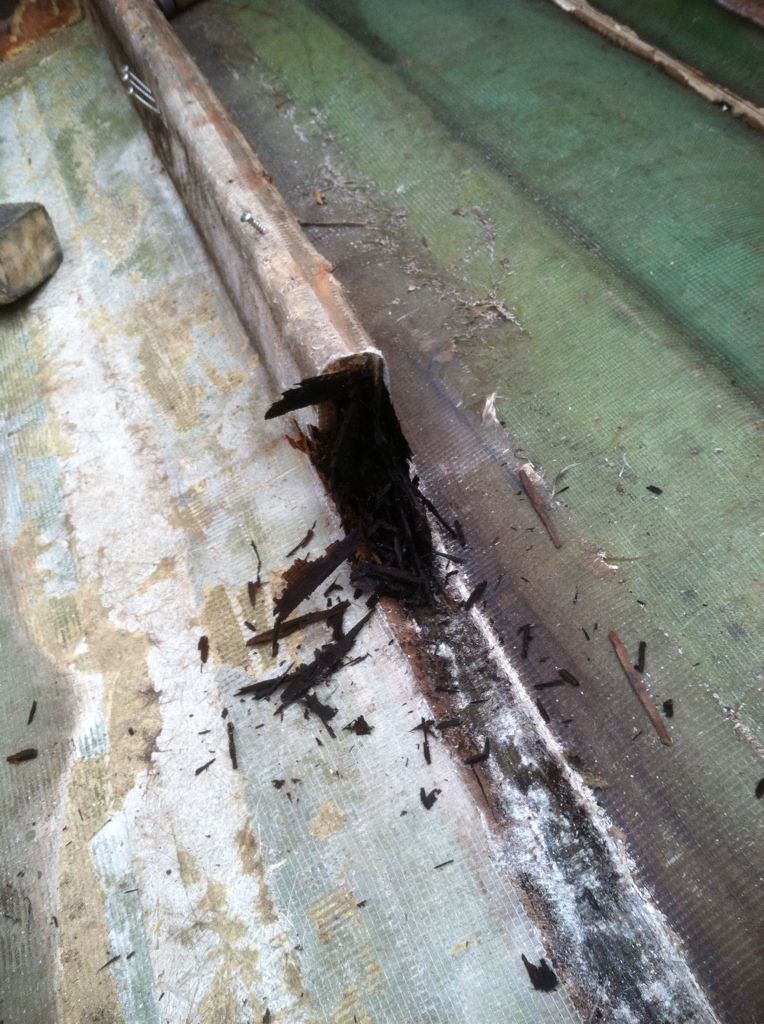
Here's what the cabin stringers looked like when I first tore into her.
I didnt feel like carrying around my drive or shelling out the money for a drive stand so I made one out of cheap angle iron.
Without the swim platform she just bbbarely squeeze into our new shop (classic car restoration).
Here's what the cabin stringers looked like when I first tore into her.

