

93 Mirage 232 Trovare build
 12-28-2013, 02:18 PM
#31
Banned
Thread Starter
Join Date: Jun 2013
Location: AZ
Posts: 1,014
Likes: 0
Received 0 Likes
on
0 Posts
I haven't been able to do much of anything on the boat lately, so I woke up at 5:45am this morning and started removing the rest of the transom. All of this work has been done with zero help from anyone(besides you guys giving me much needed advice!). Mom bought me a porter cable ocilating saw for christmas(thing is awesome!) and I am also using a circular ZIPSAW. Worked until 10am today, and almost have the entire transom done. Signing on a new home, is finishing this up later today. Stringers are next.
5:45am
10:00am
5:45am

10:00am


Last edited by Borgie; 12-29-2013 at 10:36 PM.
 01-04-2014, 10:56 AM
#32
Banned
Thread Starter
Join Date: Jun 2013
Location: AZ
Posts: 1,014
Likes: 0
Received 0 Likes
on
0 Posts
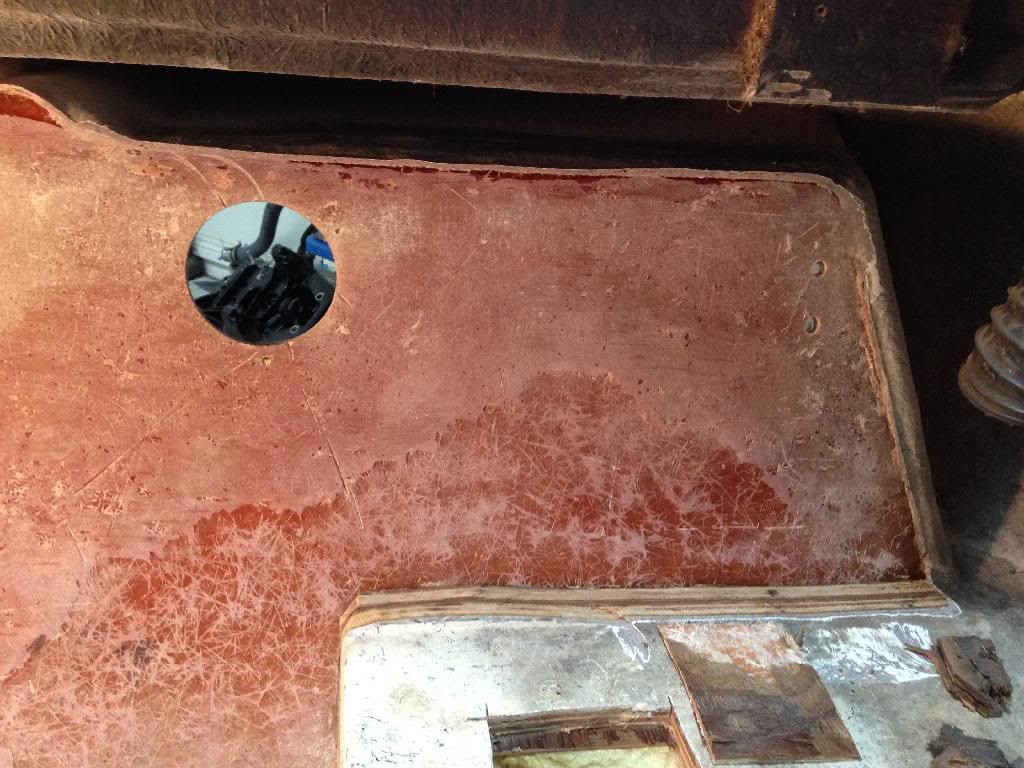
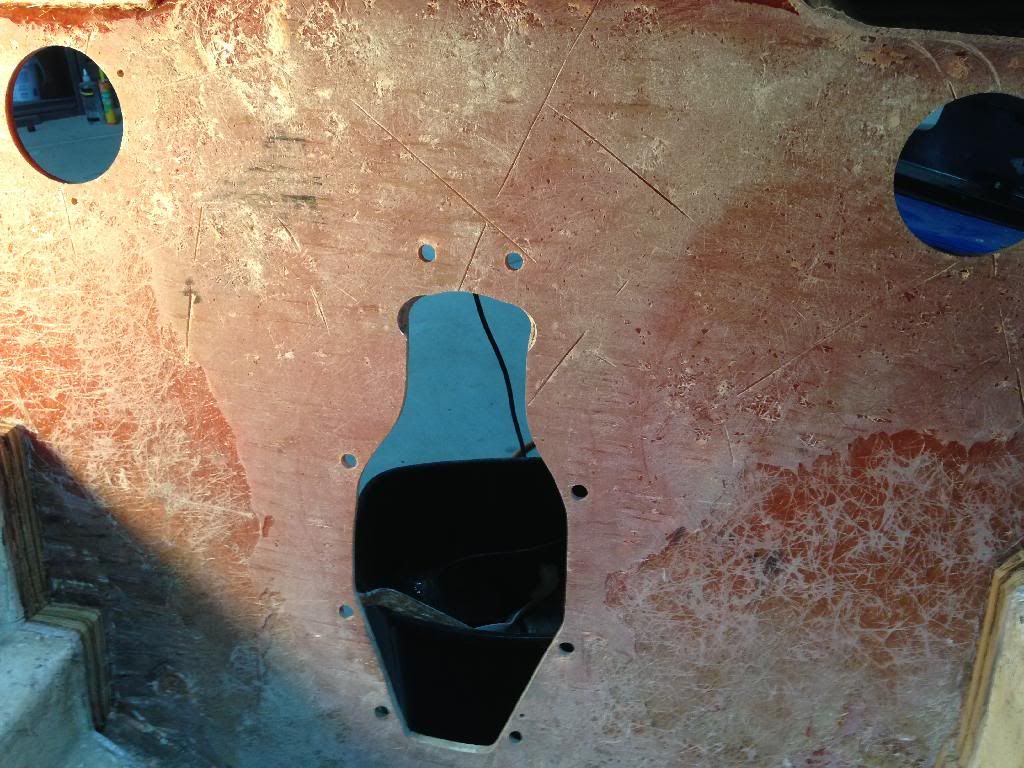
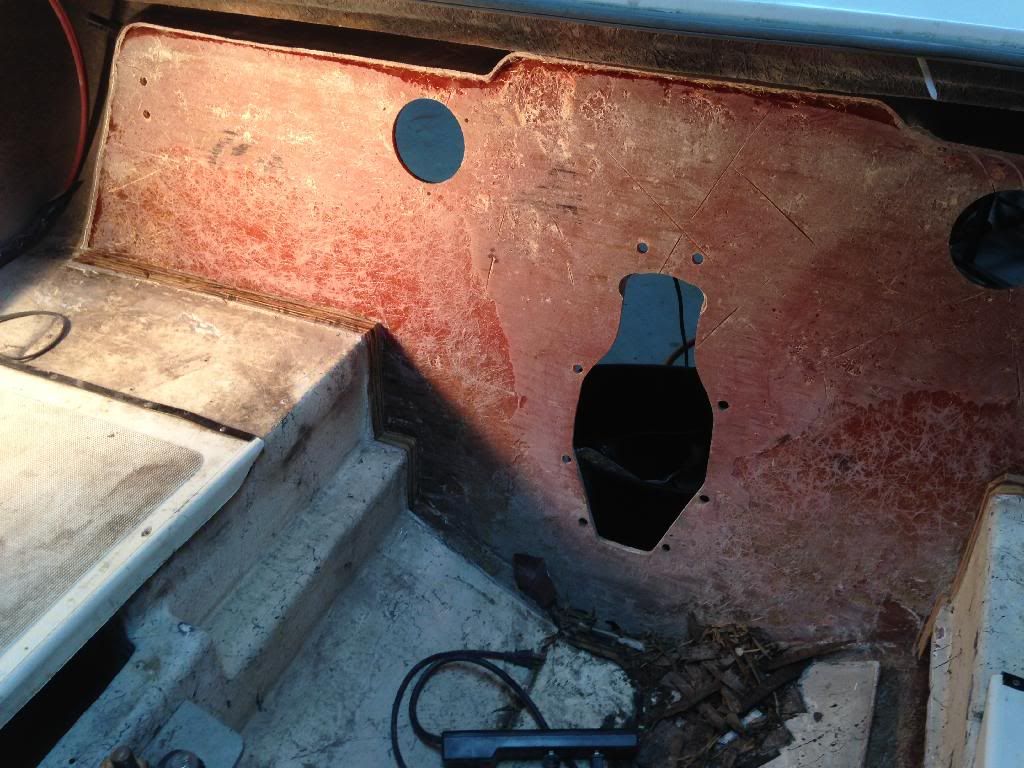
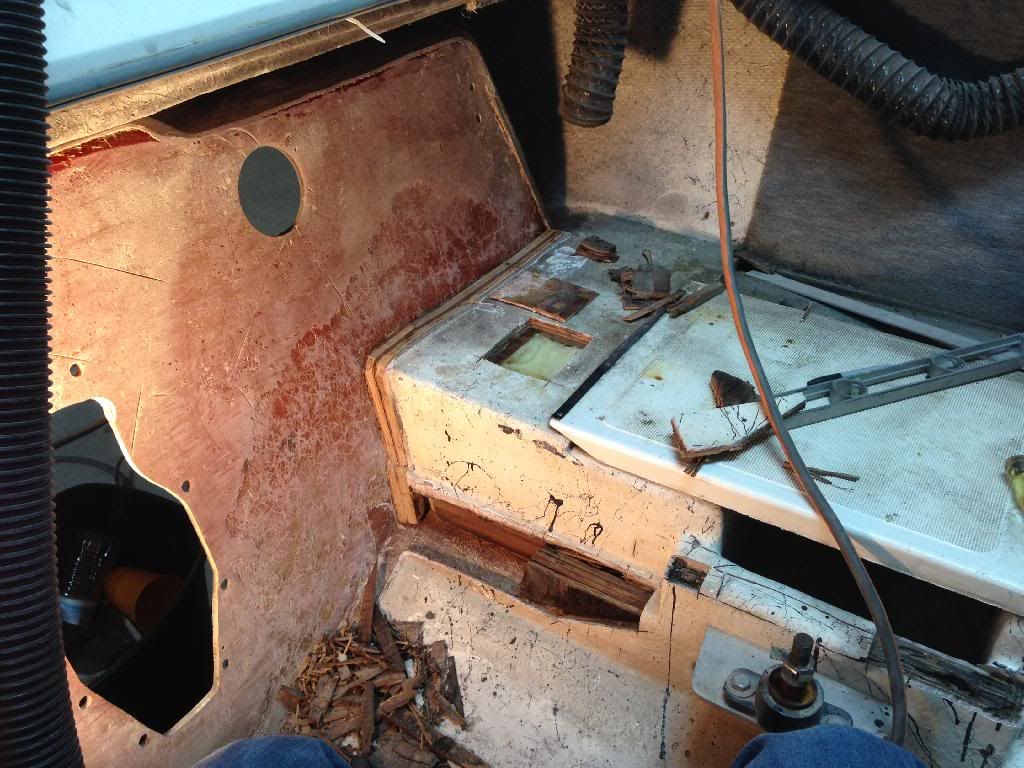
So I've always liked the look of the late 90's Mirage bilge vents being in the rear of the boat and not where mine are located(rear sides with vents). To top it off they are Teal colored so they must go. Planning on filling the large hole at the same time I'm replacing the transom and rebuilding the engine stringers. Also adding pop up cleats.
Before:
After: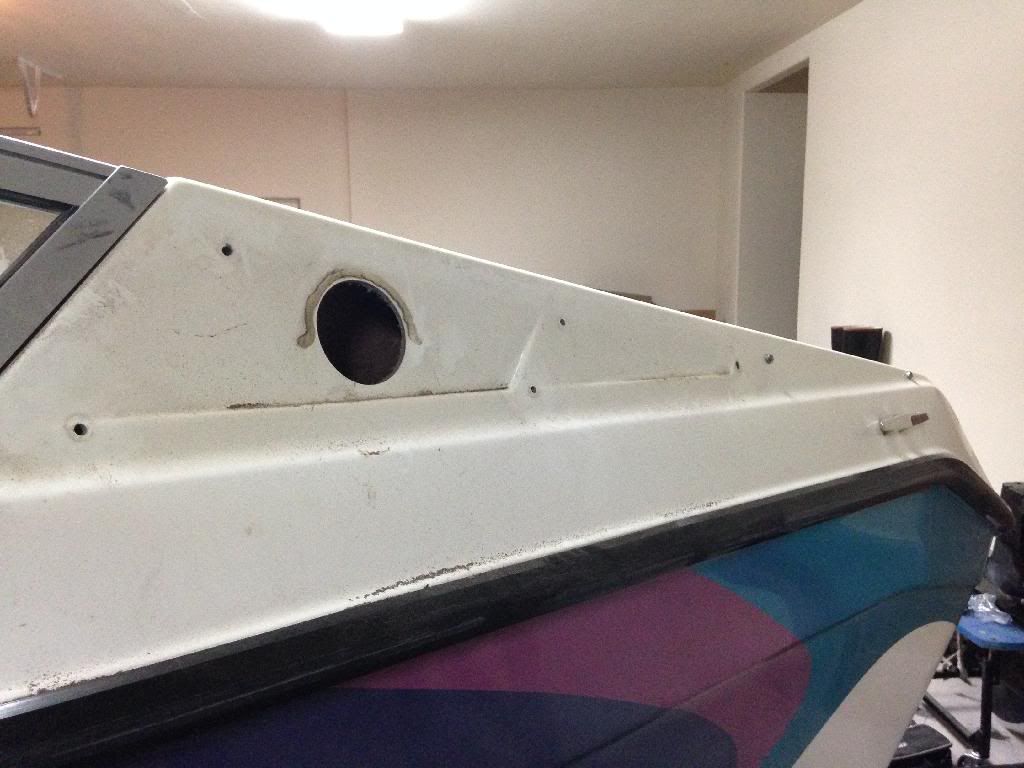
Before:

After:
 01-13-2014, 09:01 AM
#34
Banned
Thread Starter
Join Date: Jun 2013
Location: AZ
Posts: 1,014
Likes: 0
Received 0 Likes
on
0 Posts
Really haven't had much time lately to do a whole lot. Had a week long medical refresher, and been swamped with watching my son. Decided to sell my carburetor and purchase a HOLLEY HP MPFI! Funny how this simple project has morphed into what it is now. Here is the system I'm going with: http://www.holley.com/550-835.asp
This week I plan to remove the engine stringers and start prepping for the new setup. Not going to buy resin until everything is faired in, as vinyl ester should be used within 3 months. Overnight temps are also still a tad low for my liking. We are moving into a new house that will be finished in August, so like it or not, the engine needs to be at least back in the boat before July! Wife says so lol. I will be sure to post plenty of pics soon.
This week I plan to remove the engine stringers and start prepping for the new setup. Not going to buy resin until everything is faired in, as vinyl ester should be used within 3 months. Overnight temps are also still a tad low for my liking. We are moving into a new house that will be finished in August, so like it or not, the engine needs to be at least back in the boat before July! Wife says so lol. I will be sure to post plenty of pics soon.
Last edited by Borgie; 01-13-2014 at 09:04 AM.
01-26-2014, 11:14 PM
#35
Banned
Thread Starter
Join Date: Jun 2013
Location: AZ
Posts: 1,014
Likes: 0
Received 0 Likes
on
0 Posts
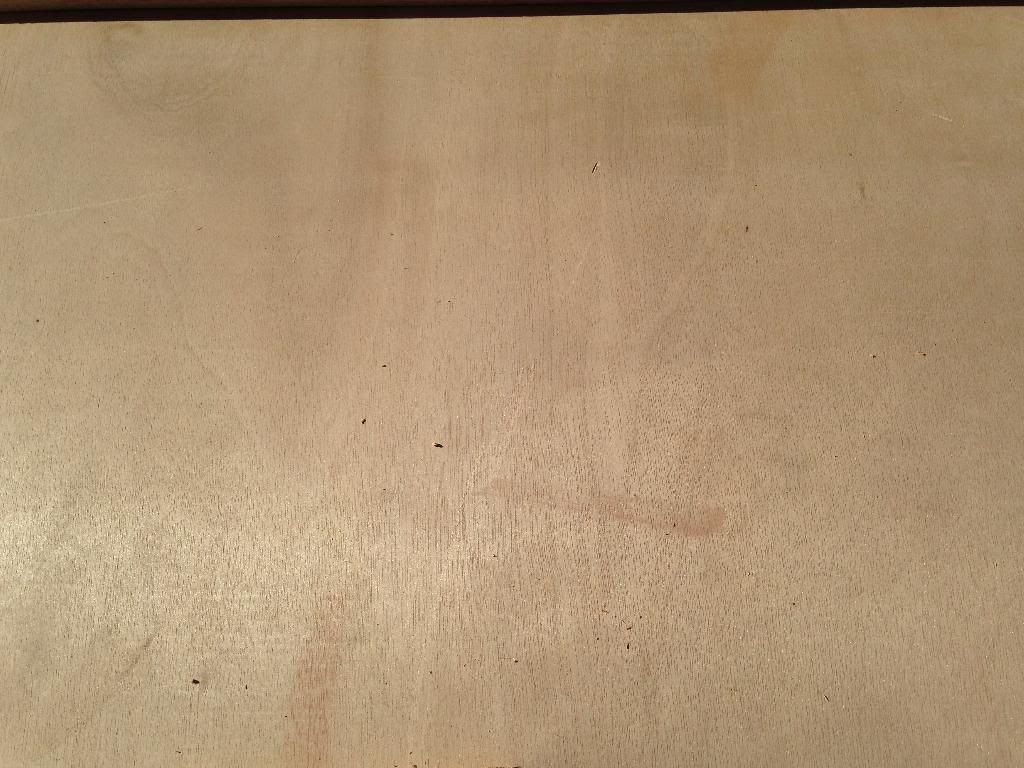
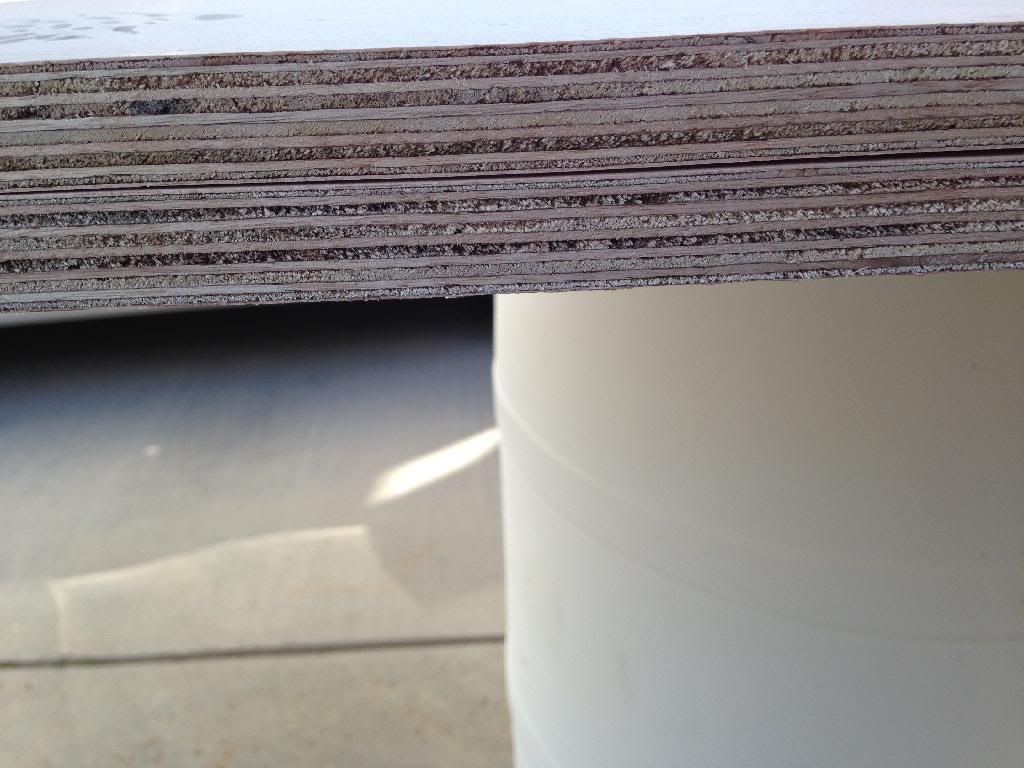
Small update: bought 2 pieces of 3/4 mahogany faced marine grade A plywood from woodworkers source for $200! God I hate this hobby lol. The quality of this wood is unreal. Almost a shame to waste it on a transom. Heading to the fiberglass supply place tomorrow to get some 1708, mat, resin and other trinkets. Still need to remove the rest of the stringers.
Clamped so it won't warp
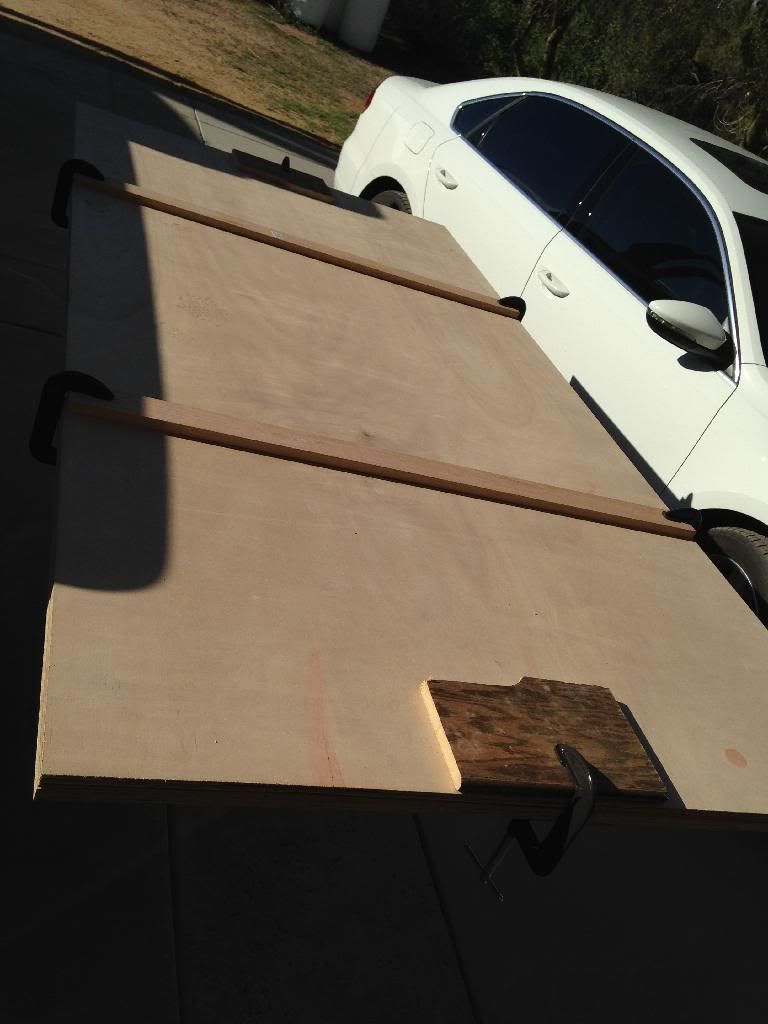
Makes you look at plywood in a whole new light! Not one void, knot or irregularity!
Might be overkill, but I"ll take 10 ply over 7 any day
Clamped so it won't warp

Makes you look at plywood in a whole new light! Not one void, knot or irregularity!

Might be overkill, but I"ll take 10 ply over 7 any day
 02-01-2014, 08:32 AM
#36
Banned
Thread Starter
Join Date: Jun 2013
Location: AZ
Posts: 1,014
Likes: 0
Received 0 Likes
on
0 Posts
Planning to cut the engine stringers back today so that I can create enough space for the new transom wood laminations. Even if the engine stringers were not wet, IMO this needs to be done as I do not want a butt joint connecting my new transom and stringers. The goal today is to make a template and maybe cut up some of this beautiful wood that's almost too pretty for my ugly boat! Lol. On that note, I'm thinking black, silver and white for paint eventually.
I was able to find some 3M Corebonding material part number 70006474343 that I'm going to use to bond in my new transom and stringers. Will probably use it to create my "filets" as well. A big thank you to "Glassdave" for recommending this stuff and taking the time to explain pros' & cons. People like Dave make this site one of the best boating forums on the web. Also, thanks for following and any/all advice.
I was able to find some 3M Corebonding material part number 70006474343 that I'm going to use to bond in my new transom and stringers. Will probably use it to create my "filets" as well. A big thank you to "Glassdave" for recommending this stuff and taking the time to explain pros' & cons. People like Dave make this site one of the best boating forums on the web. Also, thanks for following and any/all advice.
Last edited by Borgie; 02-01-2014 at 08:34 AM.
02-01-2014, 11:40 PM
#37
Banned
Thread Starter
Join Date: Jun 2013
Location: AZ
Posts: 1,014
Likes: 0
Received 0 Likes
on
0 Posts
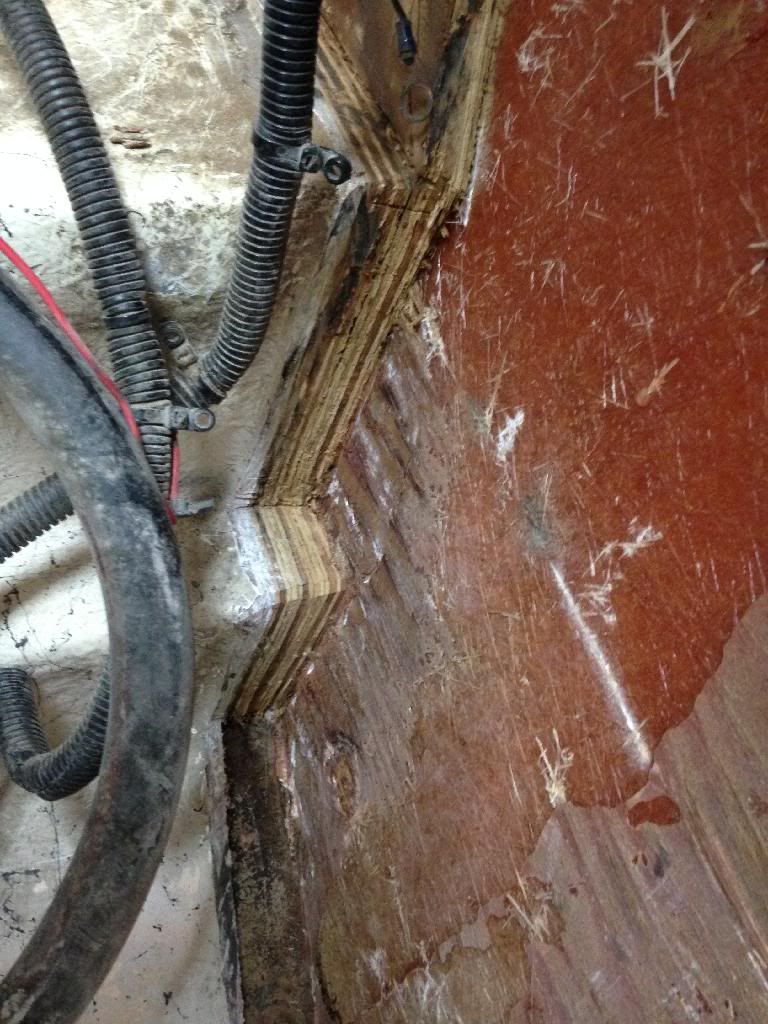
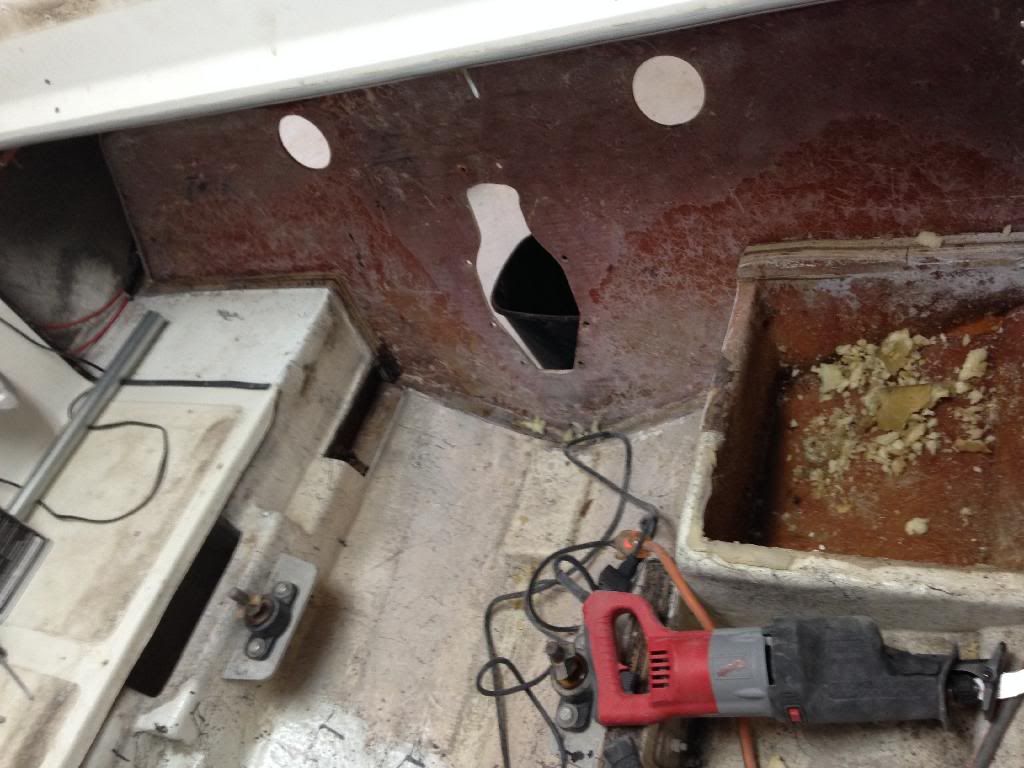
My plan today was to make a template for the transom, however it needed more prep work, and I still needed to cut the rear engine stringers back in order to tie new ones into the transom, at least in the absolute rear behind the motor mounts. I worked most of the day cutting and grinding Here are some pics:
Oh look what I finally picked up on Friday! 496 Gen V fresh from machining:


On to the itchy stuff:
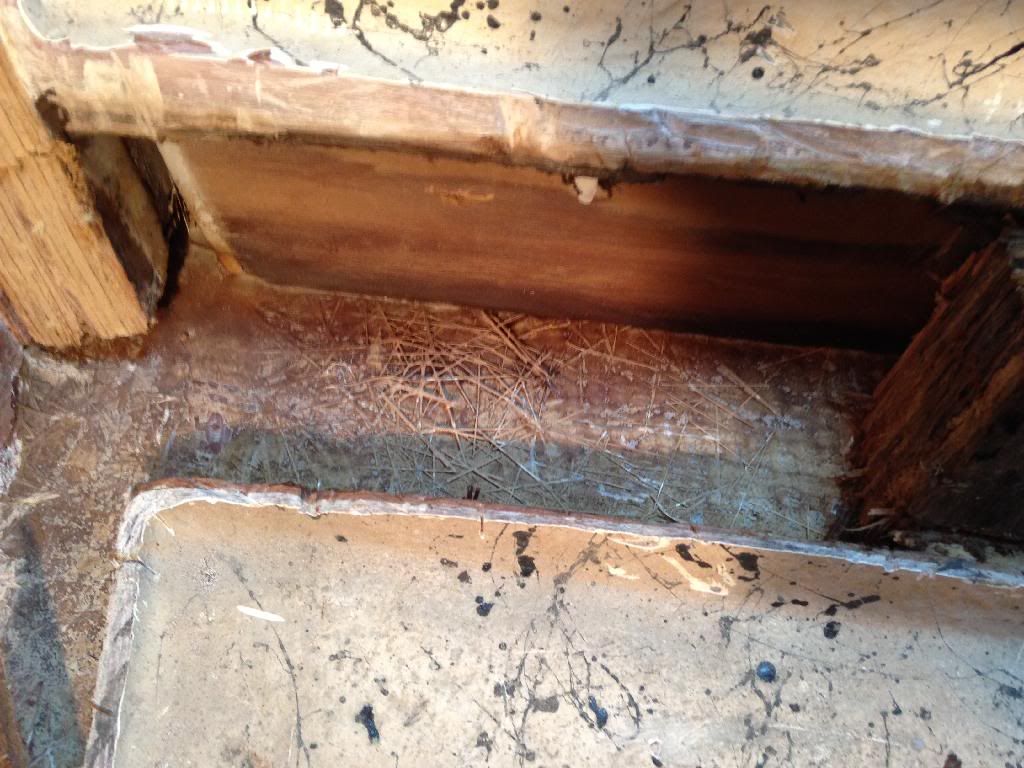
Stringers are three laminate sheets of 3/4 plywood, but not bonded to the hull. They were wet, but no real "rot". As you can see, the layup on mirage stringers is stout:
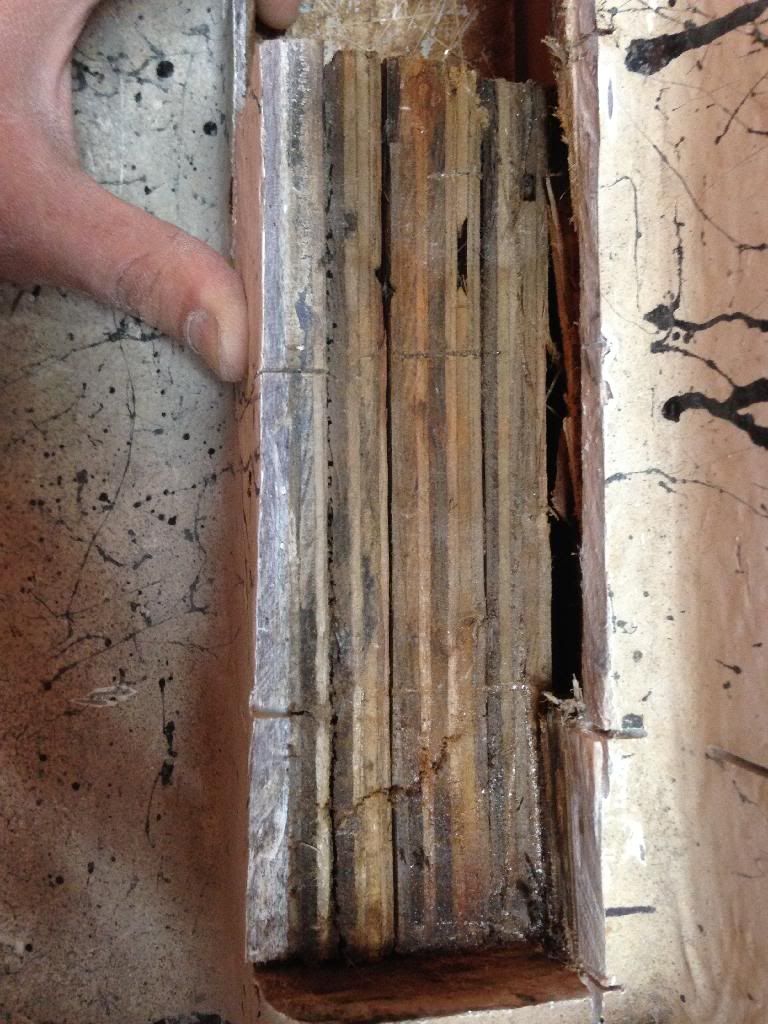
Again, wet, not rotten. Still, needs replacing:
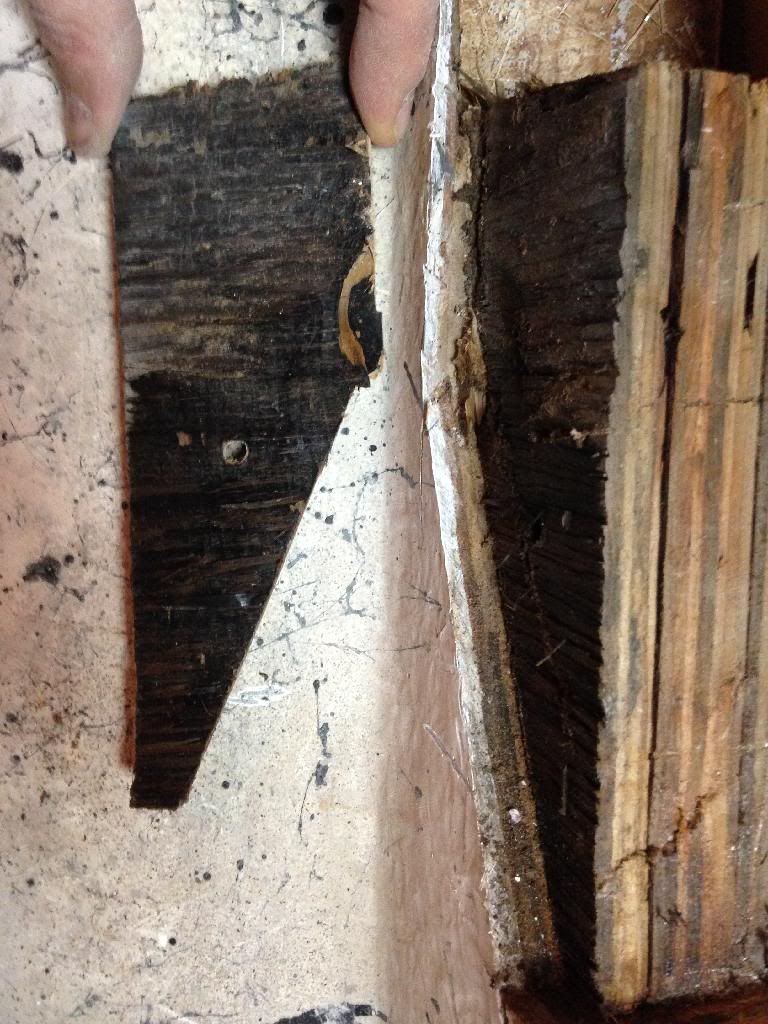
Rear engine stringer layout BEFORE:

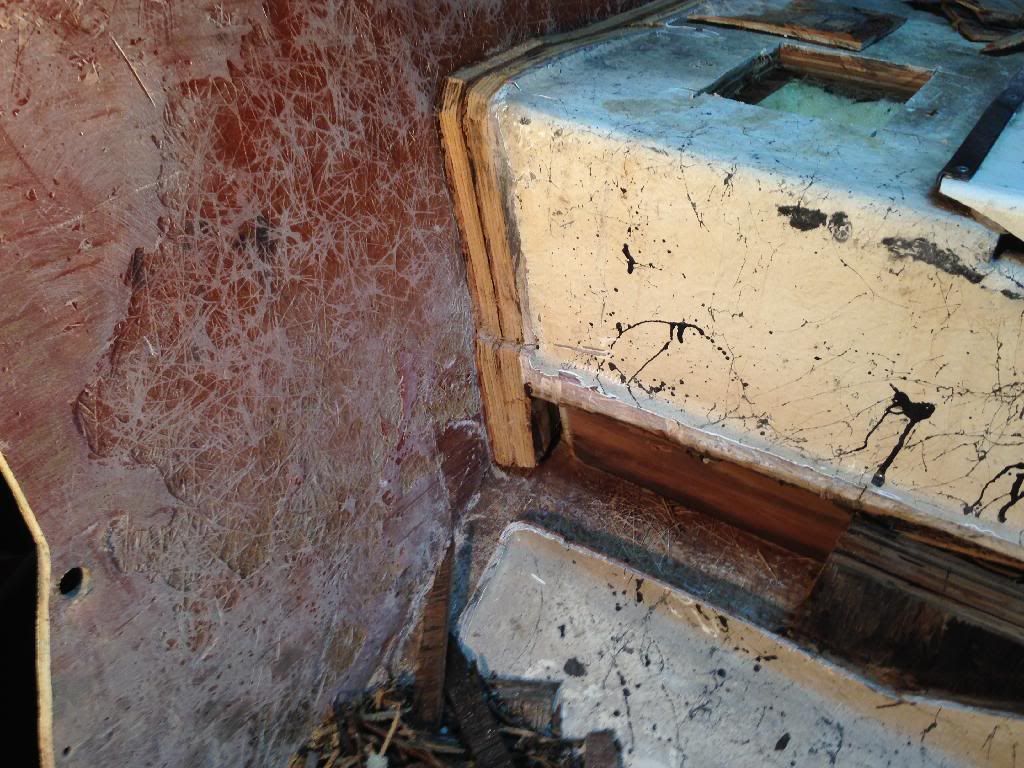
AFTER, thinking I was just going to scarf in a new piece! Yeah right!
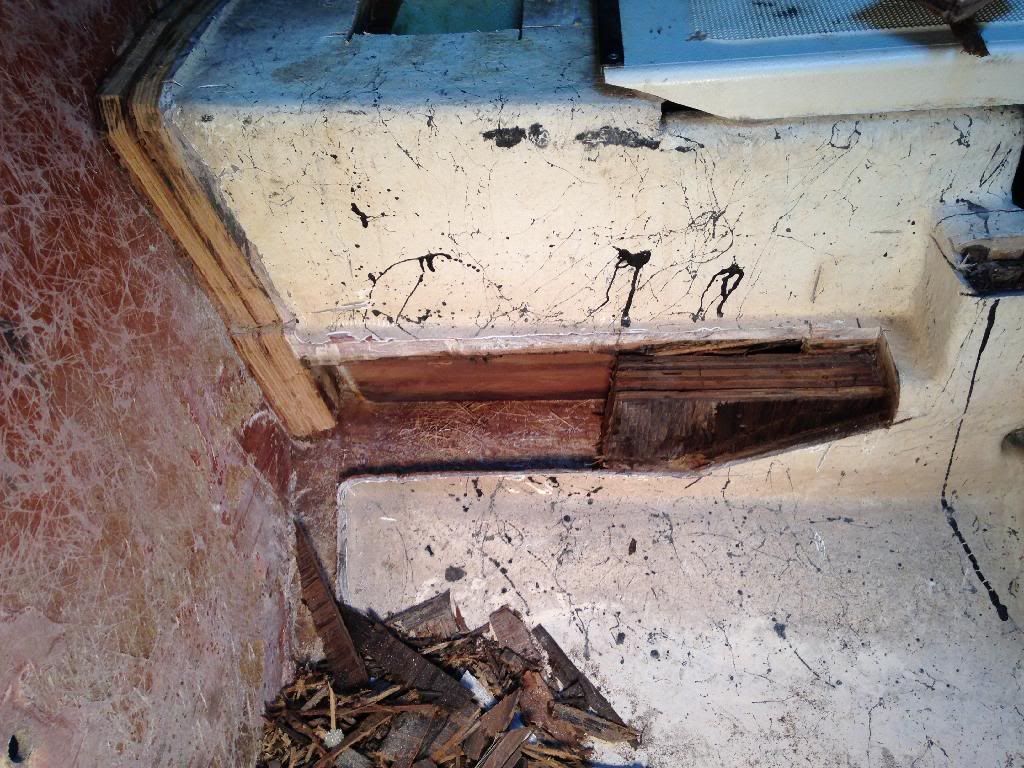
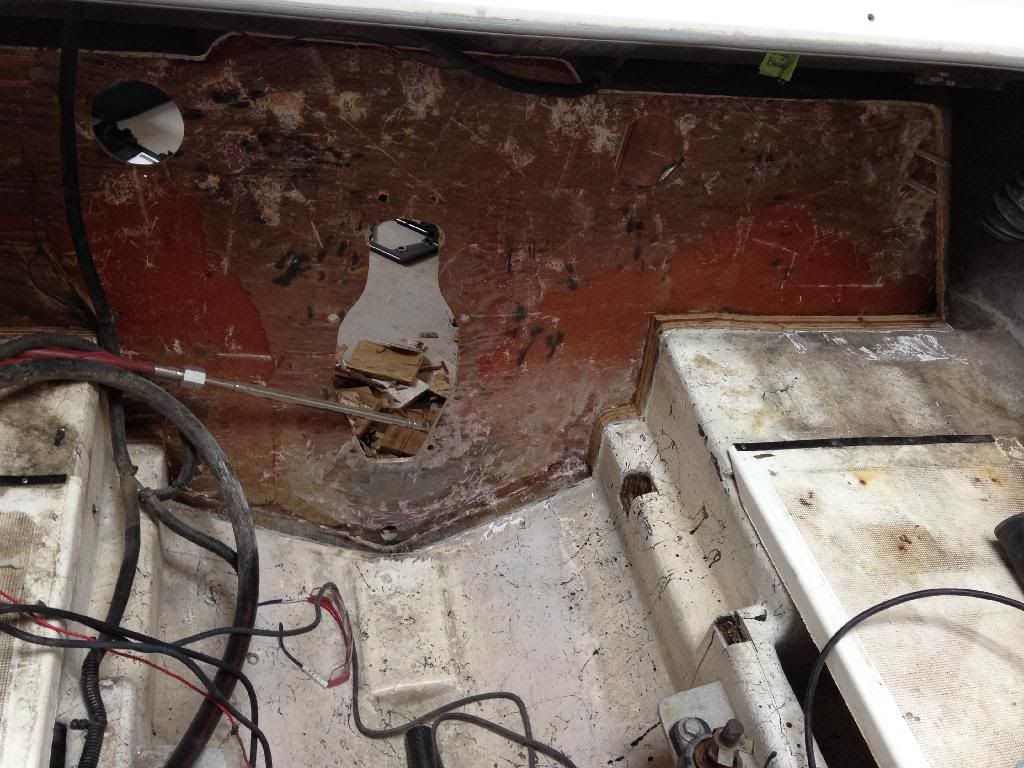
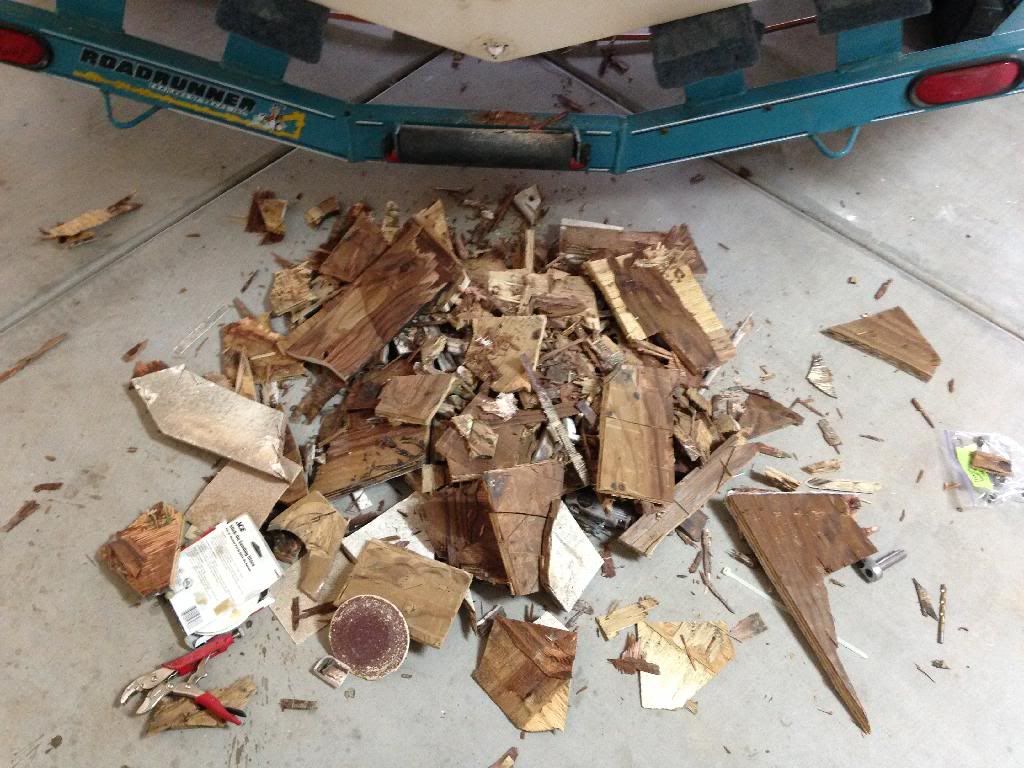
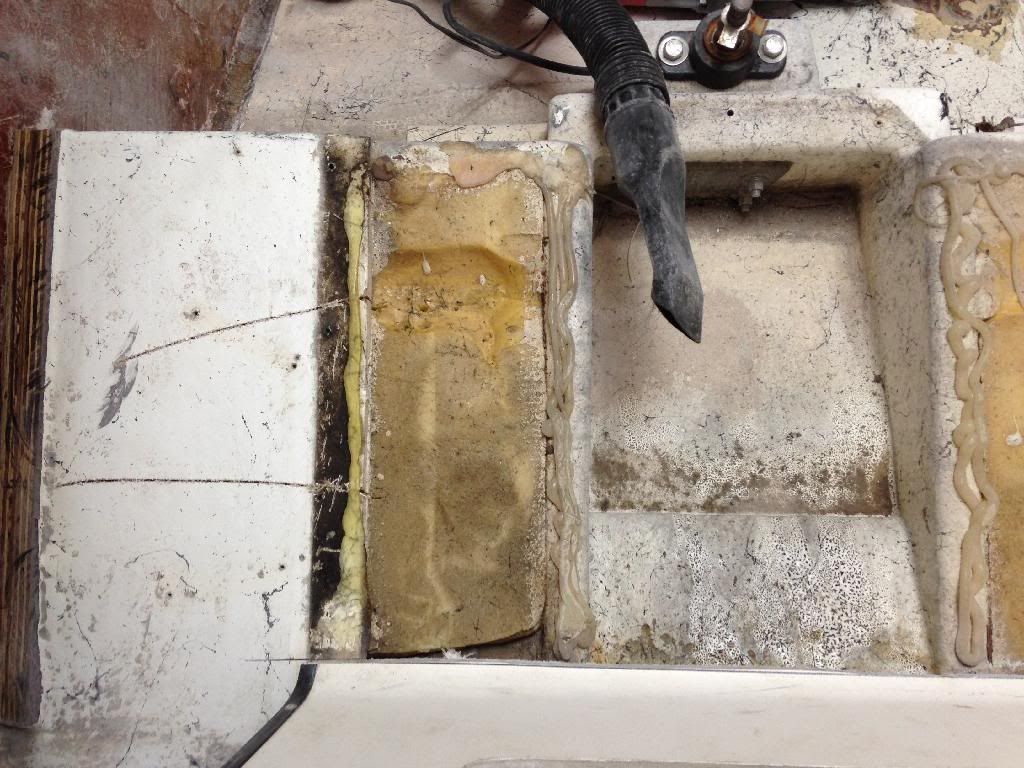
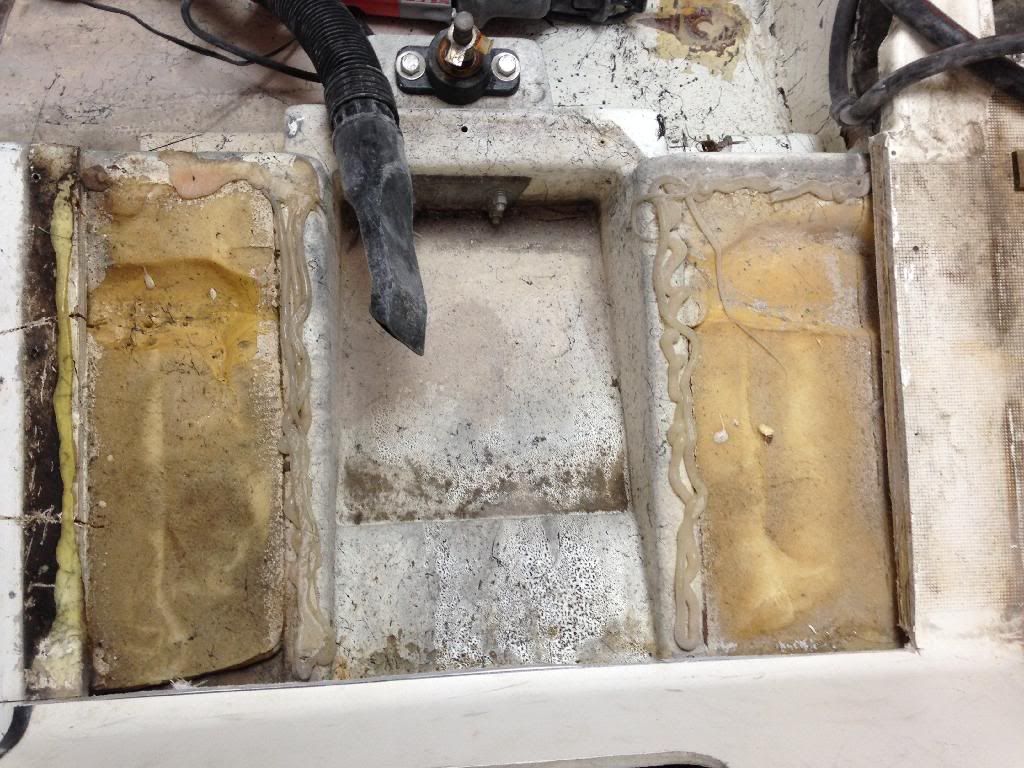
Going to be fun chipping this frickin poly/chop strand down to good glass! You can see the areas where there were voids. Actually less that half needs to be chipped away to get to the good stuff:
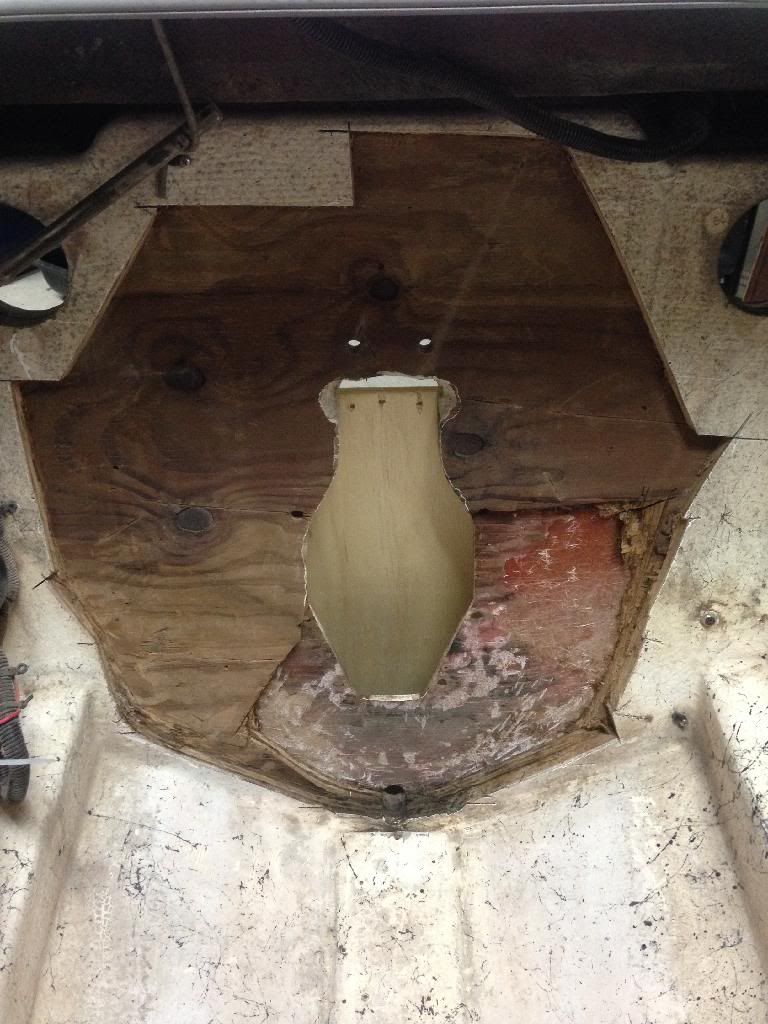
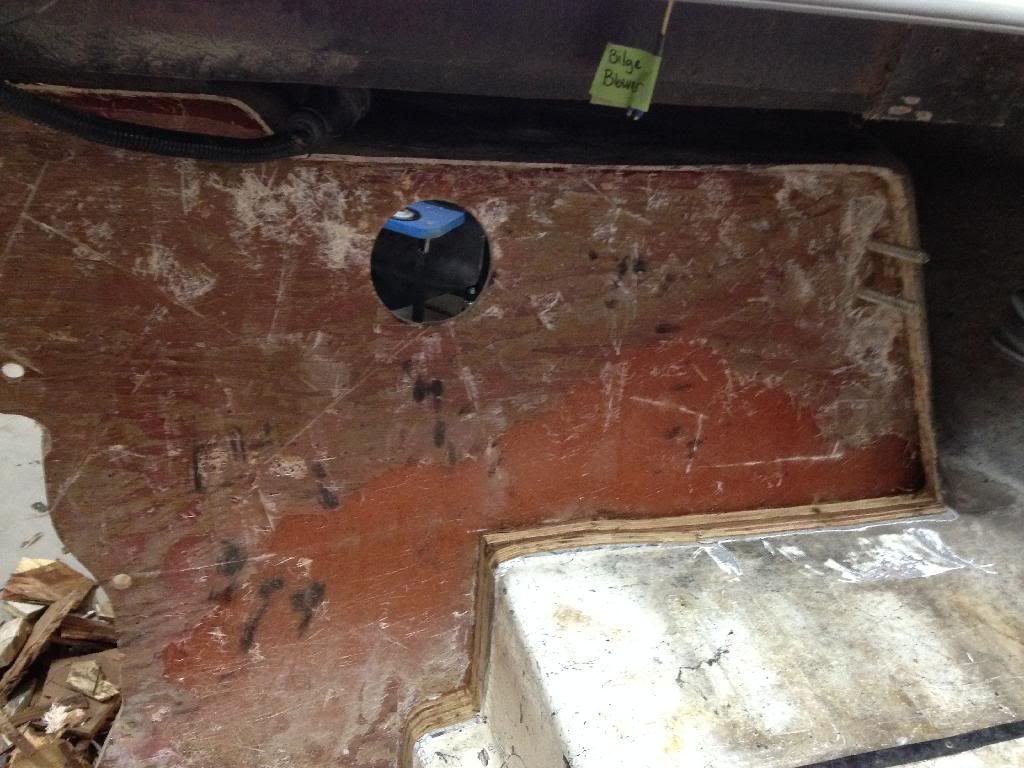
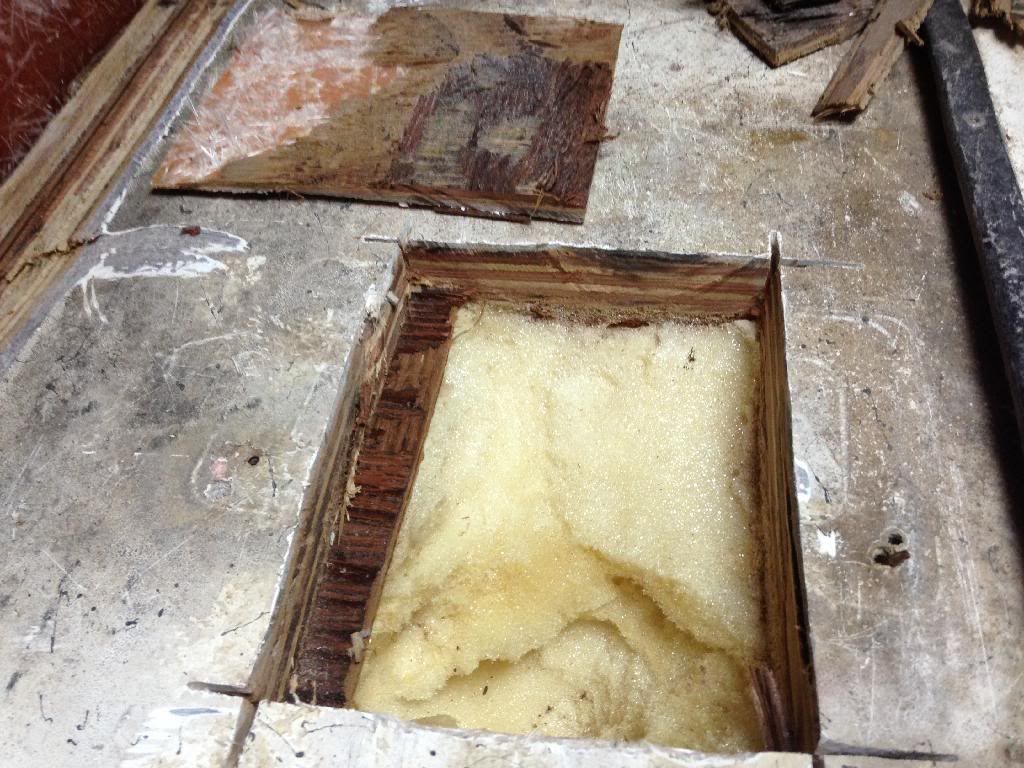
Cut an inspection hole to check the foam and inner structure. I'm thinking about cutting this top part back about 12 inches(it's 3/4 plywood and not even wet) to replace all of the transom in an effort to avoid butt joints, as they aren't preferred for ultimate strength:
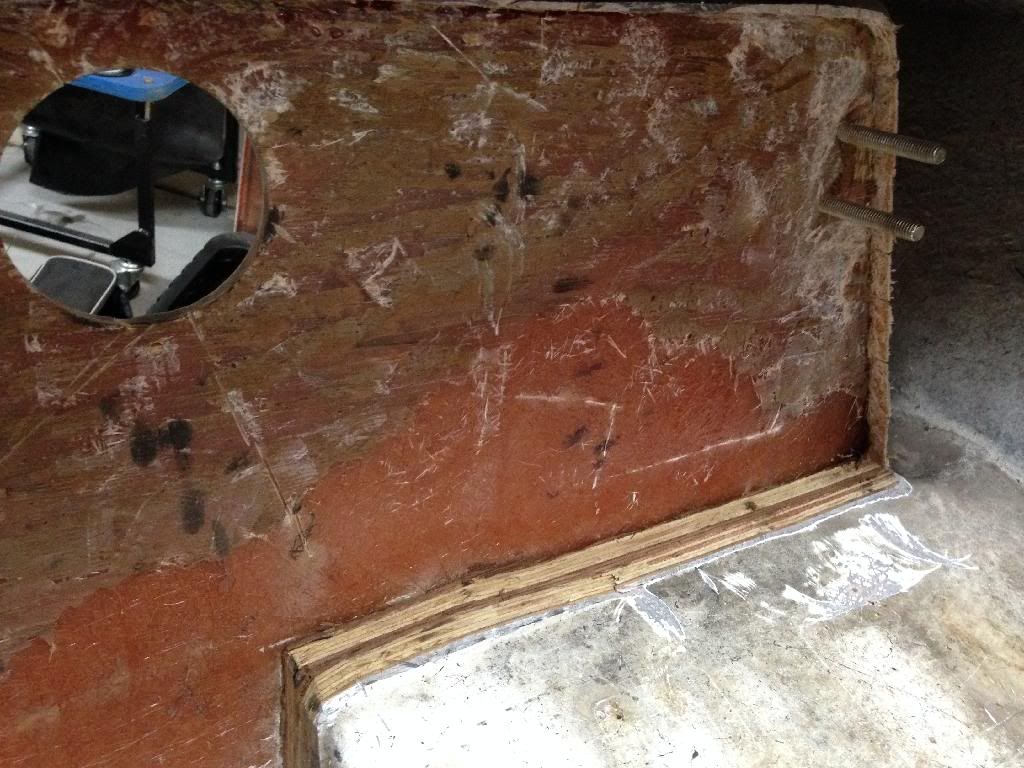
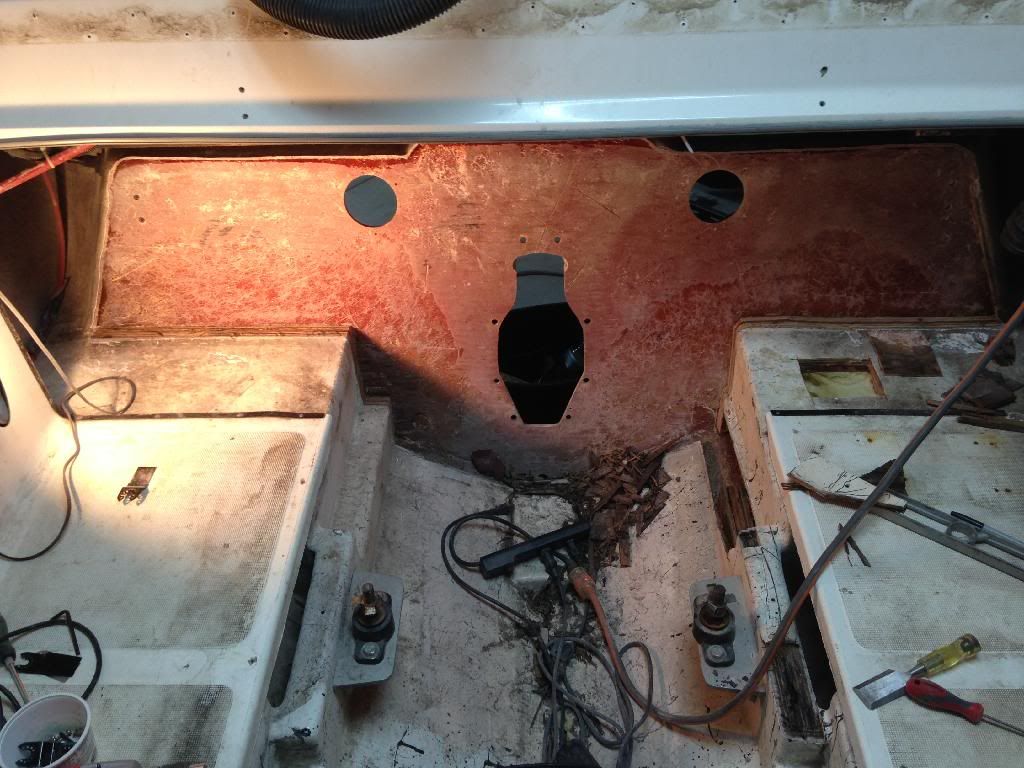
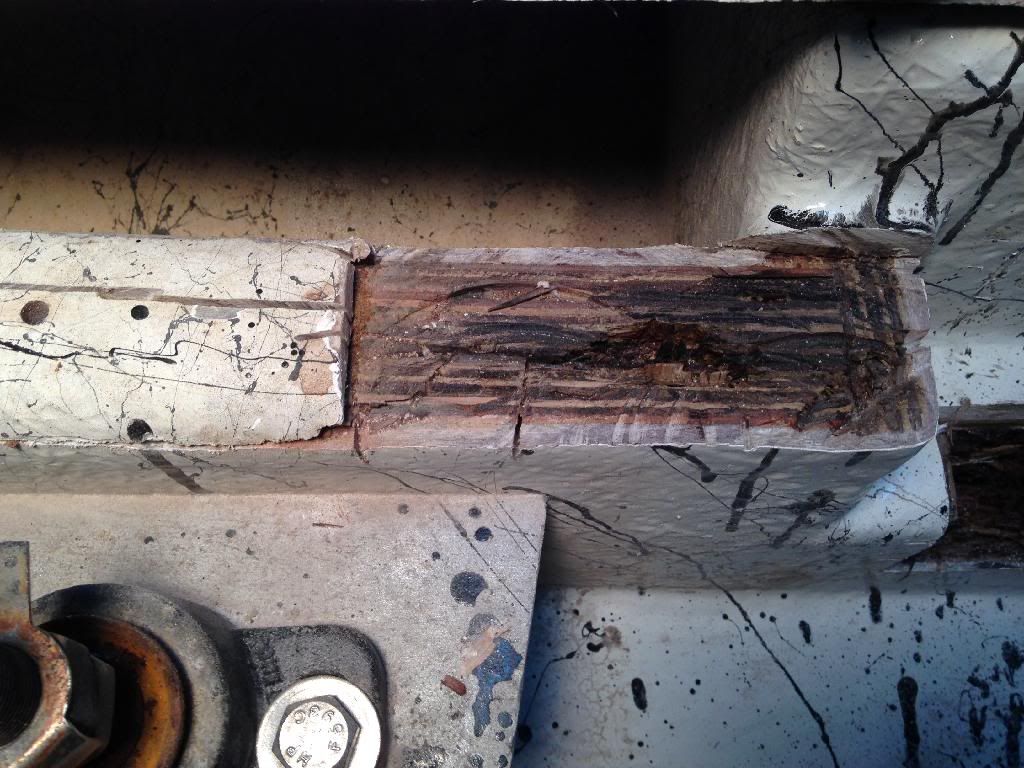
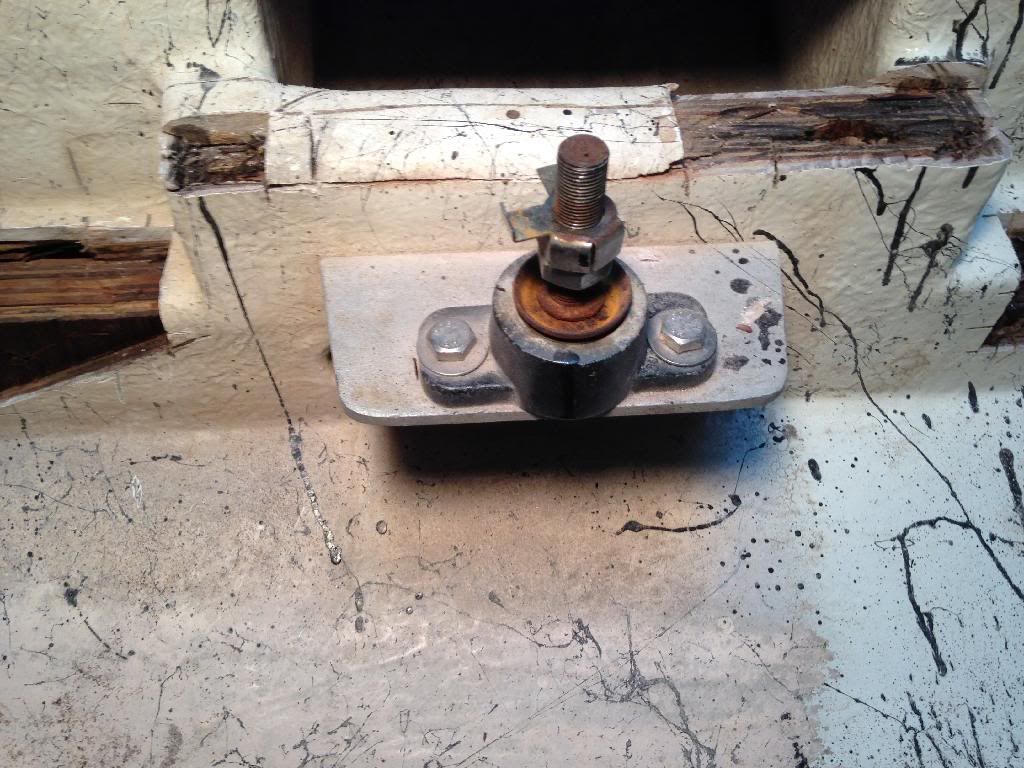
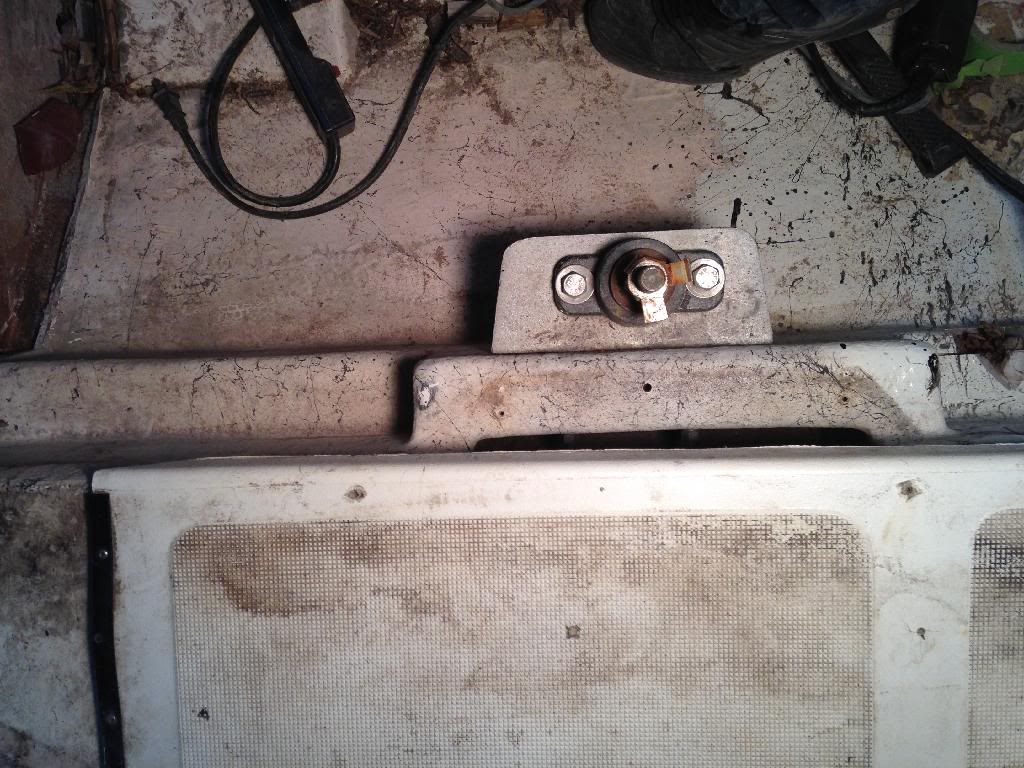
Rear stringer located behind motor mount and running back toward the transom:
I'm really dreading completely removing this part of the stringers. It seems almost impossible to get the mounts exactly back where they need to be. I realize the mounts have adjustment, but this seems like its going to take some time to have it turn out right.
Here are some pics:Oh look what I finally picked up on Friday! 496 Gen V fresh from machining:


On to the itchy stuff:
Stringers are three laminate sheets of 3/4 plywood, but not bonded to the hull. They were wet, but no real "rot". As you can see, the layup on mirage stringers is stout:

Again, wet, not rotten. Still, needs replacing:

Rear engine stringer layout BEFORE:

AFTER, thinking I was just going to scarf in a new piece! Yeah right!


Going to be fun chipping this frickin poly/chop strand down to good glass! You can see the areas where there were voids. Actually less that half needs to be chipped away to get to the good stuff:


Cut an inspection hole to check the foam and inner structure. I'm thinking about cutting this top part back about 12 inches(it's 3/4 plywood and not even wet) to replace all of the transom in an effort to avoid butt joints, as they aren't preferred for ultimate strength:

Rear stringer located behind motor mount and running back toward the transom:


I'm really dreading completely removing this part of the stringers. It seems almost impossible to get the mounts exactly back where they need to be. I realize the mounts have adjustment, but this seems like its going to take some time to have it turn out right.


Last edited by Borgie; 02-02-2014 at 12:10 AM.
02-02-2014, 02:32 PM
#38
Banned
Thread Starter
Join Date: Jun 2013
Location: AZ
Posts: 1,014
Likes: 0
Received 0 Likes
on
0 Posts
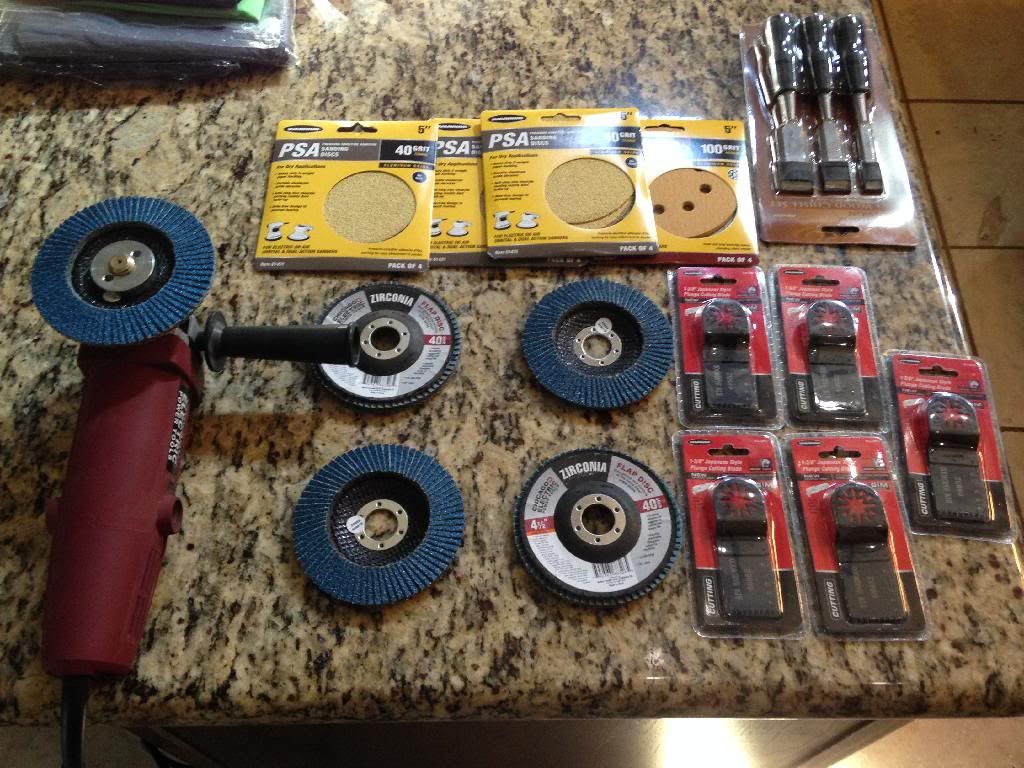
Reinforcements! Gotta love harbor freight. I like my porter cable oscillating tool, but my RotoZip saw blades, on the other hand last about ten cuts and they are done, at $24 a piece. No aftermarket blades available either. I do not recommend this type of saw, as it's not cost effective.
Job would be much more difficult without these!


Job would be much more difficult without these!

Last edited by Borgie; 02-02-2014 at 02:34 PM.
02-12-2014, 01:34 PM
#39
Banned
Thread Starter
Join Date: Jun 2013
Location: AZ
Posts: 1,014
Likes: 0
Received 0 Likes
on
0 Posts
This morning had a couple hours to get some more work done:
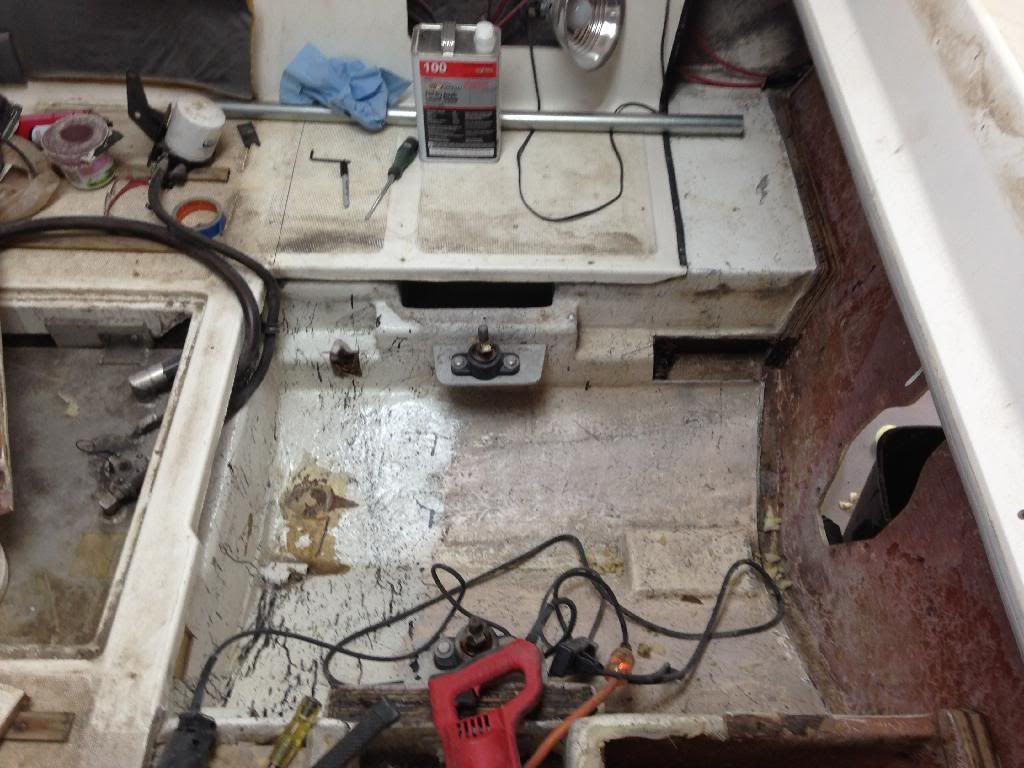
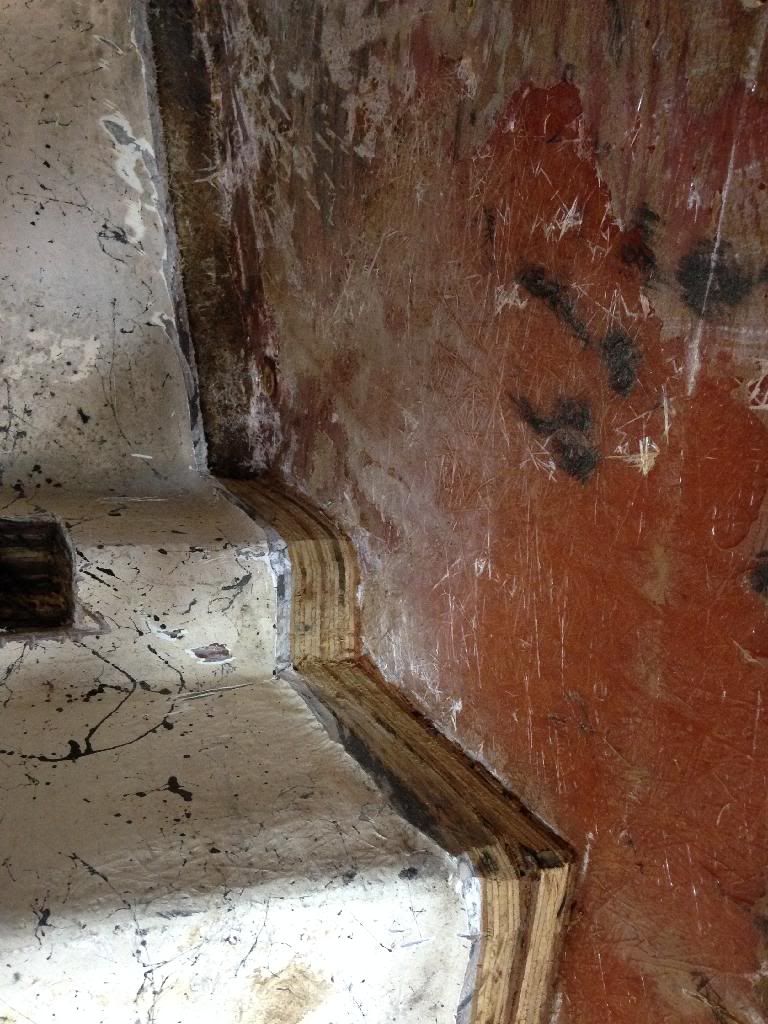
Little water in the bottom, but all surrounding wood is 100% sealed!
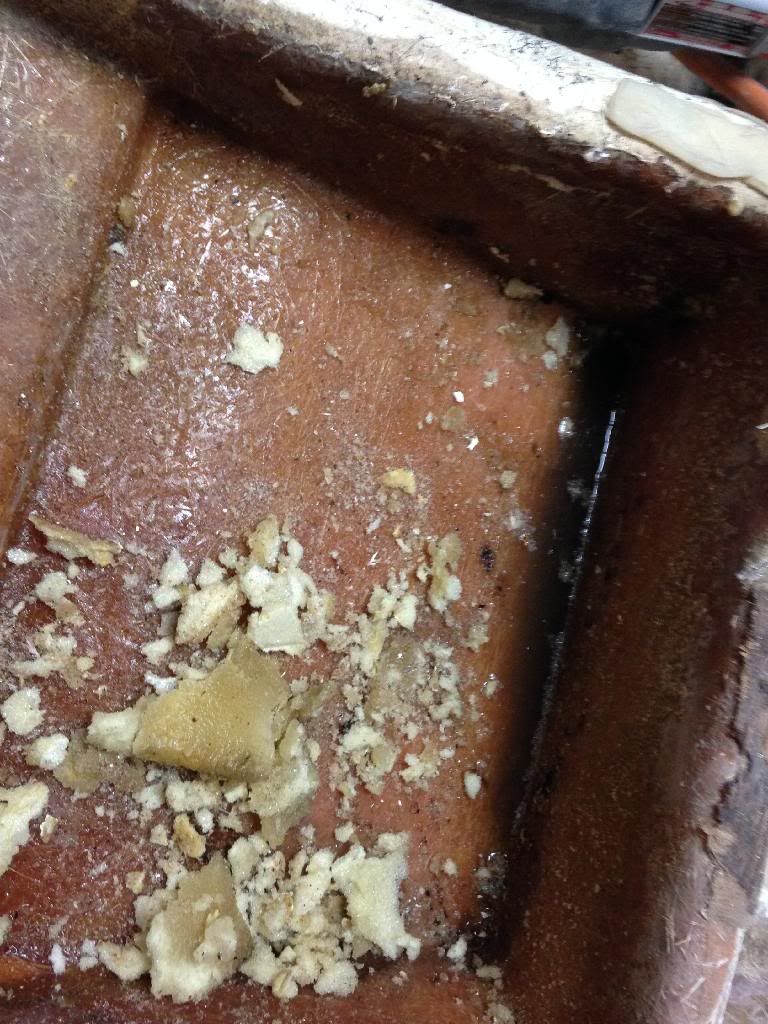
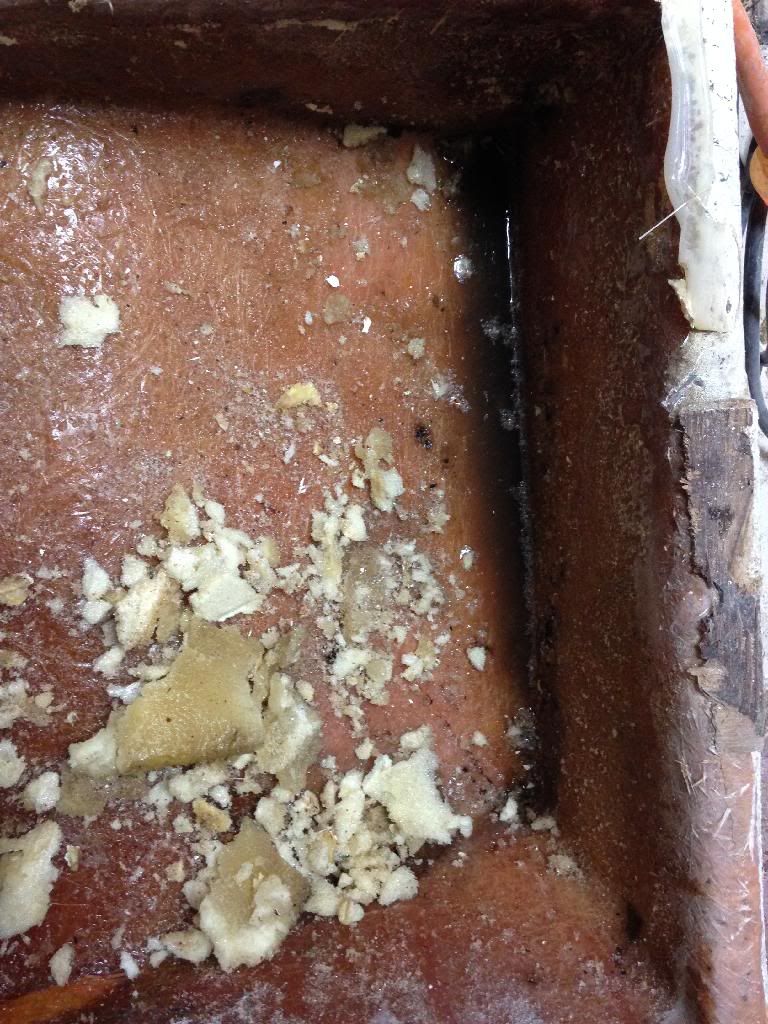


Little water in the bottom, but all surrounding wood is 100% sealed!


Last edited by Borgie; 02-12-2014 at 01:40 PM.

