

HART THROB resto / upgrade

 04-13-2018, 06:49 AM
#112
Registered
Thread Starter
thanks guys,
the chain for the hoist goes in the bucket so it doesn't scratch the boat
the chain for the hoist goes in the bucket so it doesn't scratch the boat
04-24-2018, 07:59 PM
#113
Registered
Thread Starter
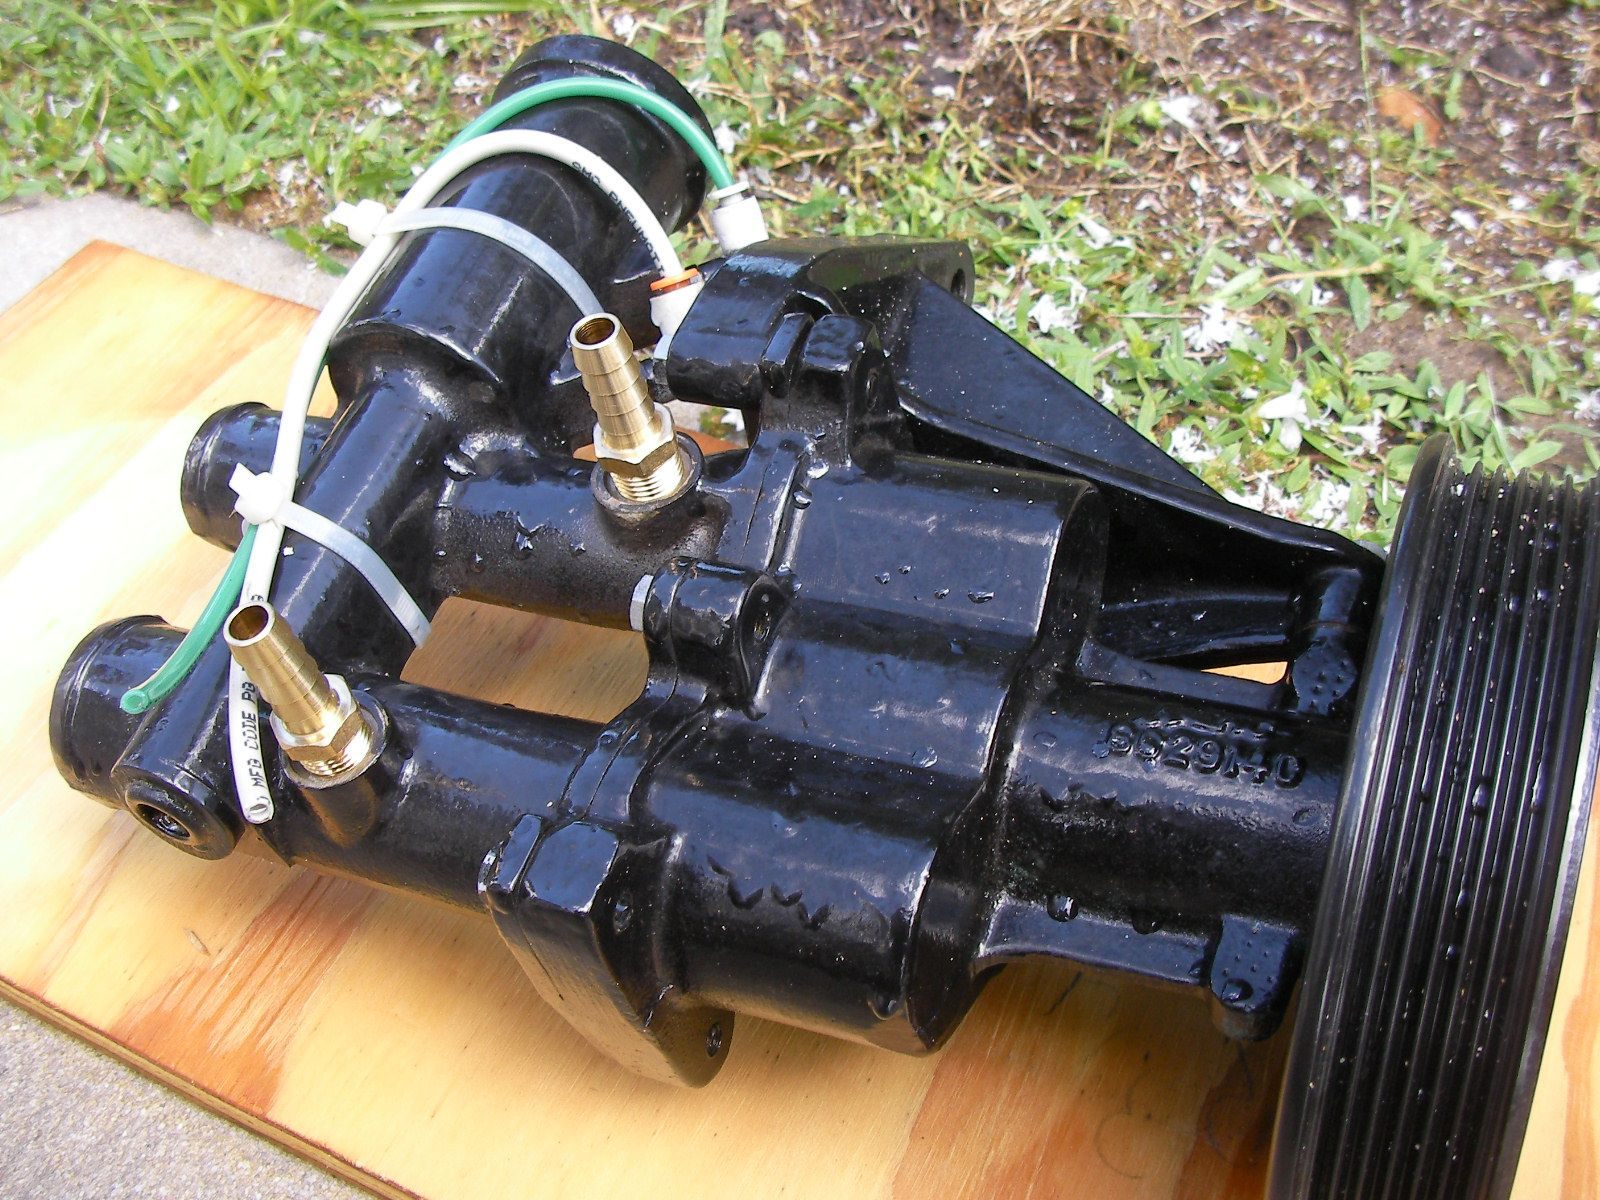
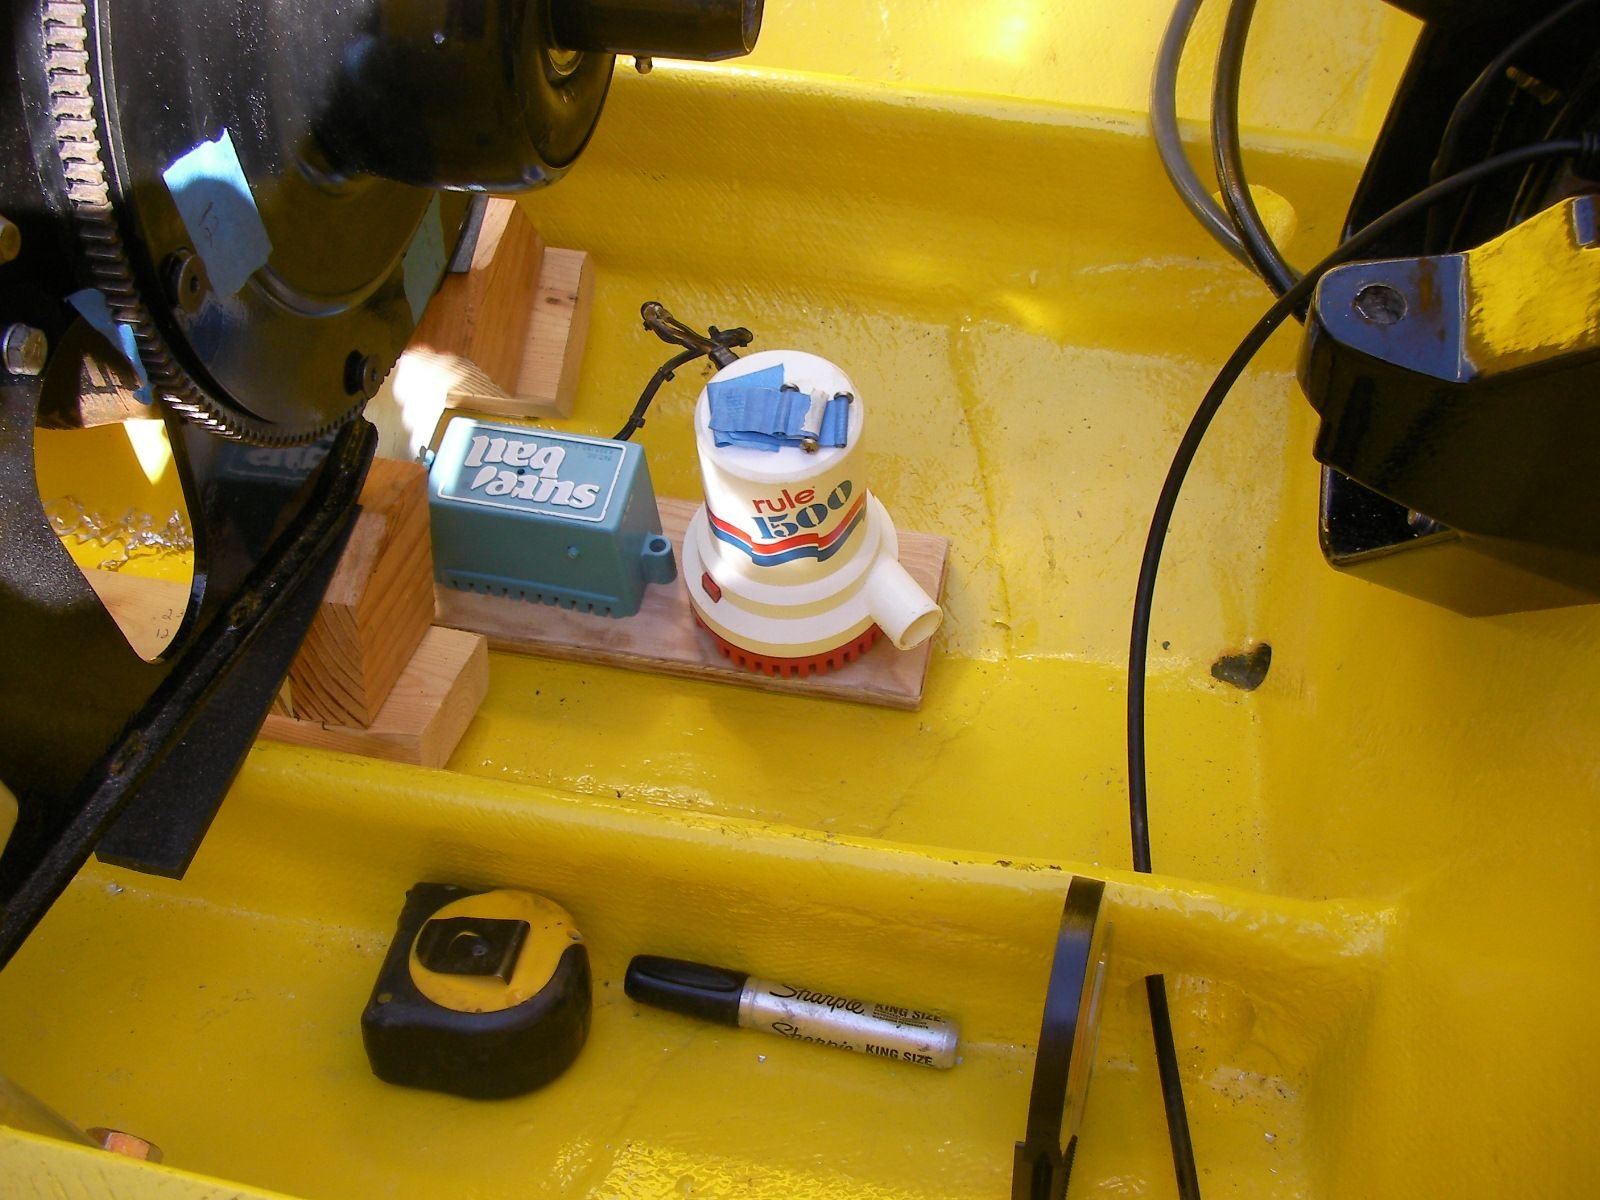
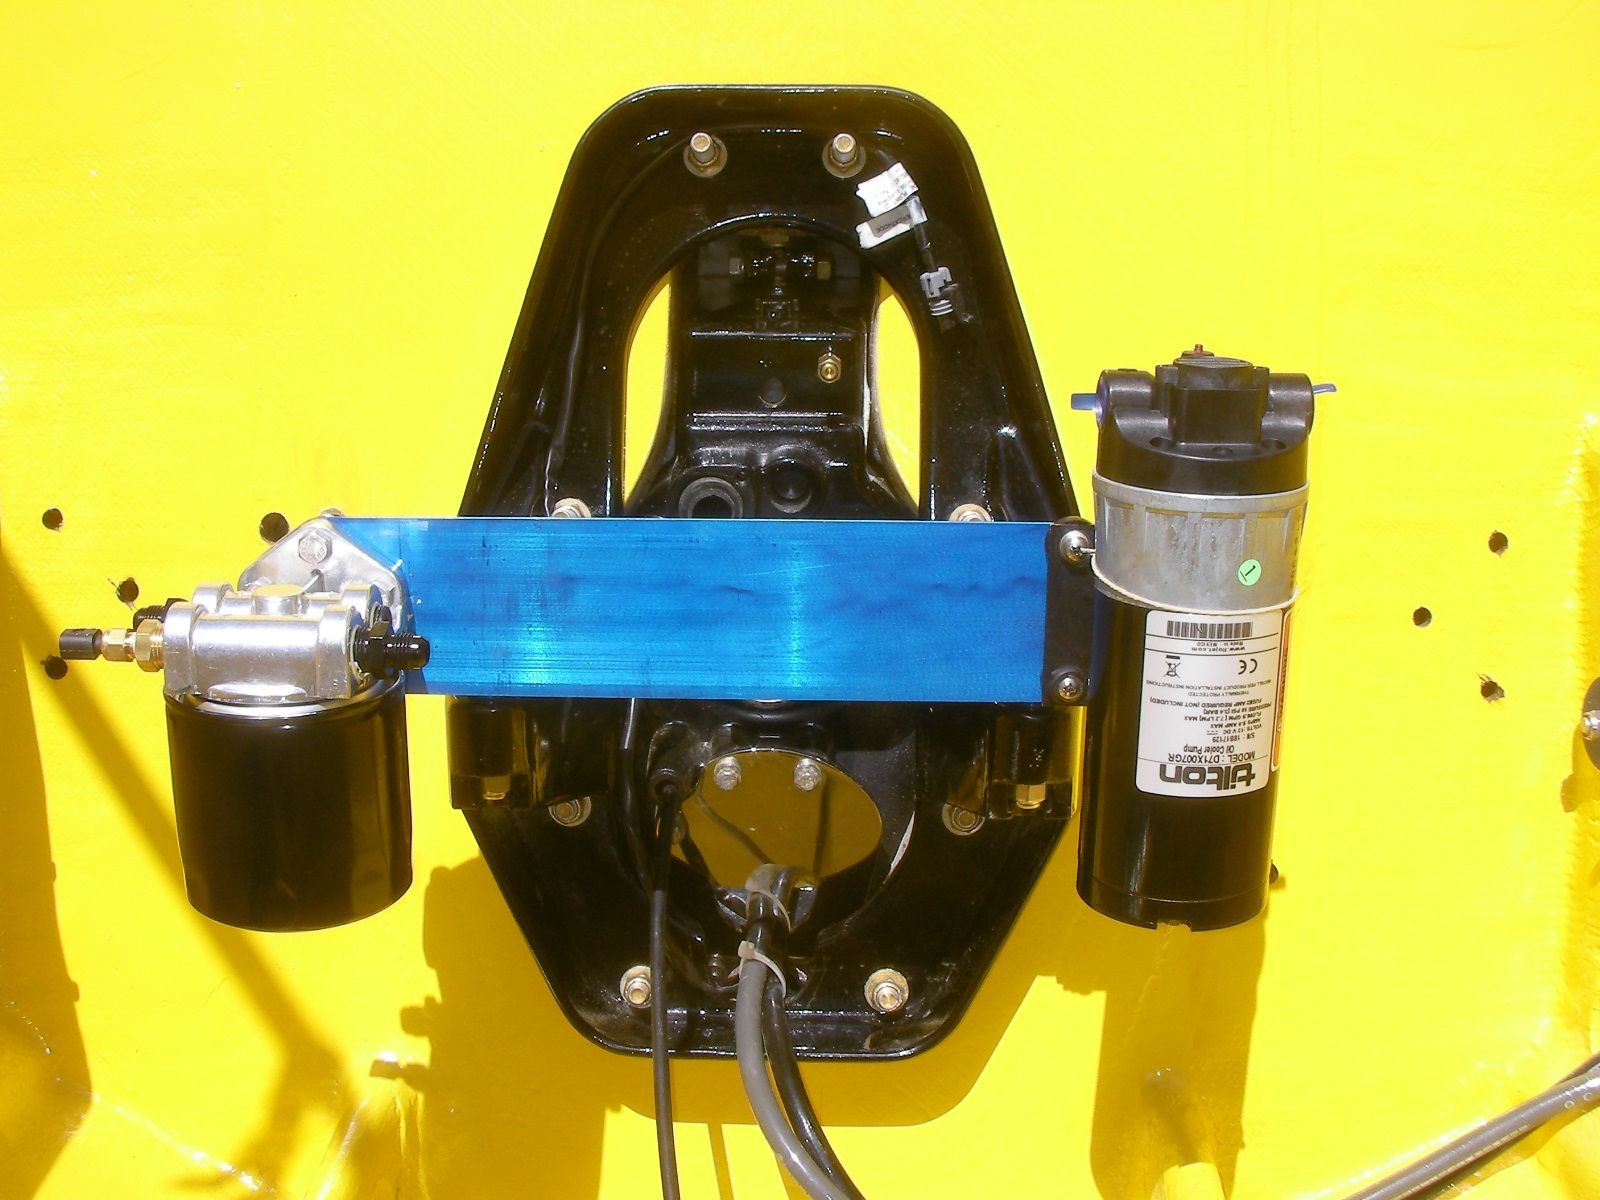
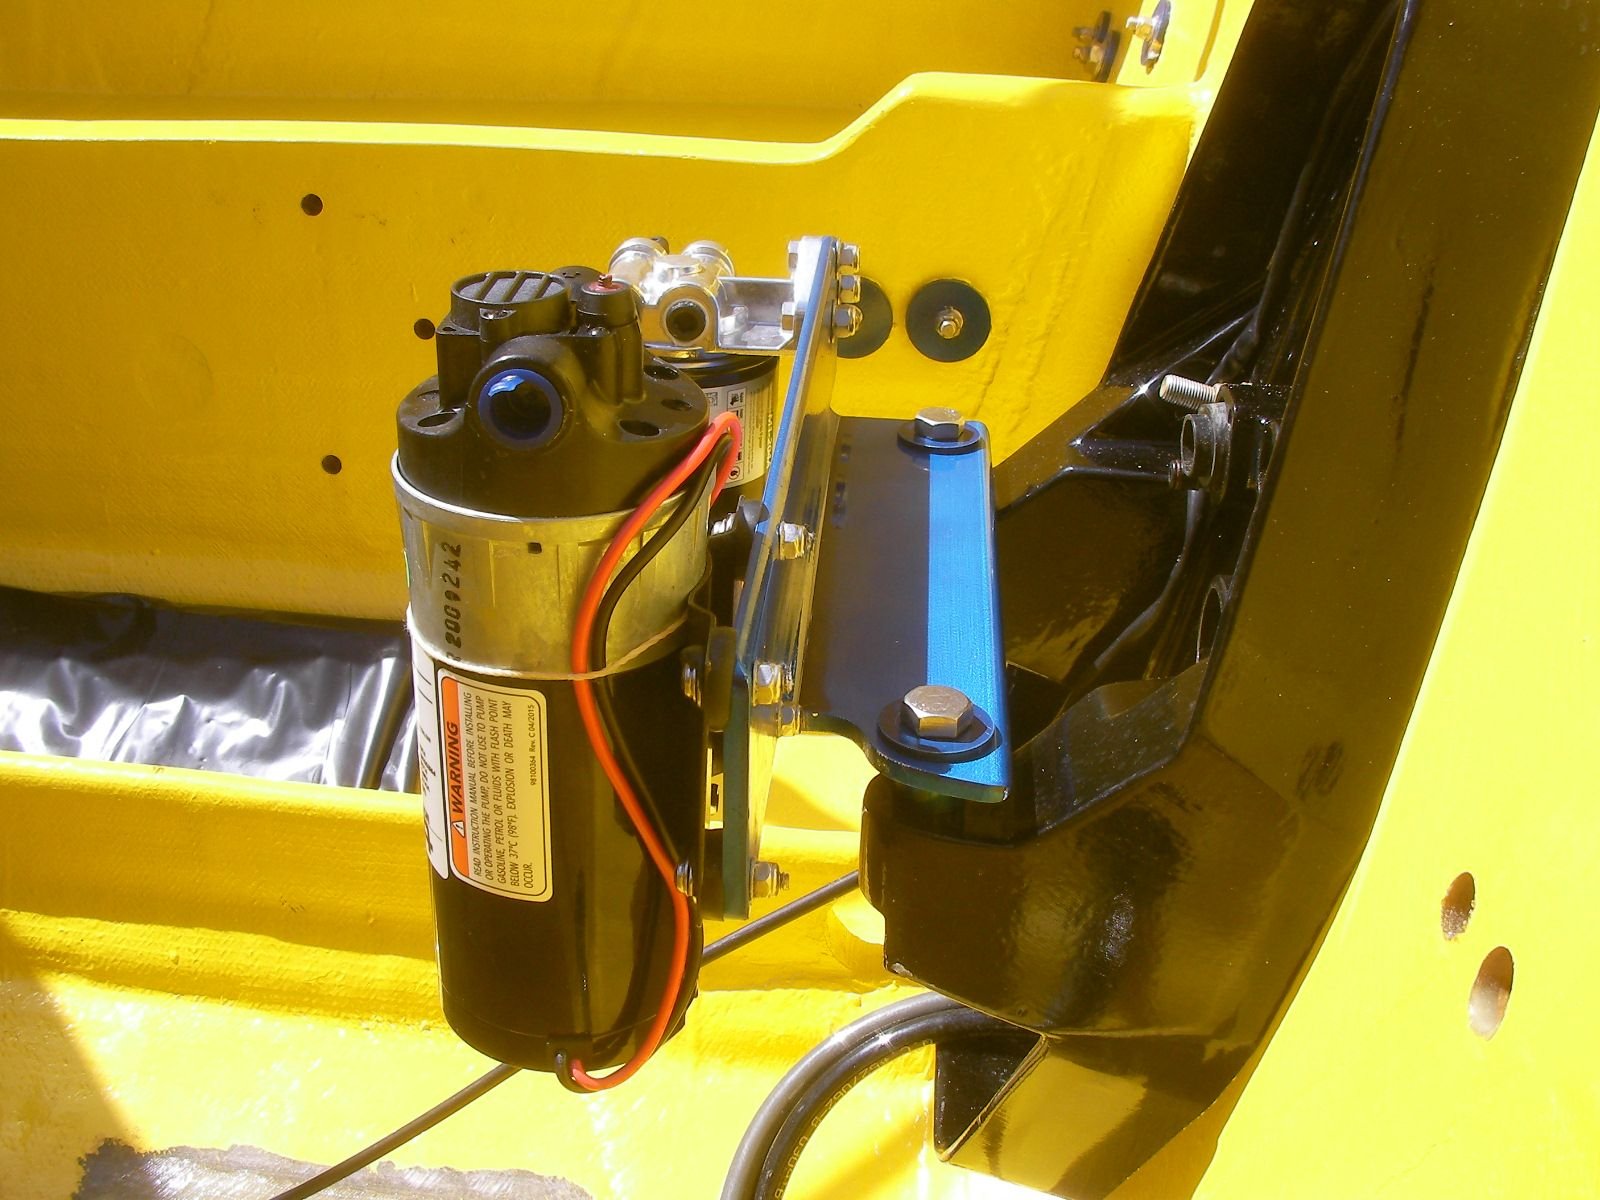
sea pump and cool fuel were tapped several months ago and boxed up.
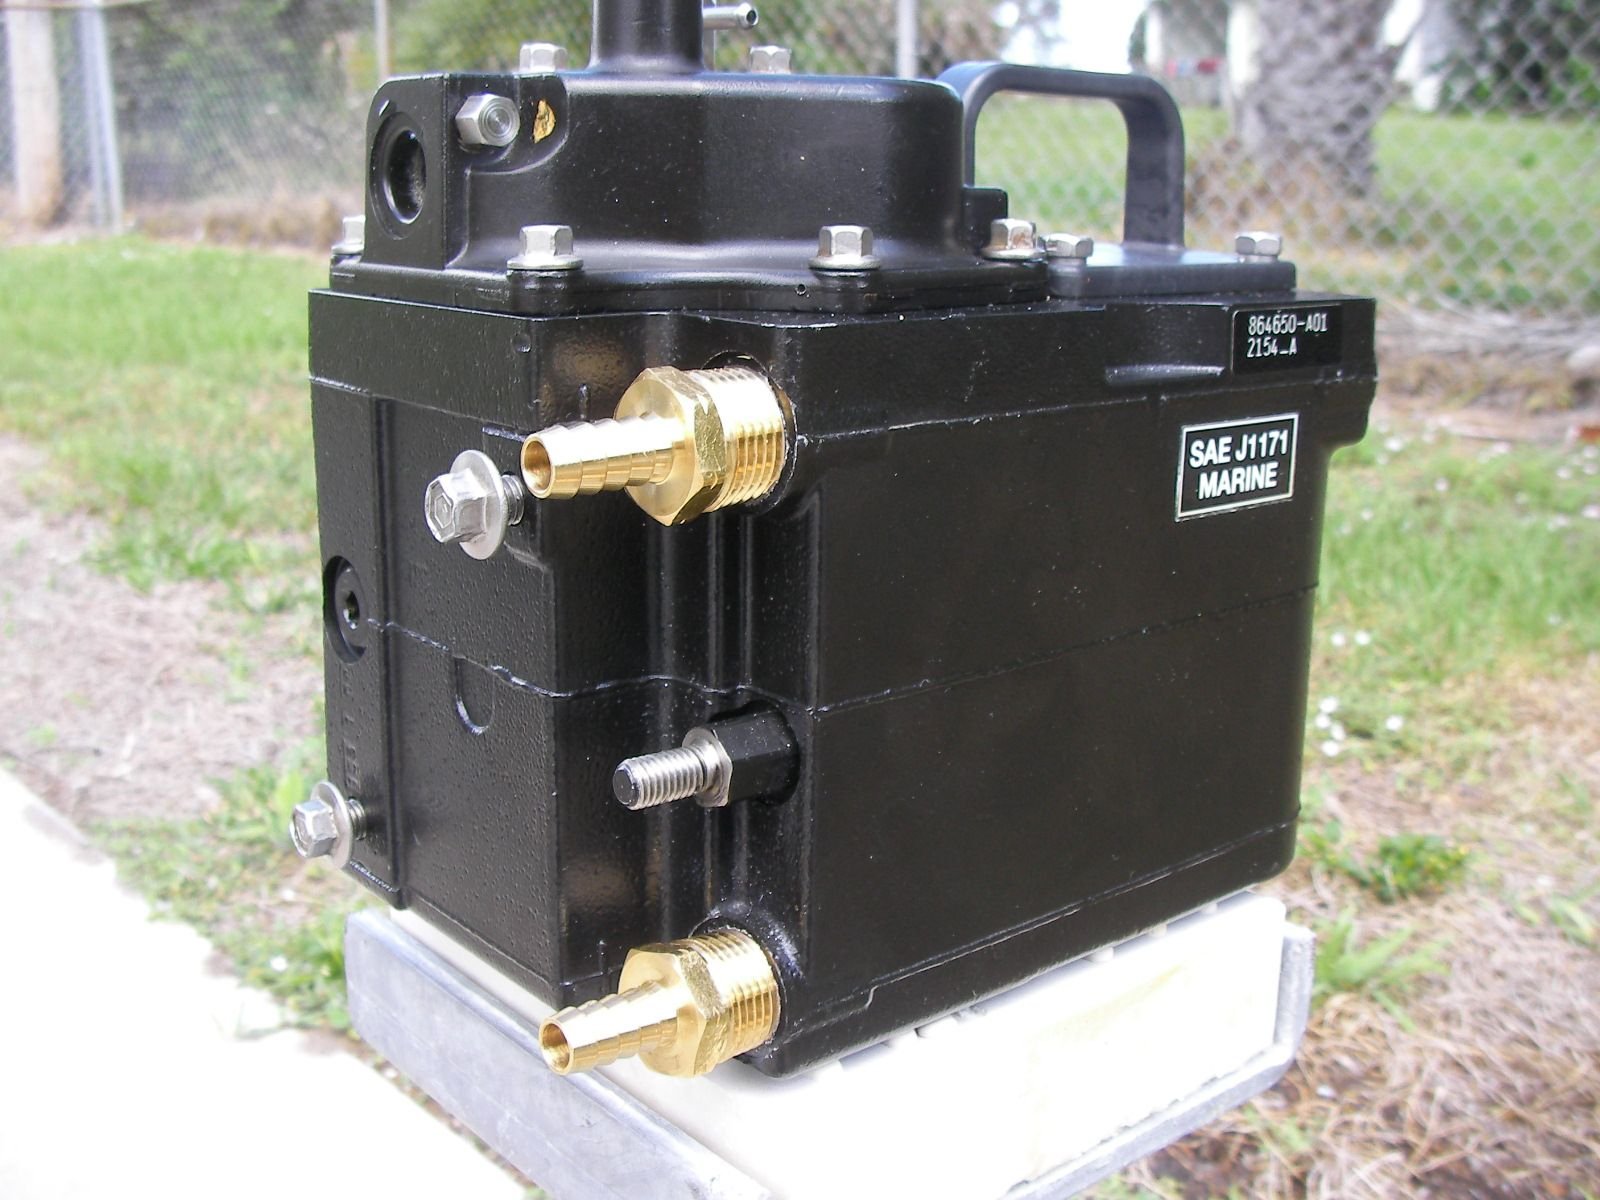
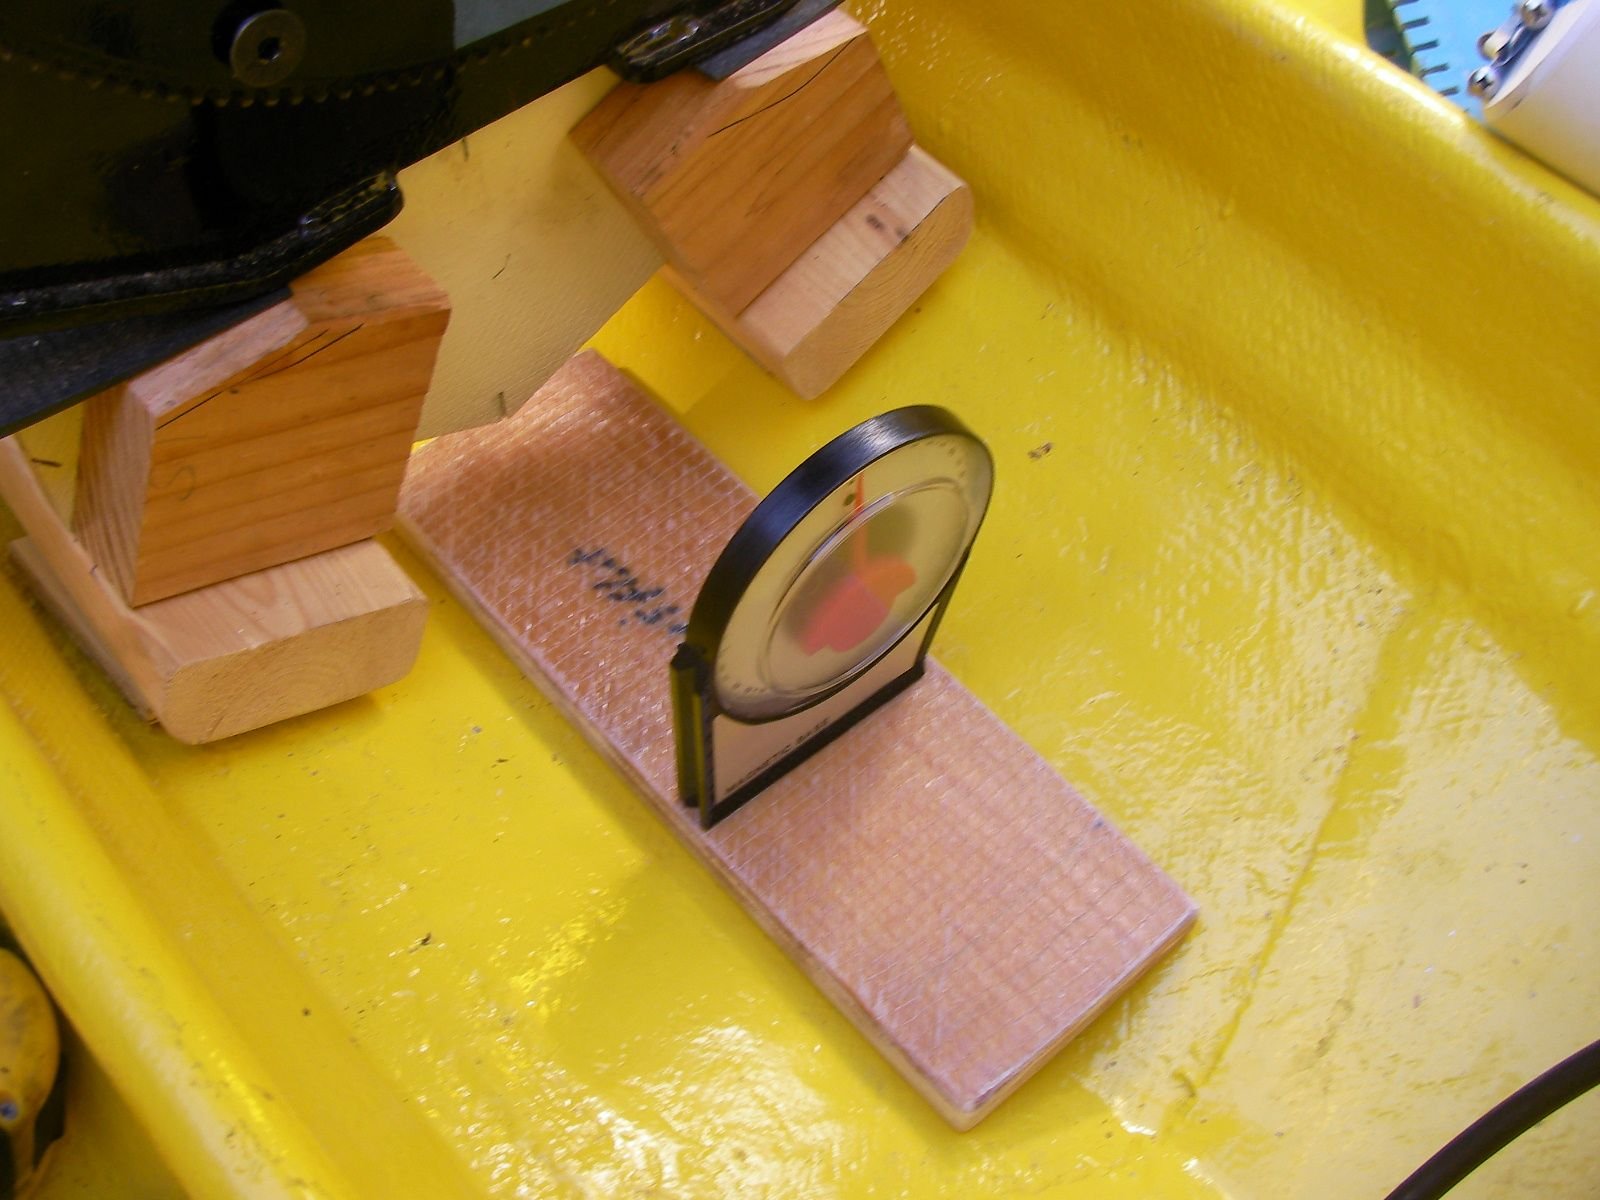
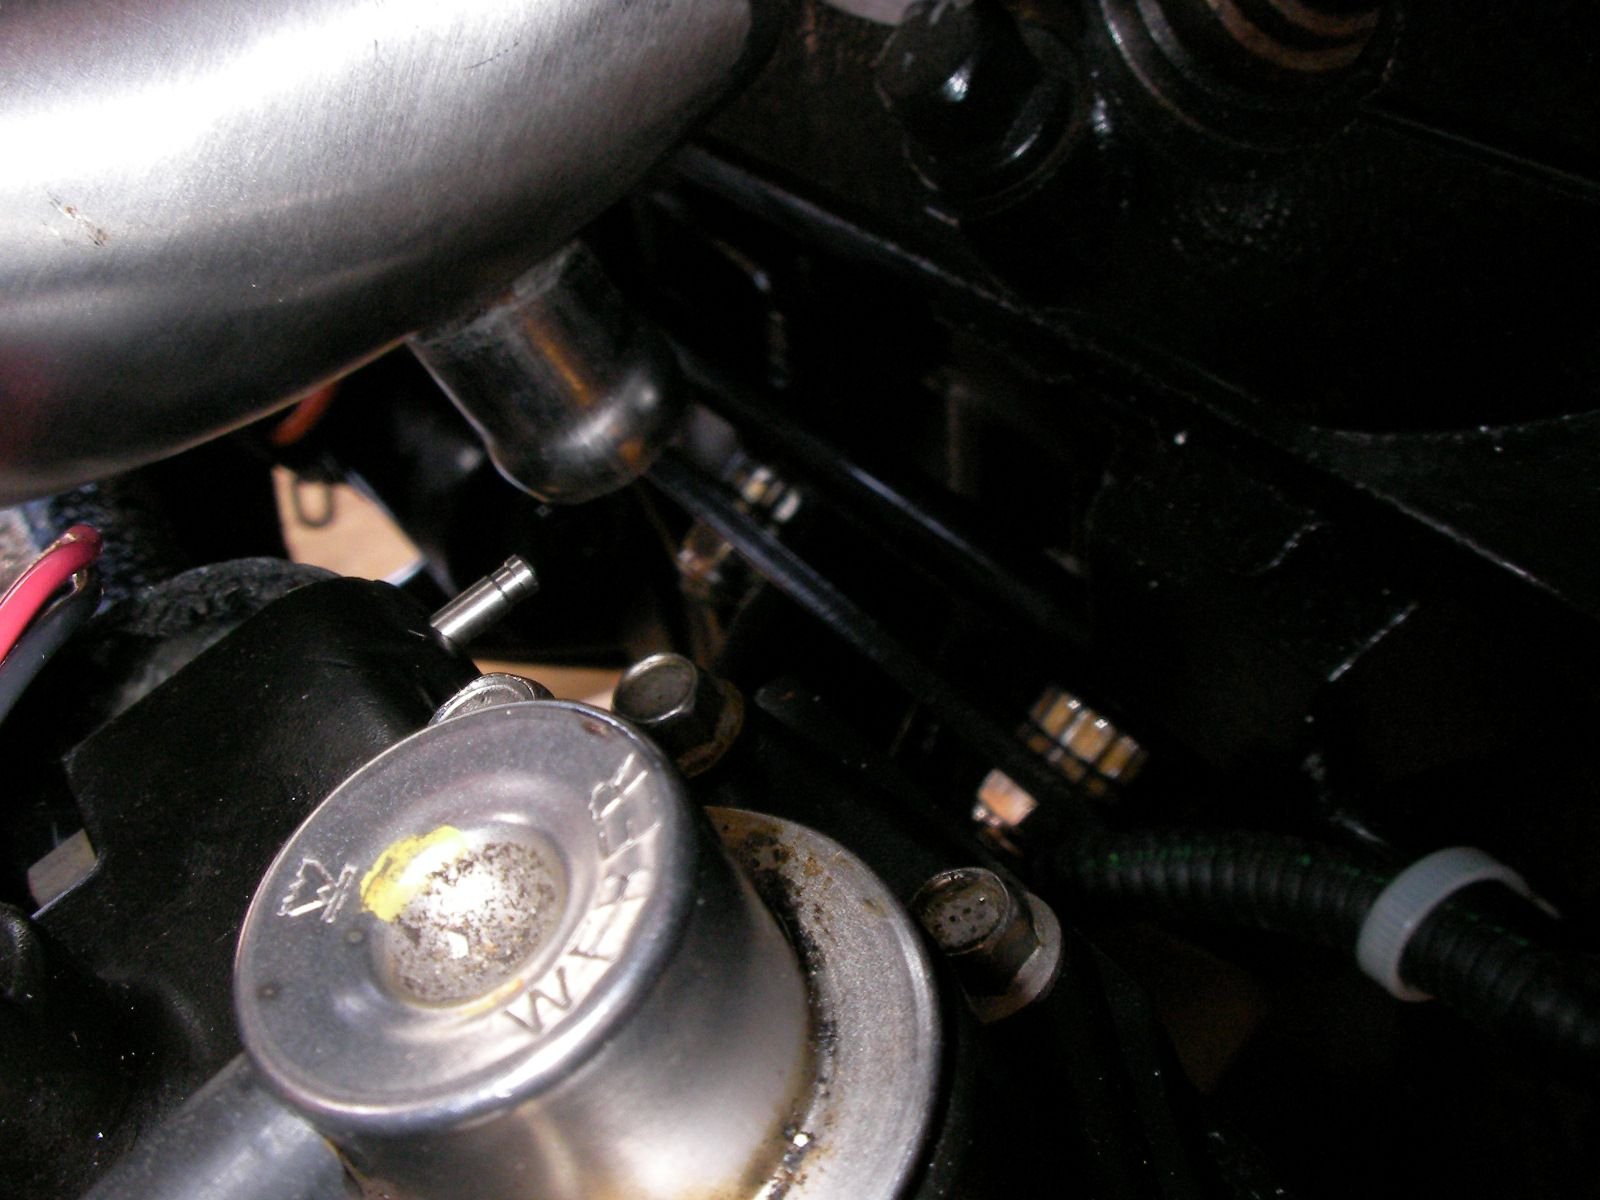
whole idea about tapping the sea pump and cool fuel was to eliminate the leak points and eliminate the meter (pictured) and run water from the pump to the cool fuel then overboard.
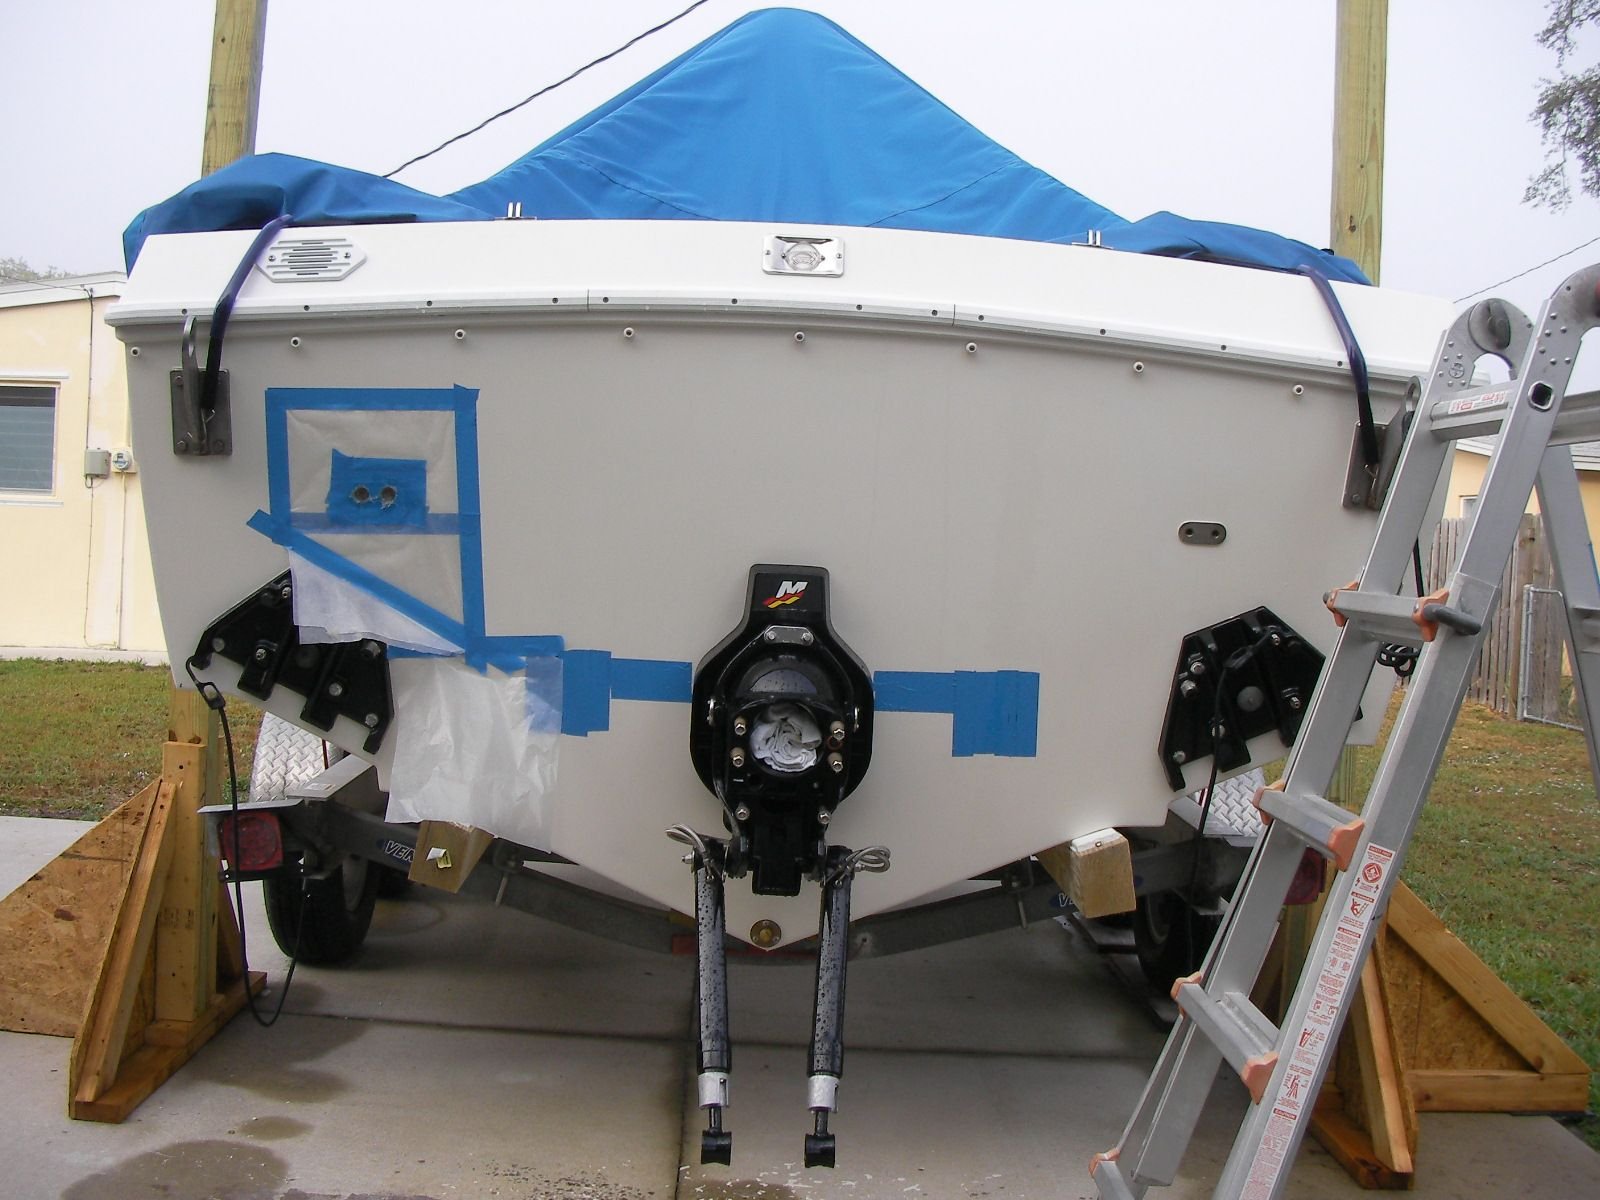
the cool fuel water overboard thru the old steering thru hull came about once the transom was layed out for the new steering and you could see the distance from the original steering to the new.
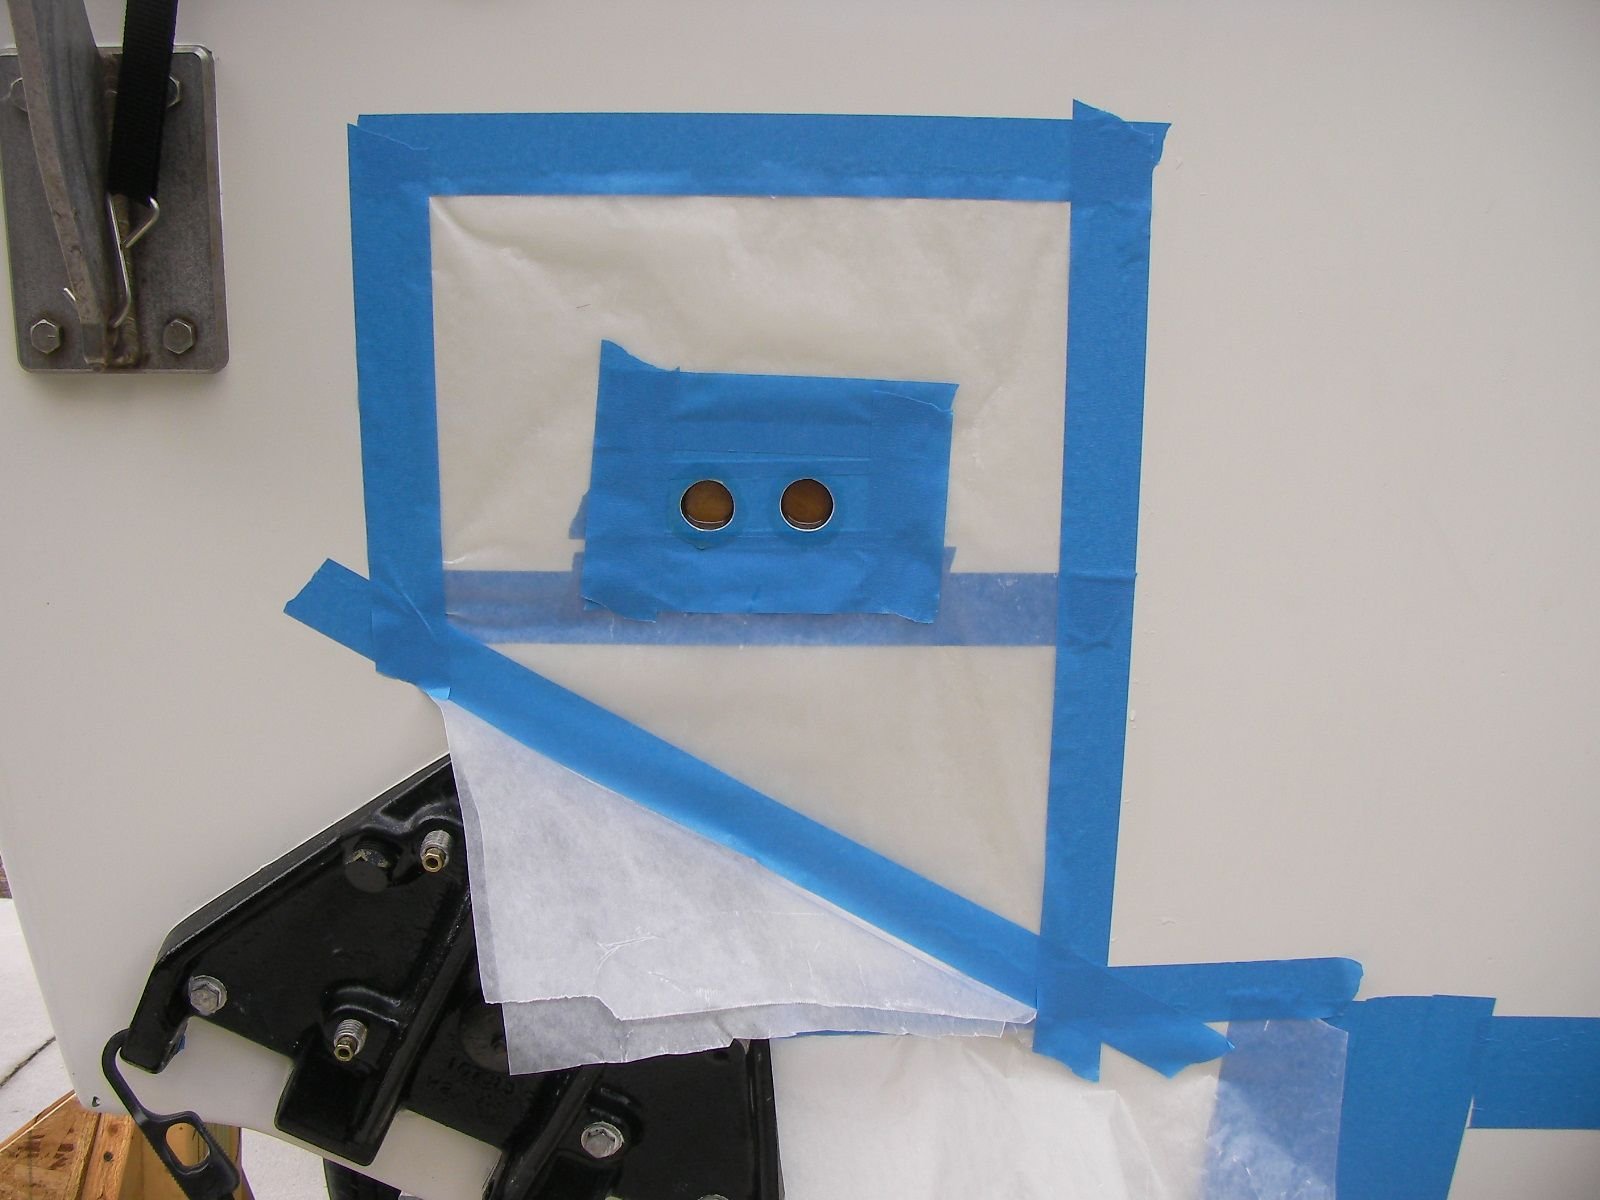
since the original steering thru hulls aren't being used on the port side any way, no problem dowel the holes
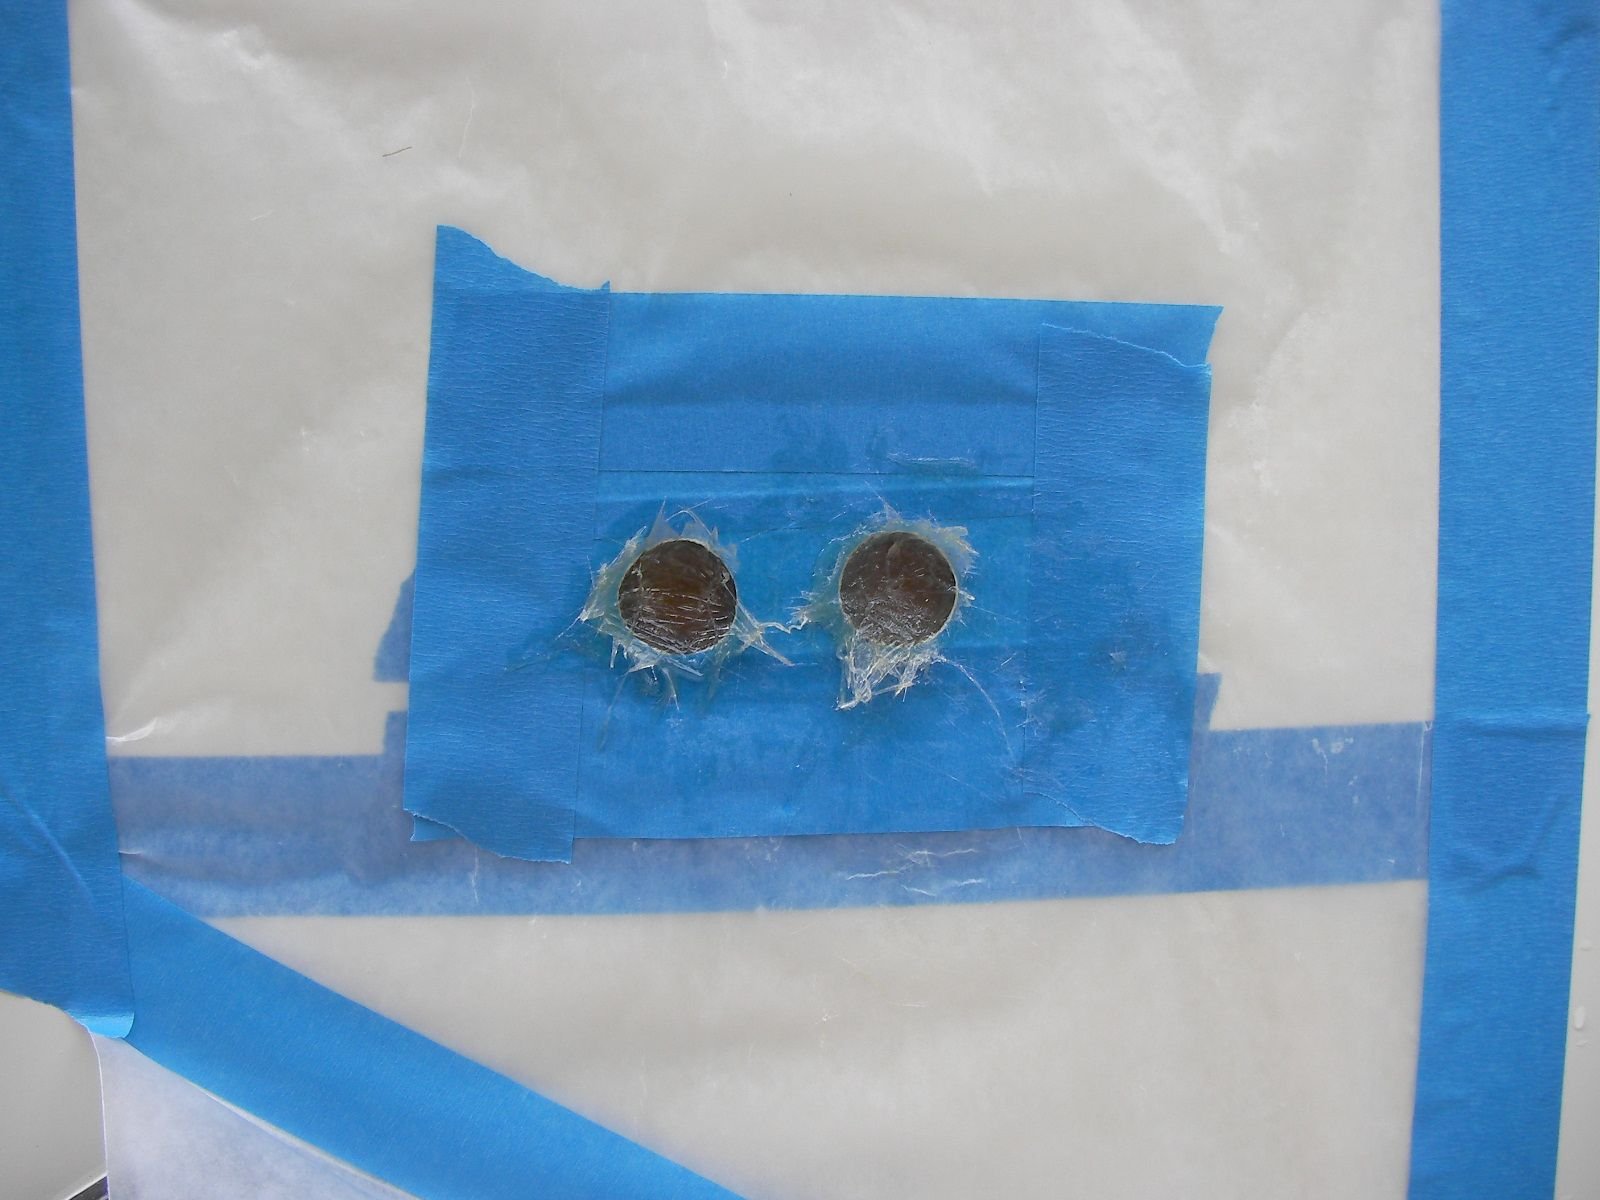
wack in some 1708
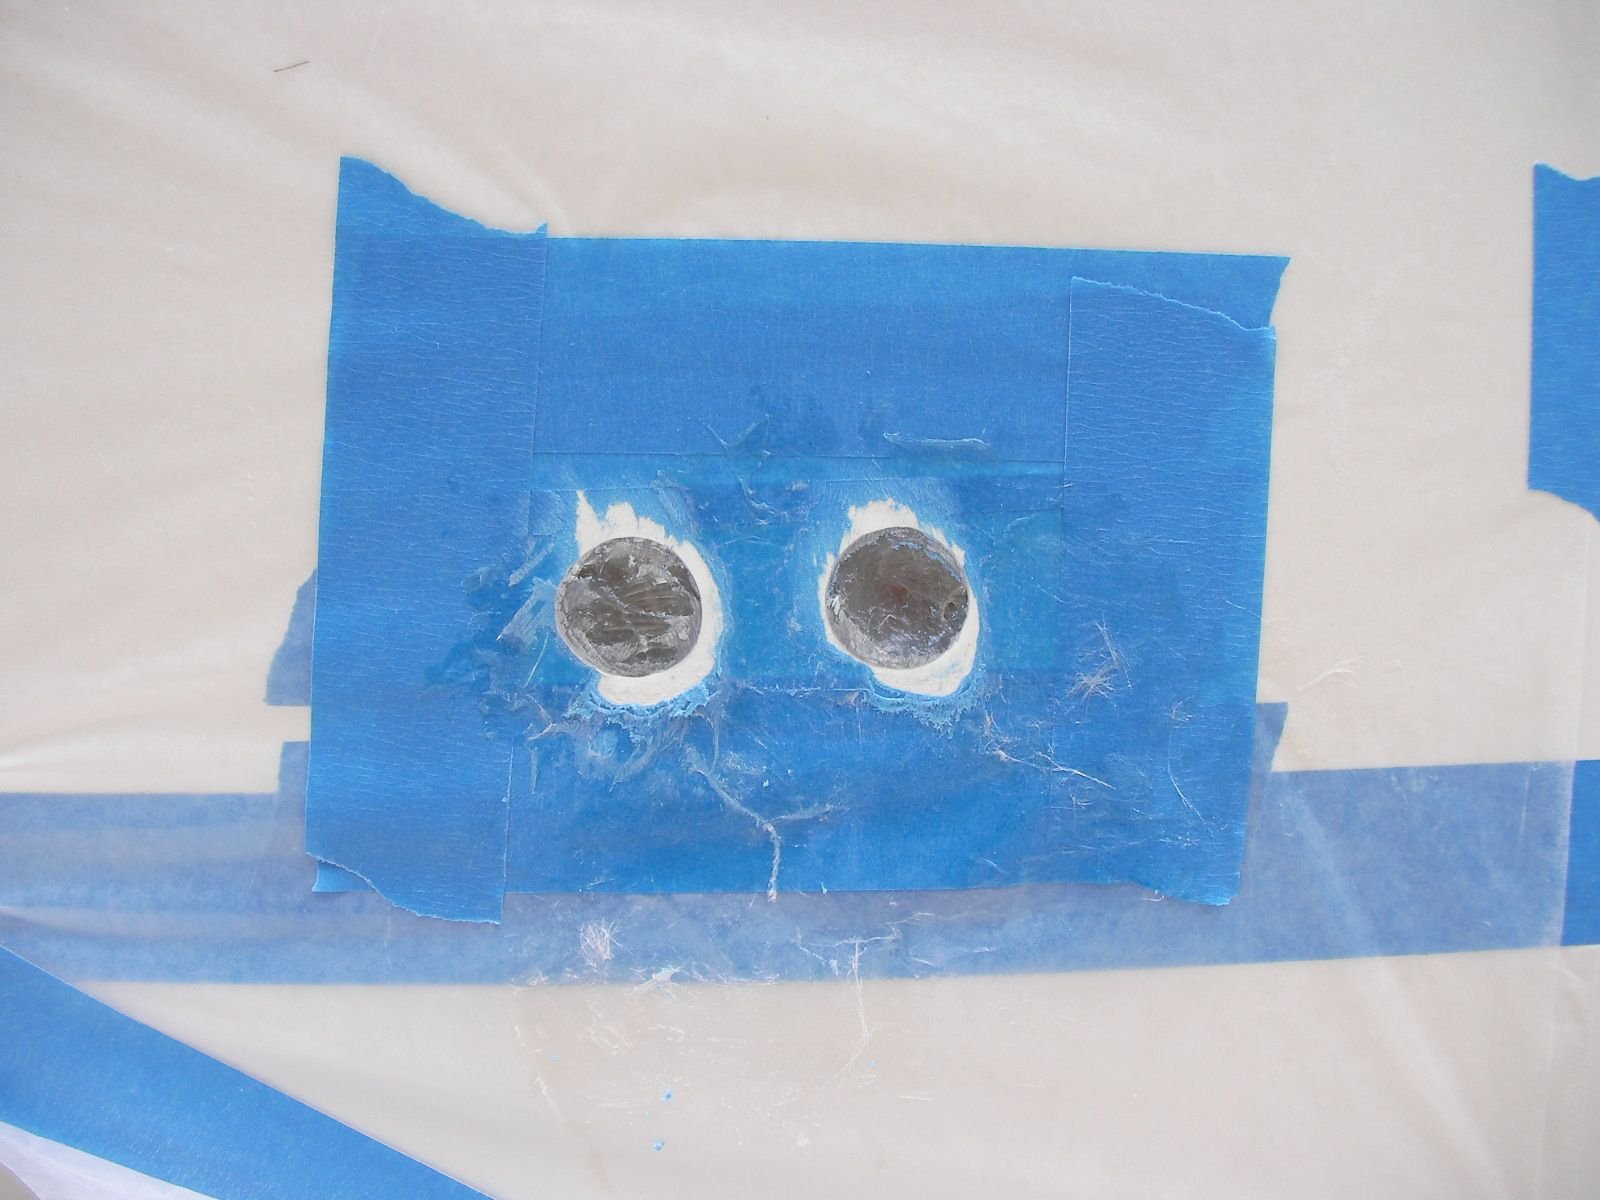
knock off the high spots
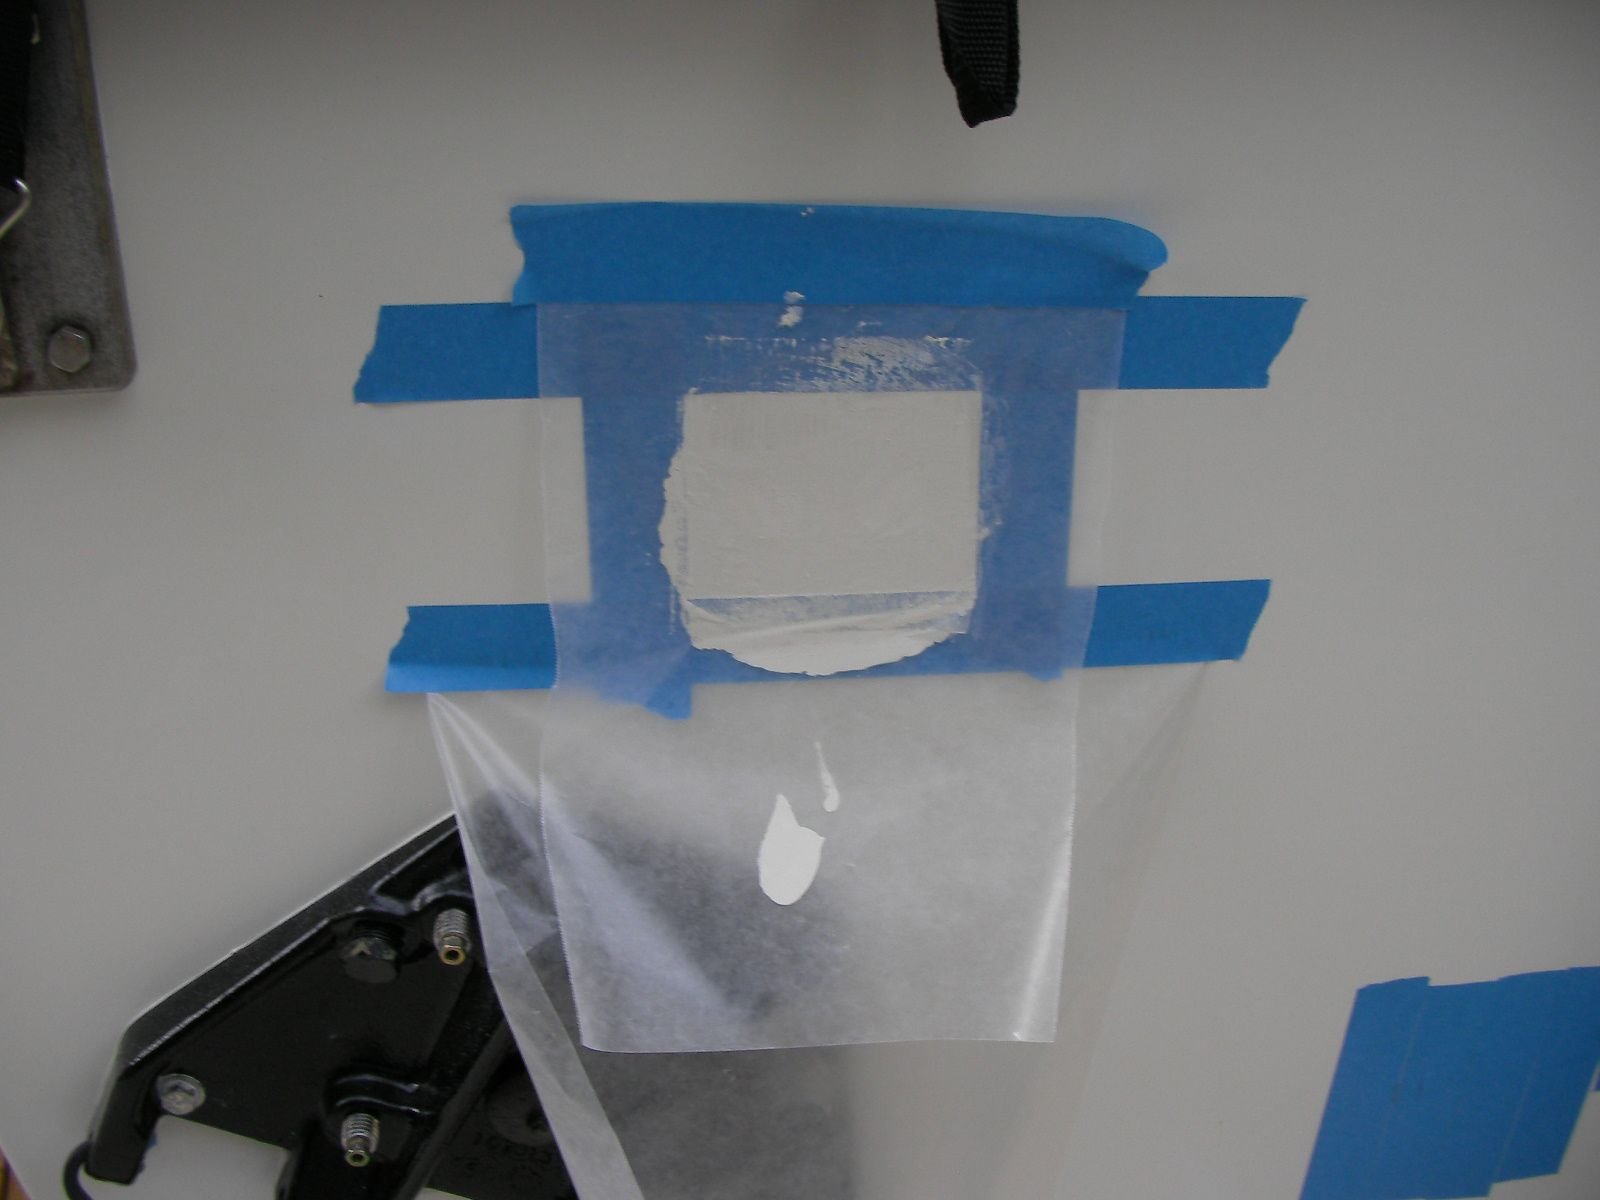
clean sand fair and schloop on the gel. finished product came out nice. it'll probably crack and pop out !
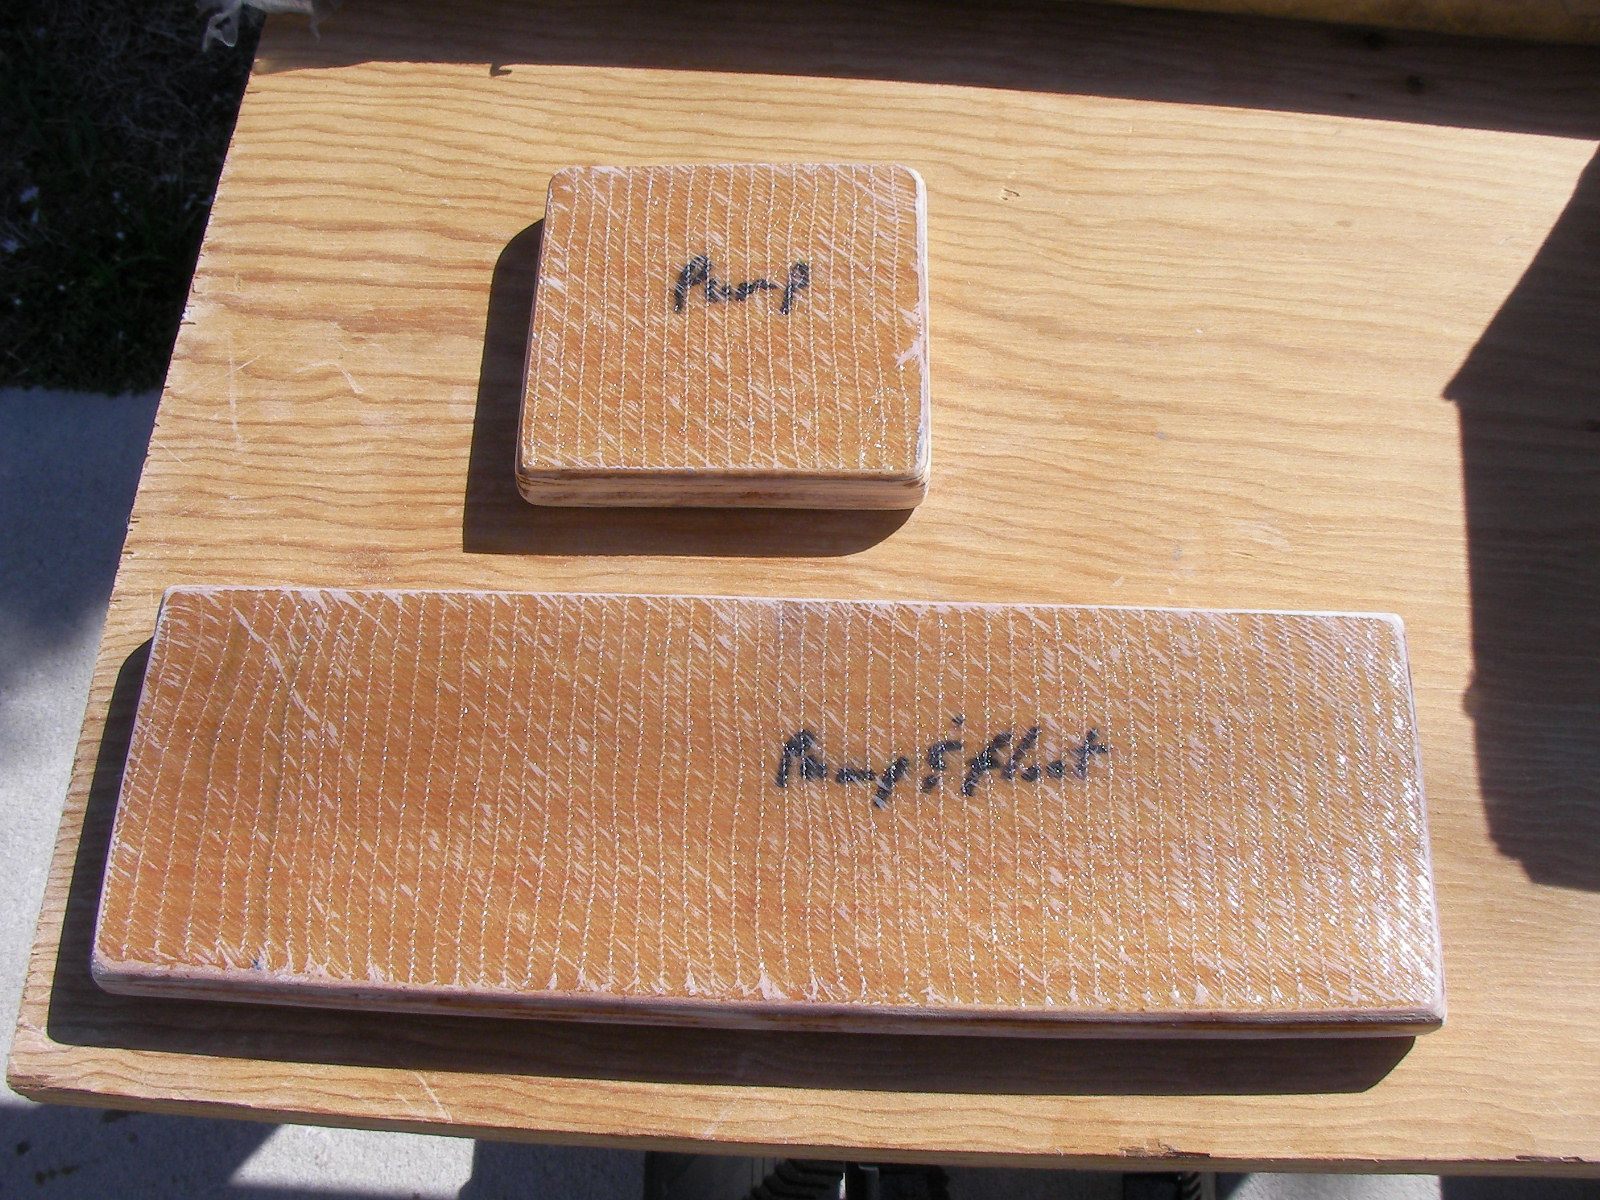
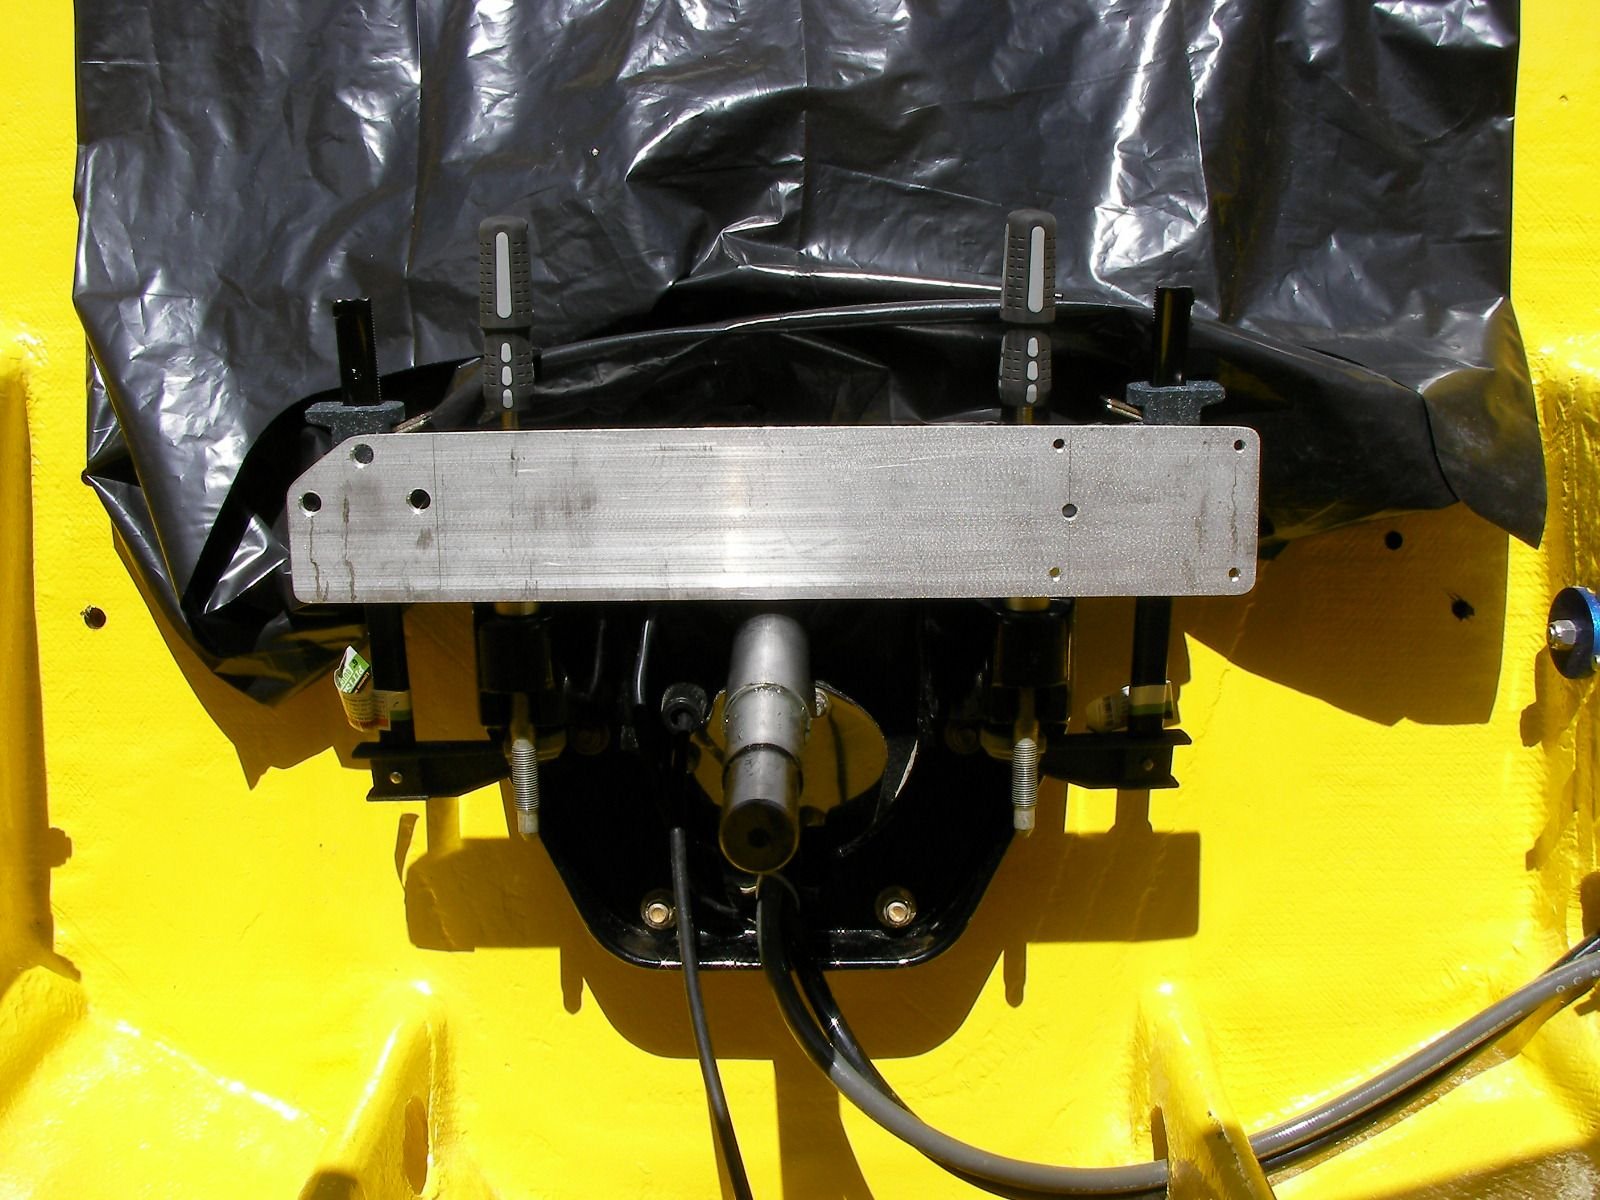
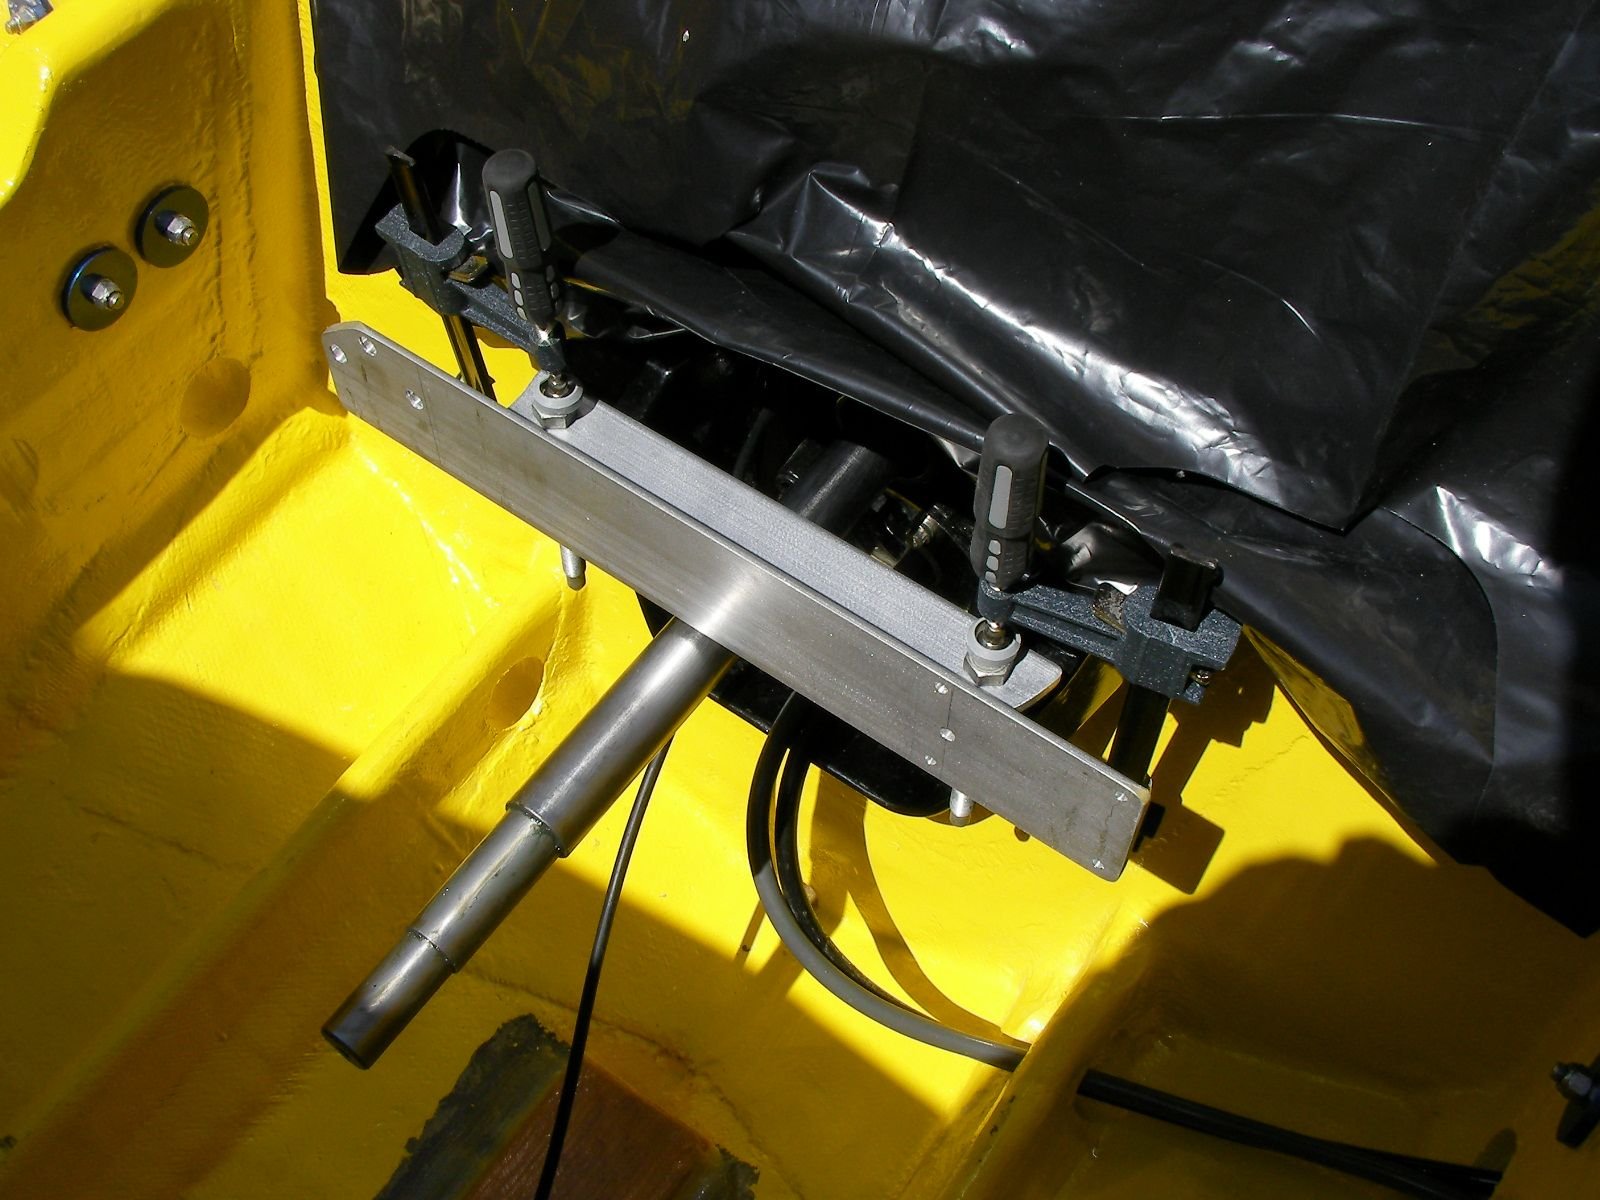
the pump pads get glass on 1 side so when they're installed the bottom isn't bare wood
they got located when the alignment was being done
plenty of access

glassed in
THE KIT, well the relocation kit didn't need much modification and the stock wires for the exhaust sensors are long enough. except the whole port side of the wiring harness needed to be unwrapped to move the pcm to the new plate it was a full day.
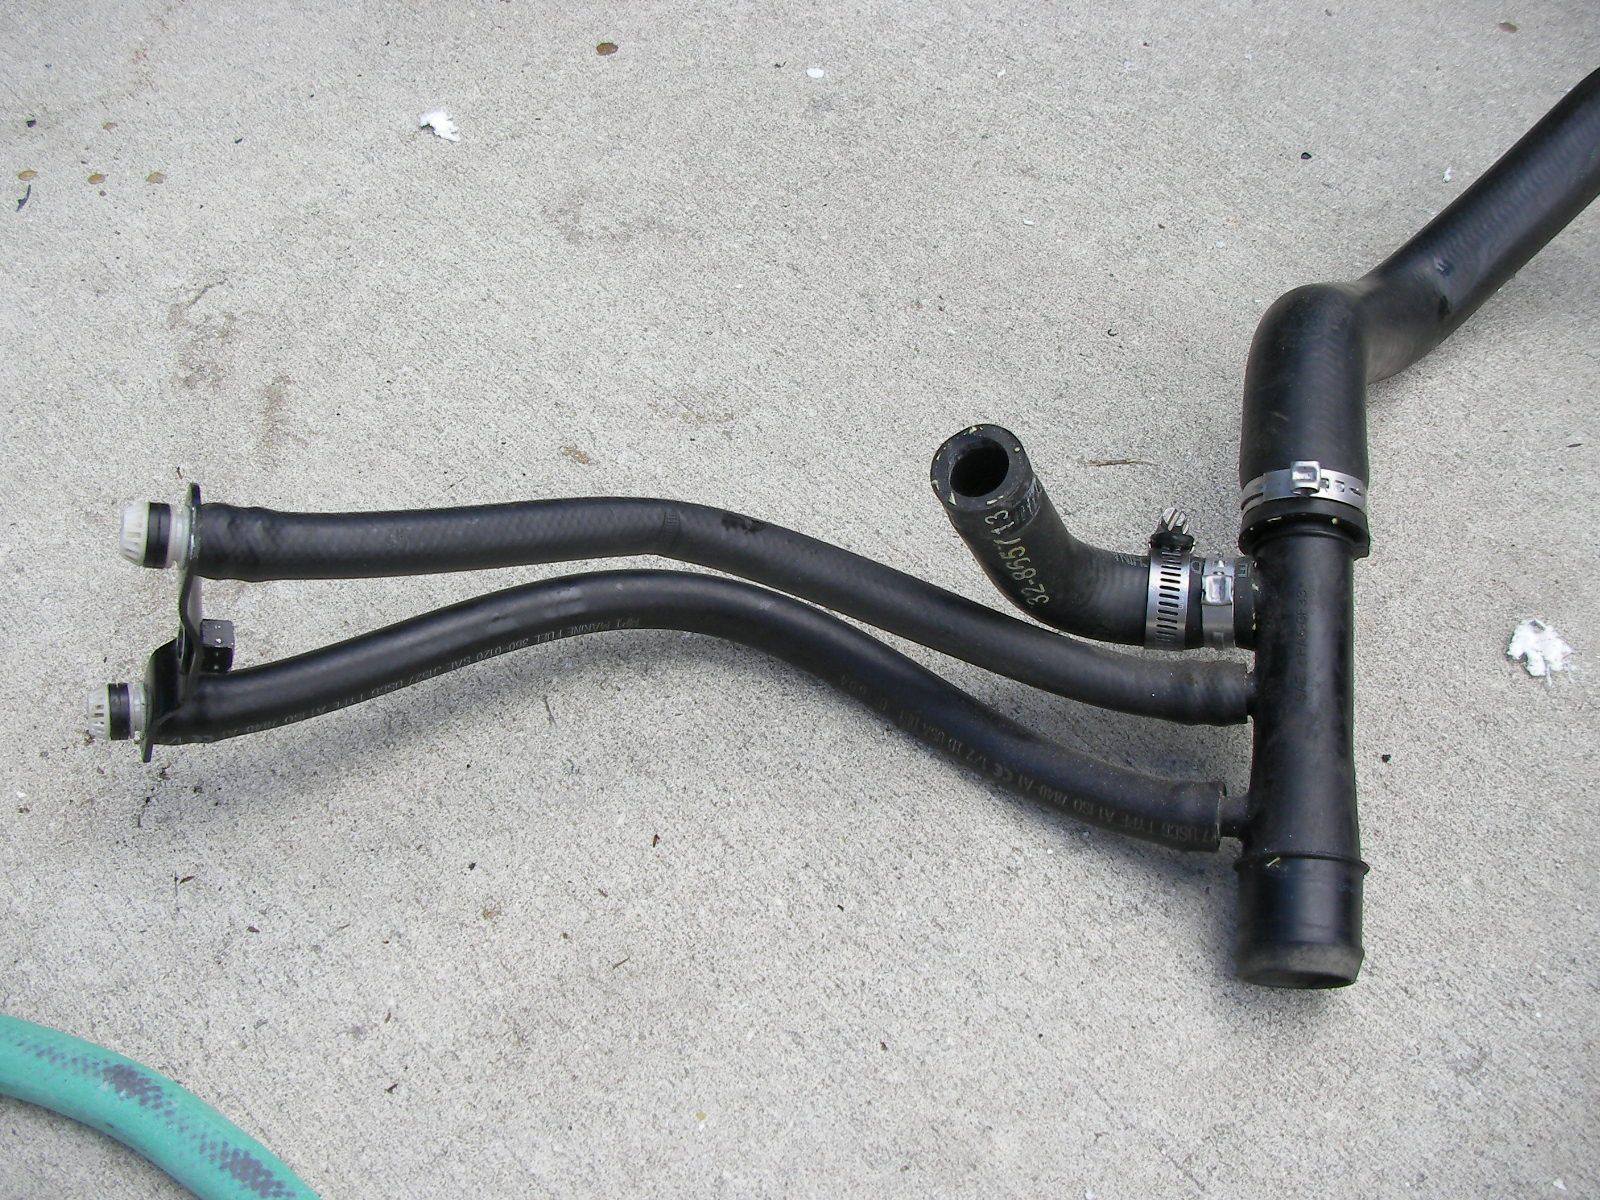
but the hoses for the water tube will not not work. on the port side they let the tube lay on the engine mount. on both tubes, the hose fittings don't line up w/ the hose fittings on the exhaust. the stock hose from the engine isn't anywhere near the end of the tube which is fine because the alternator is blocking it anyway. this tube will have to be plumbed in backwards.
on the starboard side, it's a total mess the hoses won't work at all. the tube will only work if it's plumbed in backwards because of the cool fuel. no big deal, the stock hose is no where near the end of the tube. that's o.k. because it will not fit between the engine and cool fuel and it;s brackets. plus on the starb side 6 of the 8 header bolts that need to be torqued cannot be accessed w/ a socket and barely w/ a box wrench.
so the starb side will leak and crack first i guess ?
see what i'm saying
i'm adding "kit" to the an, jic, npt, inverted flair, dash dot metric oring abortion, hoses, don't forget the hoses.
now i know why you engine guys stand next to your builds like a proud papa w/ a hand on the header,
it's because you found all the external parts that work and fit on that engine.
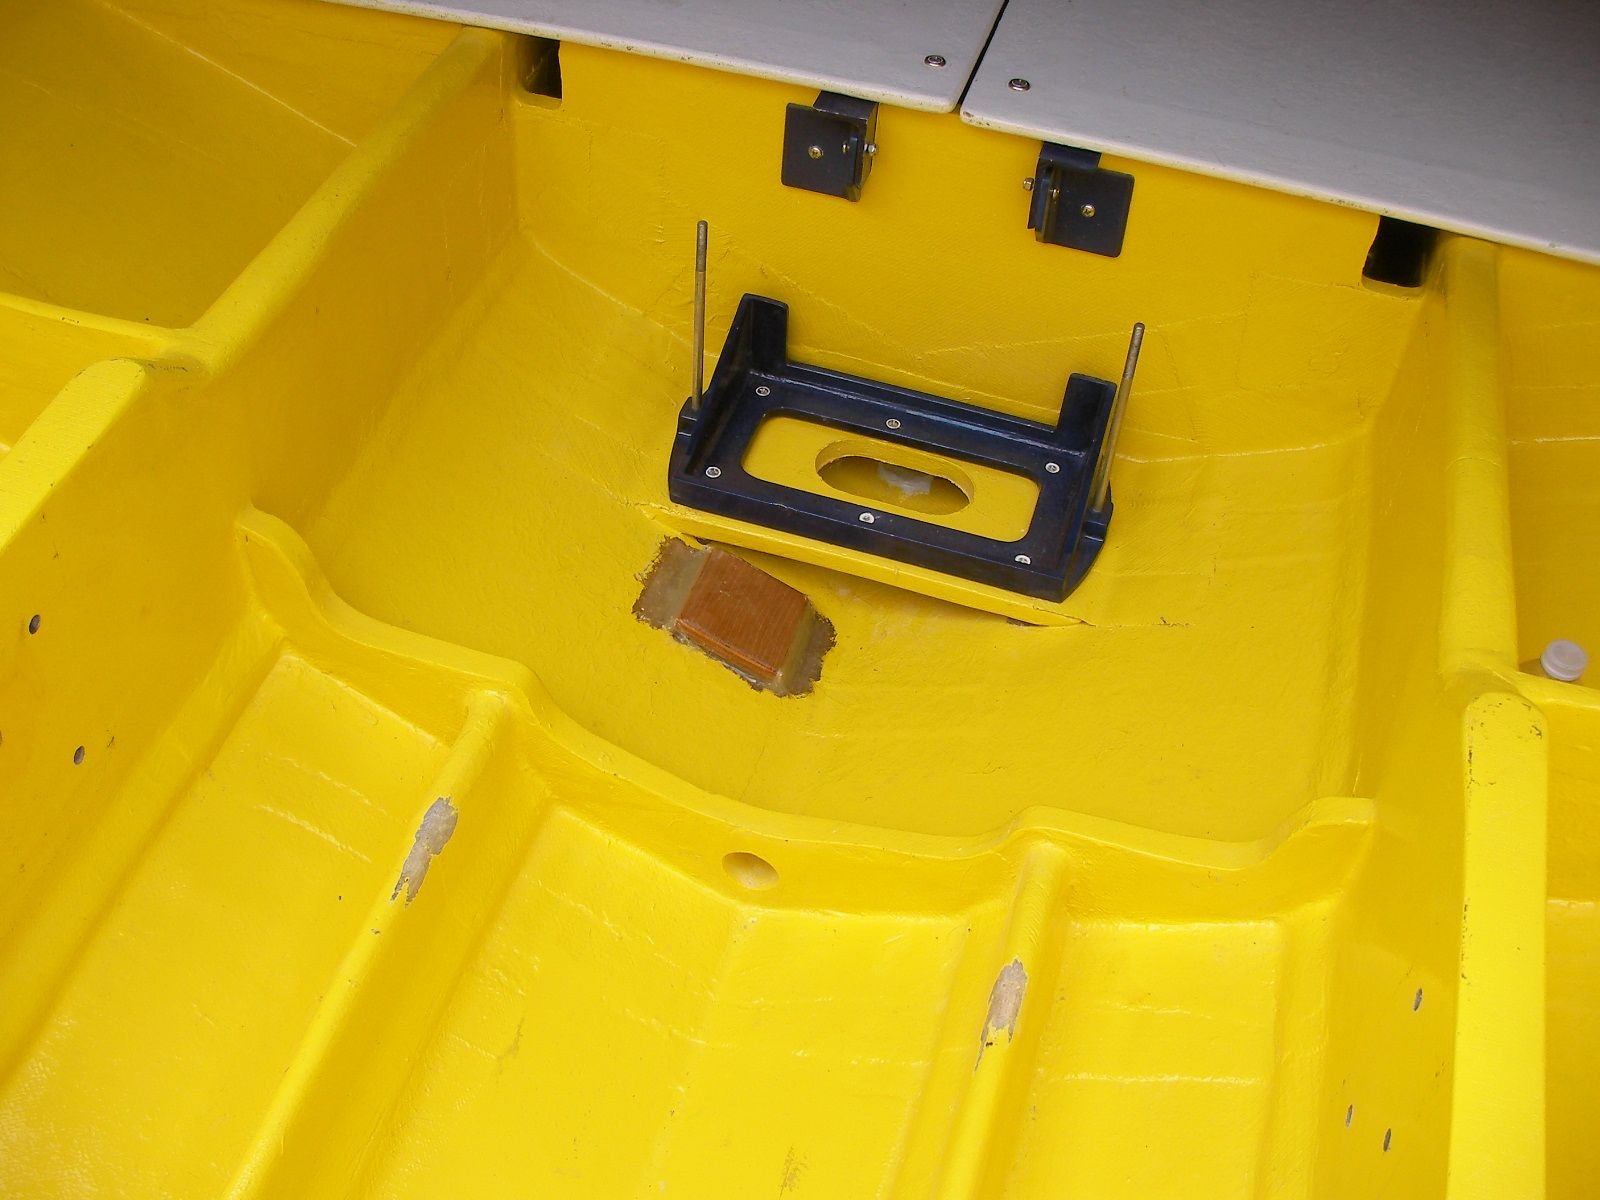
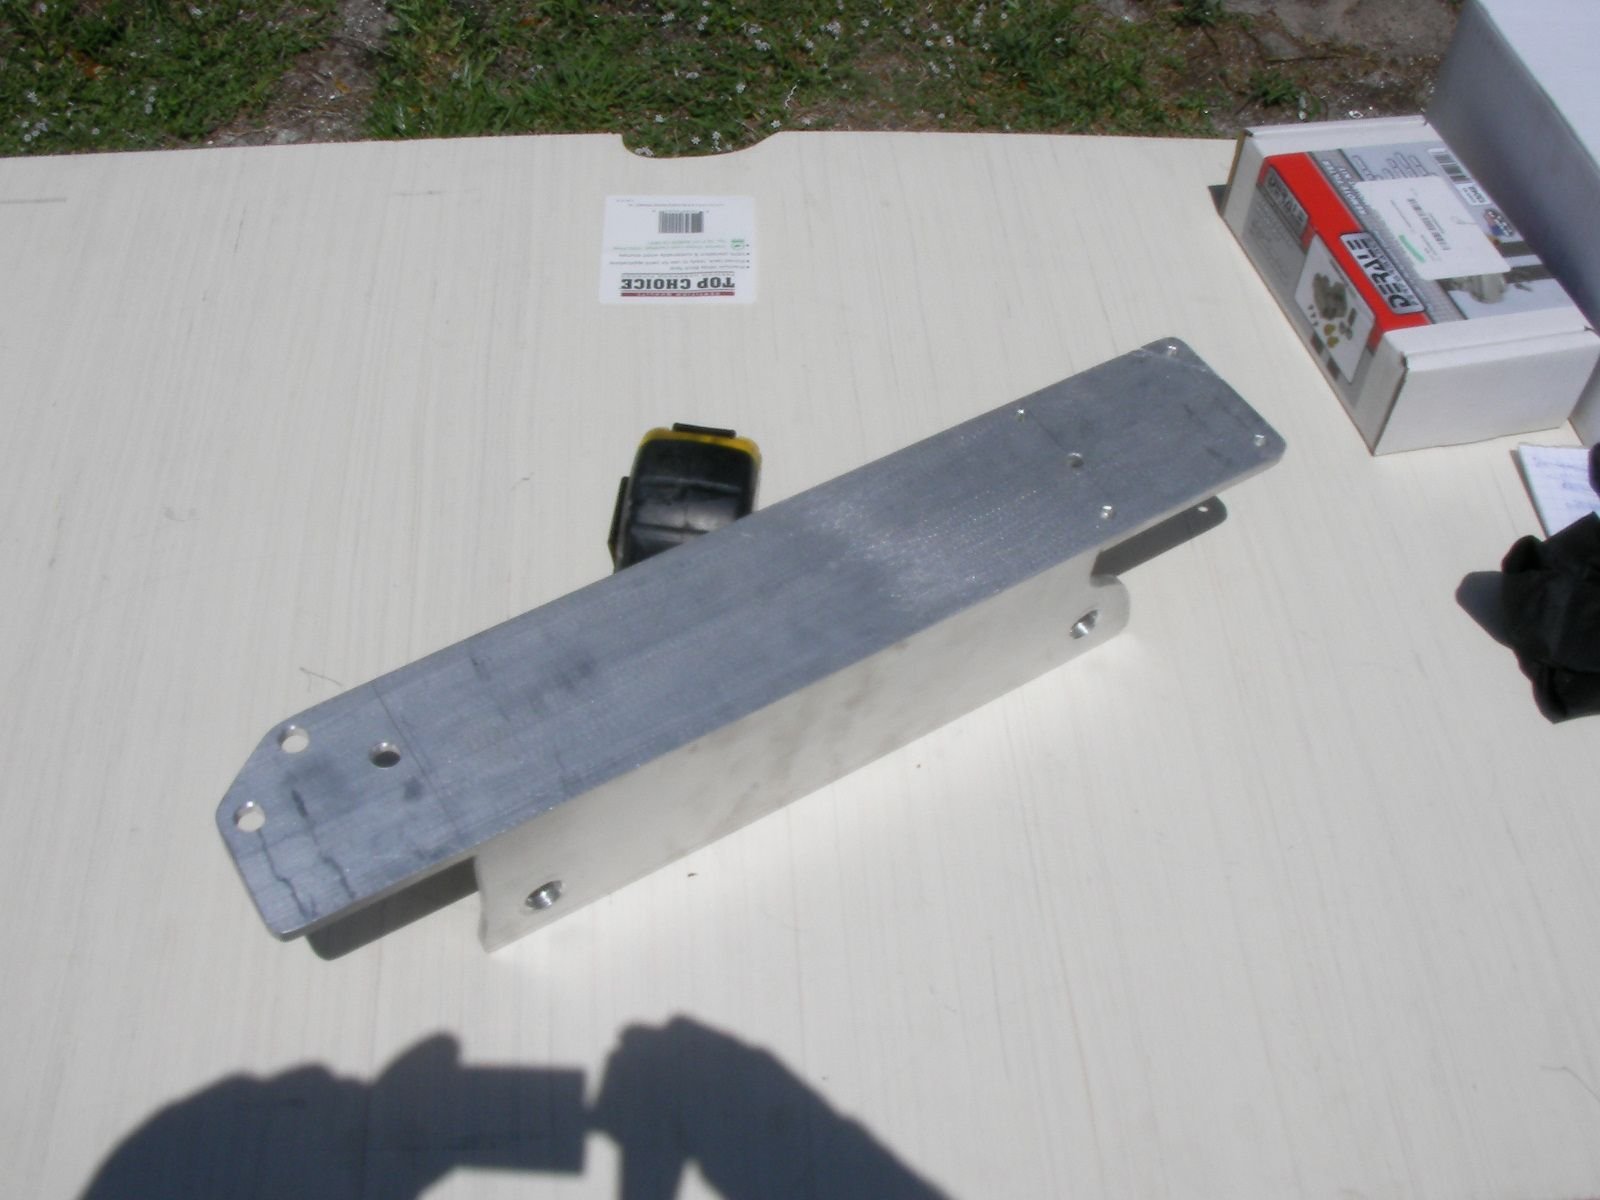
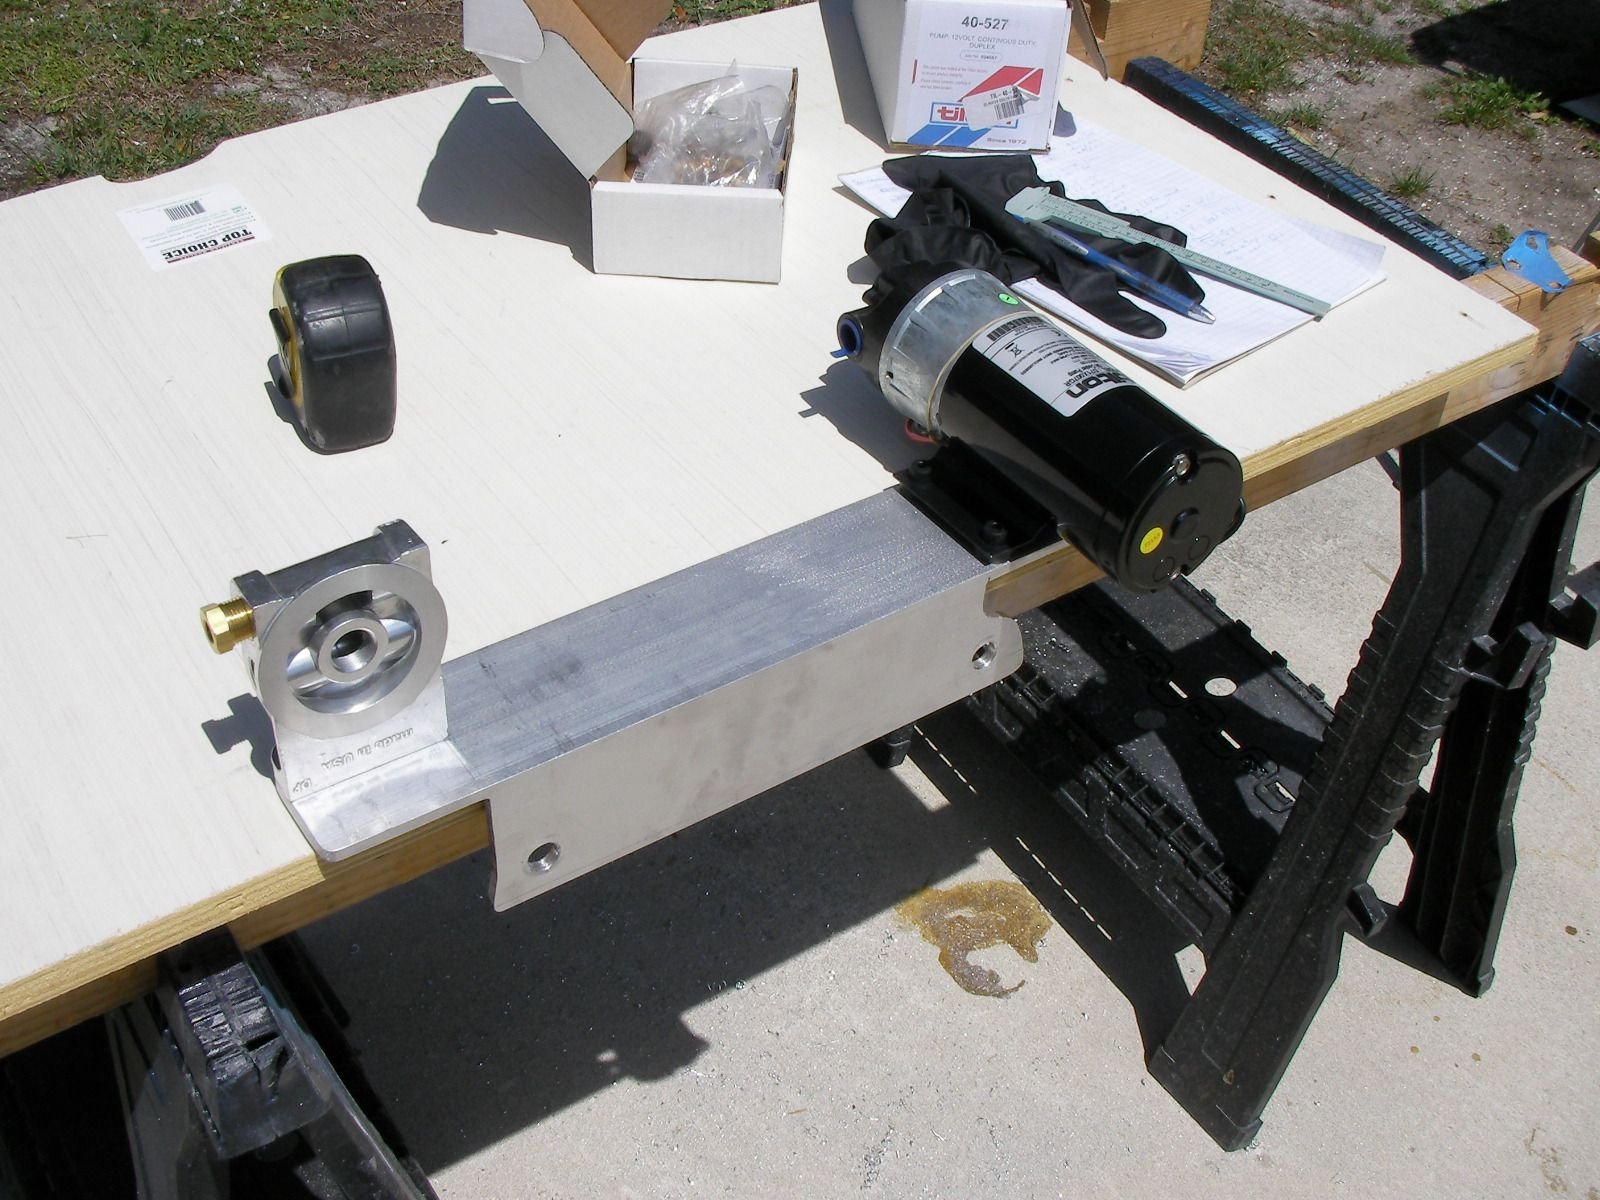
below pic of the inner transom plate was also done a while ago, it needed to be trimmed for the hydraulic lines.
thats all on me, the inner plate is for an extension box.
thread links that maybe should've just been on this thread.
coupler runout ??
496 oil flow direction
seapump wear holy cr@p !
Last edited by outonsafari; 04-24-2018 at 08:45 PM.
05-01-2018, 10:50 AM
#115
Registered
Thread Starter
05-03-2018, 03:29 PM
#116
Registered
Thread Starter
 05-05-2018, 12:54 PM
#118
Registered
Thread Starter
^^^^, thank you
yes, everything except kplanes and pumps are mounted in between the stringers and as low as possible.
the pumps are mounted on the stringers but outboard of them.
maybe the trim pump can go inboard, don't know yet because the drive lube pump is there.
there is another battery tray glassed in just like the rear one at the front of the gas tank in case the boat needs more weight up there.
the gas tank is 3 1/4 inches lower than the stringers, but that was only for the mounting tabs and fill / vent could clear the floor.
the tank has been in for a while, in fact it's been out twice to verify and adjust the rubber strips it sits on are placed correctly.
open and remove the floor up forward and the tank goes in and out thru the opening in the back of the bolster.
i'll get pics up of the install.
been a while since you and heath updated your threads, heath is working on the 30 tho, so hows yours going ?
i'll admit the oil line -an jic dash dot dot dash inverted flair crap has me at wit's end, all the kit stuff has been a royal pain.
needing either mods or different parts. i do this again it wont be sterndrive, it's all crap !
05-05-2018, 03:39 PM
#119
Registered
I'll be posting some progress tomorrow. I've had to take the past few weekends off, due to other projects that needed to be dealt with. Today I cut and installed the forward engine bulkhead. I cut out the the one I made a month ago because it was crooked. With the new one, I made it one sold piece. I want to stiffen up the boat as much as I can, and the factory bulkhead was a joke.
05-09-2018, 06:47 PM
#120
Registered
Thread Starter
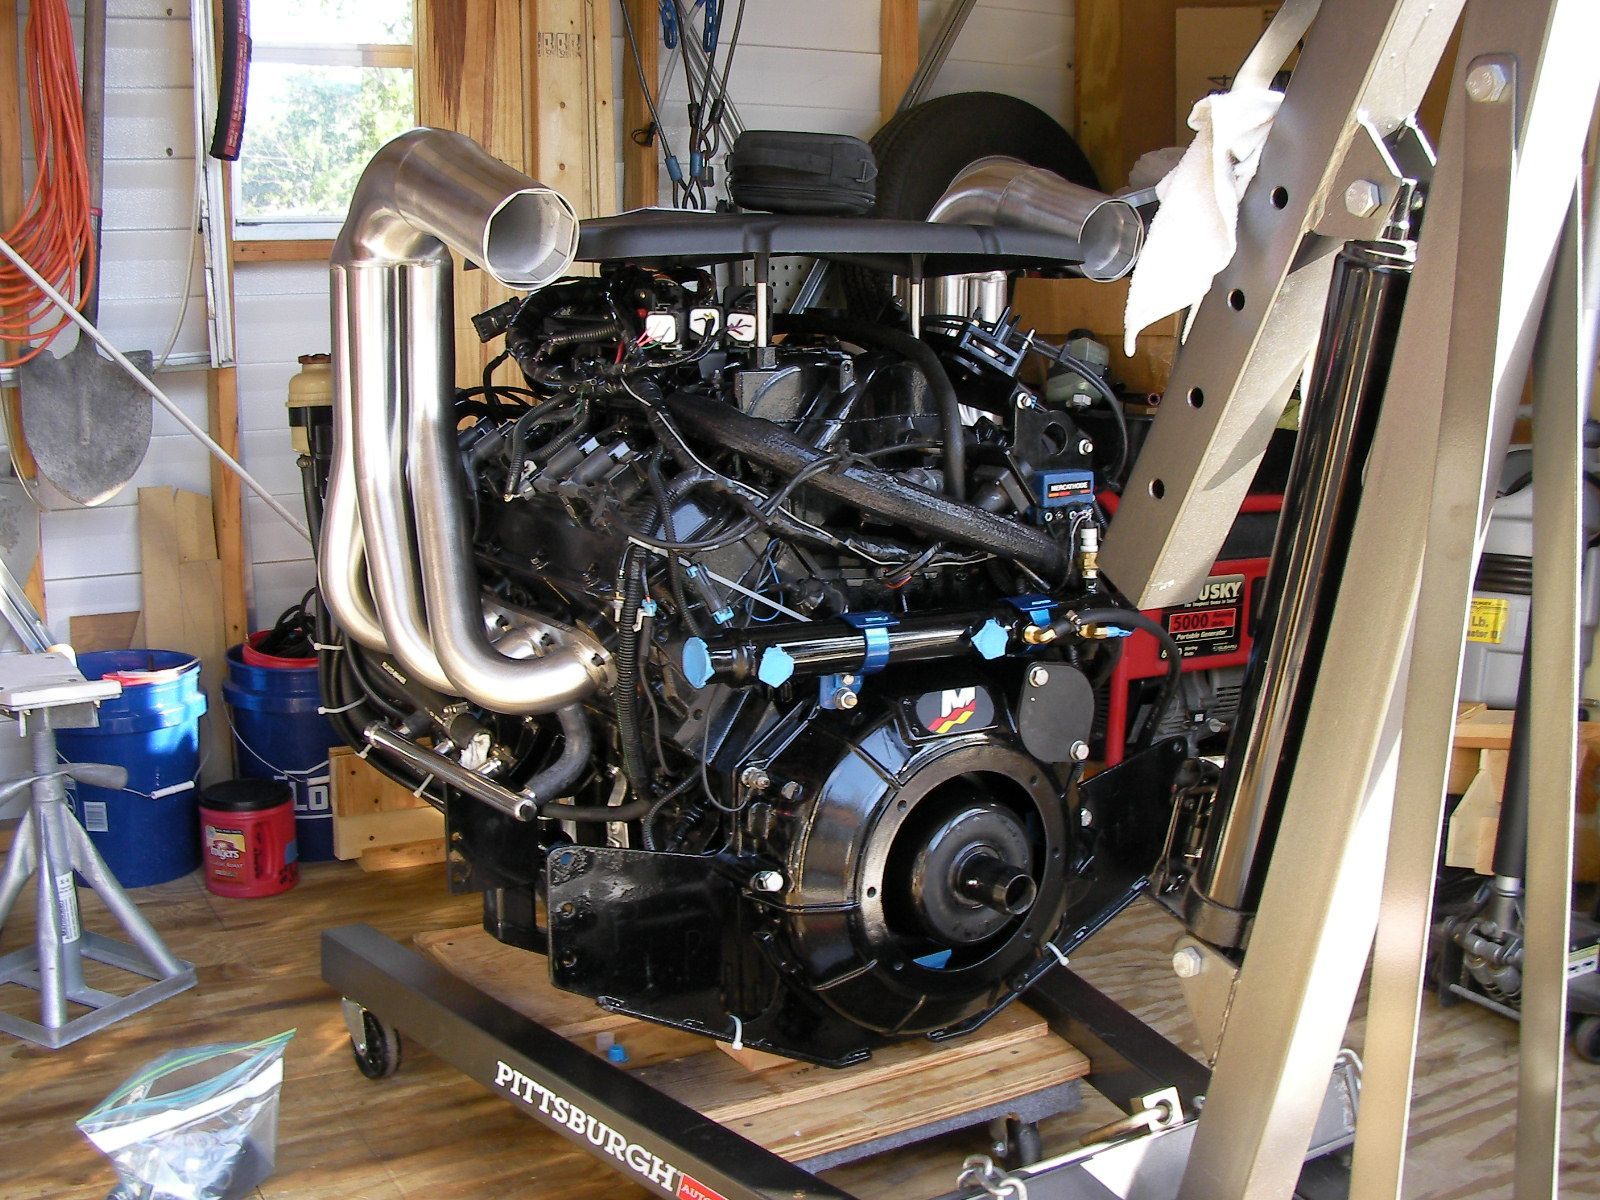
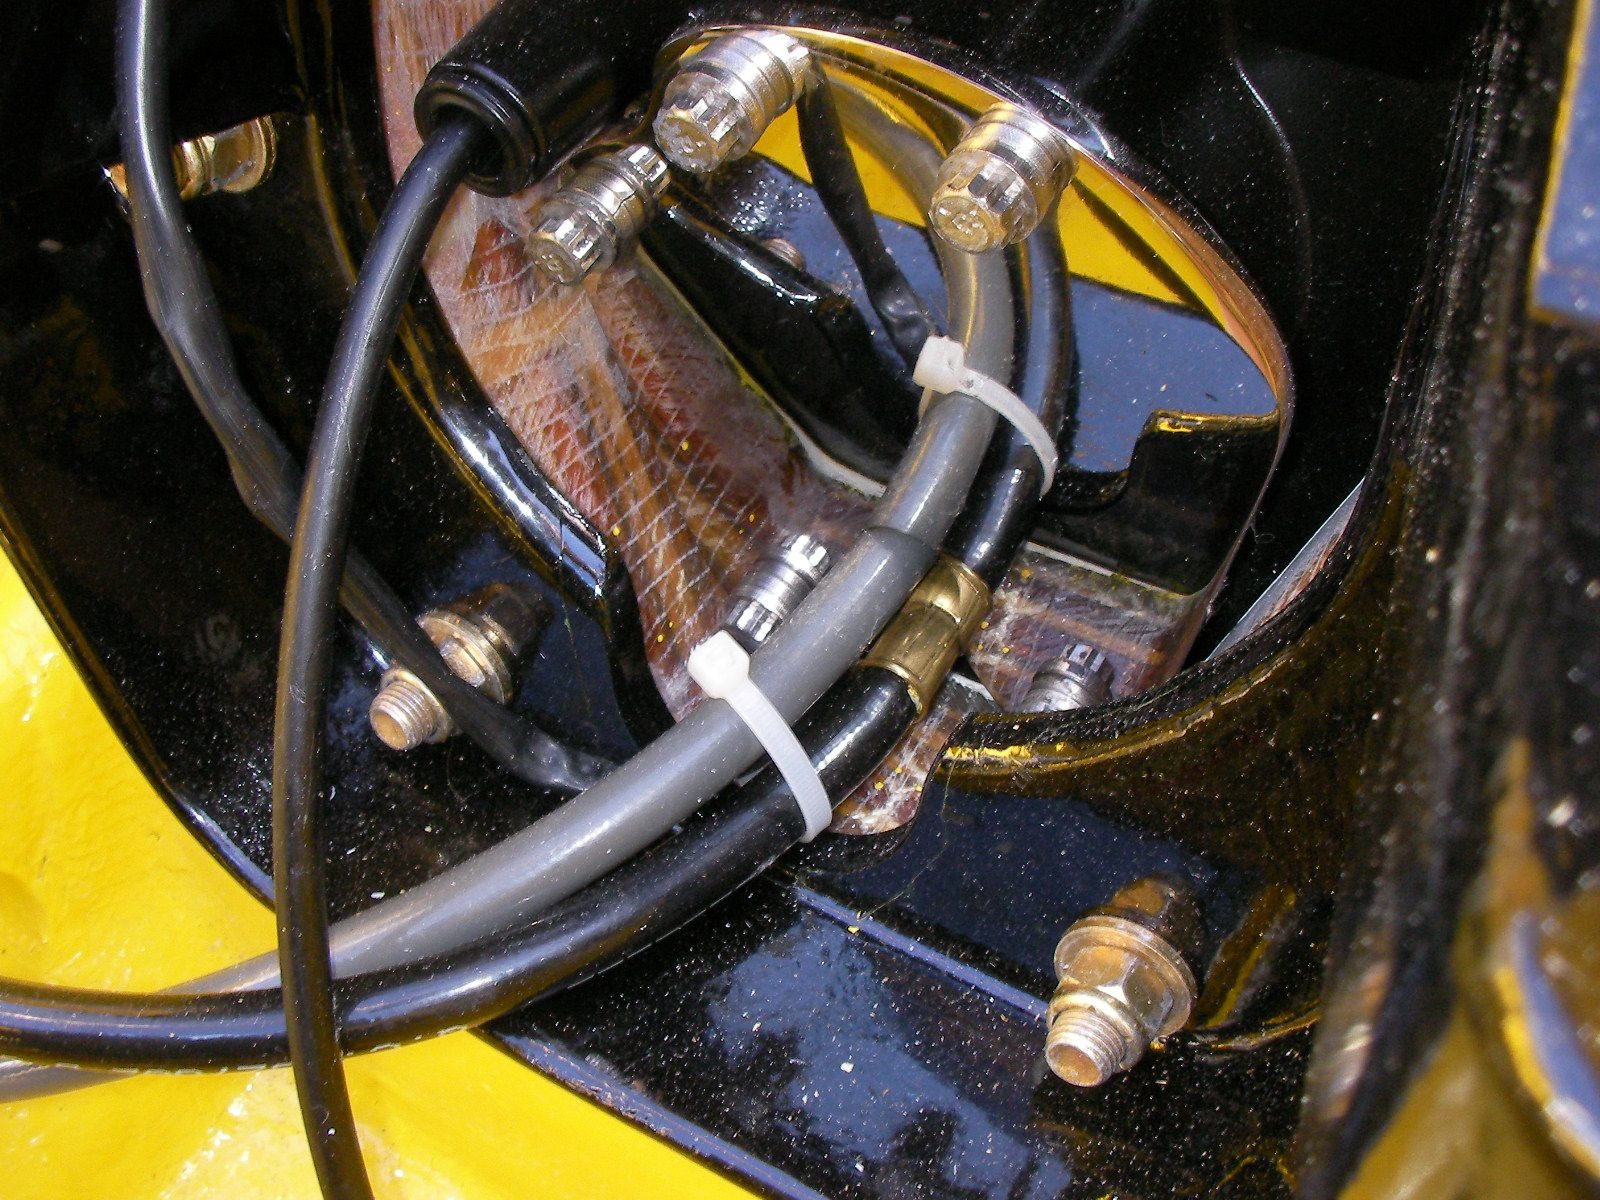
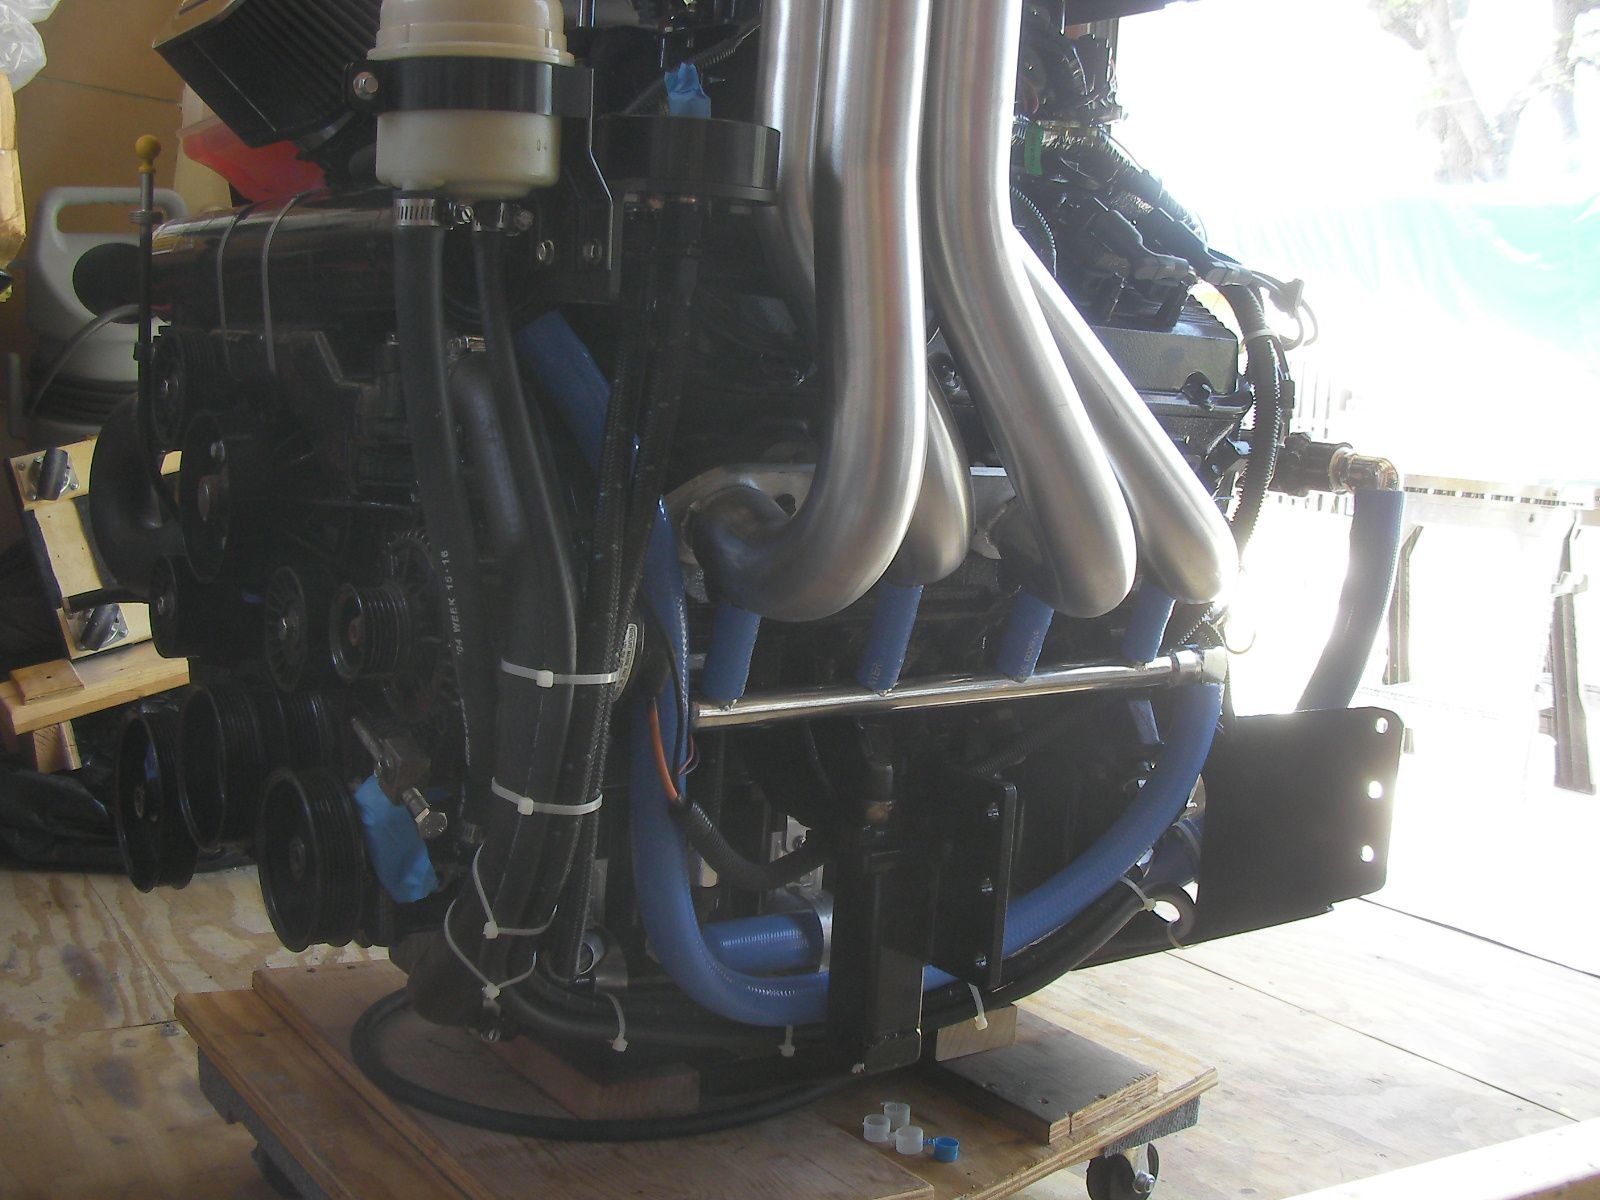
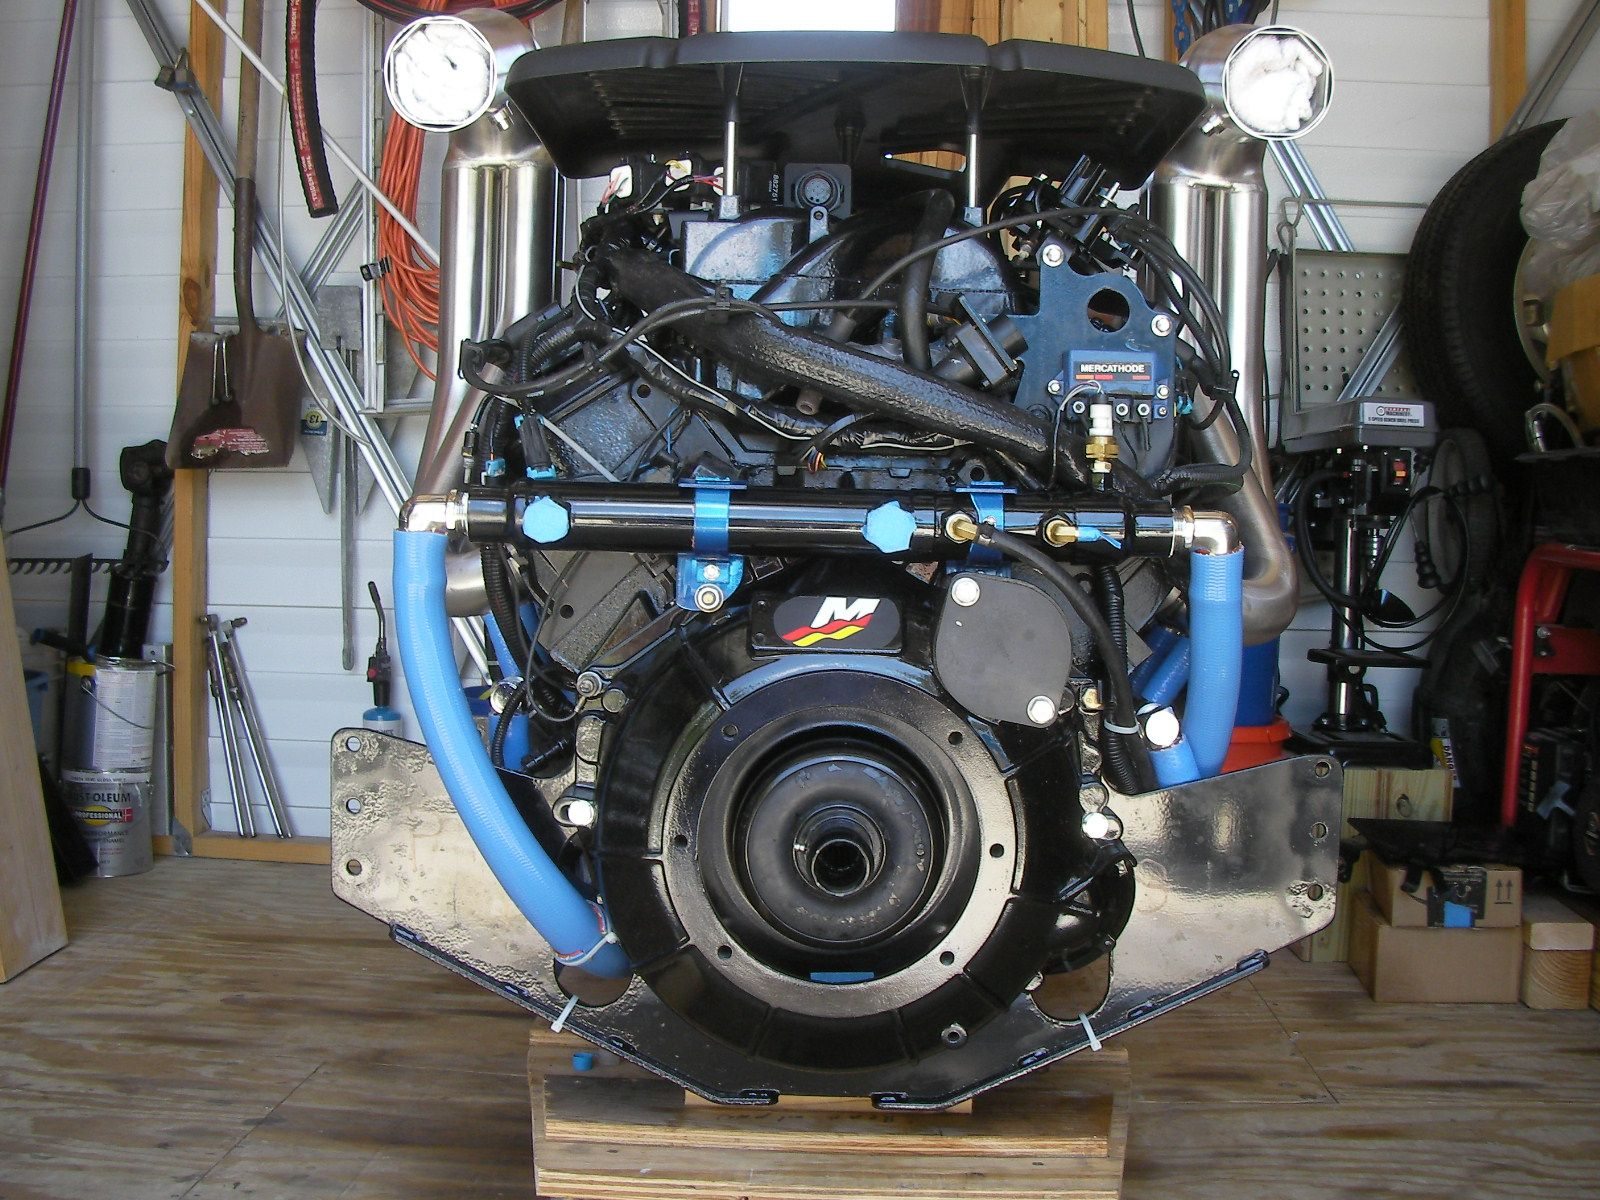
finally plumbed in. the new oil lines from russel are 100 times better easier and faster than the fragola.
was able to make a big s turn hose so the oil could flow counter to the water.
class 6 suggested the flexfab hose and the stuff is awesome. it bends and twists right around and thru
places without getting kinked.
all of the hose fits well with no pinch points or areas of concern.
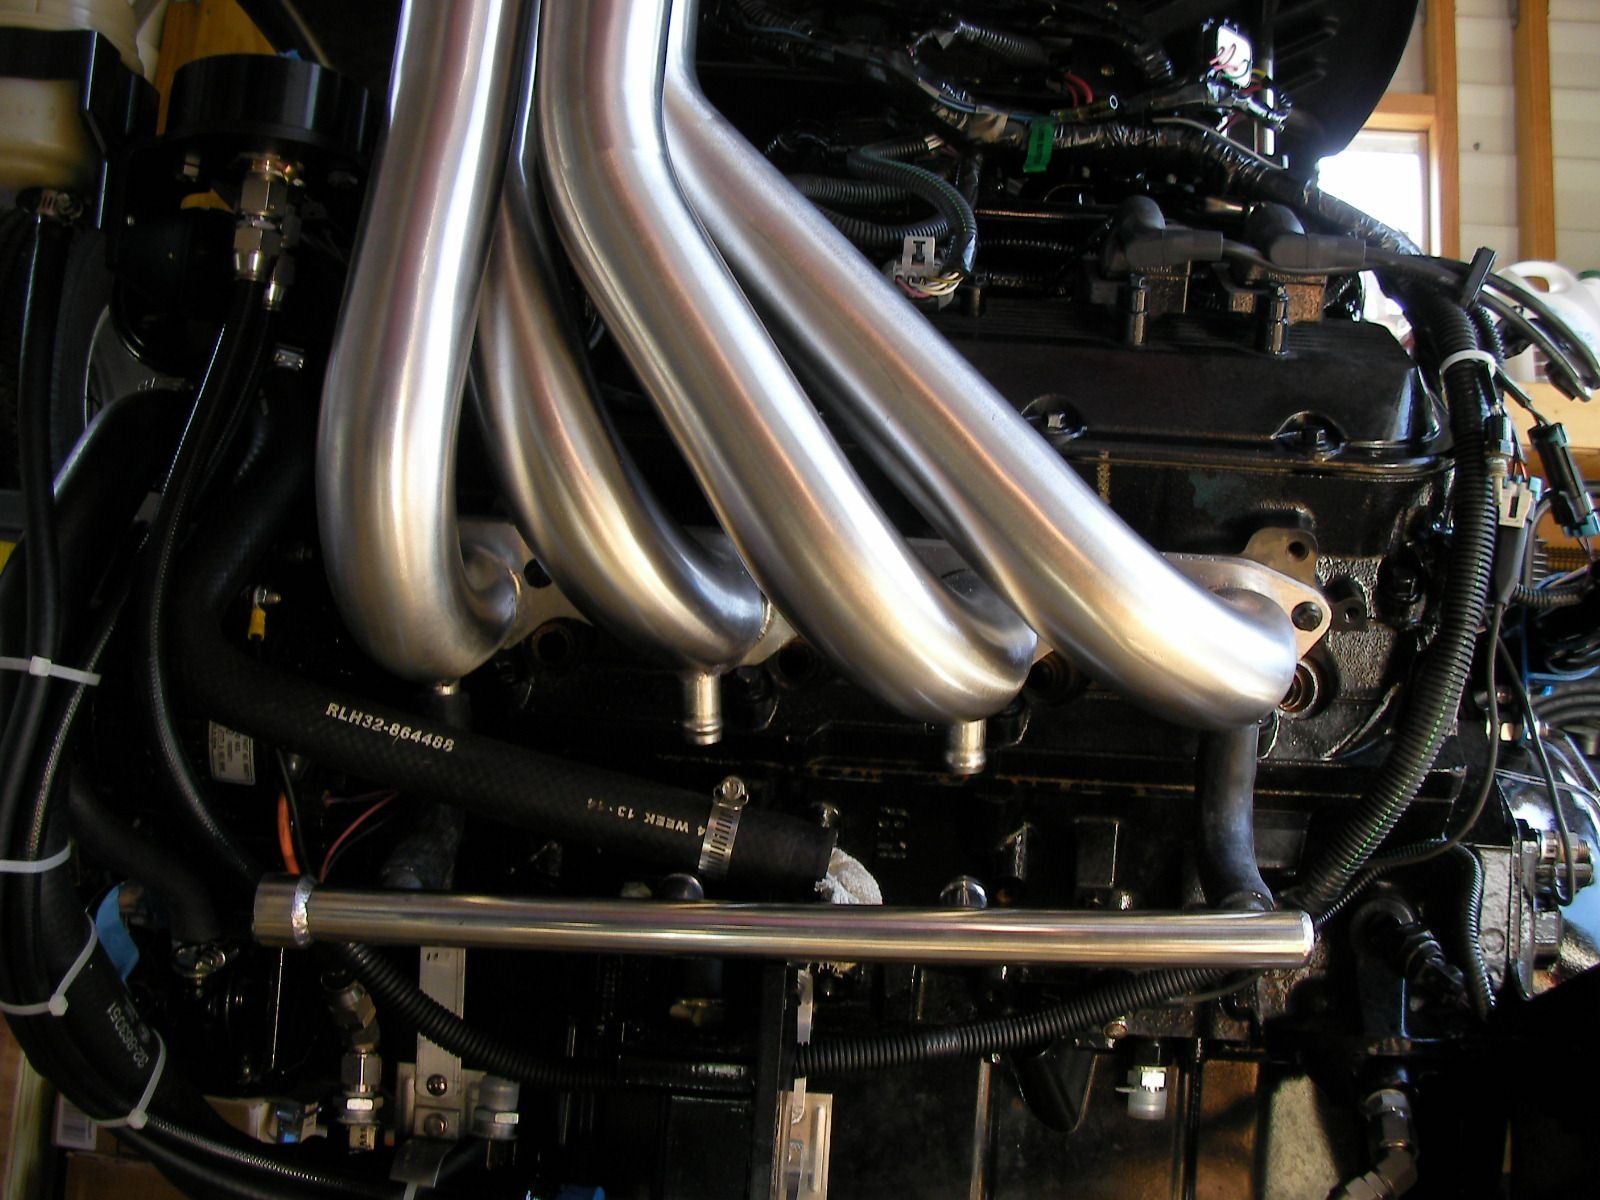
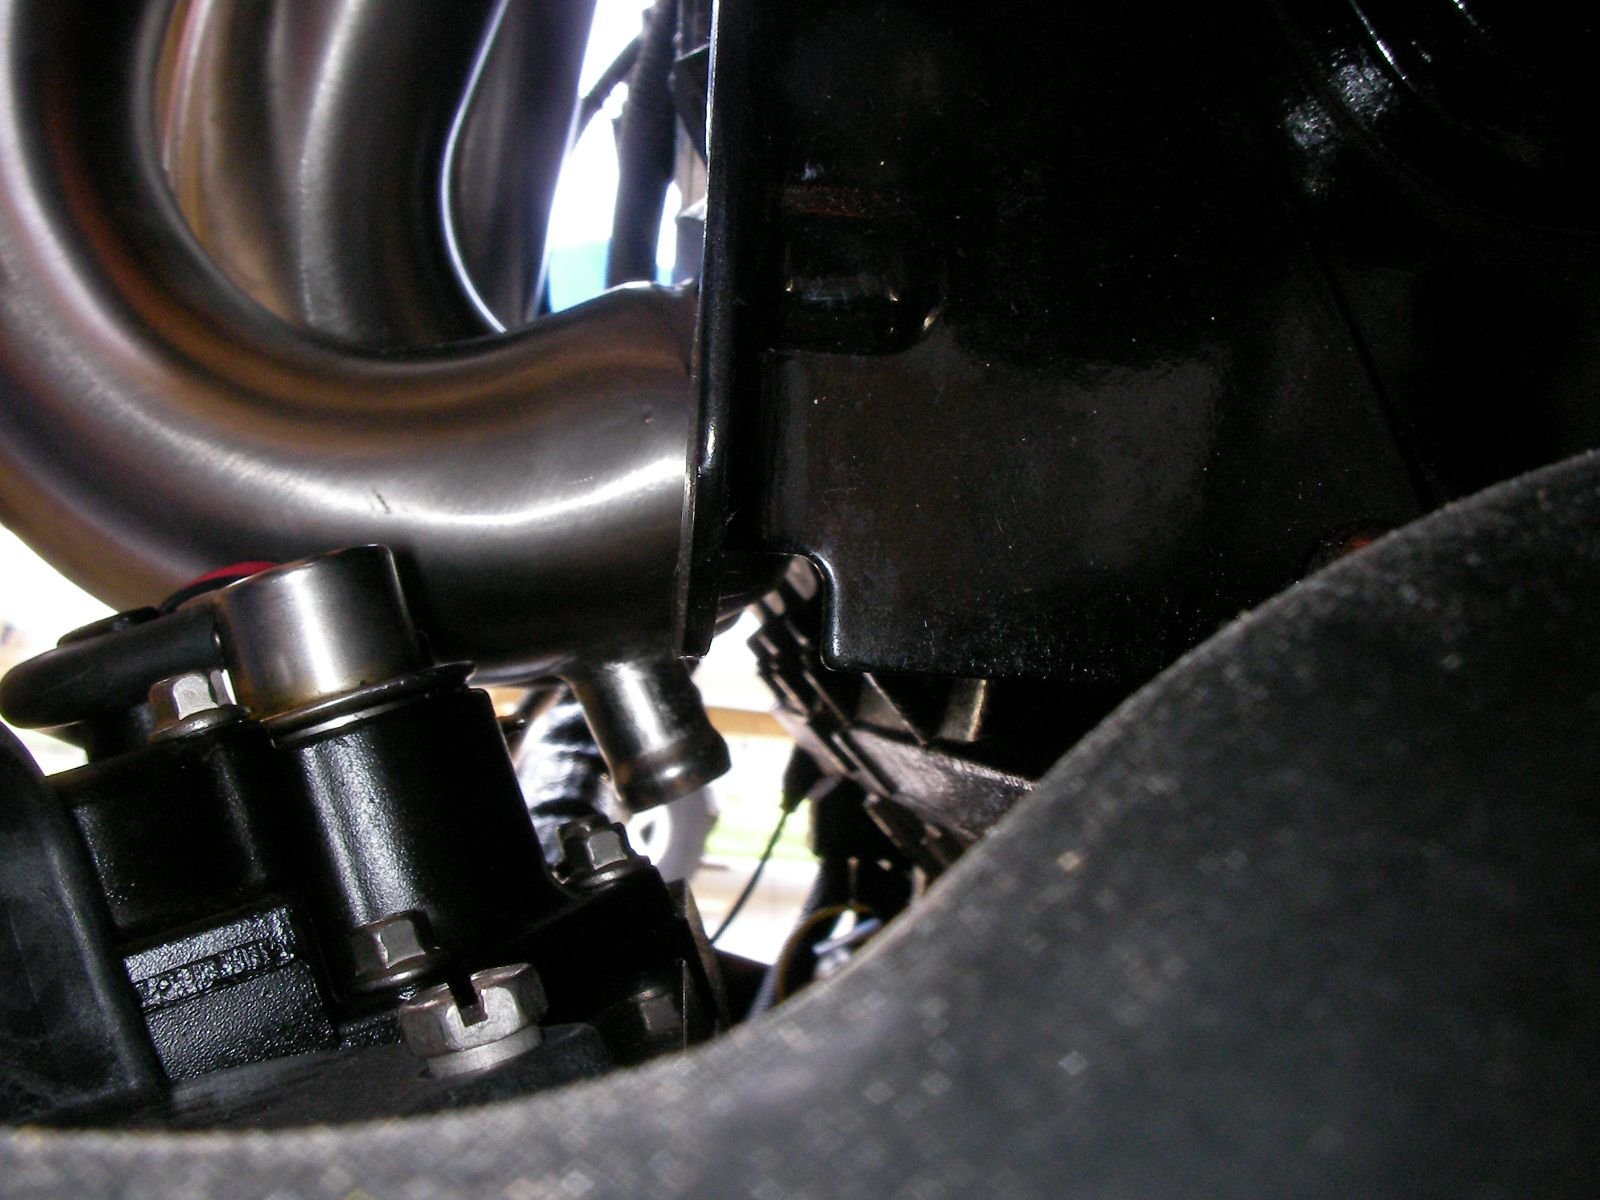
as it turns out the port exhaust could get plumbed in from the front and since port runs hotter
it'll probably stay this way even tho it doesn't match.
but i rigged it both ways and packed the reversed set up away.
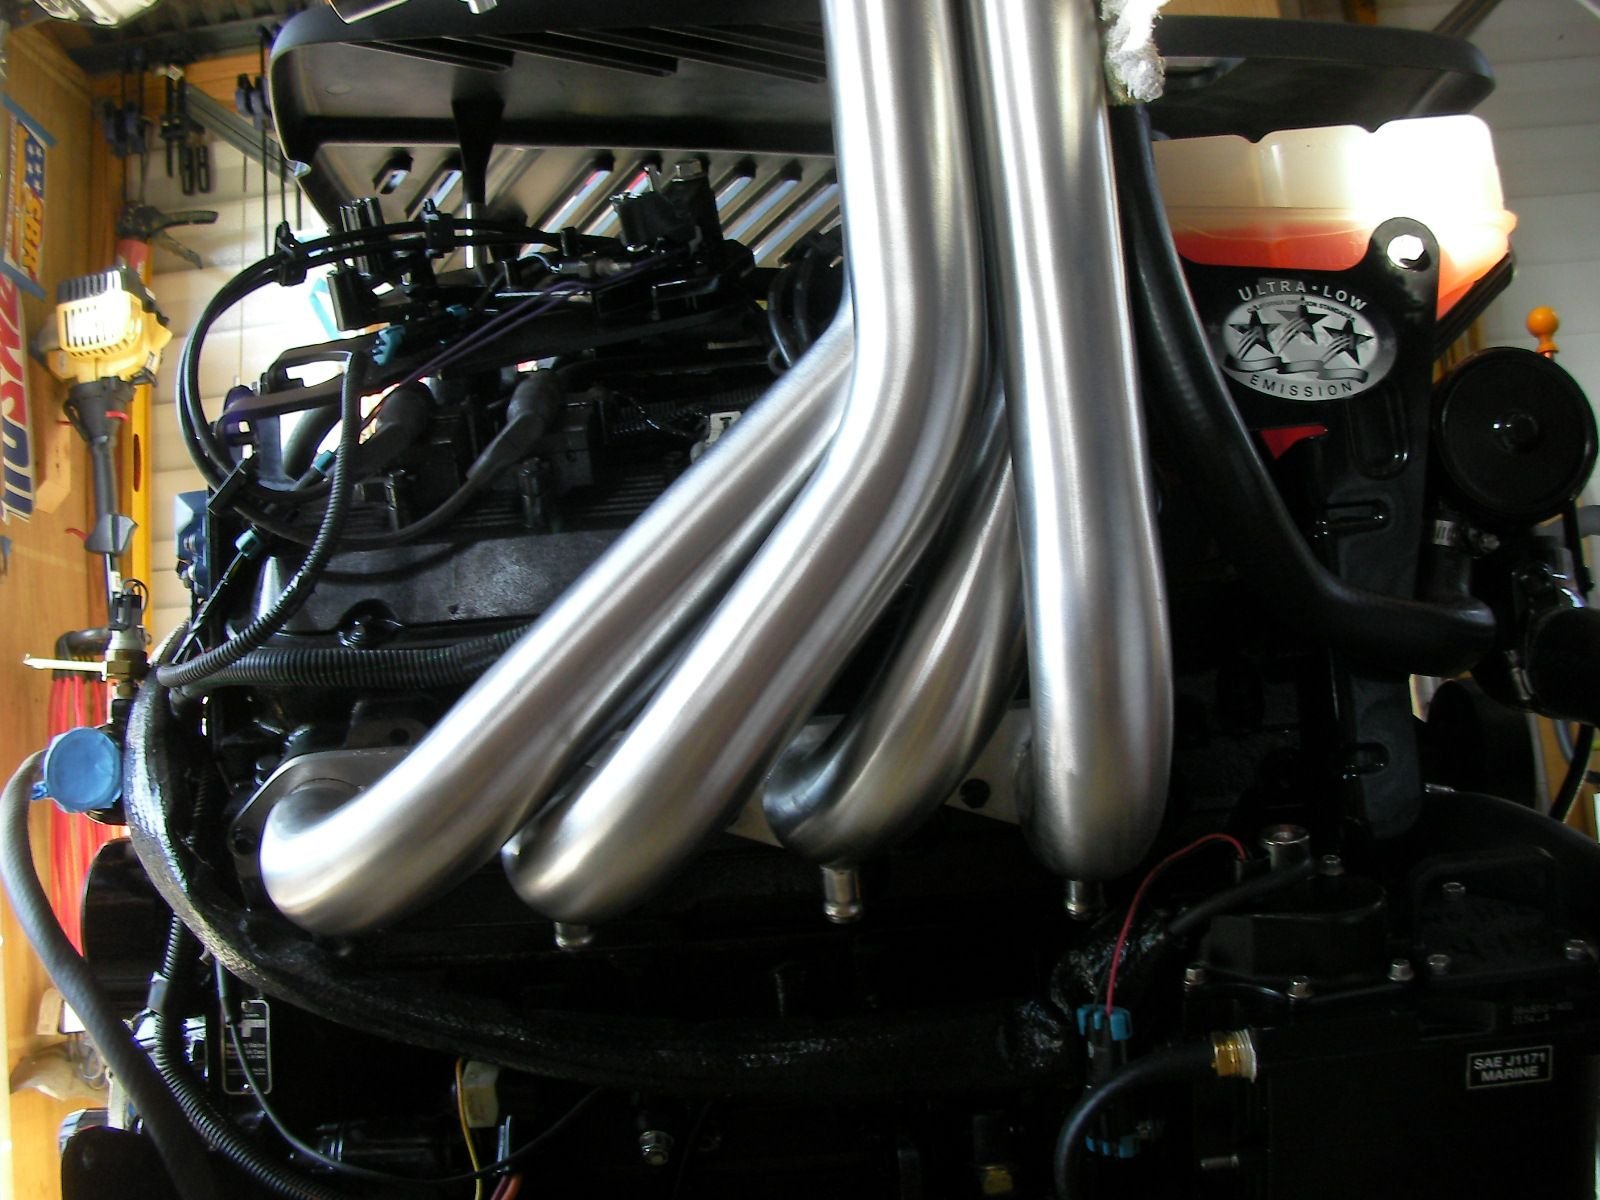
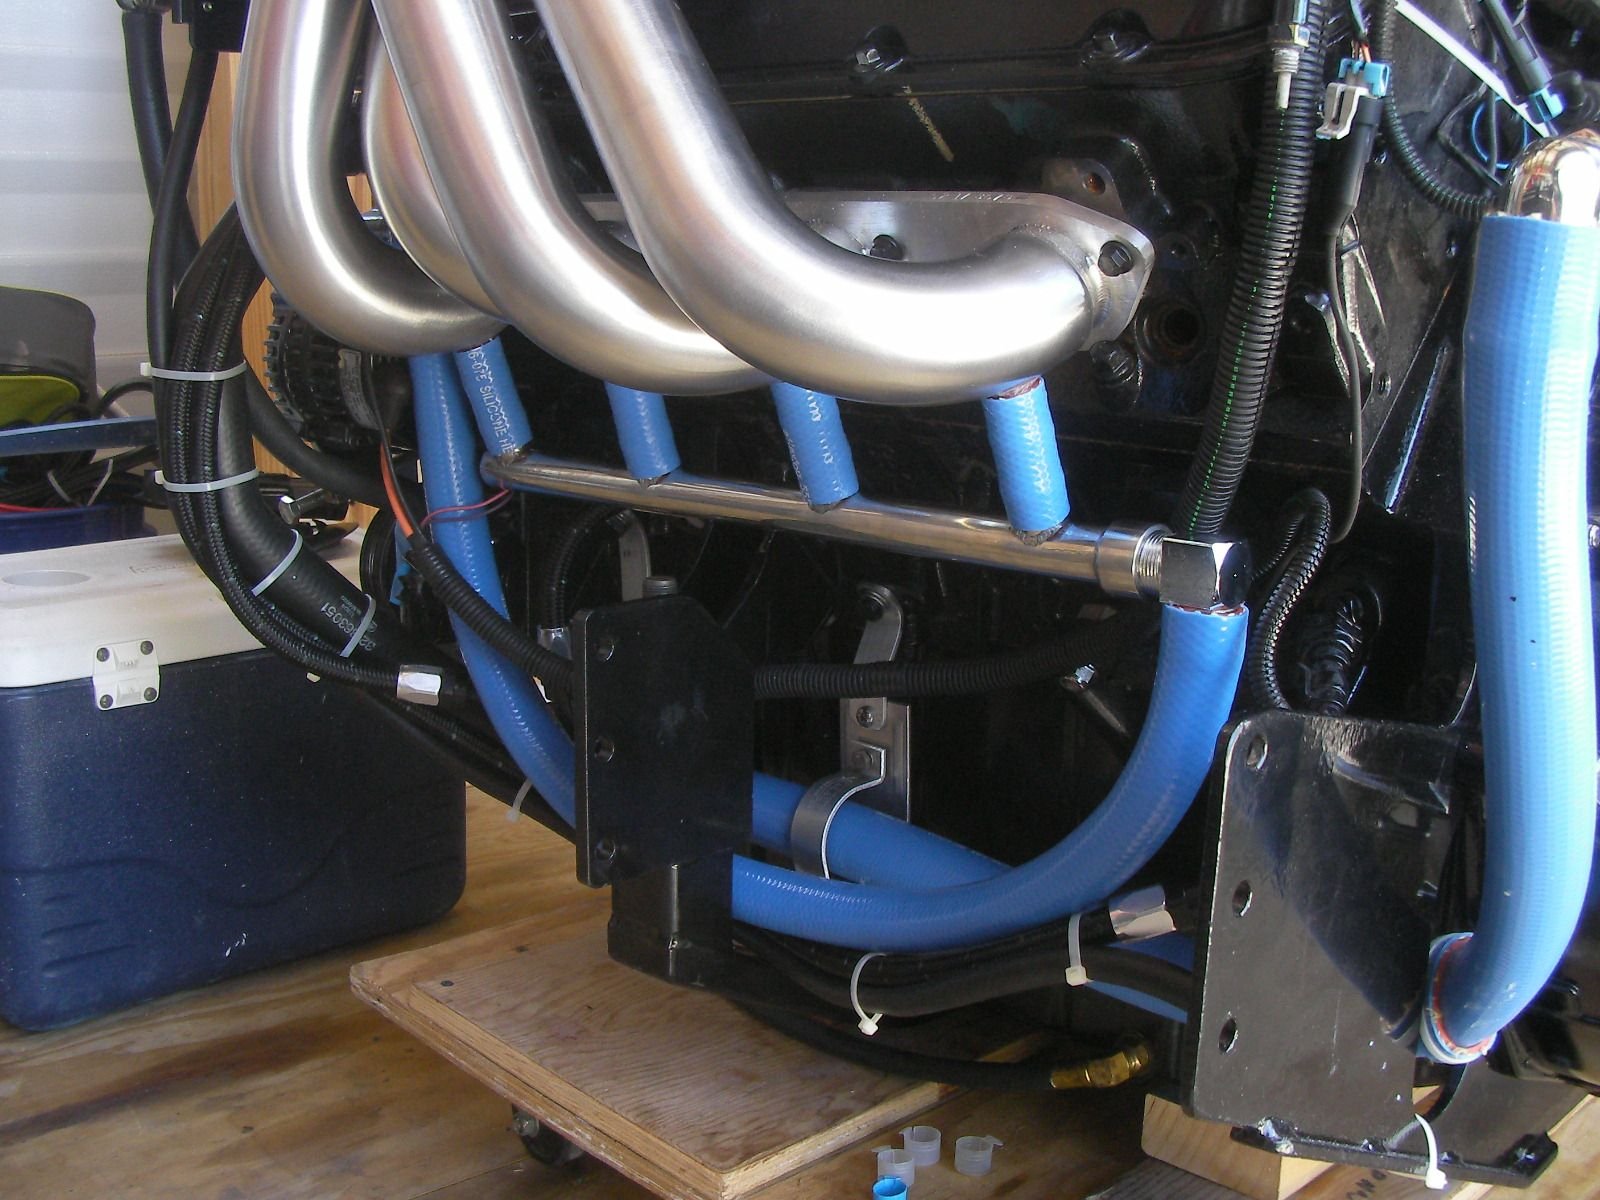
same for starboard, i plumbed it reverse, only way it would work, but plumbed it to run with or without
the meter that sends water to the cool fuel.
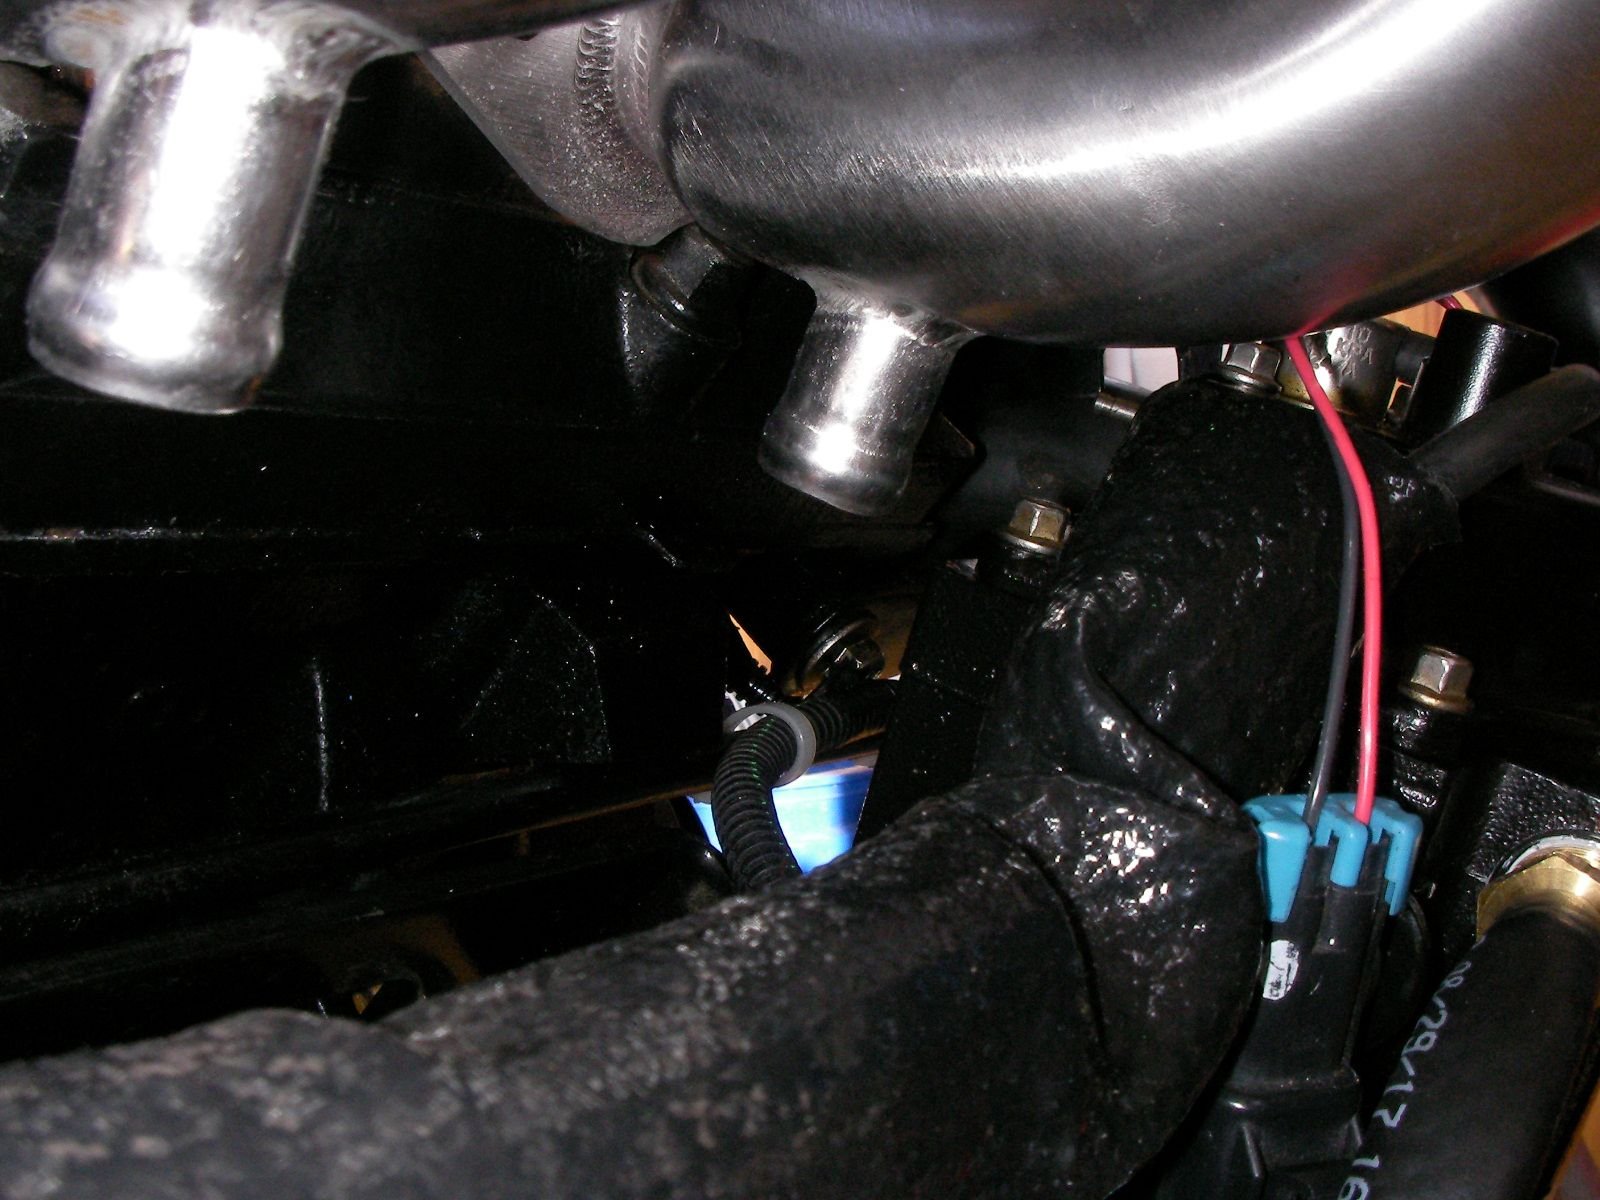
the switch is easy, everything between the sea pump and p/s drive cooler comes off.
and the other hose and 3 npt to hose barb fittings go right in.
since the upper was modified and properly shimmed / set up by mr gadgets and the lower is new
i'll run it thru the factory suggested 10 hour break in period.
so, the meter will stay on during break in because i know it works, later it can be switched and we'll see how that works.
3 hose clamps, paint the oil cooler hangers, a once over and the engine is ready to go in !
hope i put the mounts in the right place !
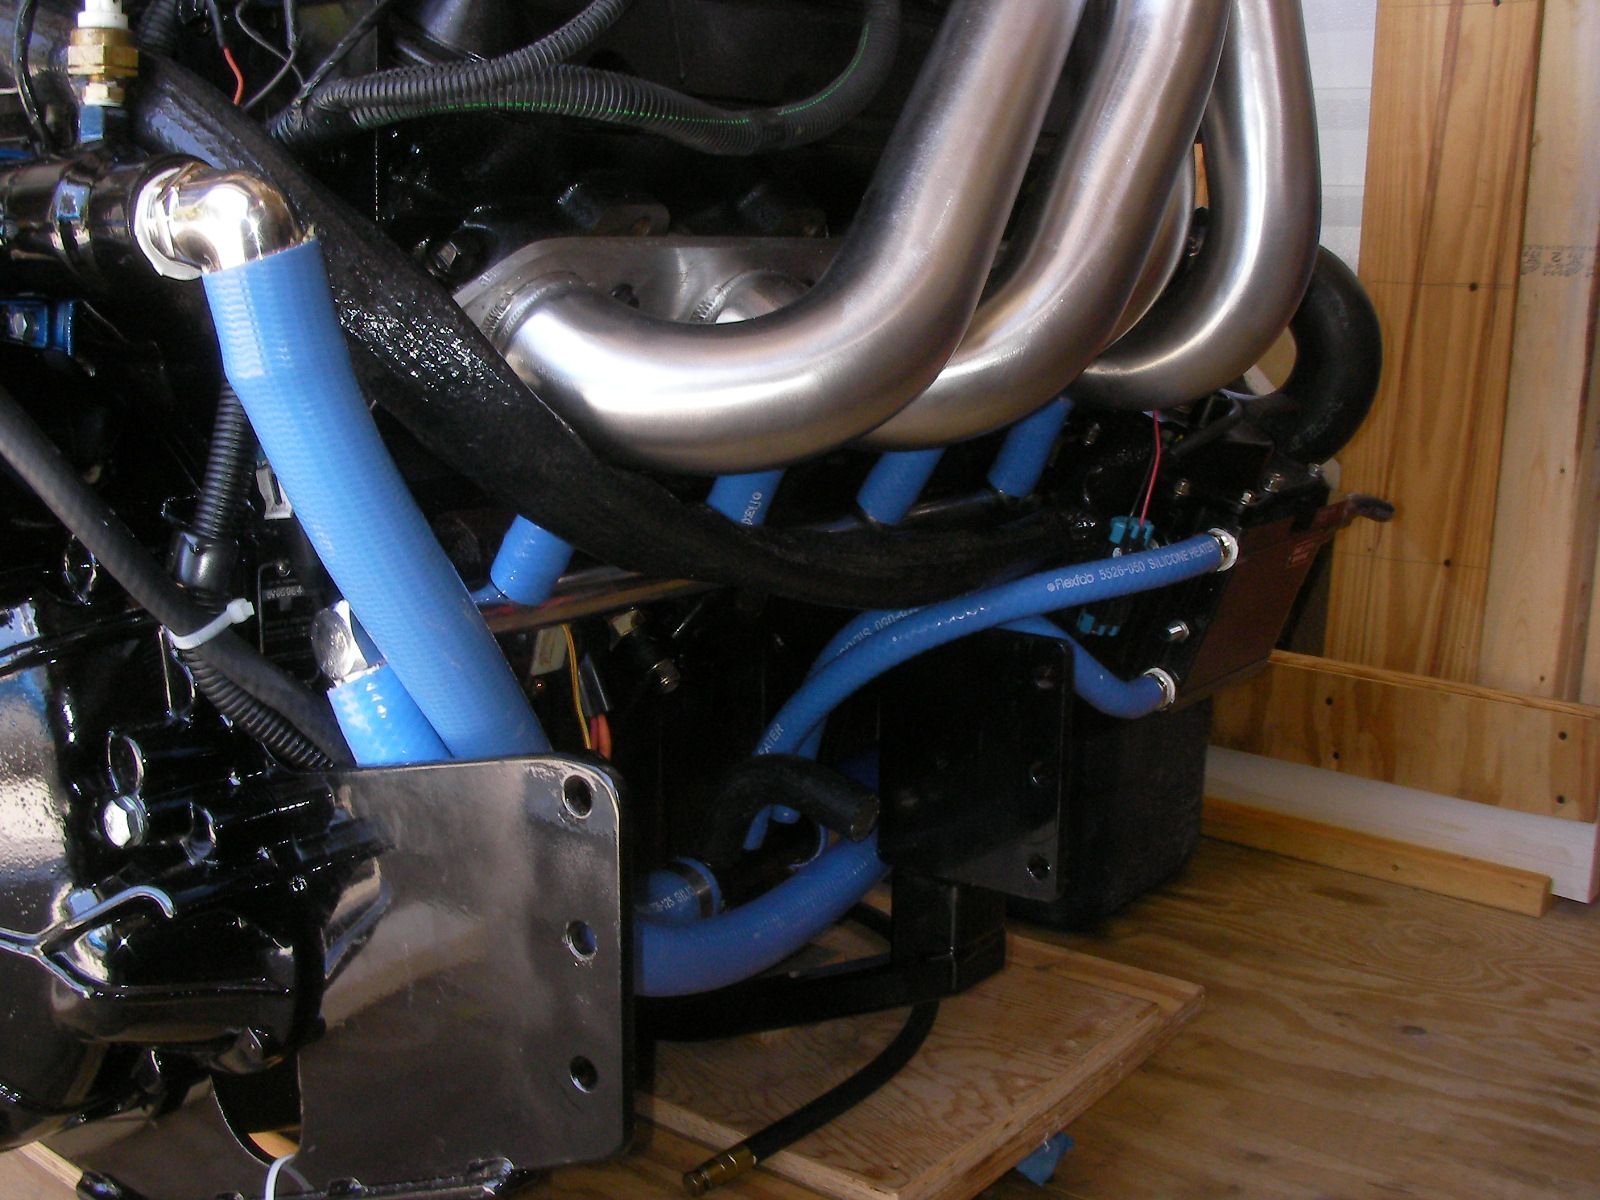
port in reverse
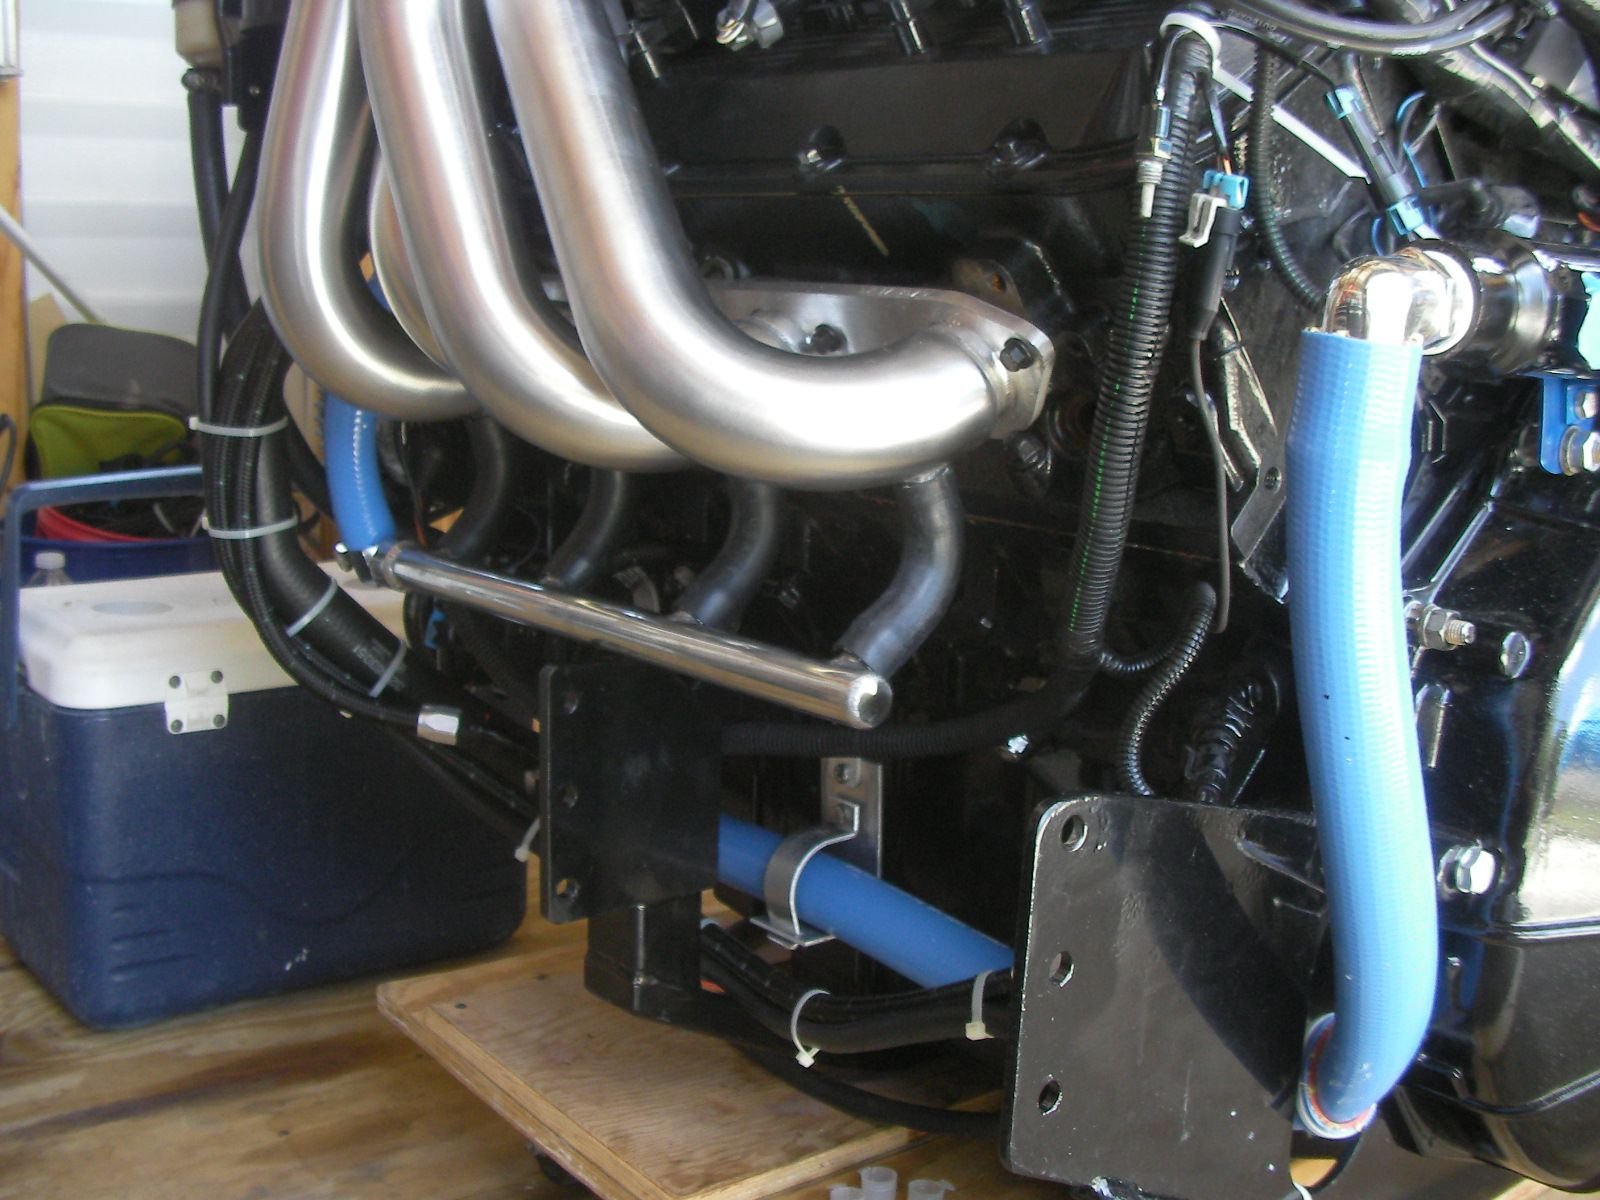
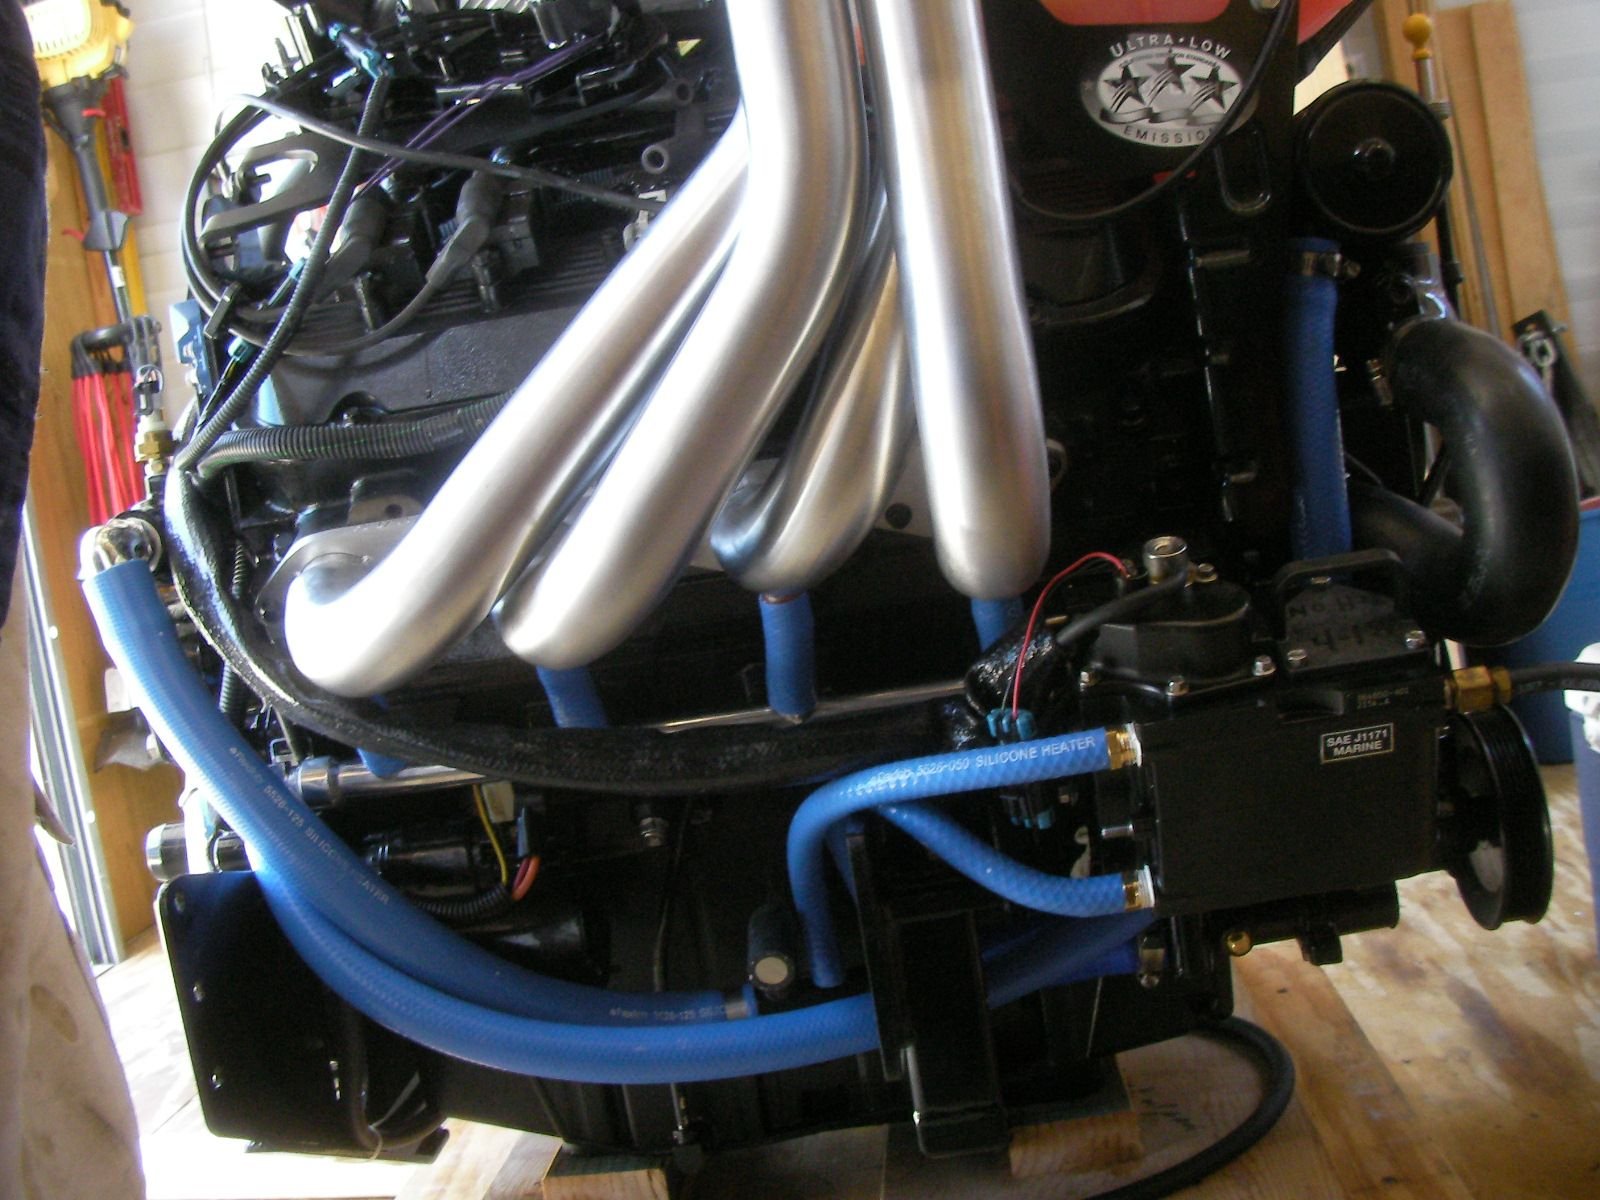
port in front, all it needed was the kit hoses cut back 1/2 inch on each side and it fit there w/o issue.

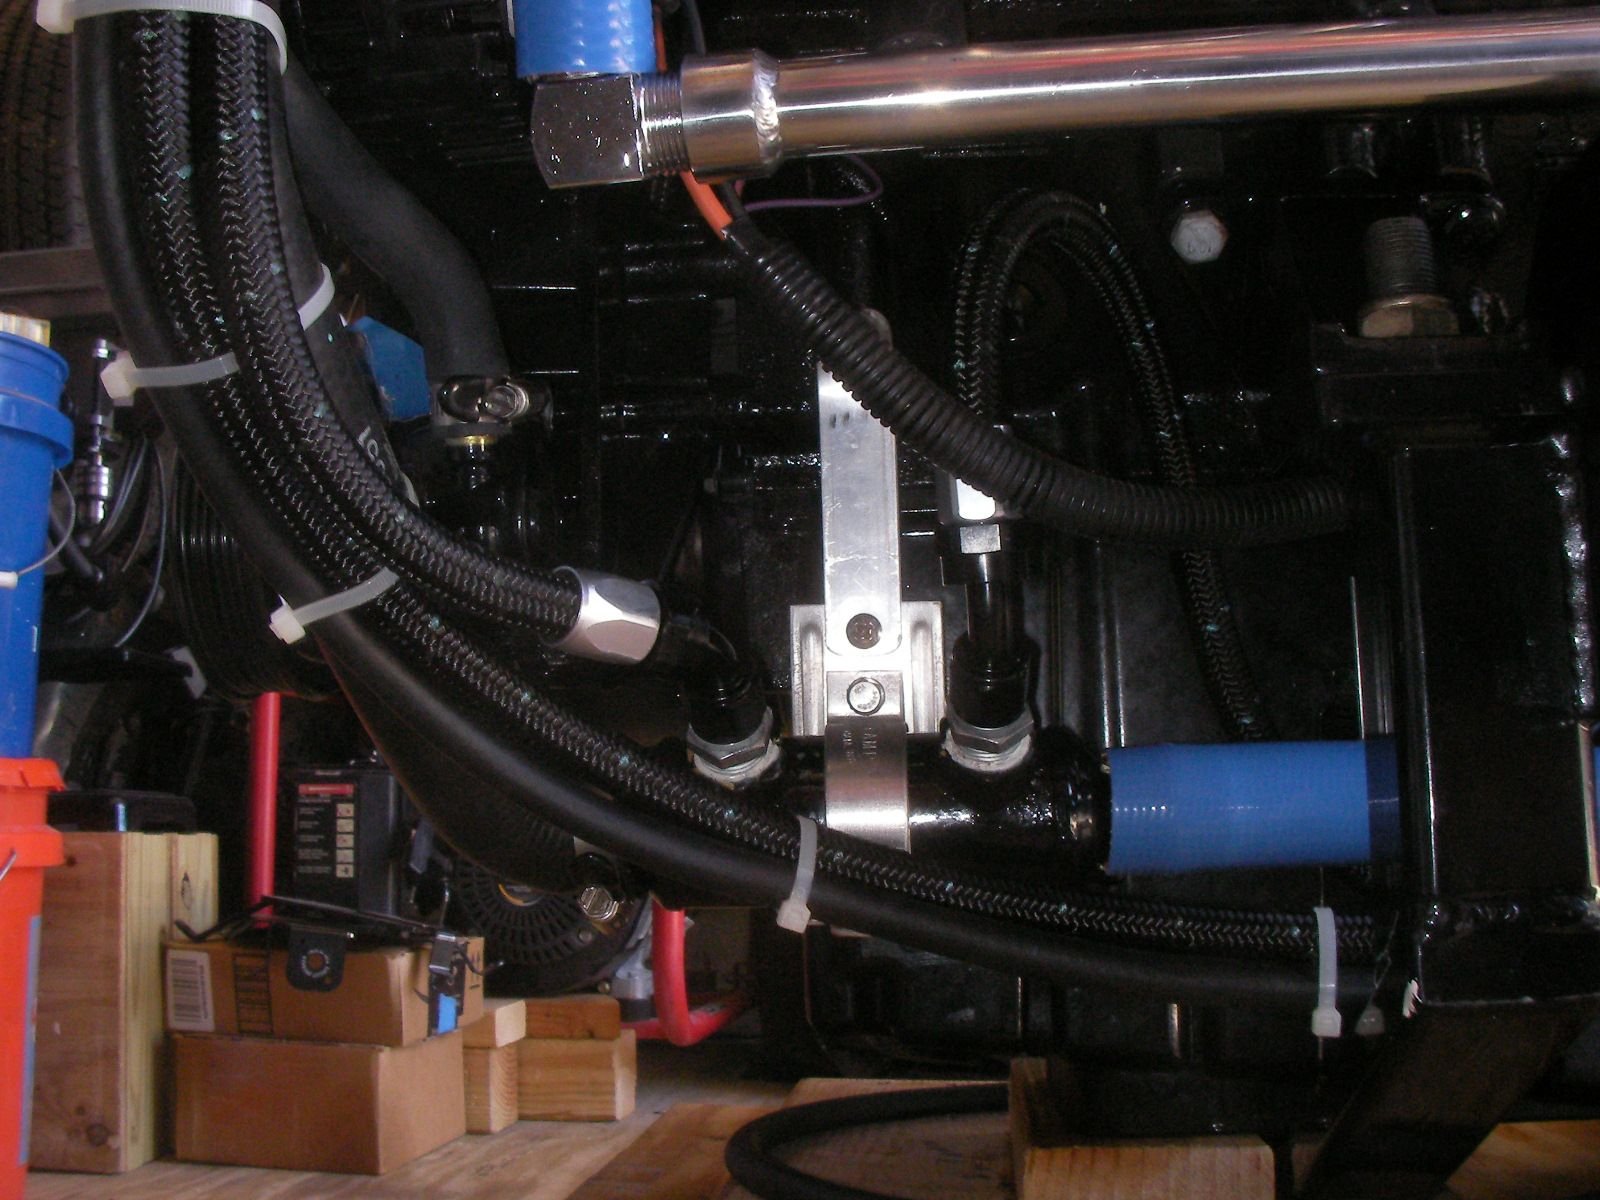
oil flow against water flow
drive and p/s steering cooler
starboard plumbed in reverse with meter.
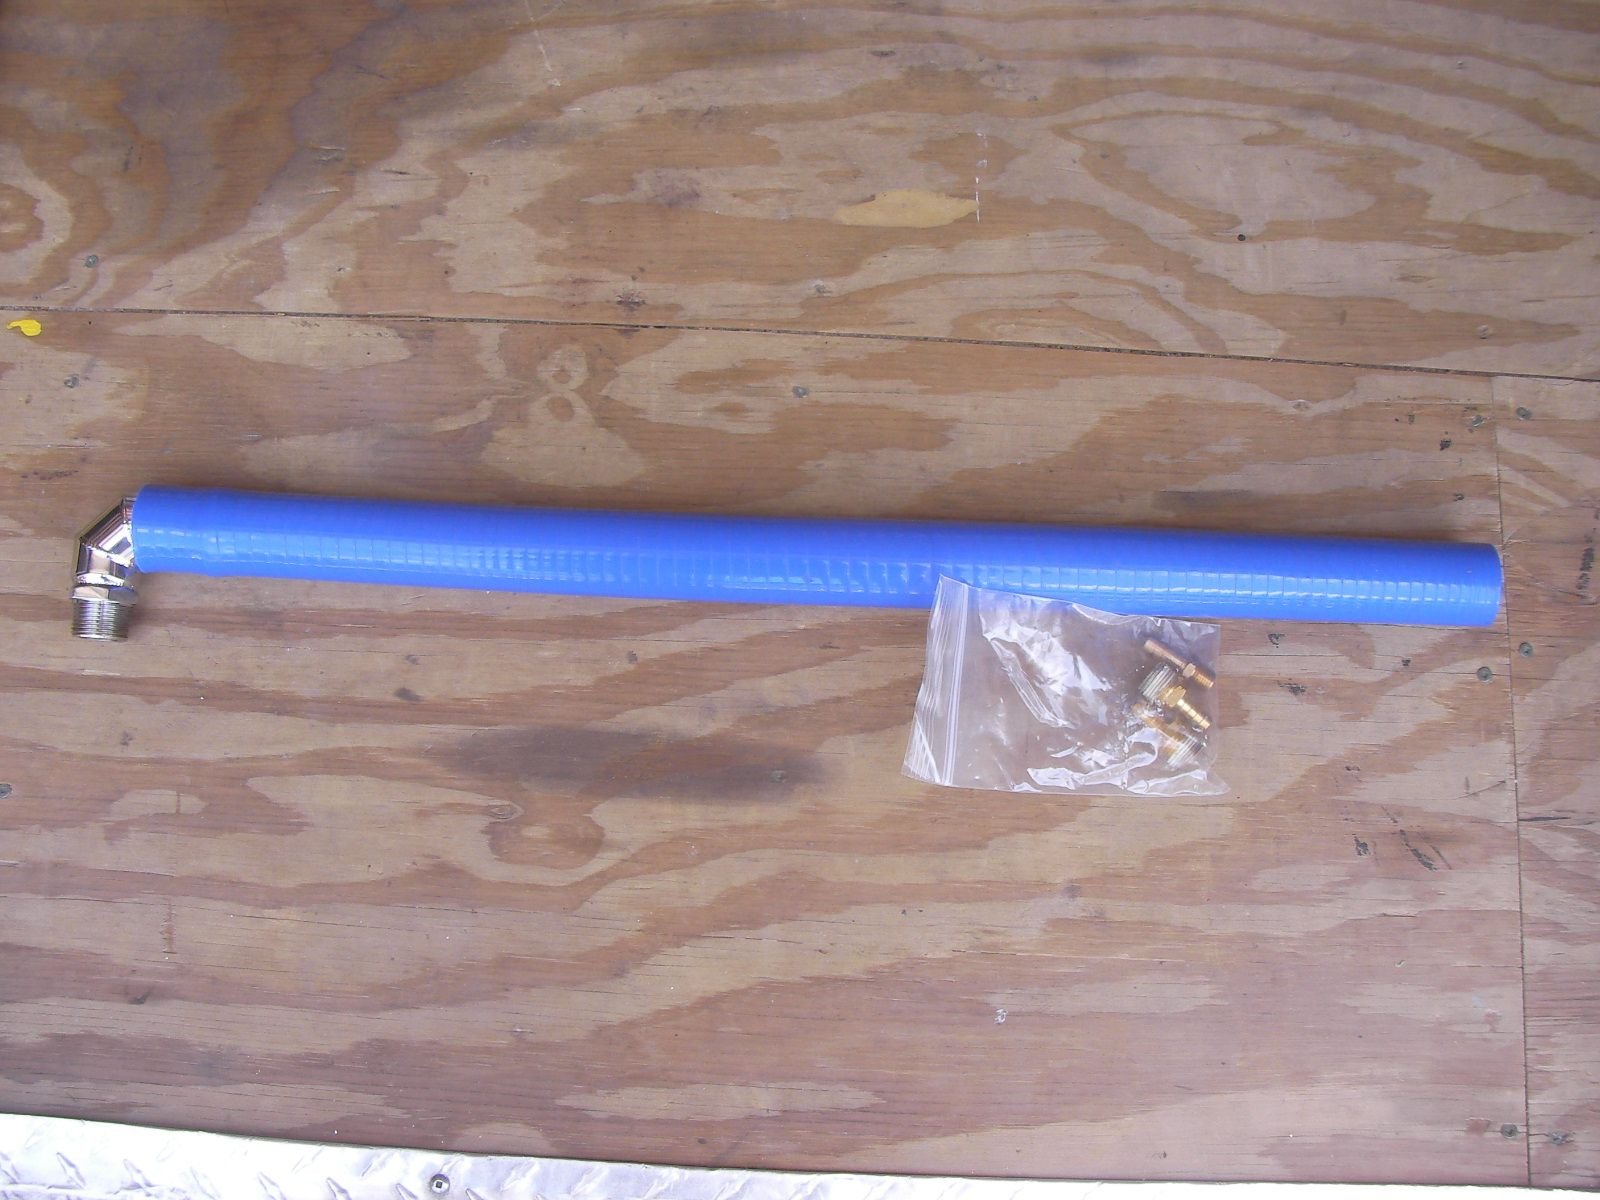
this is to run w/out the meter later on. water from seapump drain fitting goes into cool fuel then overboard.
was able to make a big s turn hose so the oil could flow counter to the water.
class 6 suggested the flexfab hose and the stuff is awesome. it bends and twists right around and thru
places without getting kinked.
all of the hose fits well with no pinch points or areas of concern.
as it turns out the port exhaust could get plumbed in from the front and since port runs hotter
it'll probably stay this way even tho it doesn't match.
but i rigged it both ways and packed the reversed set up away.
same for starboard, i plumbed it reverse, only way it would work, but plumbed it to run with or without
the meter that sends water to the cool fuel.
the switch is easy, everything between the sea pump and p/s drive cooler comes off.
and the other hose and 3 npt to hose barb fittings go right in.
since the upper was modified and properly shimmed / set up by mr gadgets and the lower is new
i'll run it thru the factory suggested 10 hour break in period.
so, the meter will stay on during break in because i know it works, later it can be switched and we'll see how that works.
3 hose clamps, paint the oil cooler hangers, a once over and the engine is ready to go in !
hope i put the mounts in the right place !
port in reverse
port in front, all it needed was the kit hoses cut back 1/2 inch on each side and it fit there w/o issue.
oil flow against water flow
drive and p/s steering cooler
starboard plumbed in reverse with meter.
this is to run w/out the meter later on. water from seapump drain fitting goes into cool fuel then overboard.
Last edited by outonsafari; 05-09-2018 at 07:04 PM.

