

32 Skater Rebuild
 02-25-2019, 05:46 PM
#1
Registered
Thread Starter
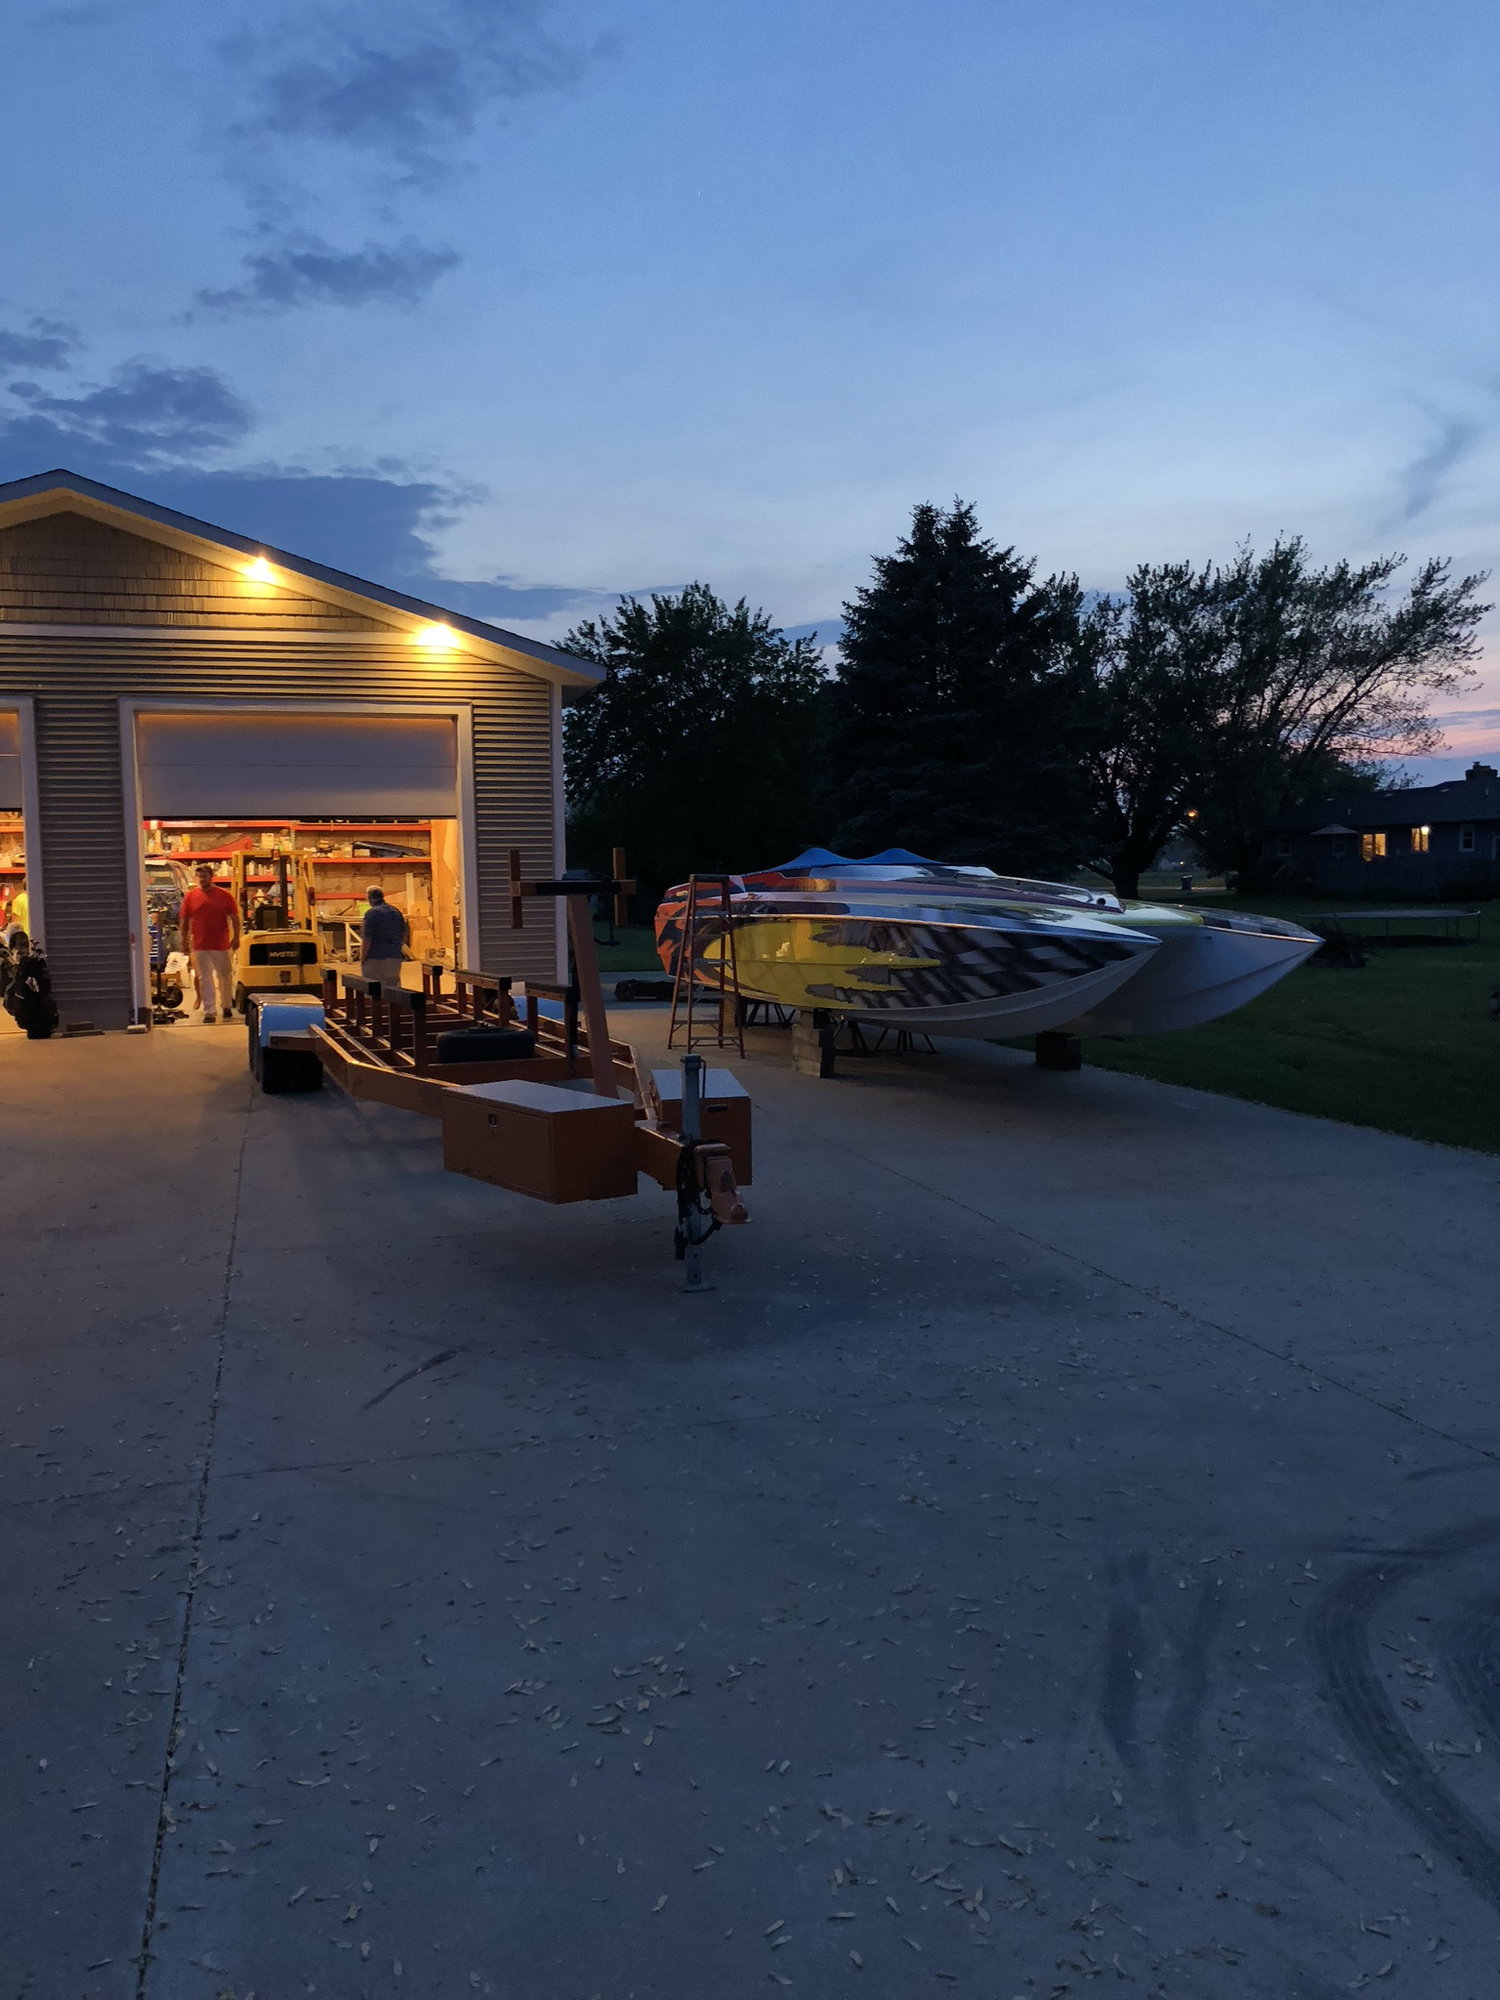
Ive got another thread in the Skater section but there doesn’t seem to be much happenin’ over there. Figured I would get some more eyes and advice over here and seeing on how there is a couple of other “32” cat builds going on at the moment it might be fun to watch all three progress.
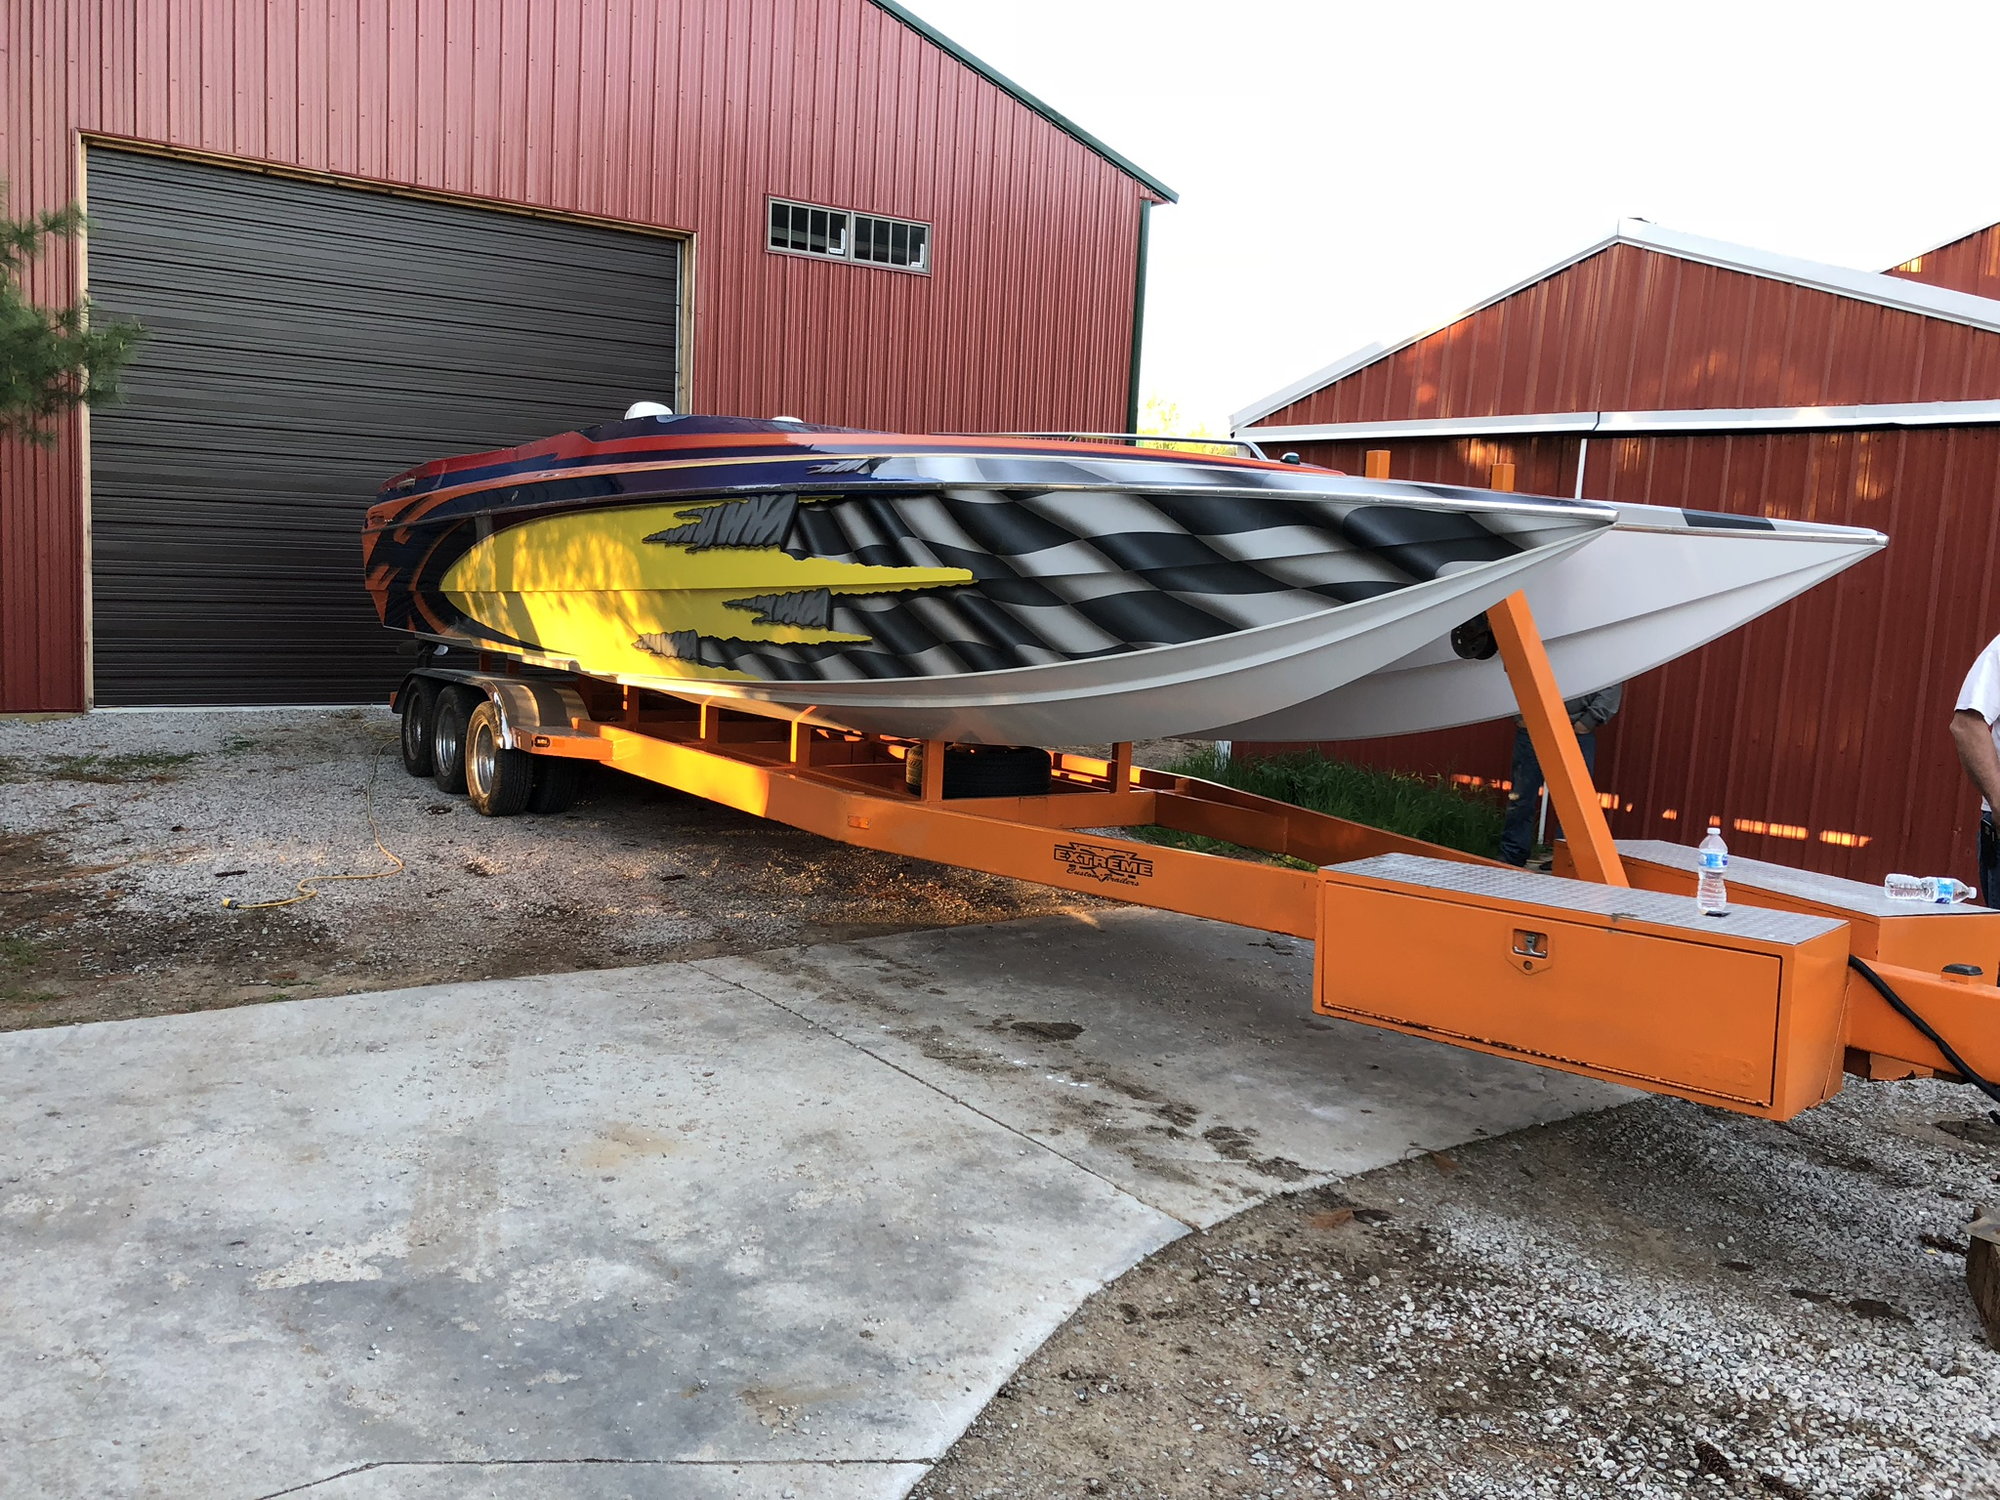
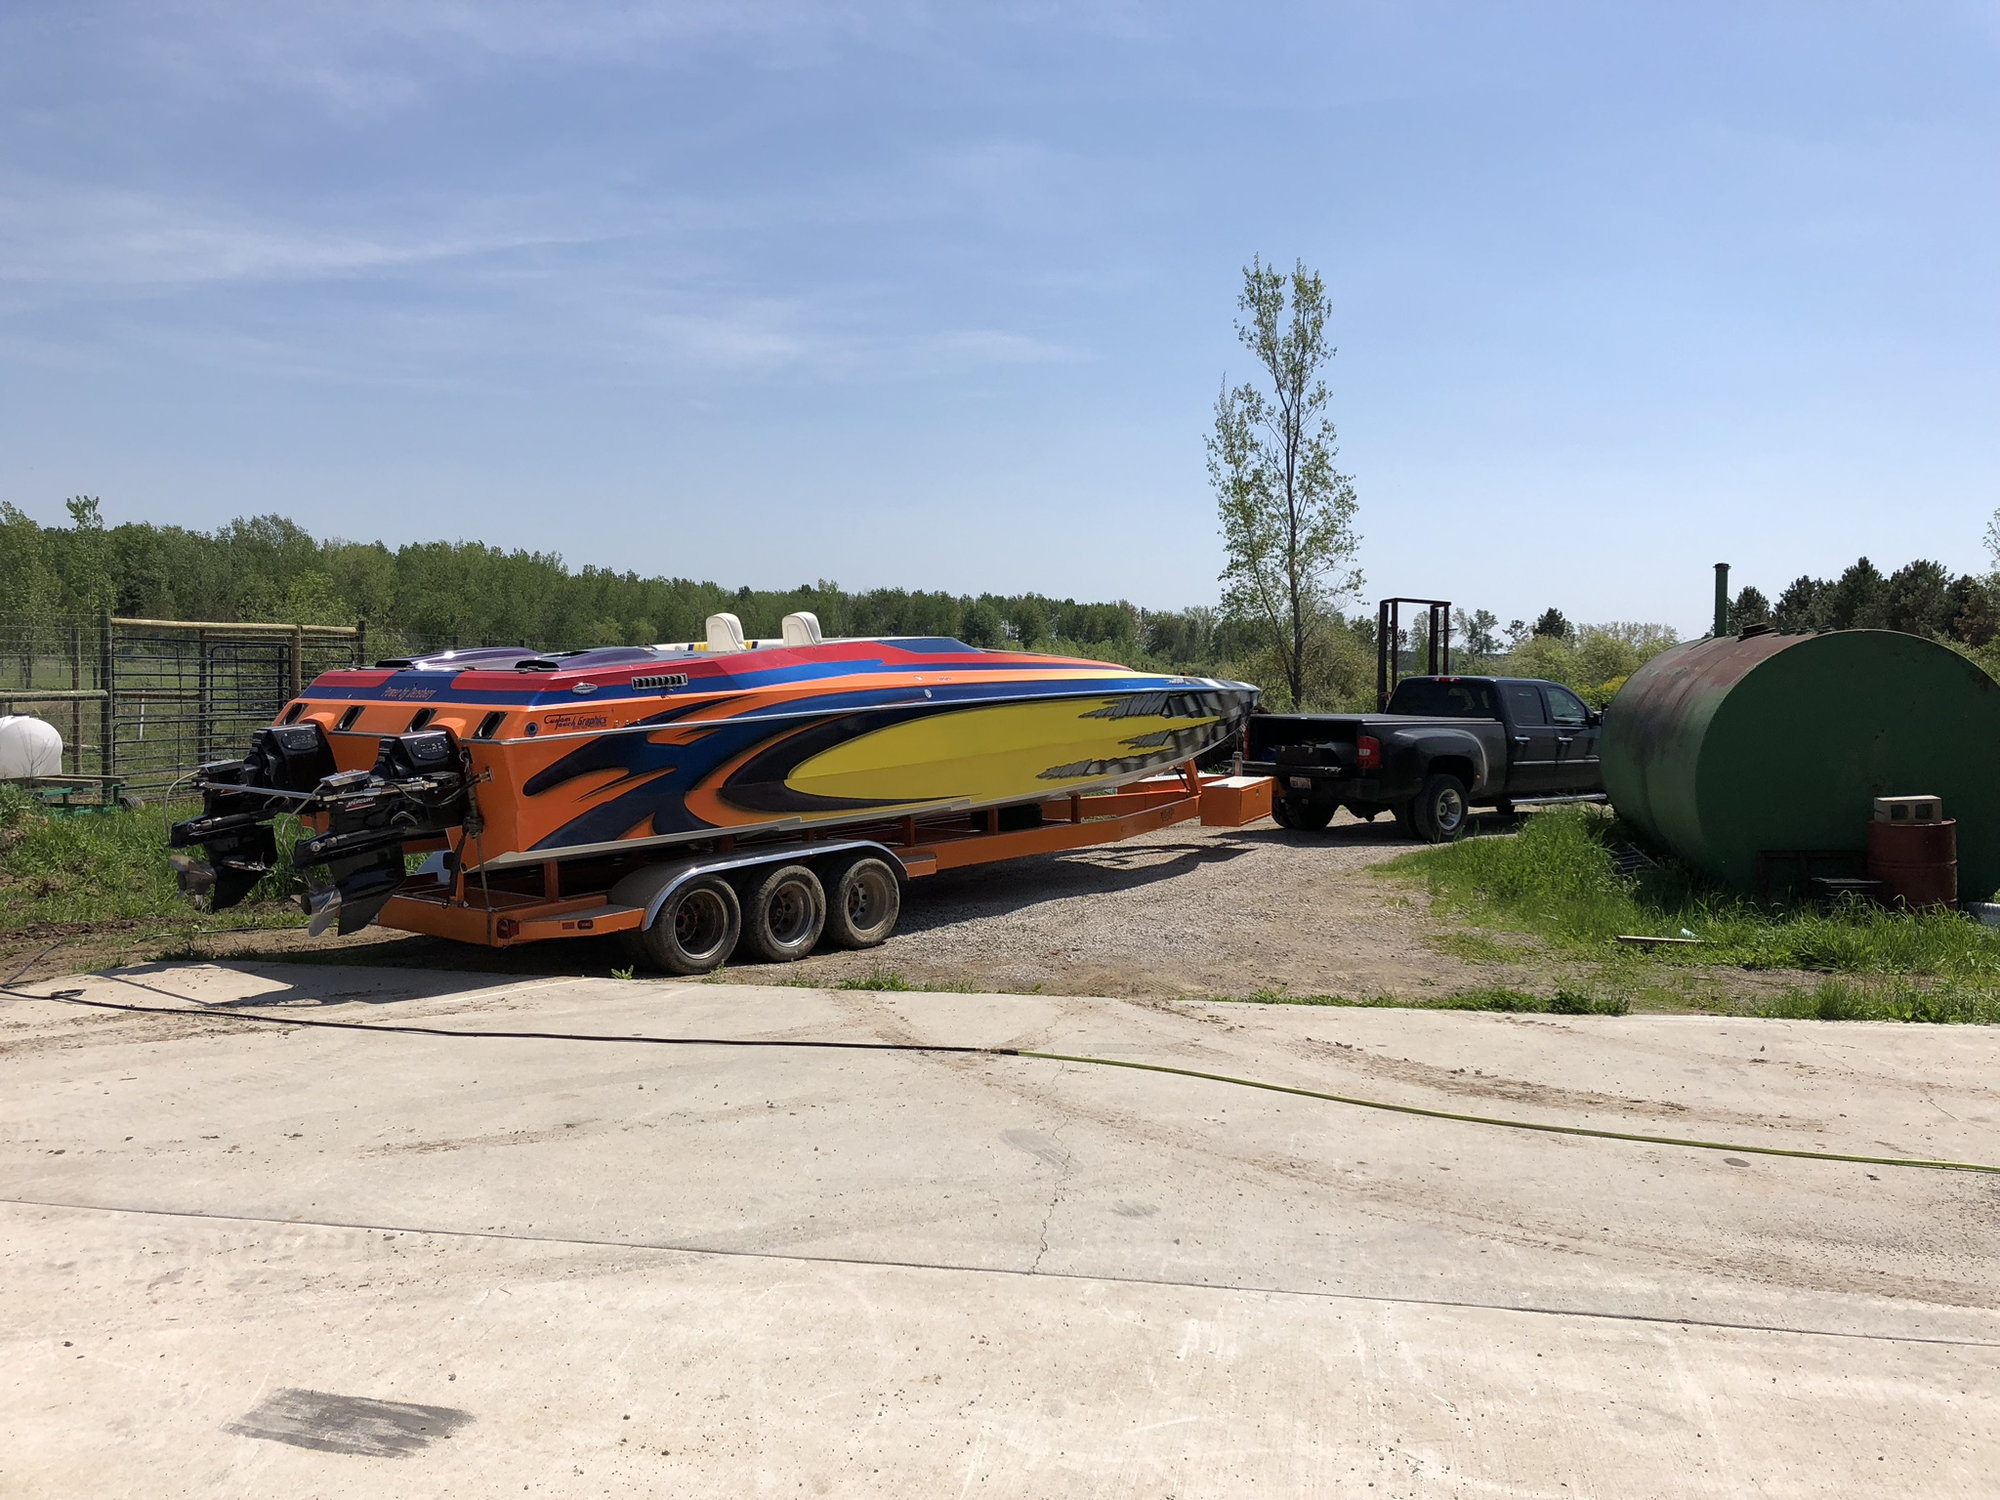
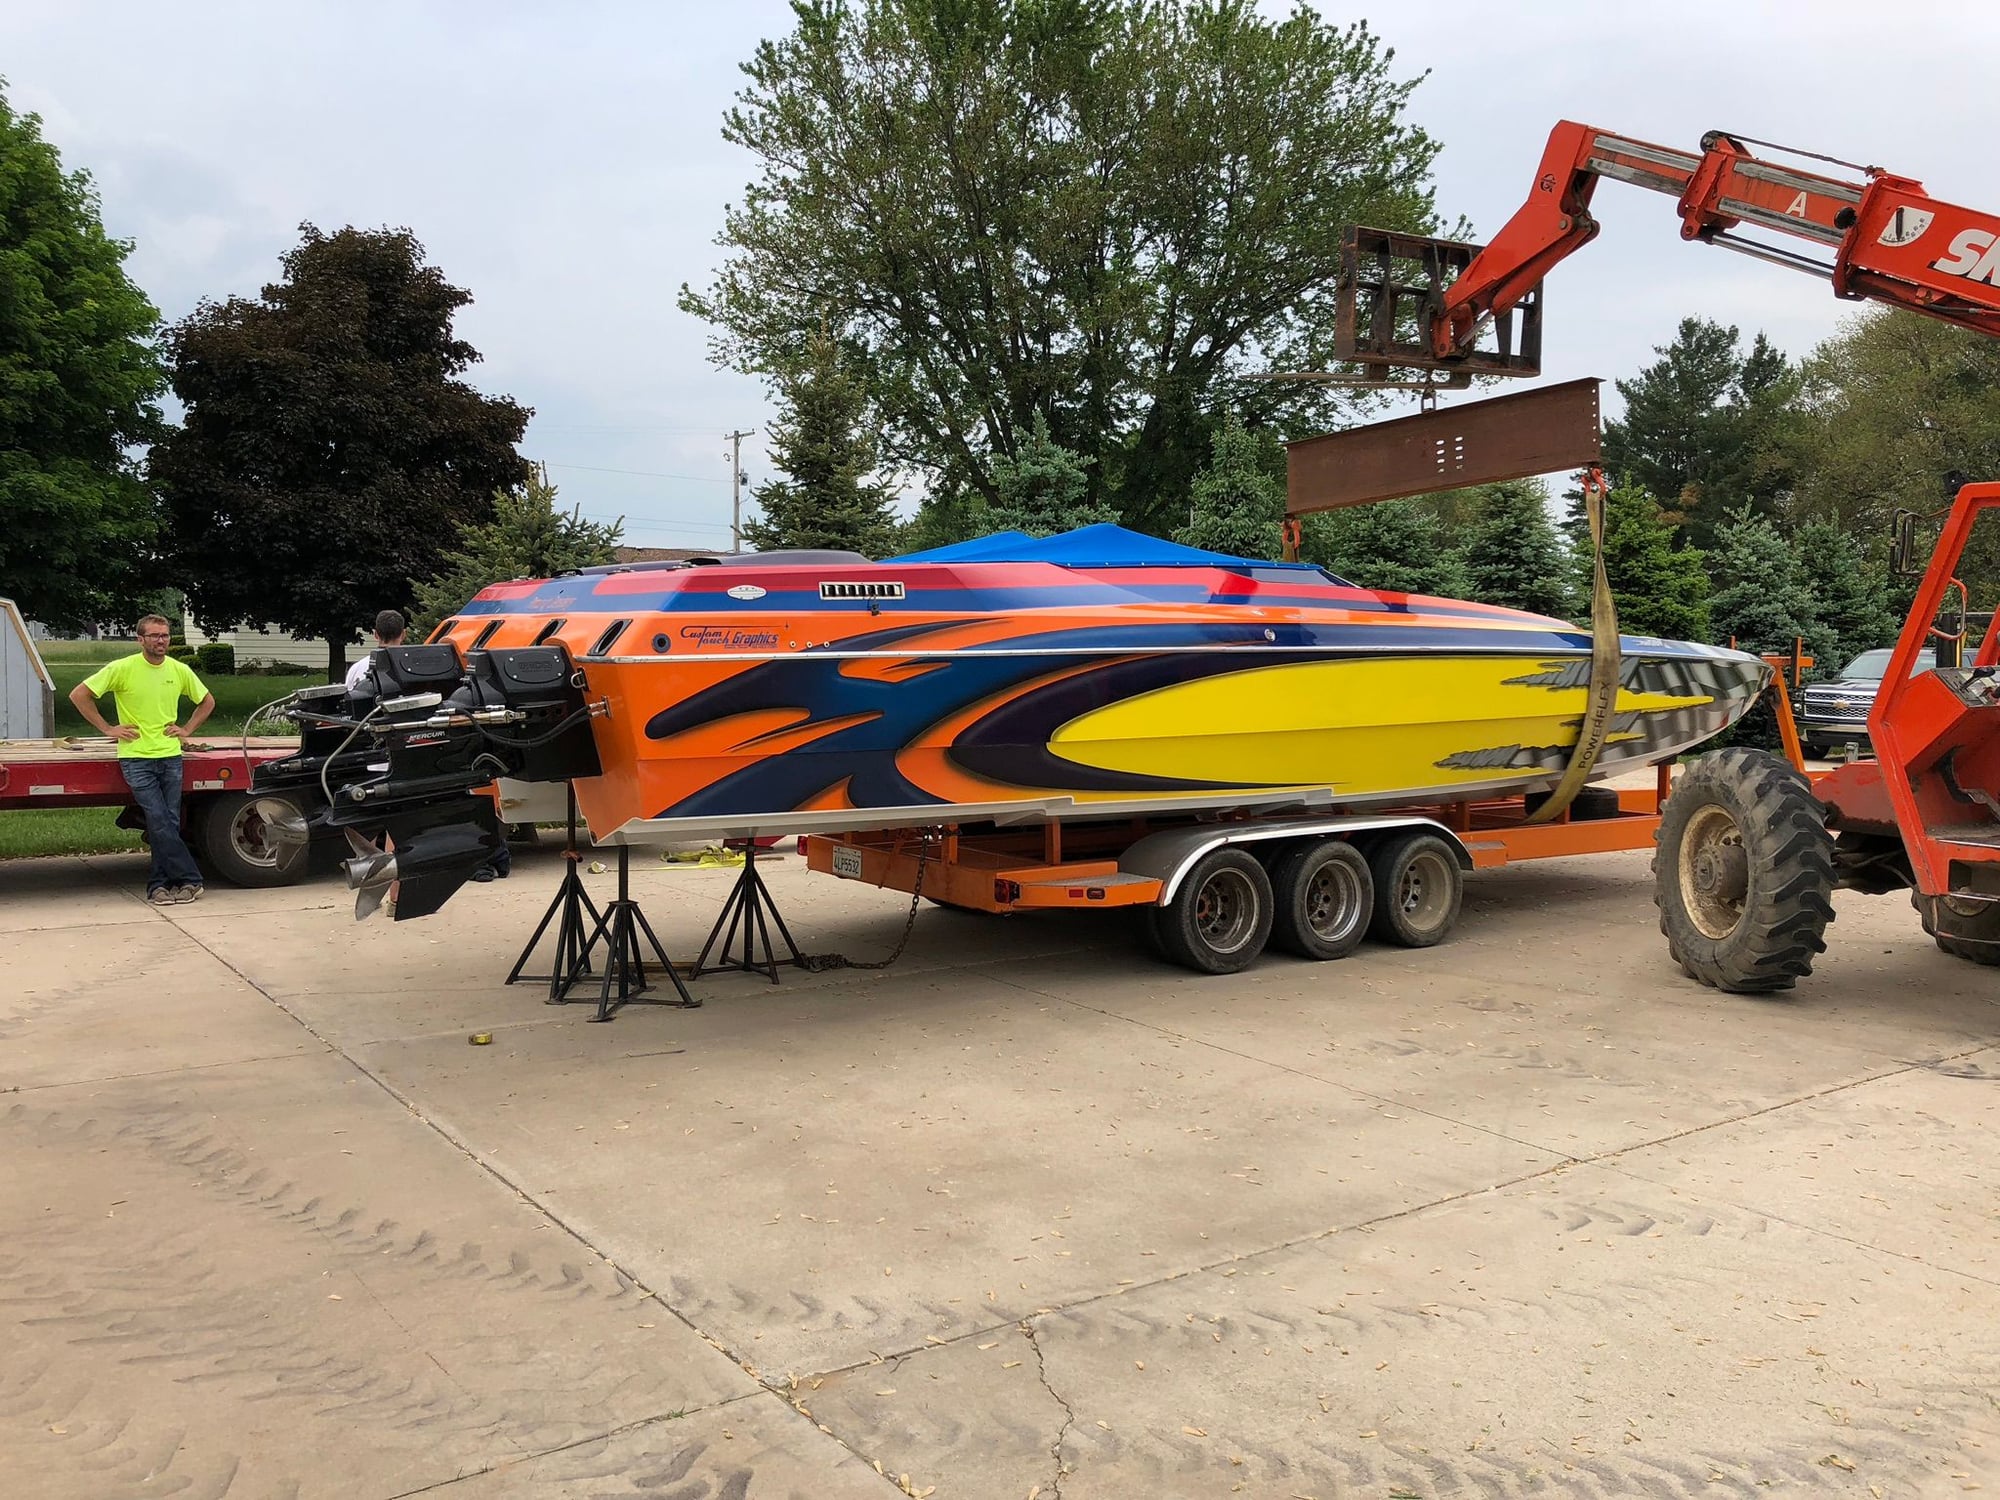
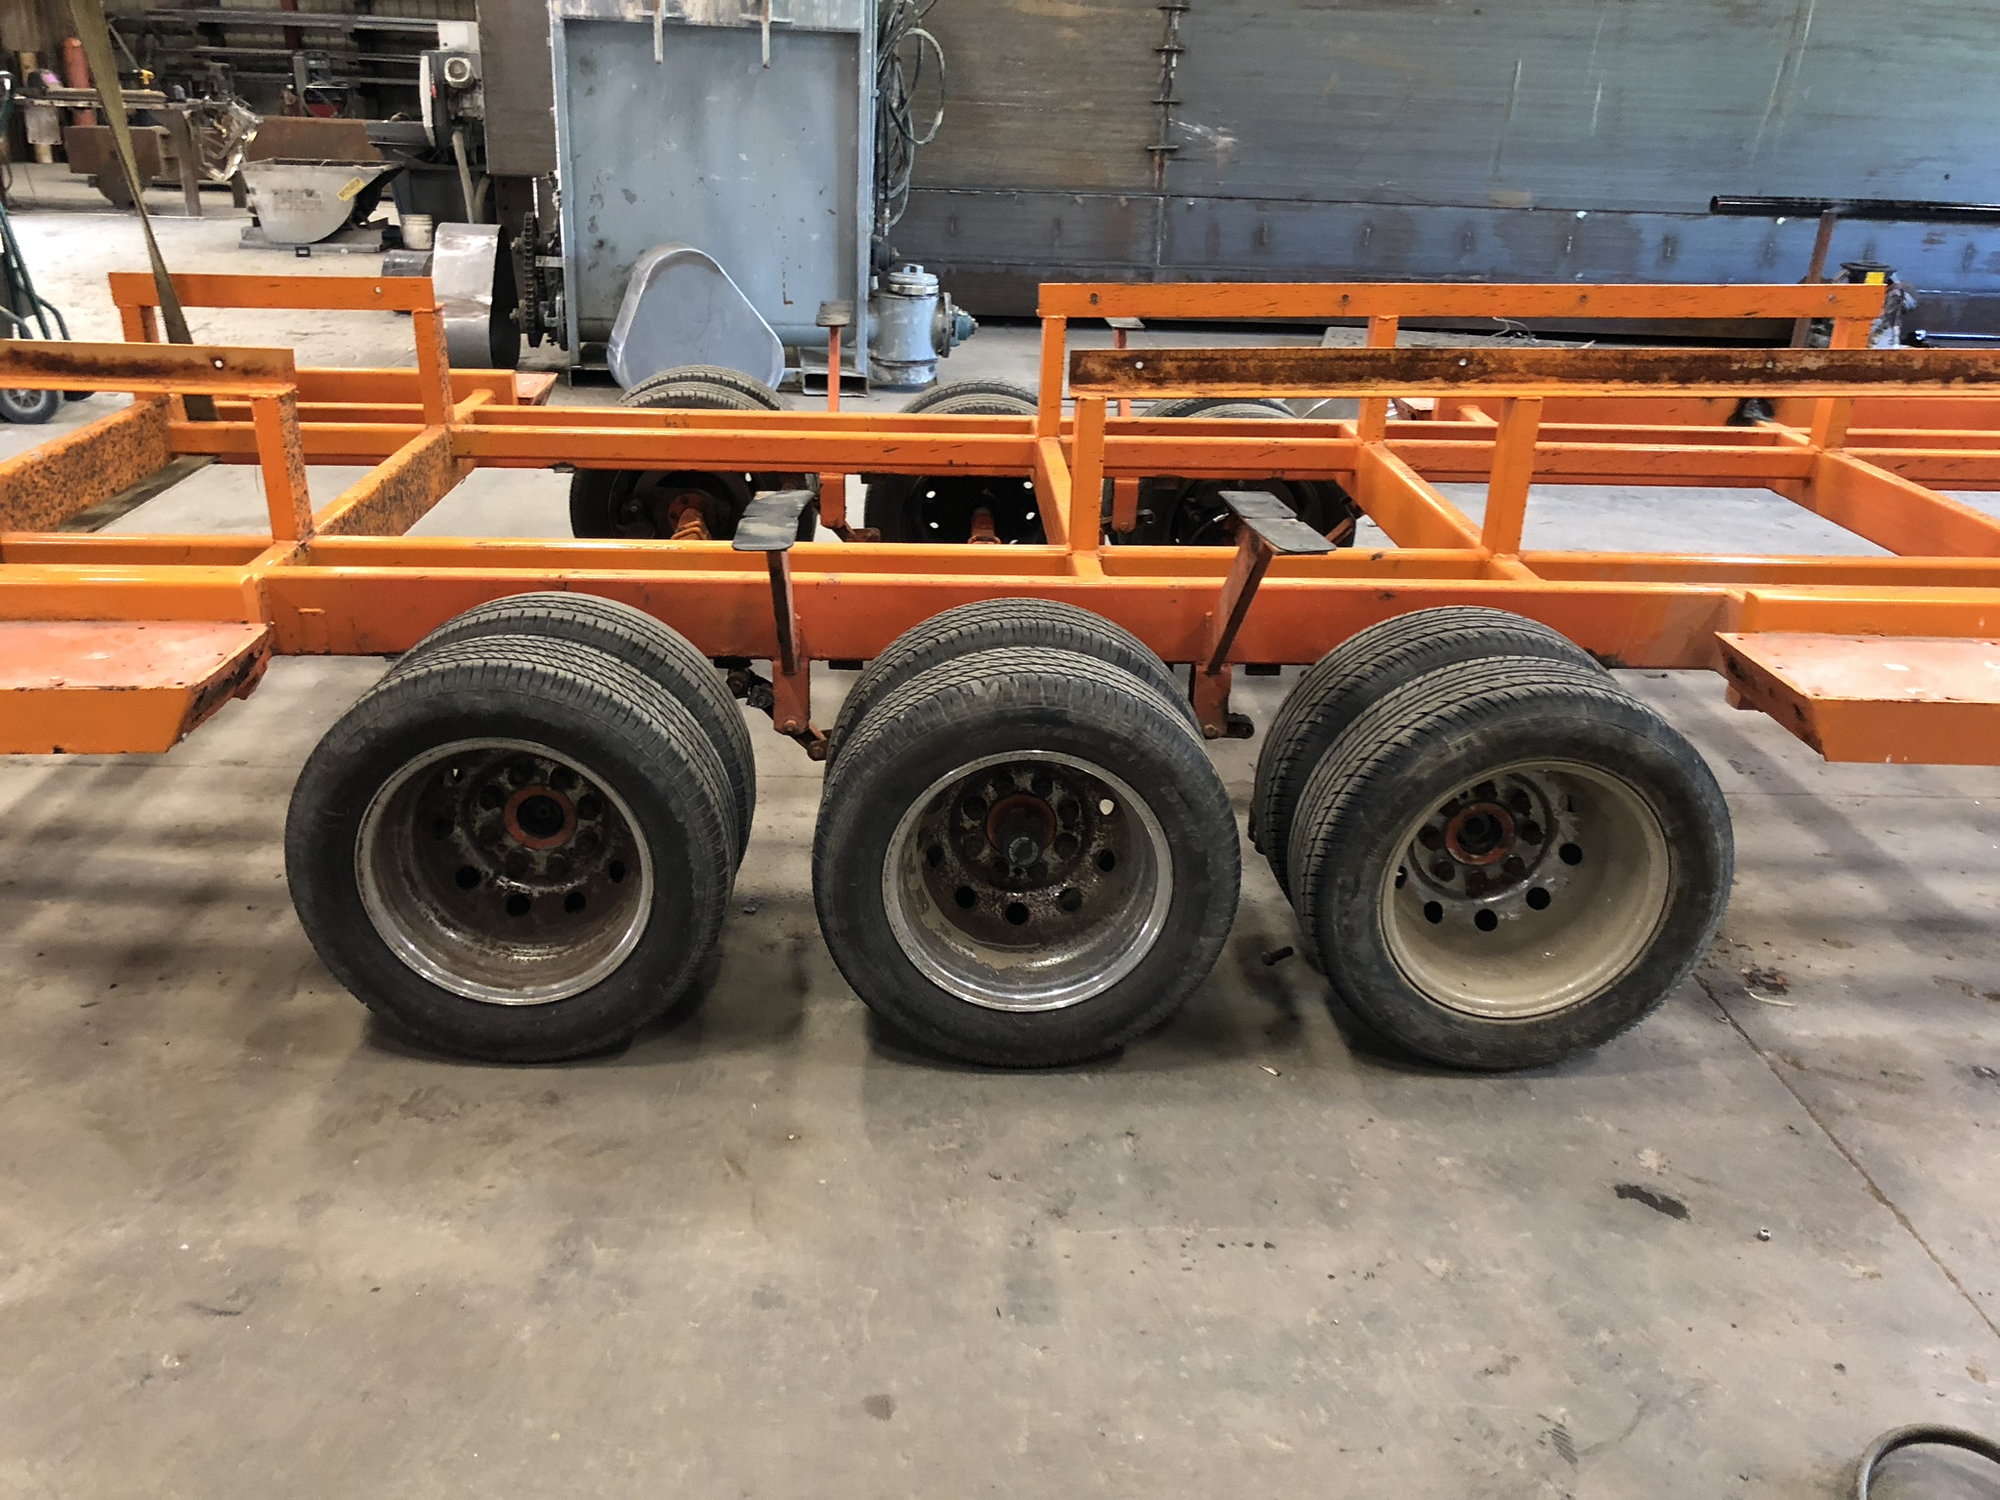
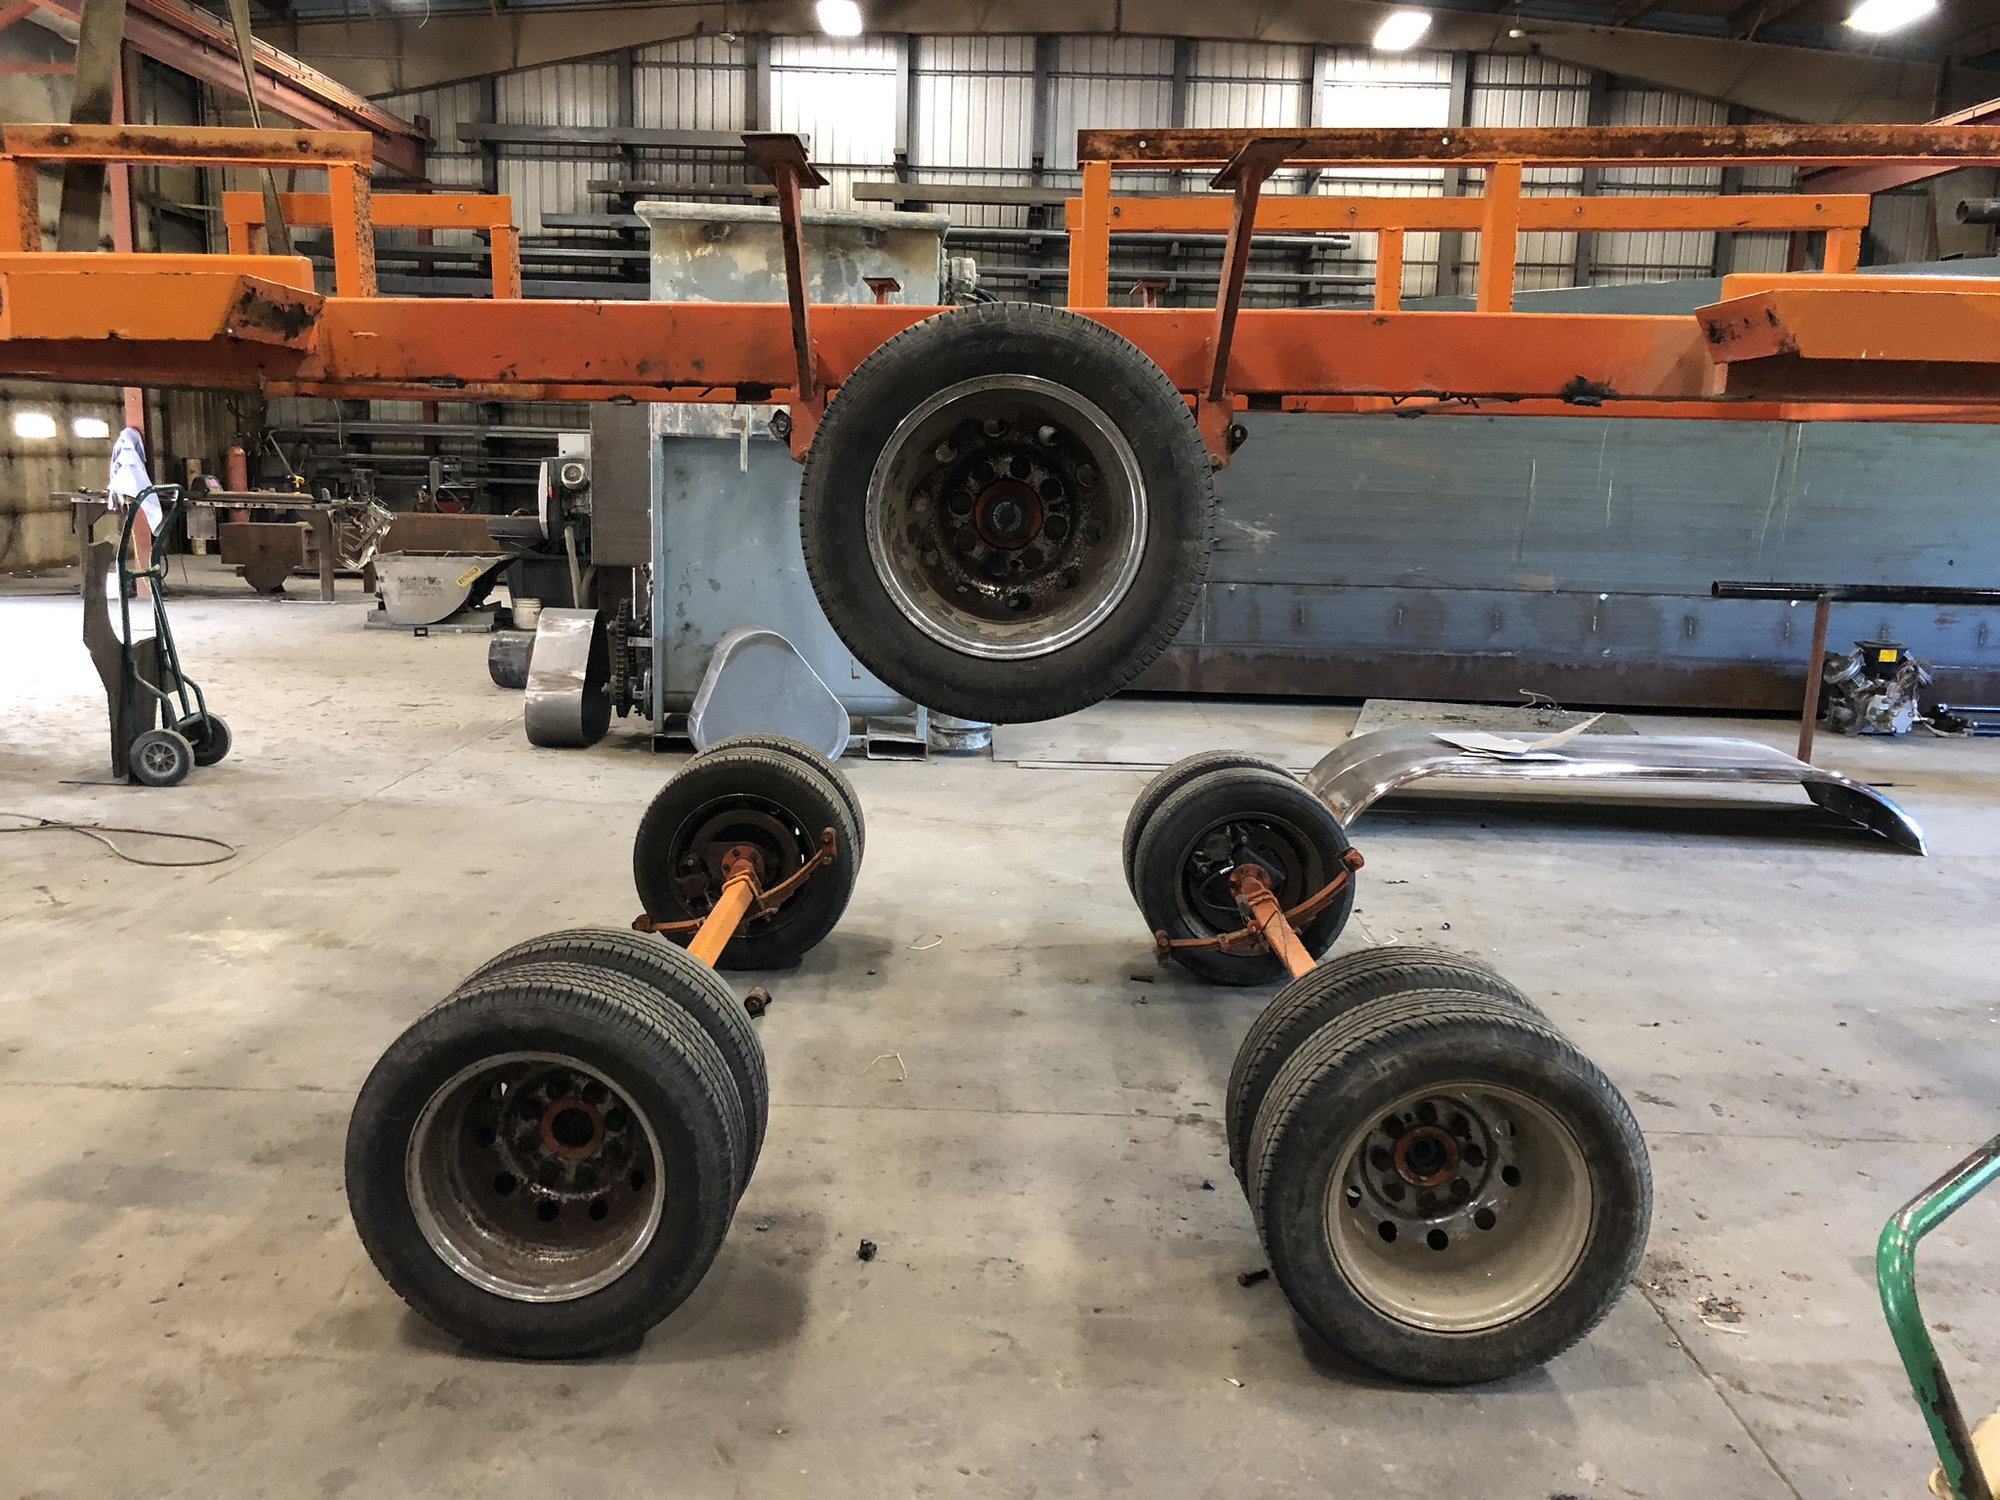
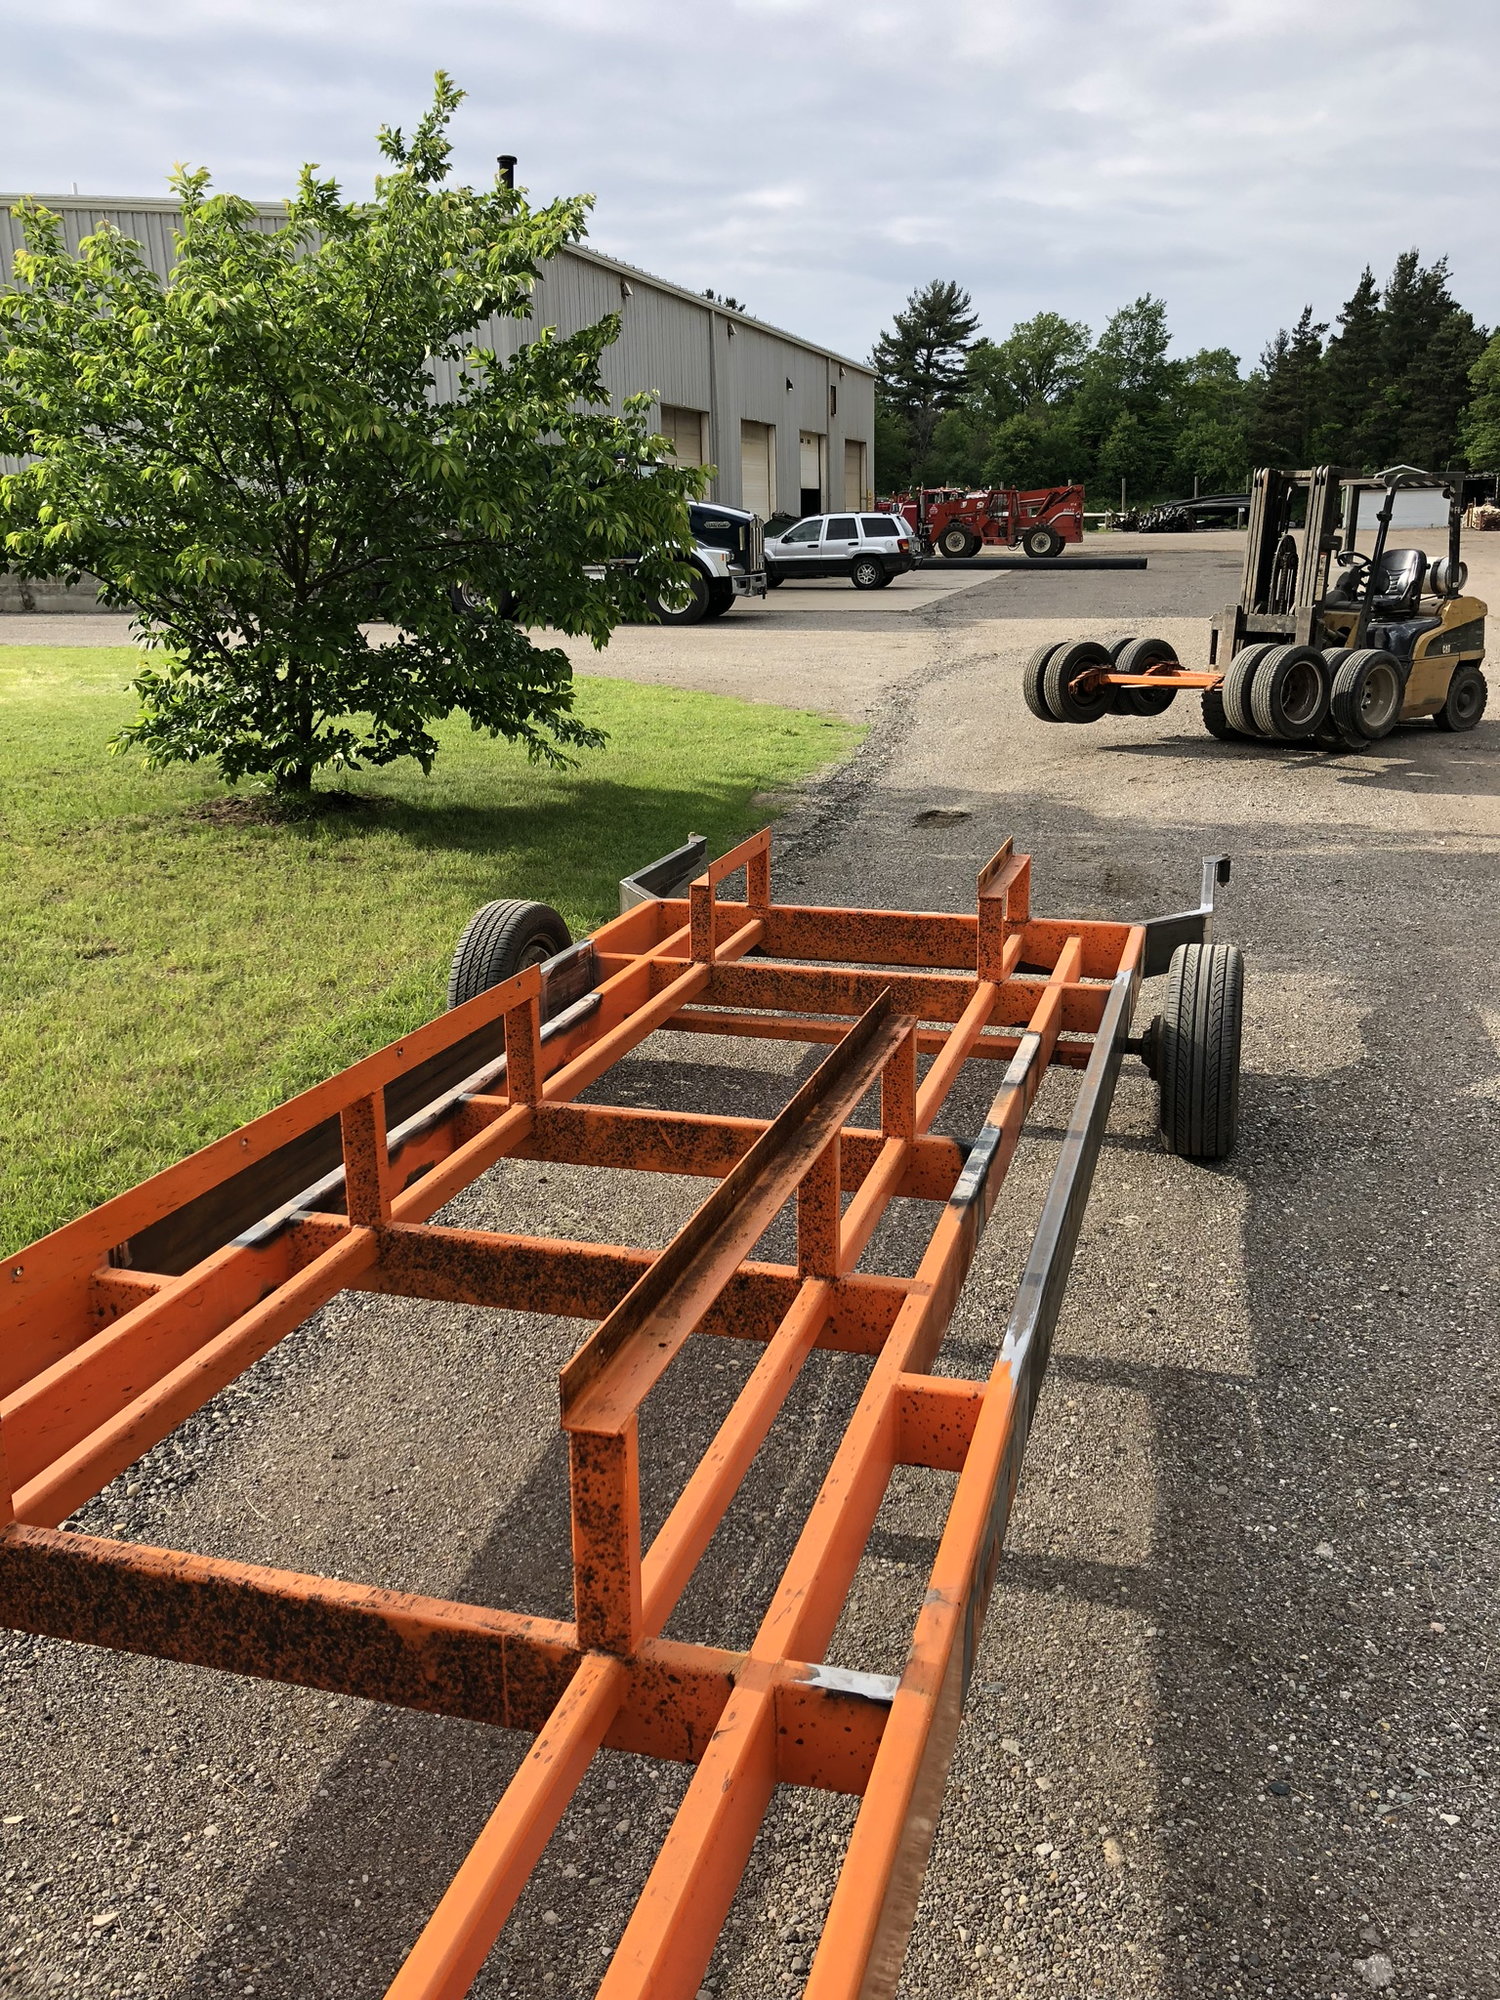
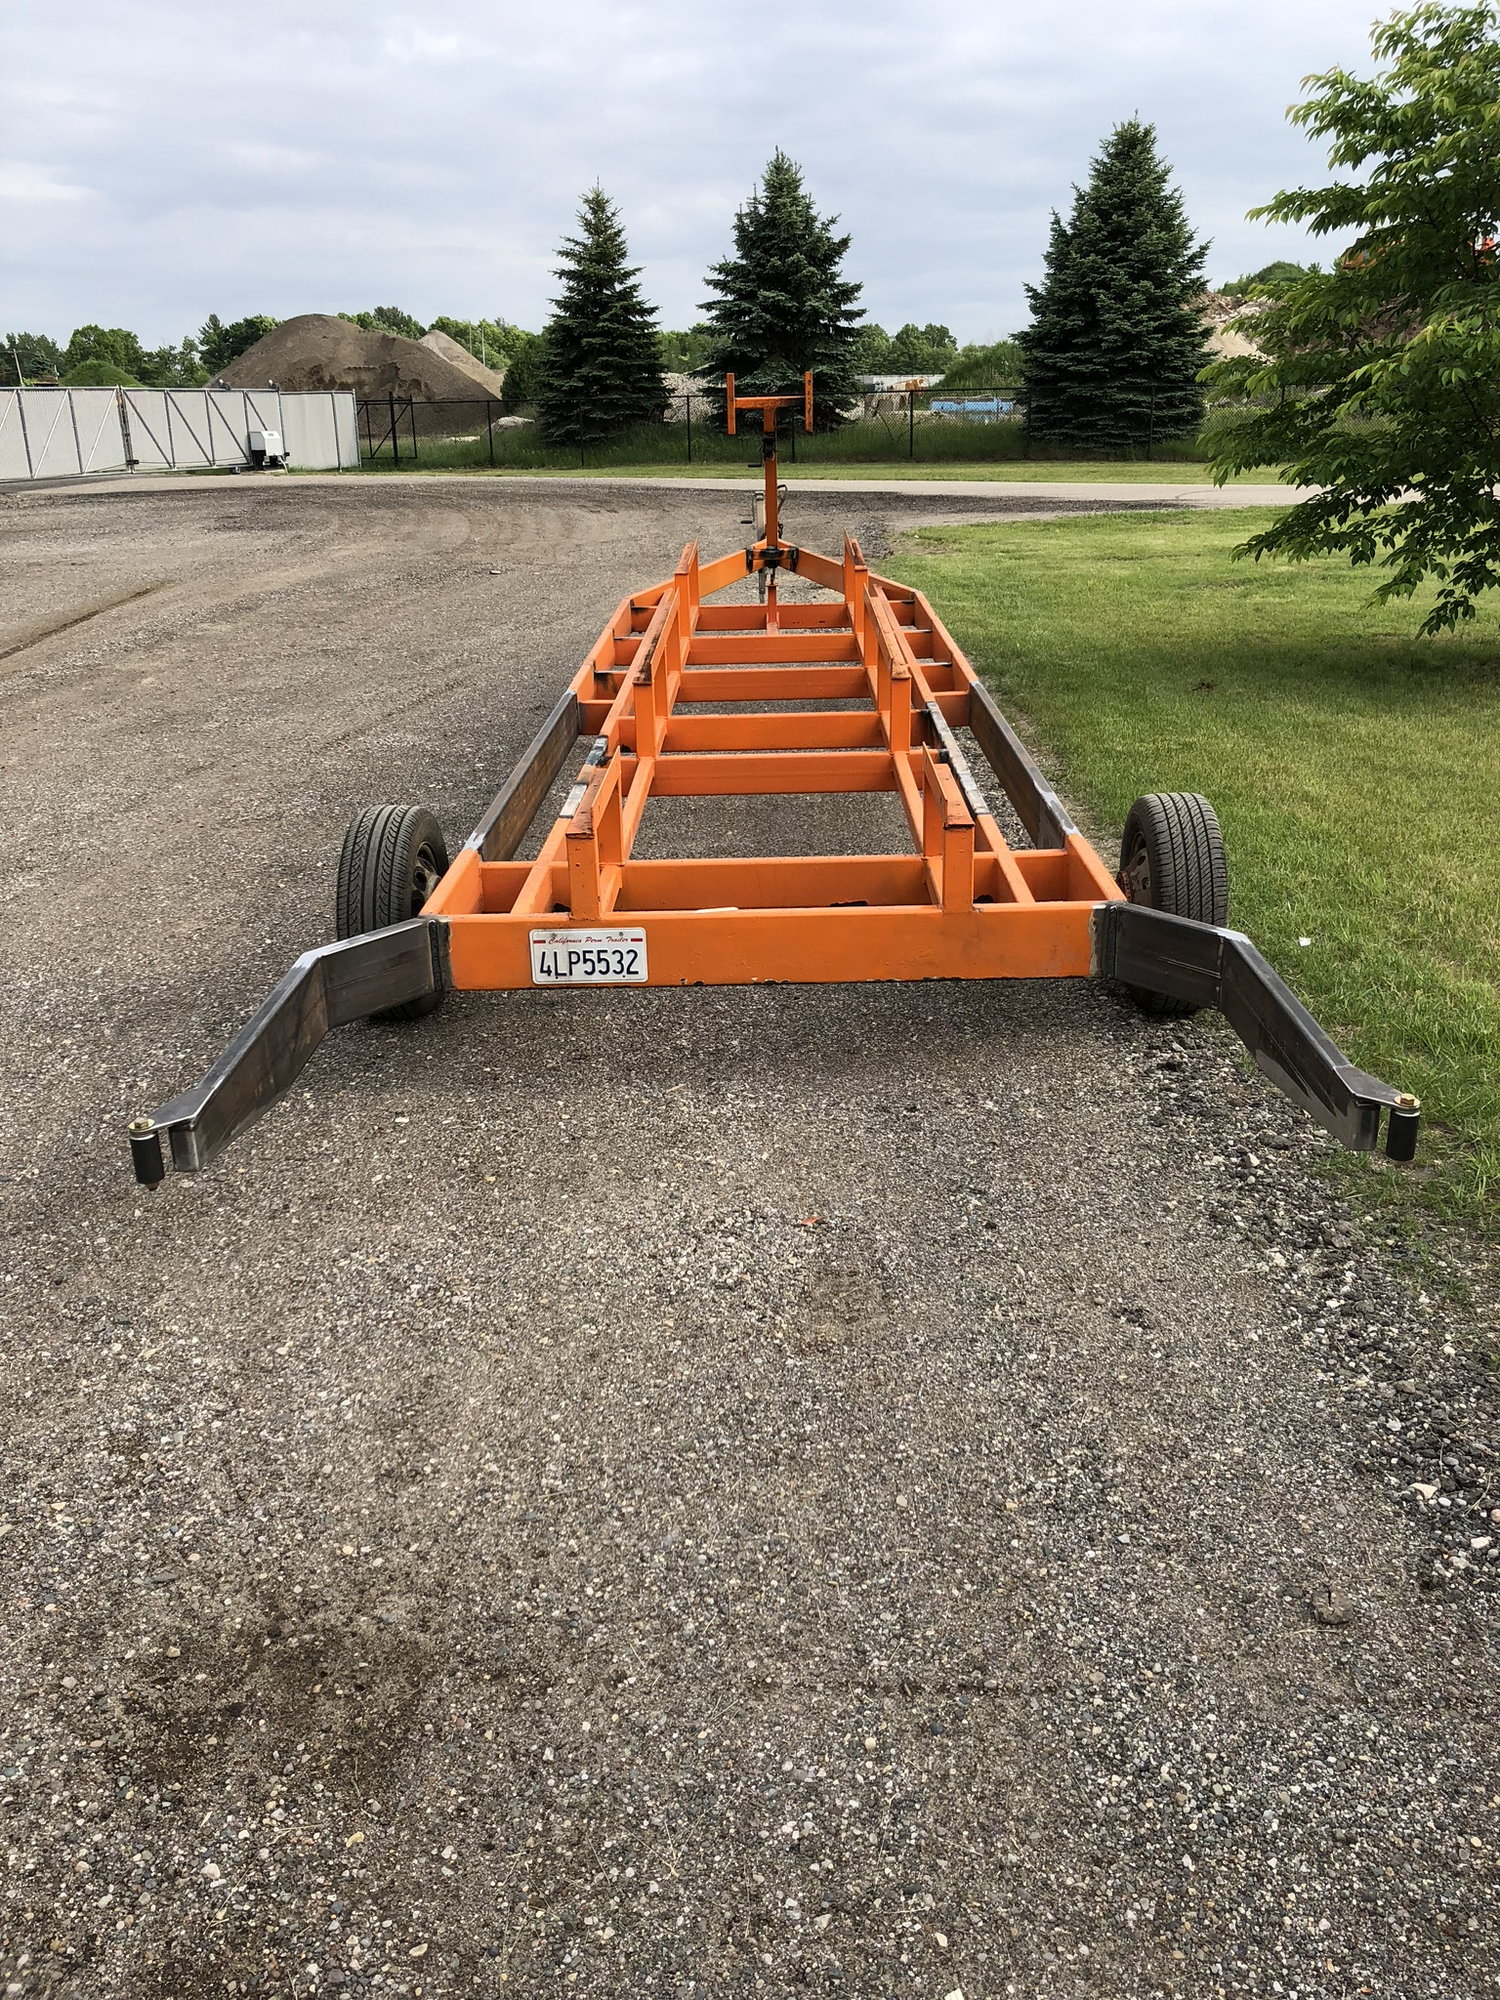
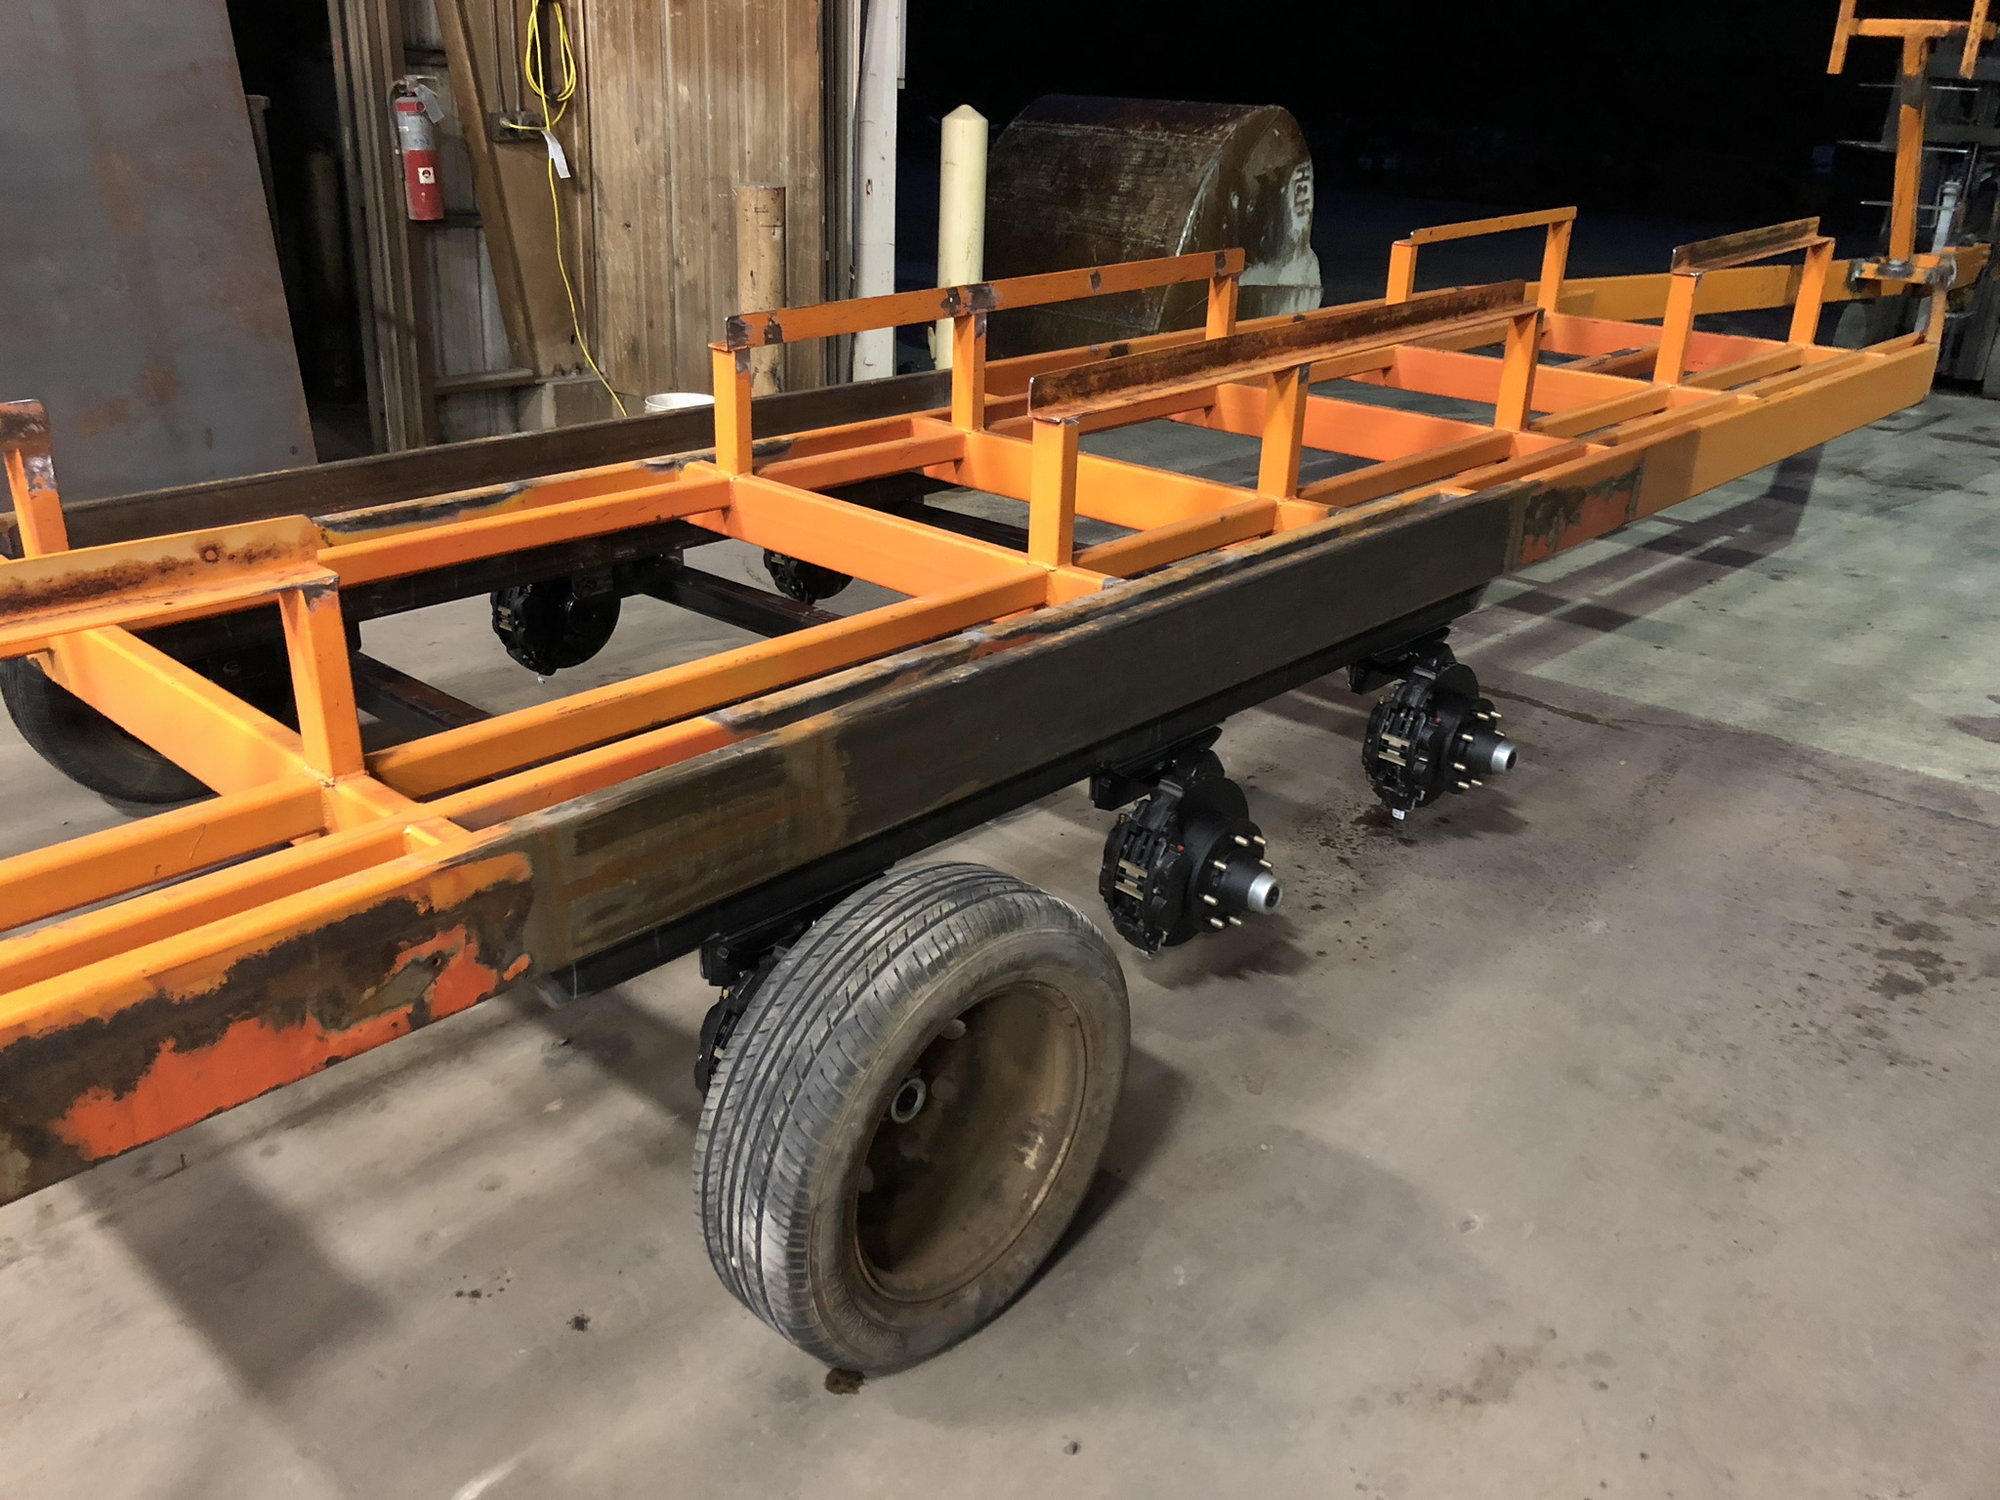
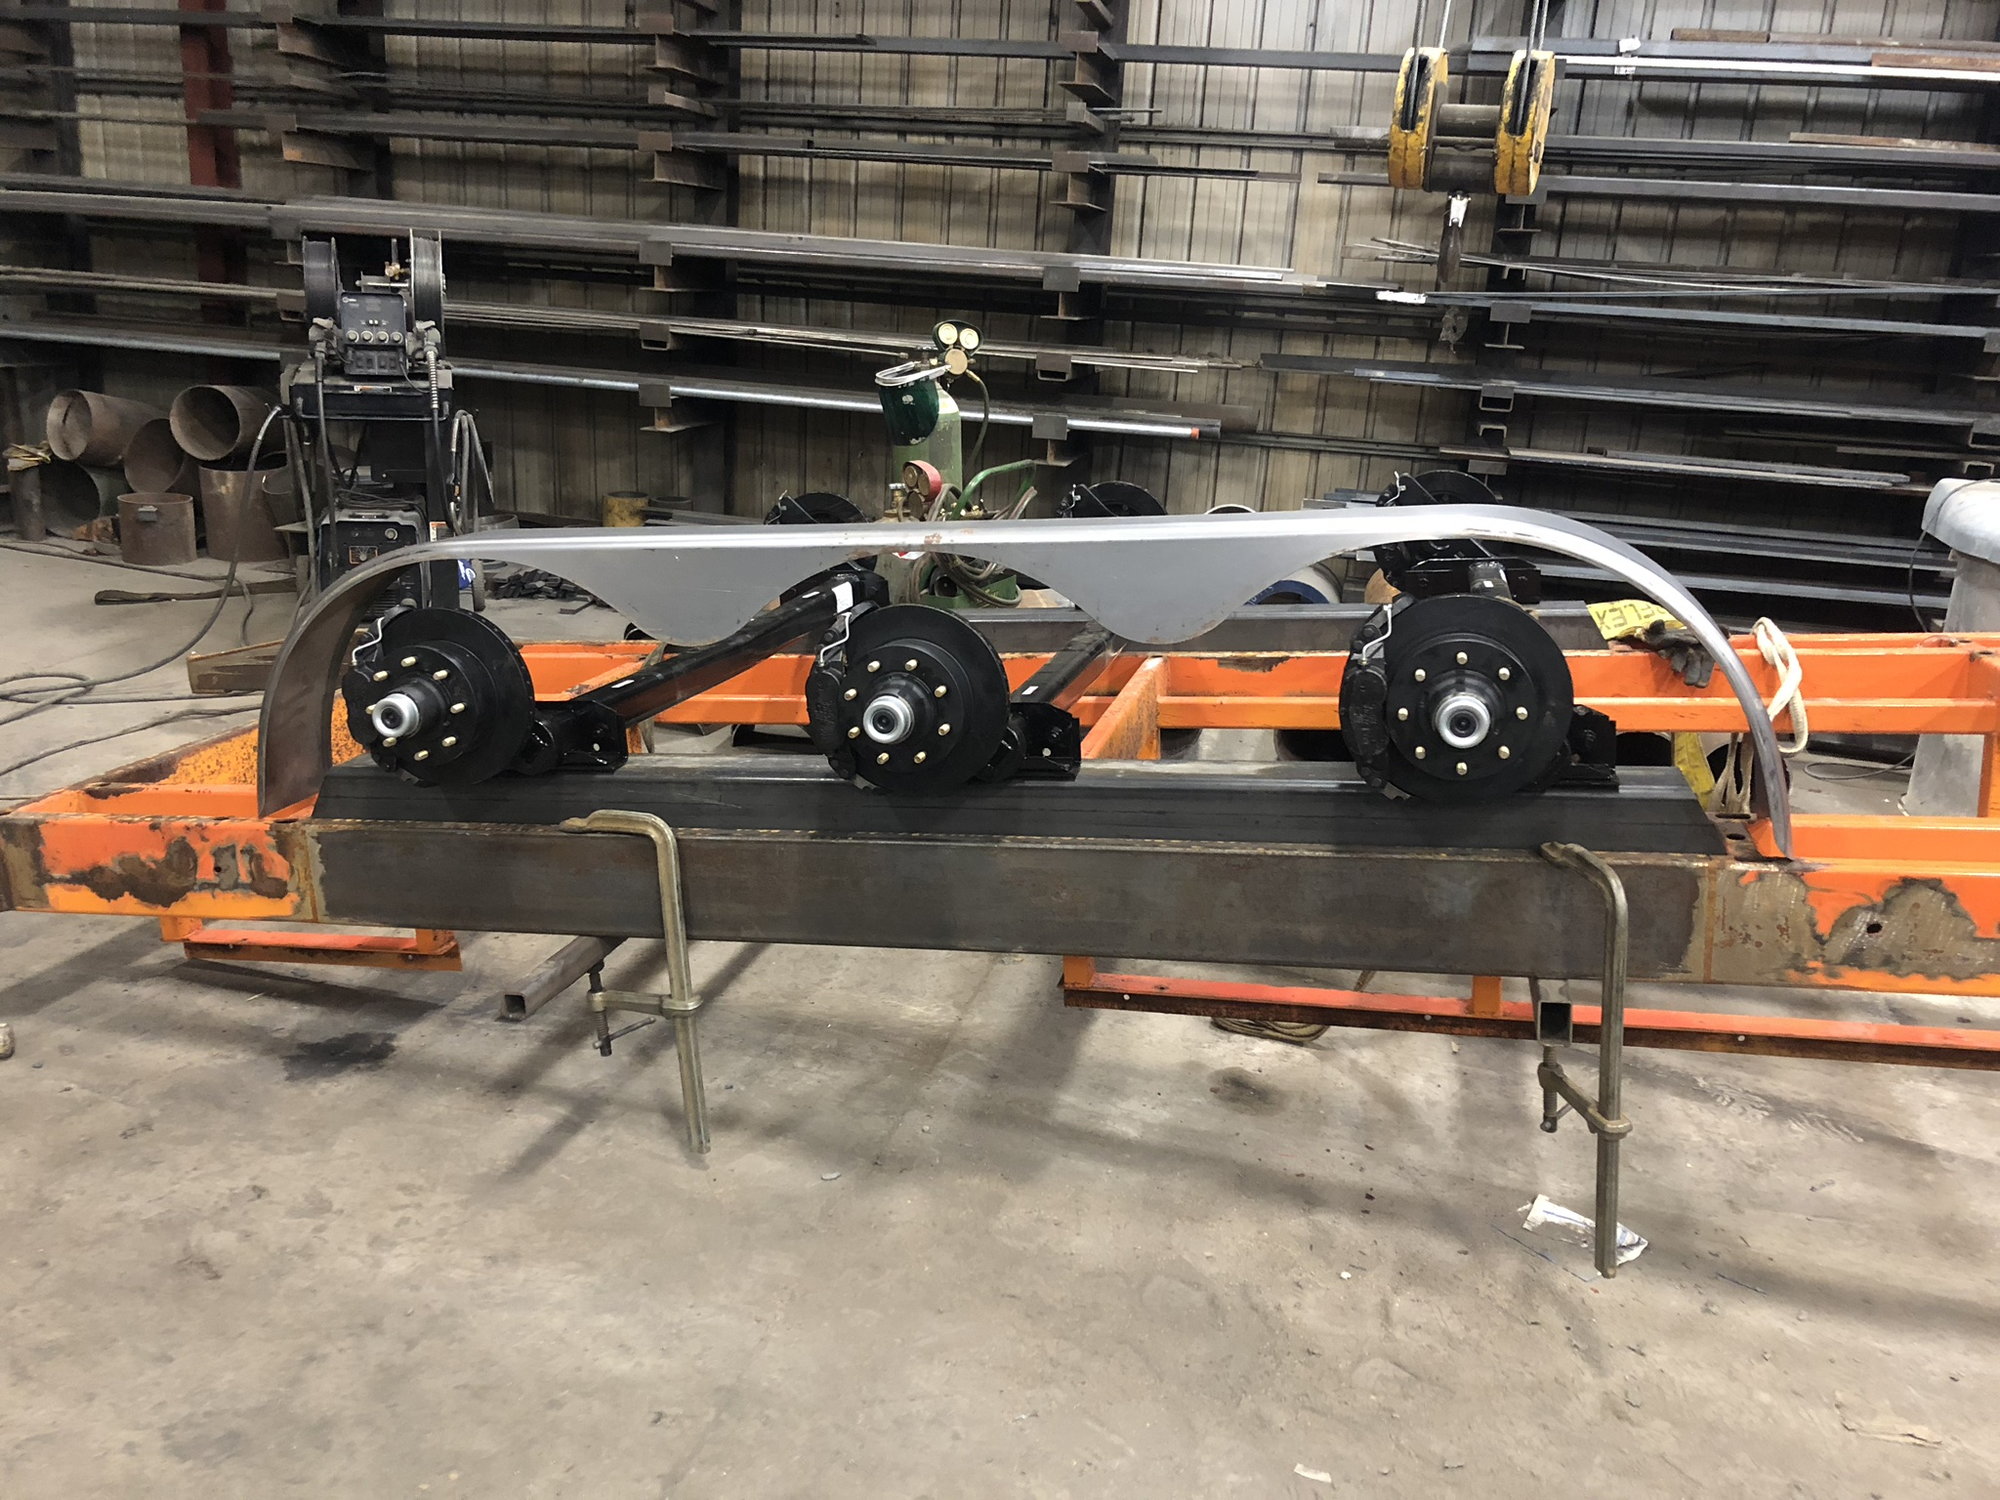
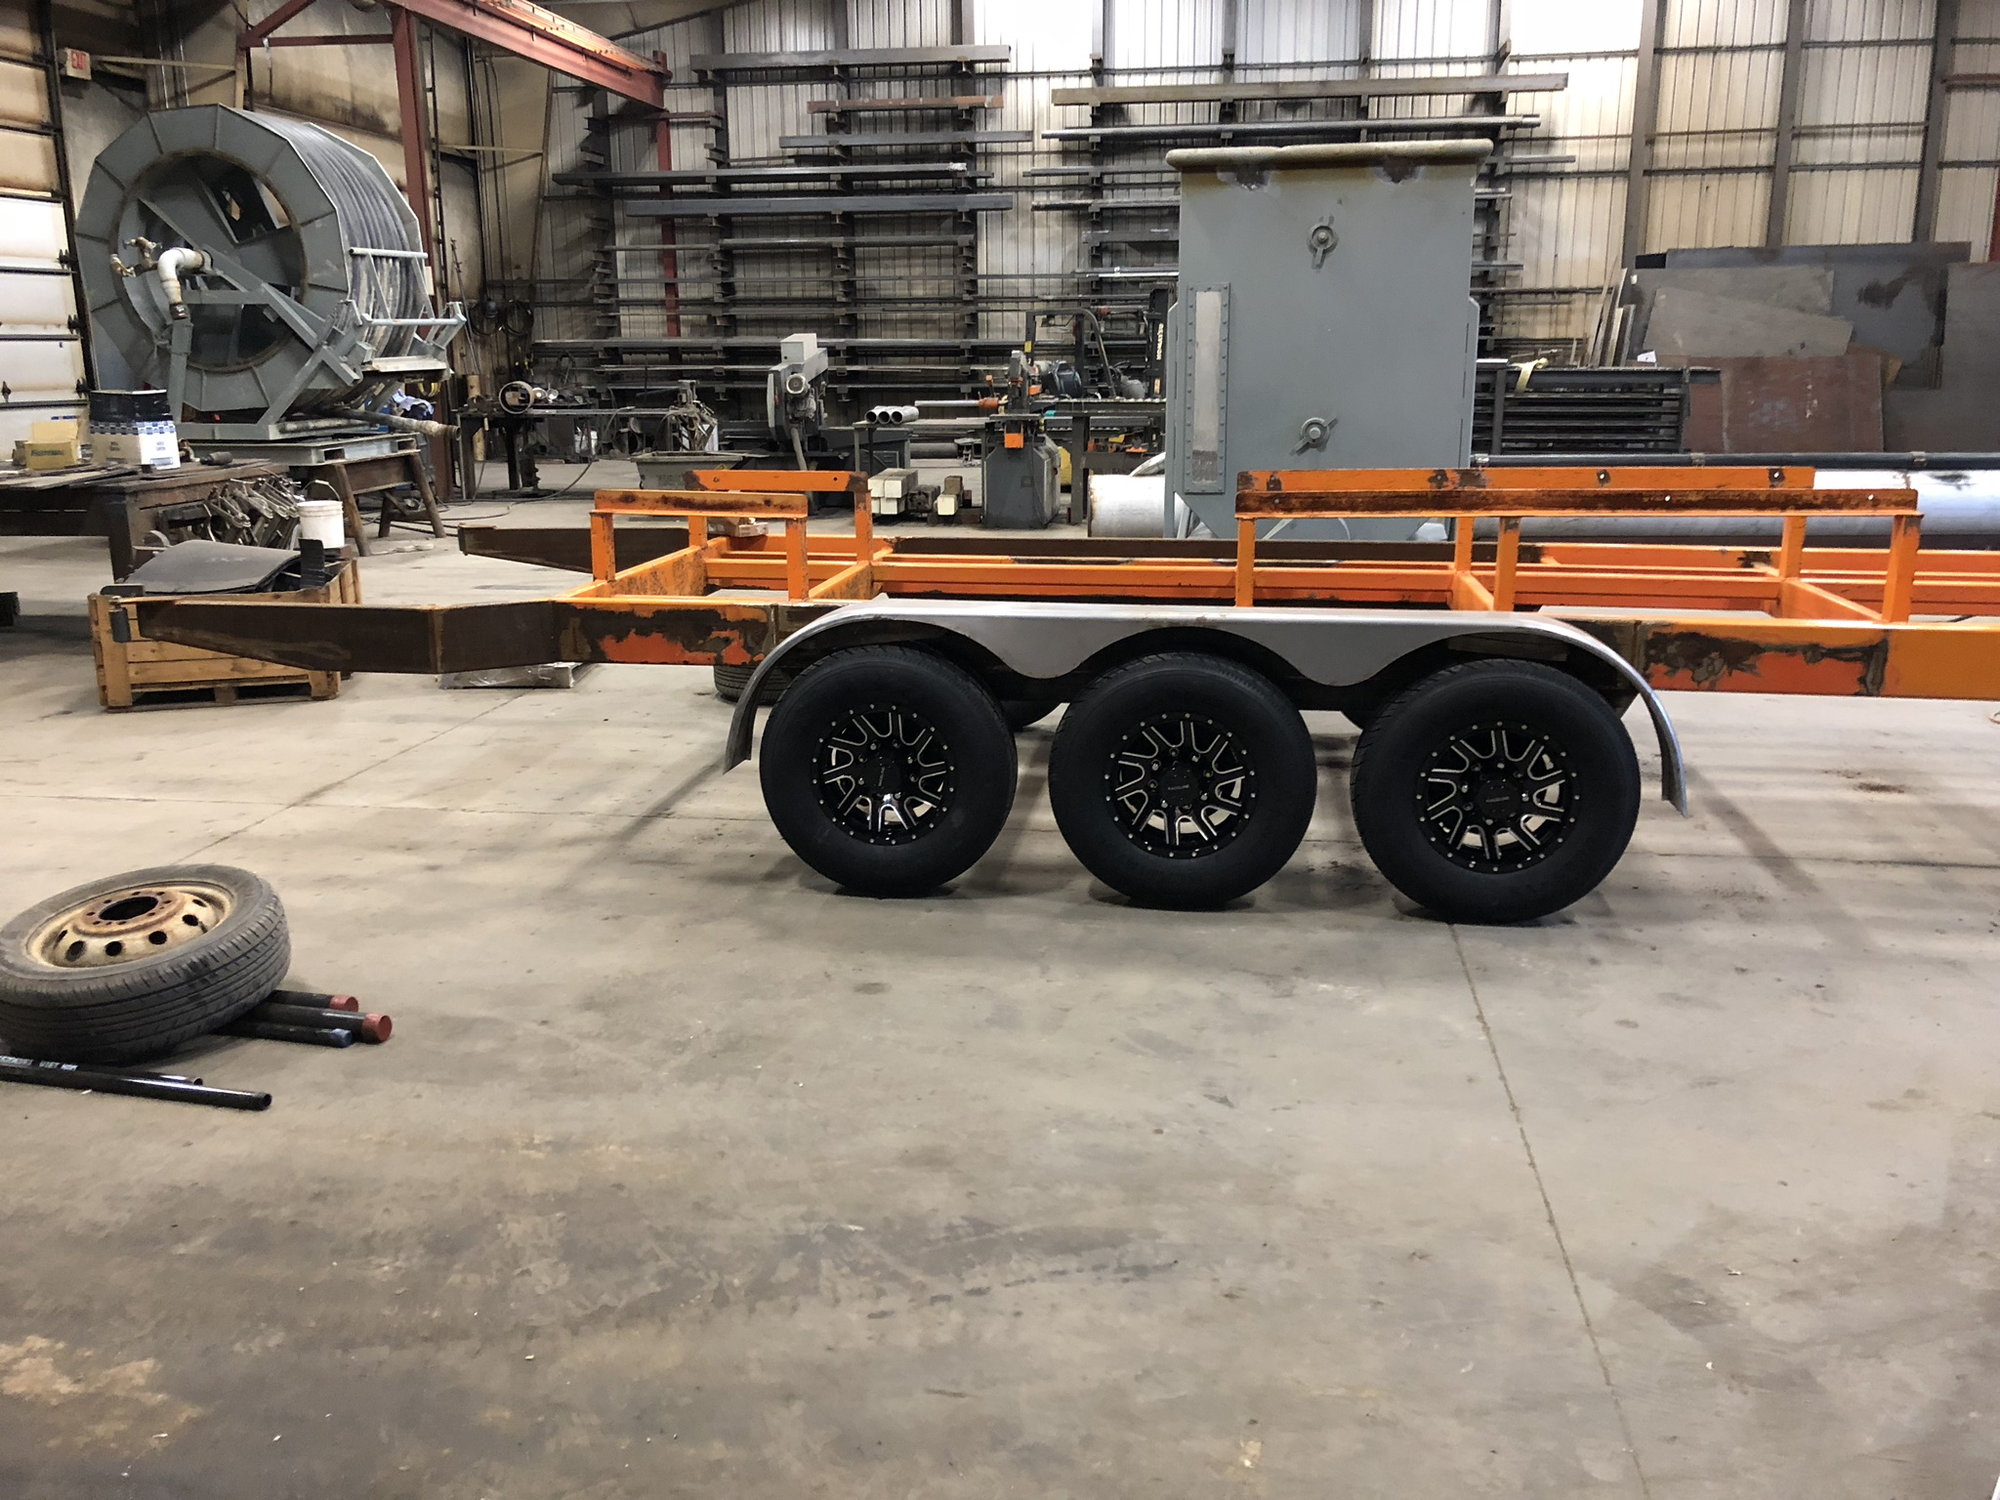
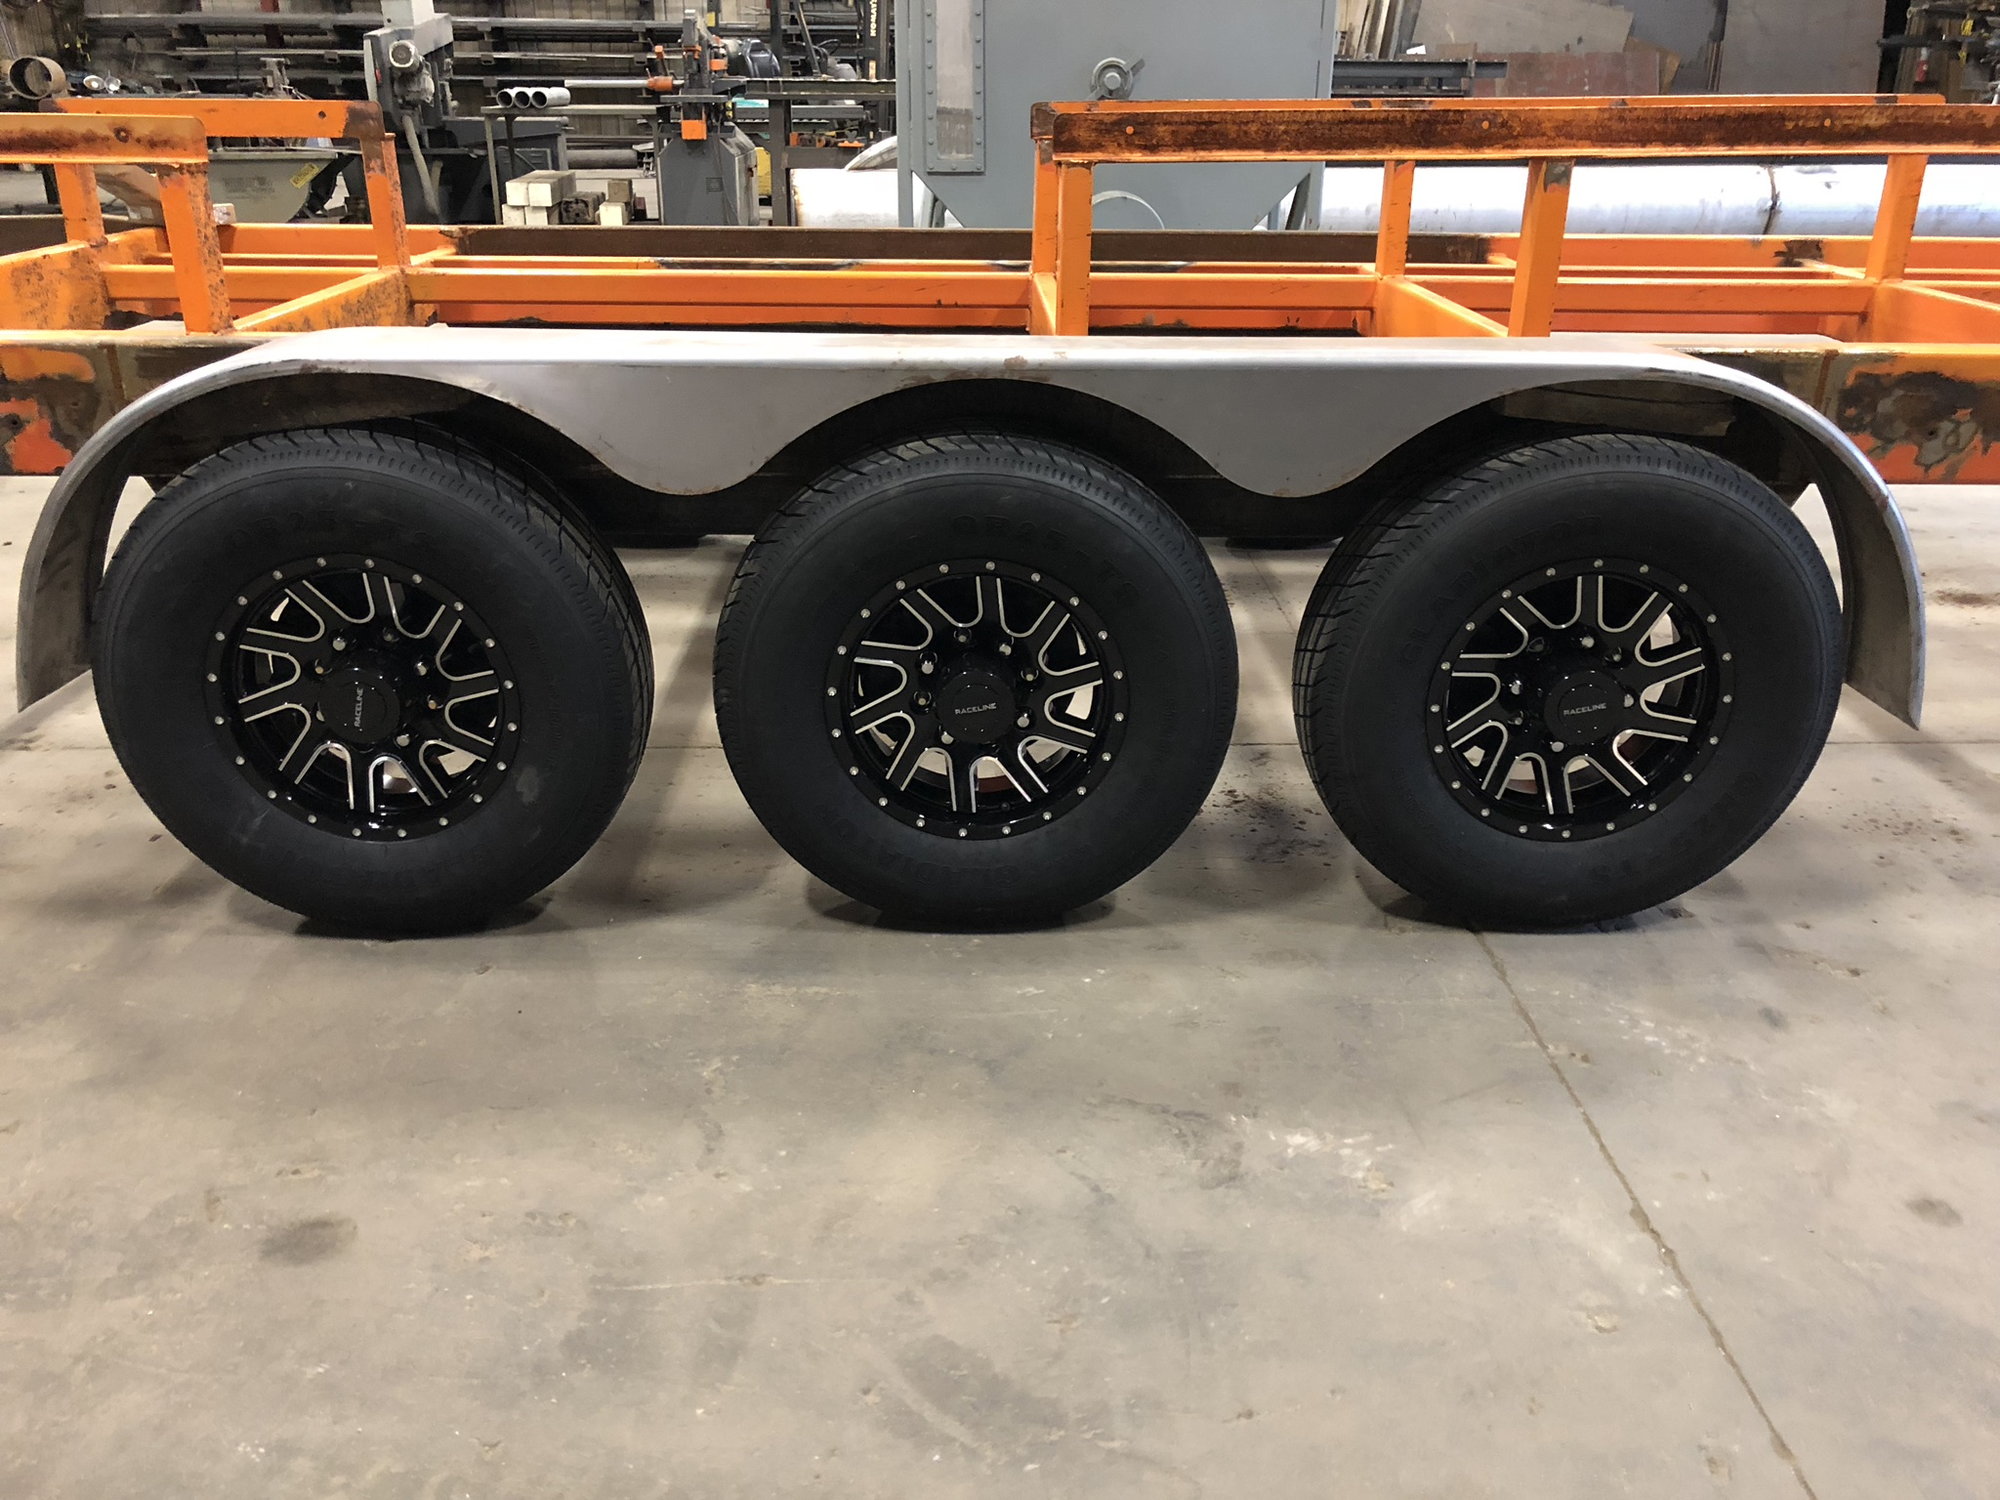
Bought the boat in the spring of 18’ after selling my 32’ Velocity from the east side of Michigan. Came as a trailer, hull, and Bravos on IMCO boxes. Learned quite a bit of info from a few OSO members which was helpful and fun to acquire some more history on the boat. The plan is to ditch the Bravos, go to Arnesons, and I’ve got some older merc 700SC’s I am going to put in for the time being. Ditch the tri-axle leaf sprung duallie setup with out dated brakes and a bent axle for a tri-axle torsion single tire set up. Add a drive guard and new lights, paint, etc. I am thinking some sort of tunnel extension and bustle to cover the drives. I also plan on some sort of wrap around windshield or 1/4 canopies. Progress on the boat may be slow at times as I work out of town for weeks on end. Enjoy!
Bought the boat in the spring of 18’ after selling my 32’ Velocity from the east side of Michigan. Came as a trailer, hull, and Bravos on IMCO boxes. Learned quite a bit of info from a few OSO members which was helpful and fun to acquire some more history on the boat. The plan is to ditch the Bravos, go to Arnesons, and I’ve got some older merc 700SC’s I am going to put in for the time being. Ditch the tri-axle leaf sprung duallie setup with out dated brakes and a bent axle for a tri-axle torsion single tire set up. Add a drive guard and new lights, paint, etc. I am thinking some sort of tunnel extension and bustle to cover the drives. I also plan on some sort of wrap around windshield or 1/4 canopies. Progress on the boat may be slow at times as I work out of town for weeks on end. Enjoy!


 02-25-2019, 05:55 PM
#3
Registered
Thread Starter
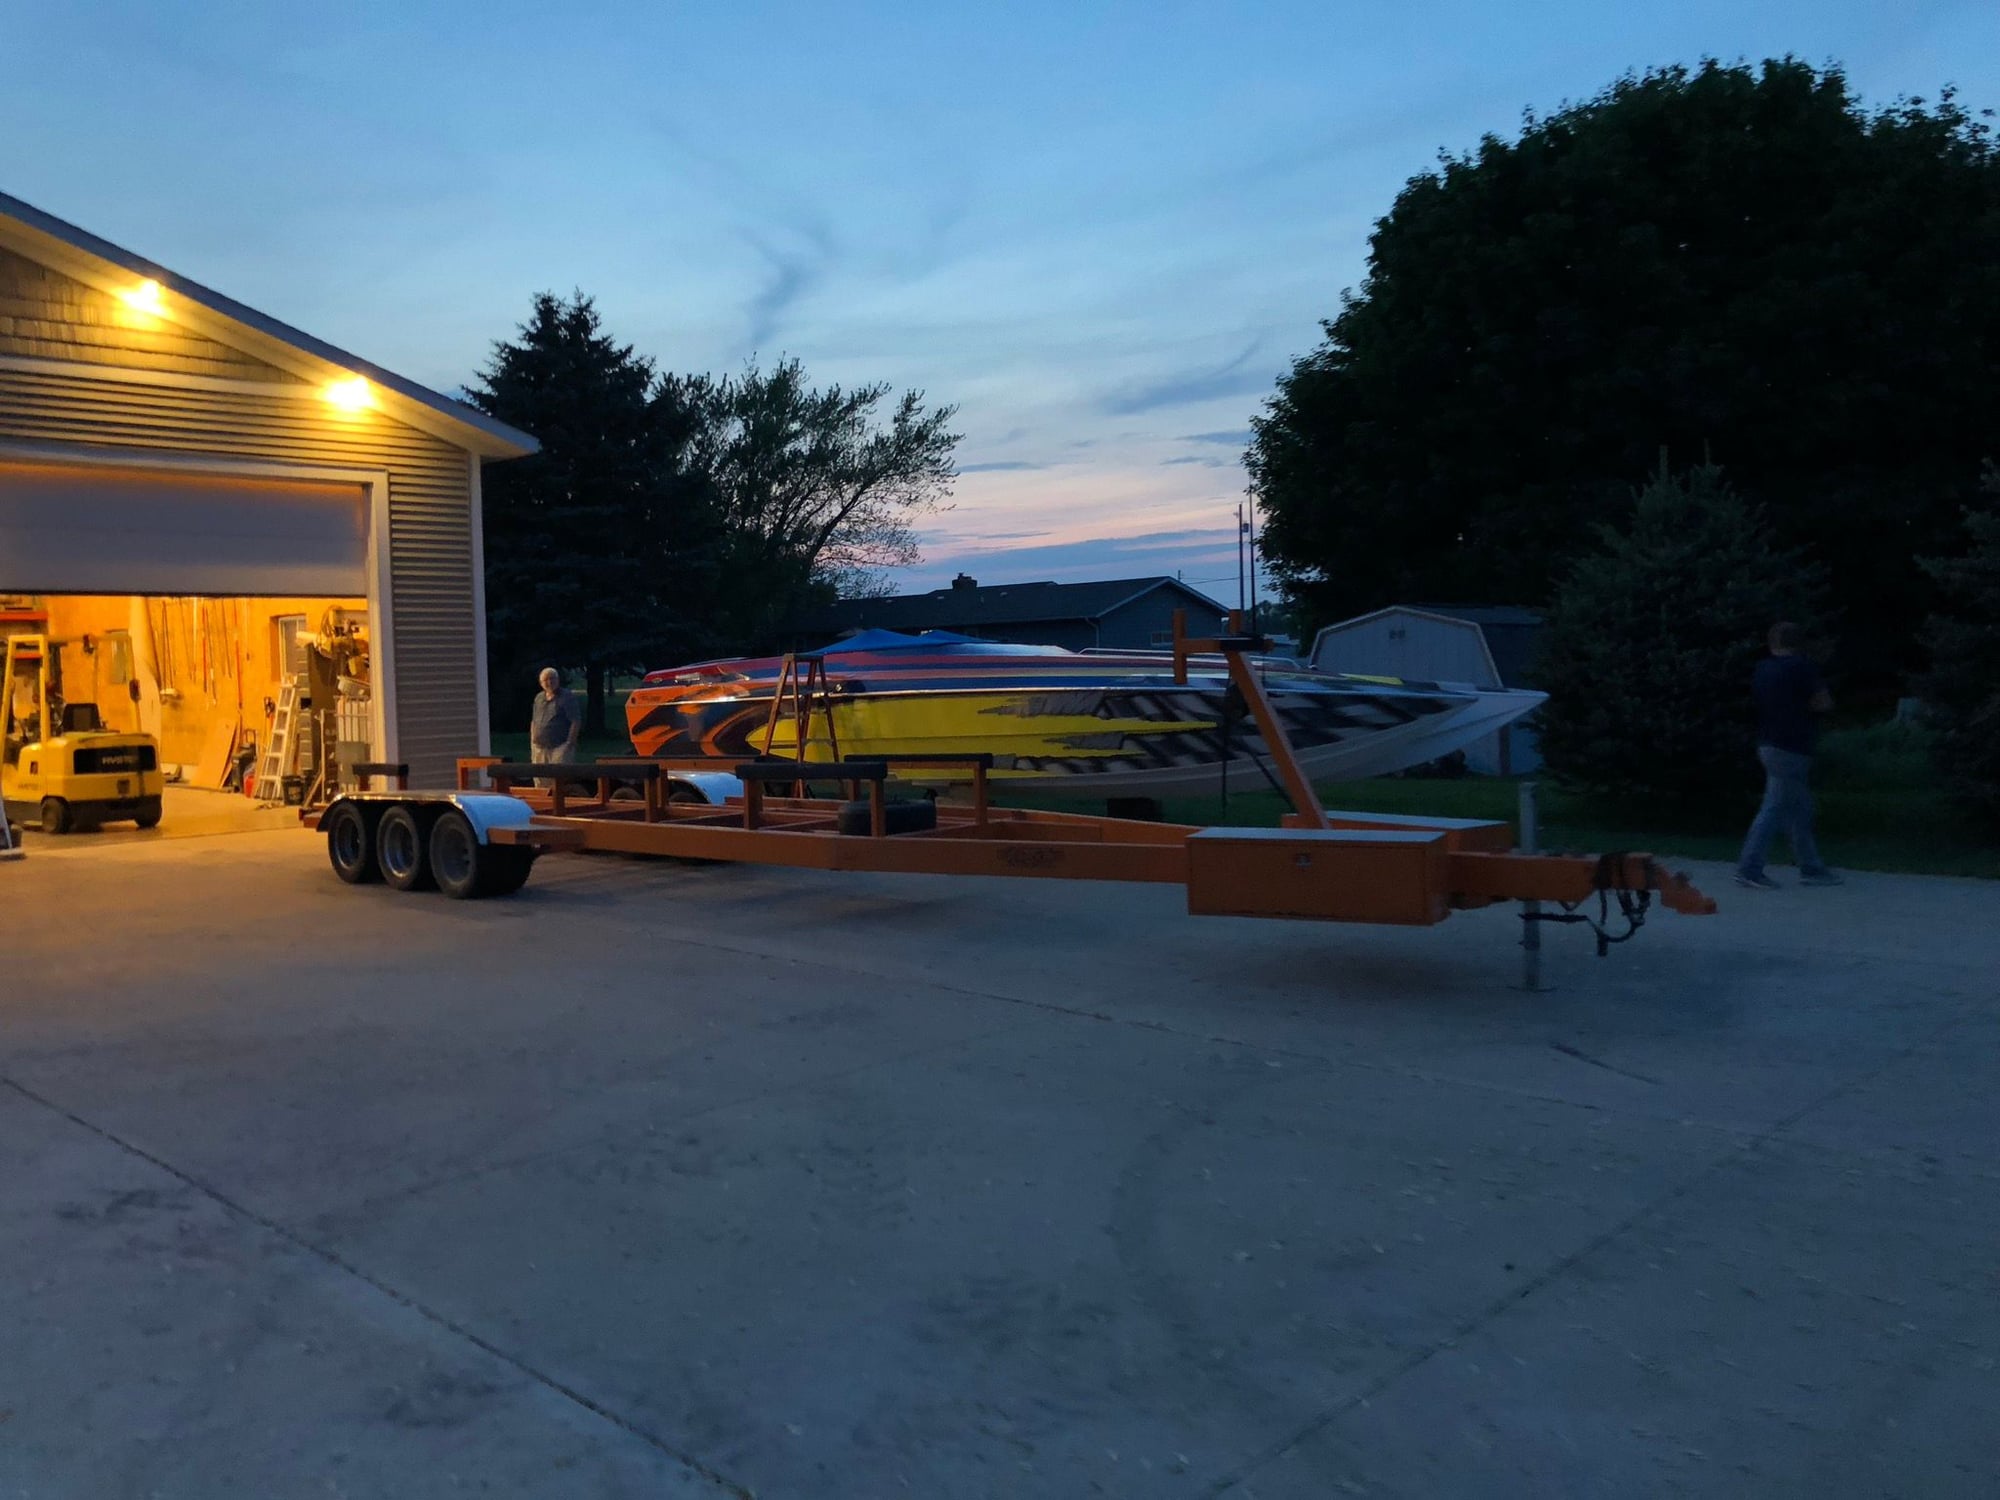
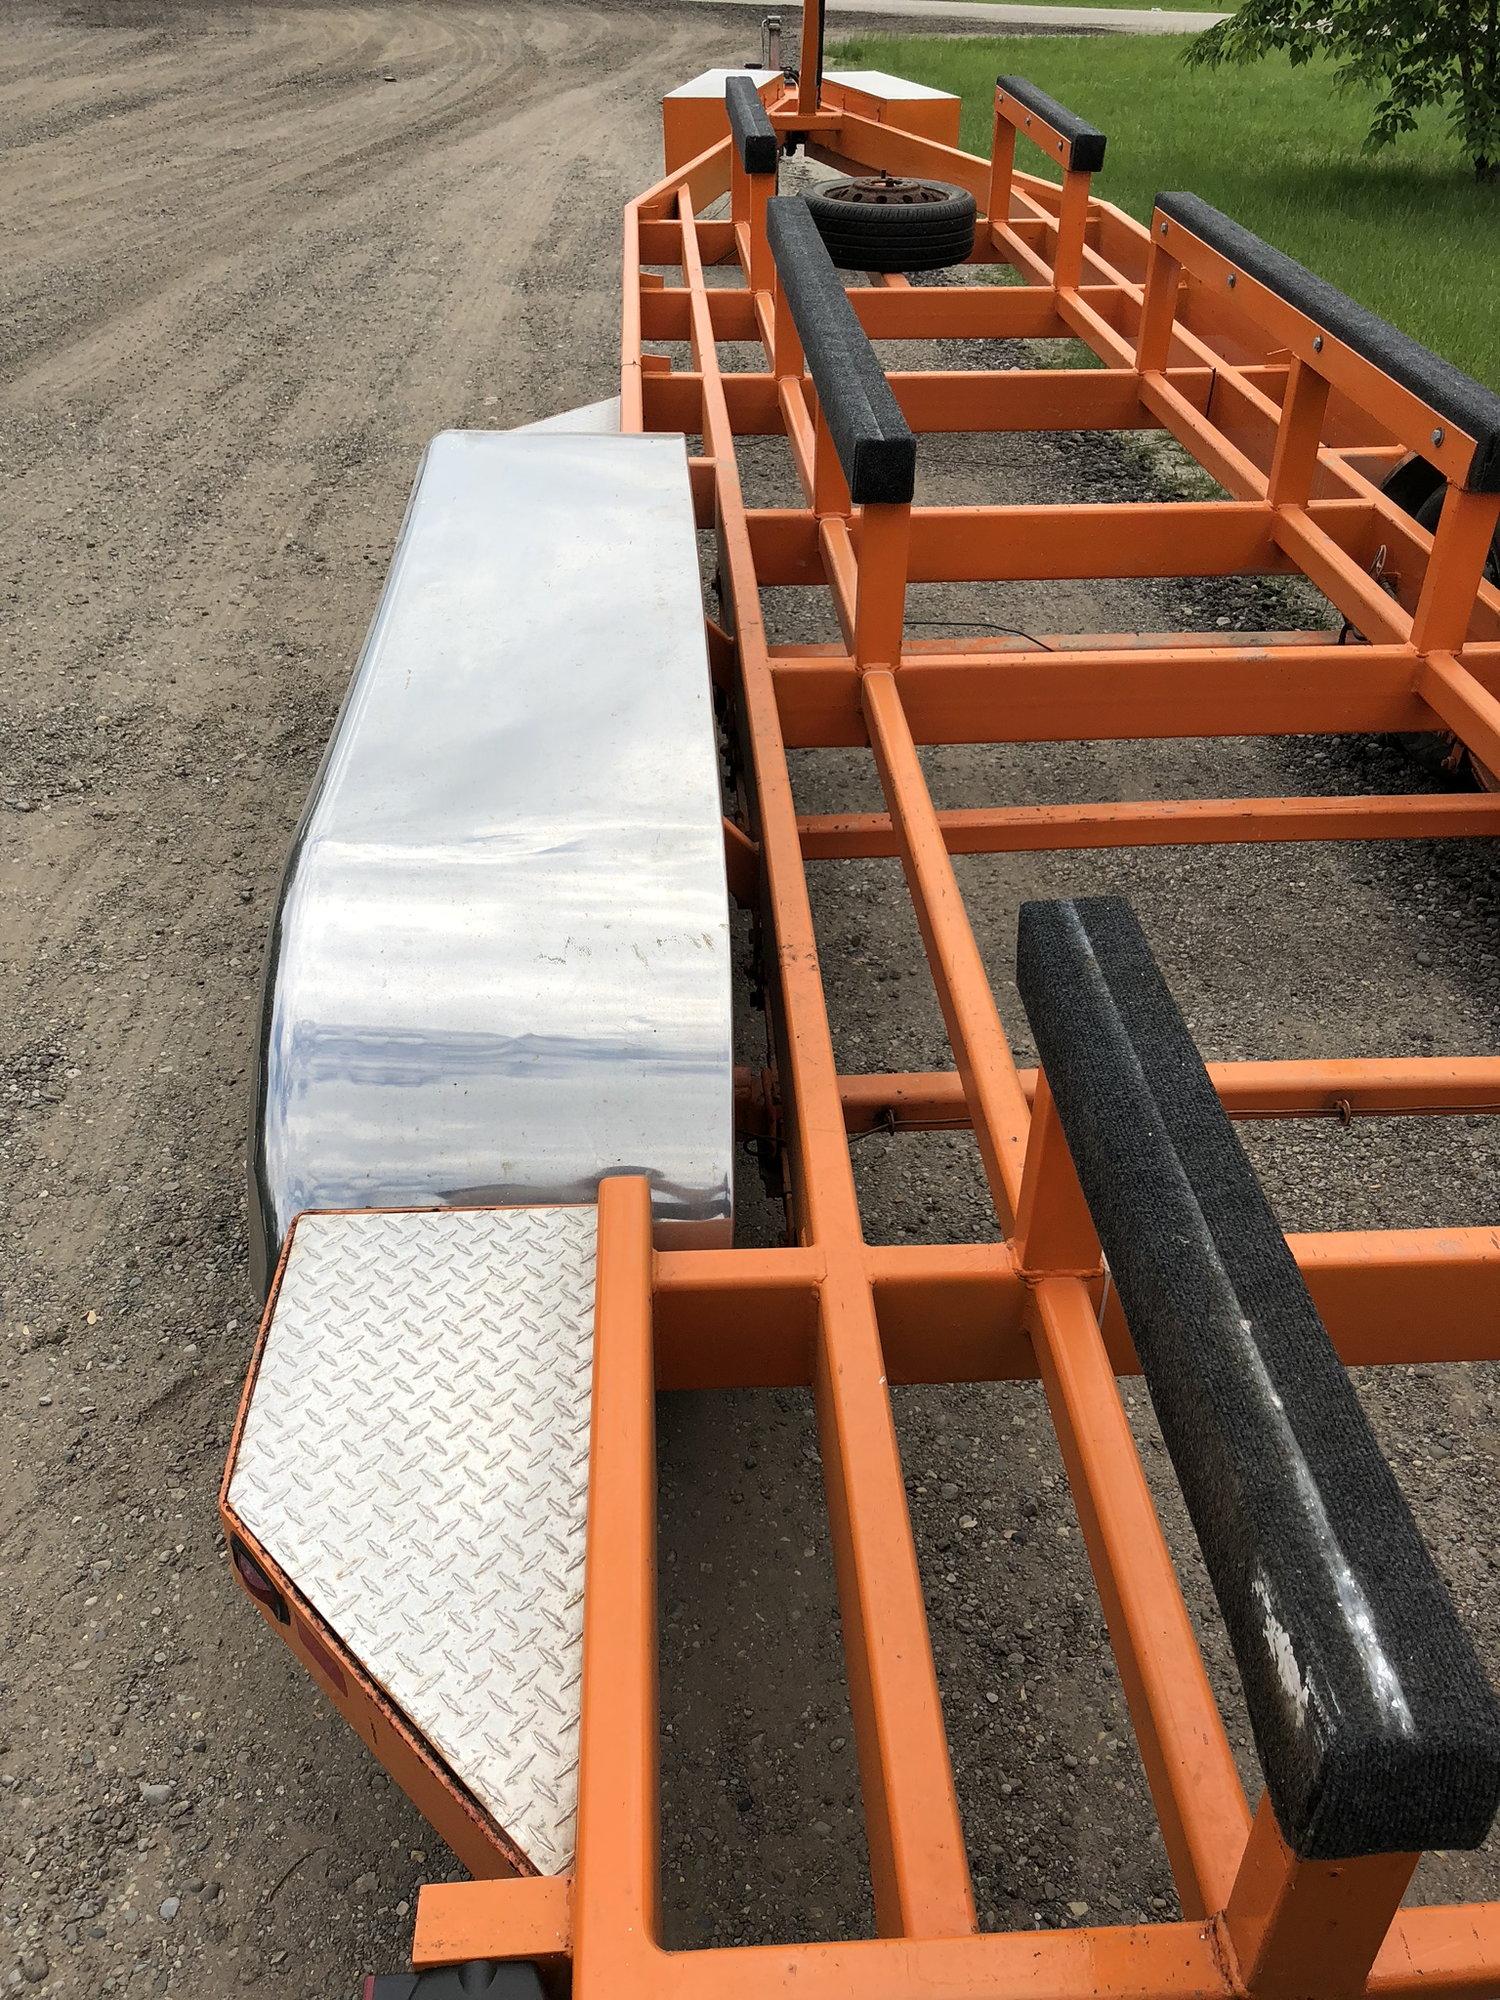
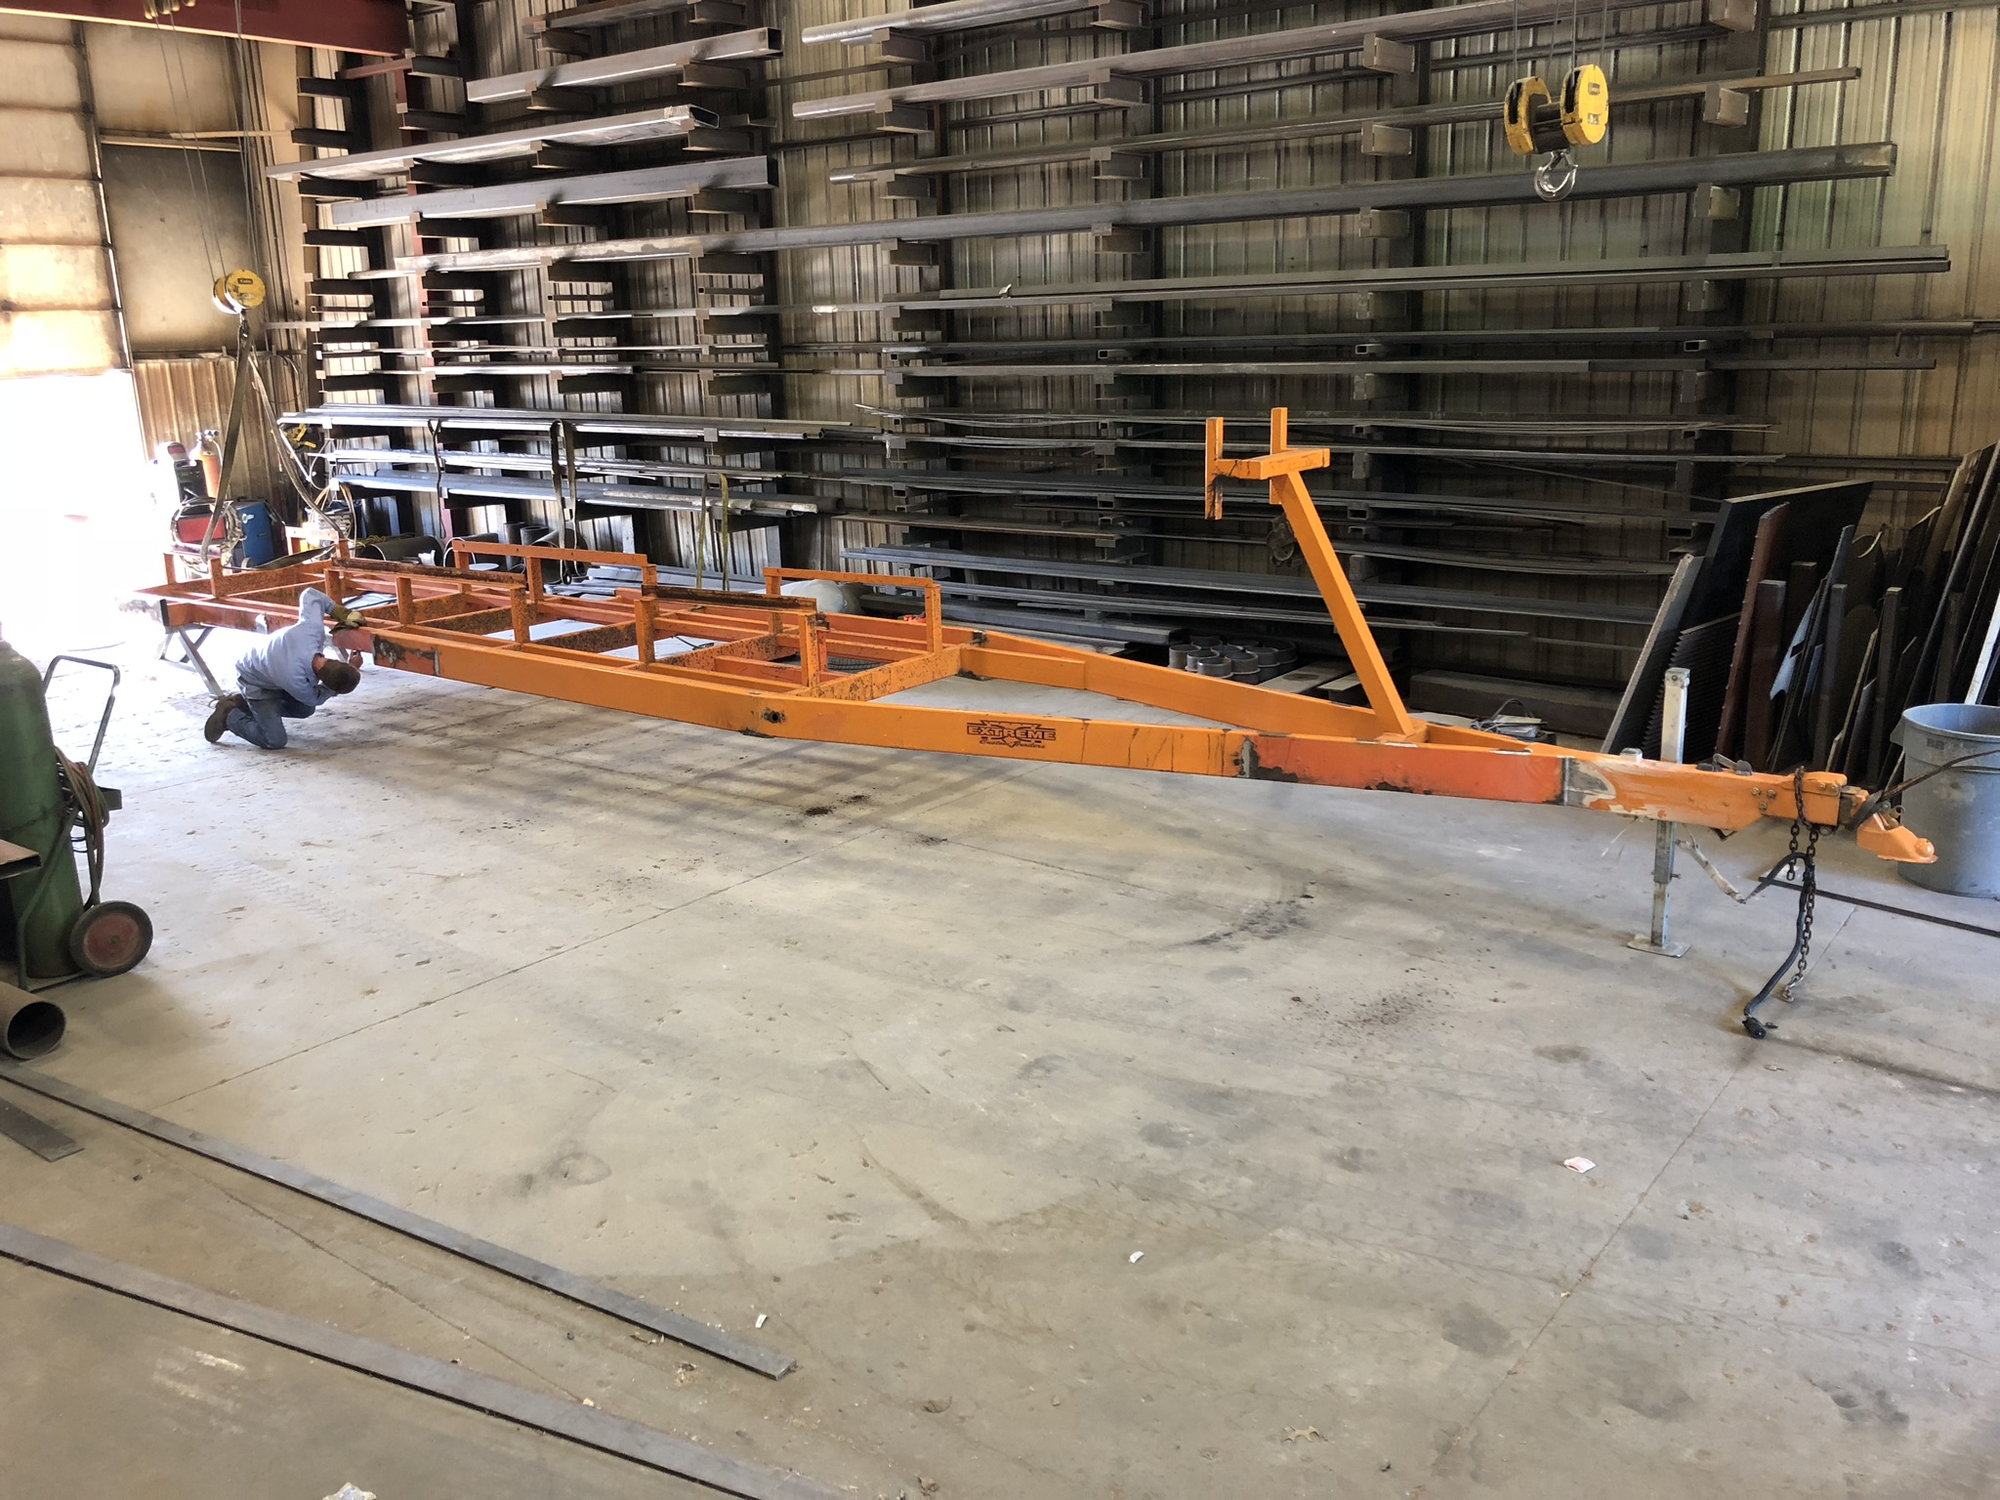
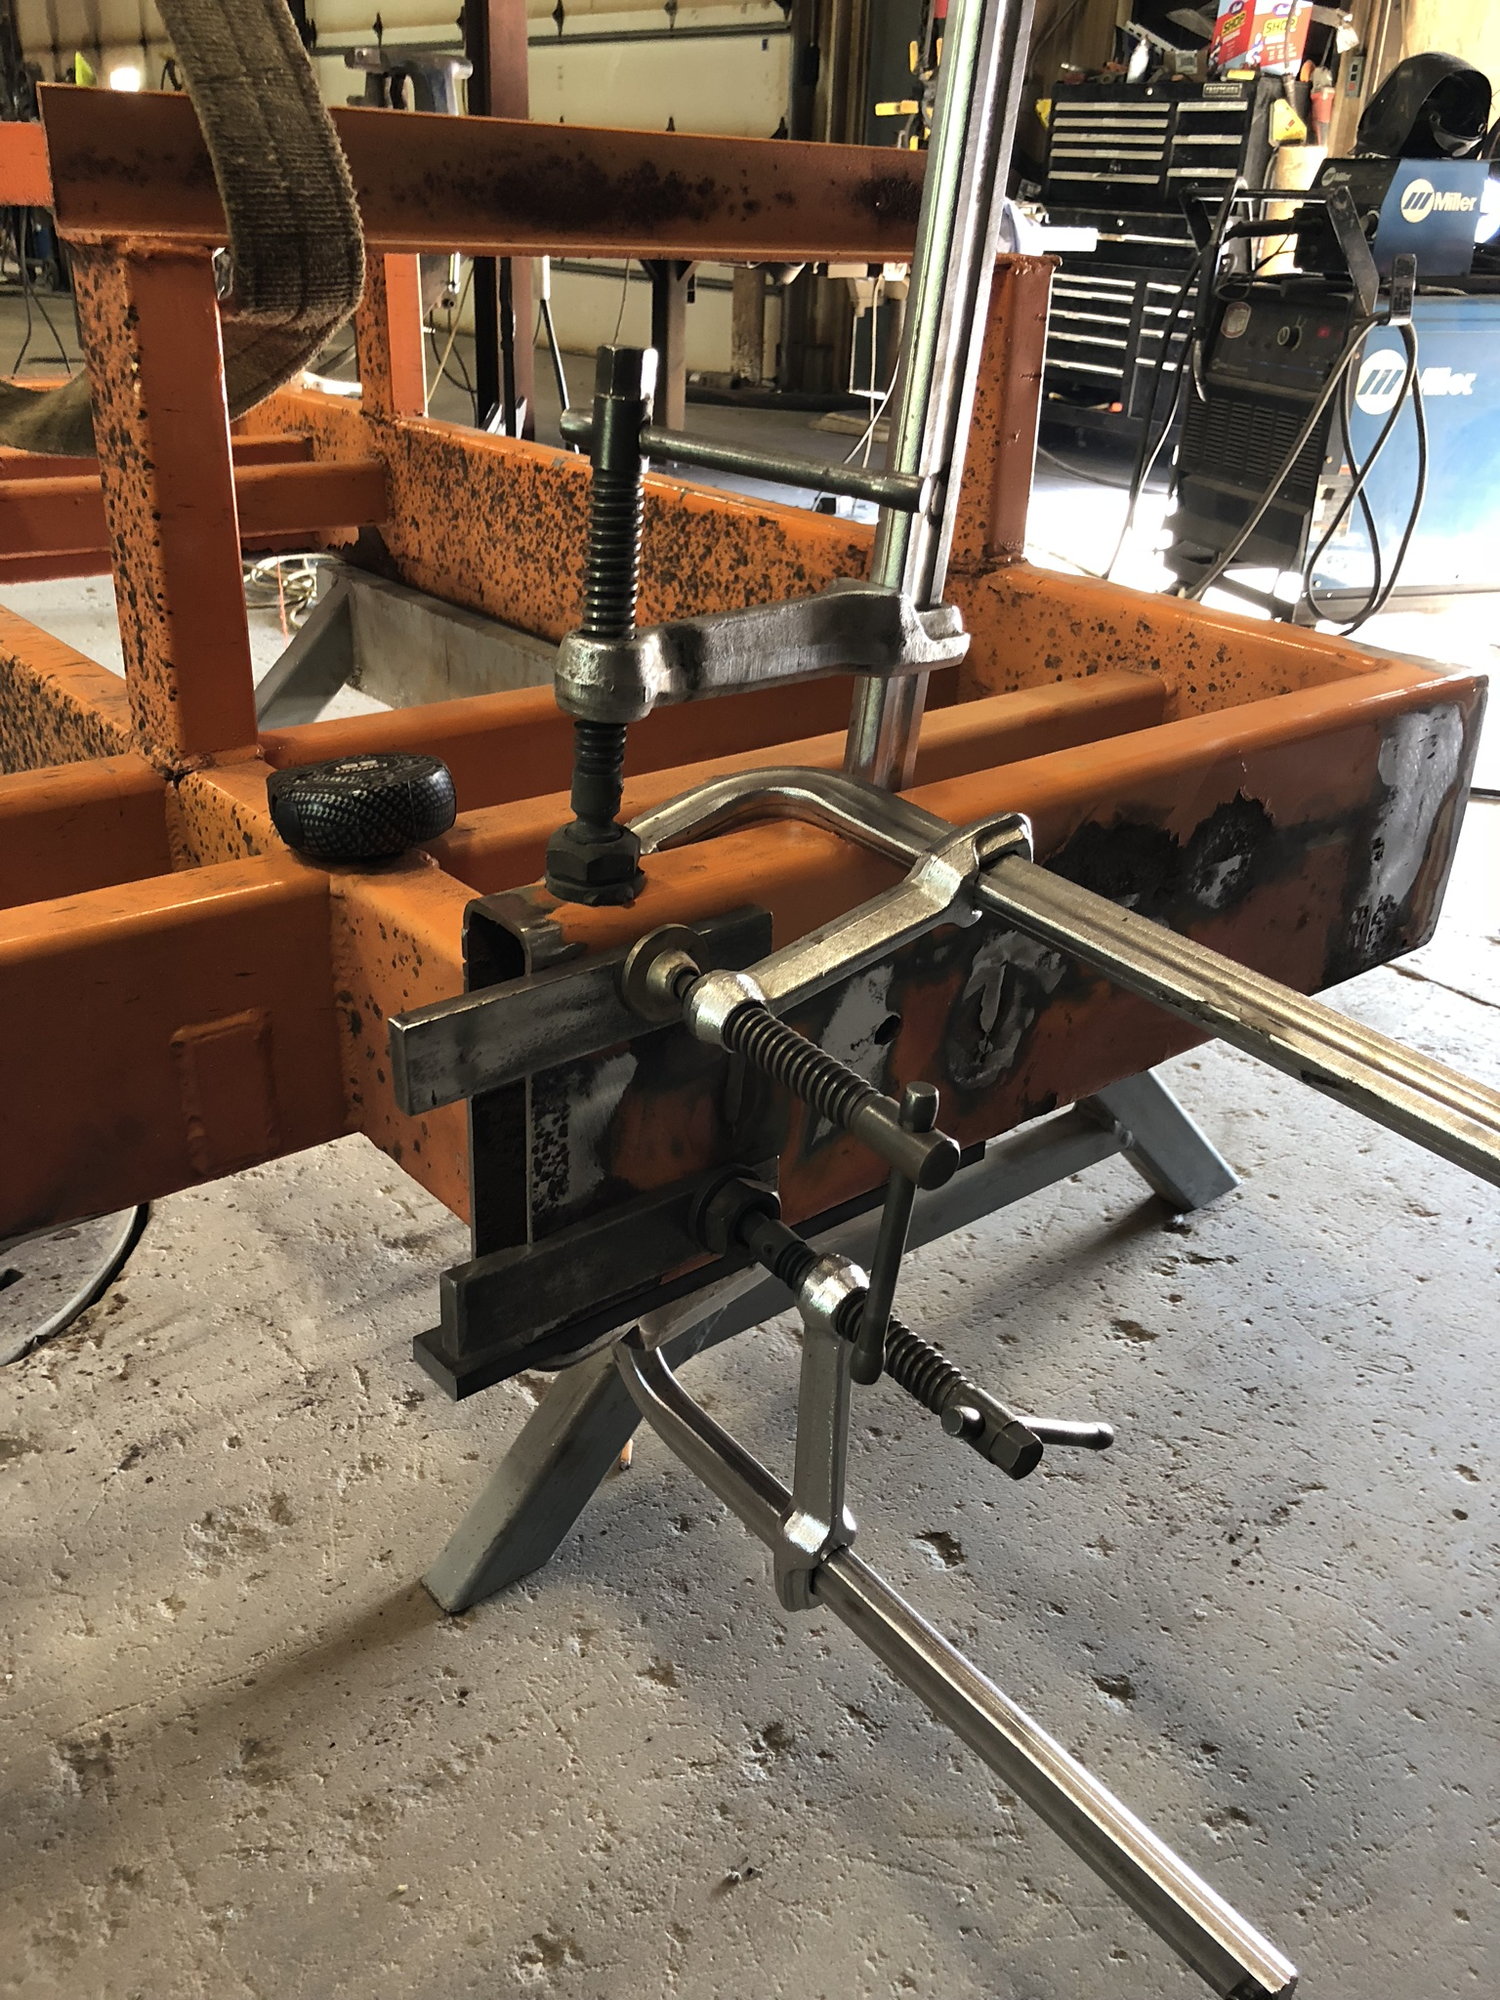
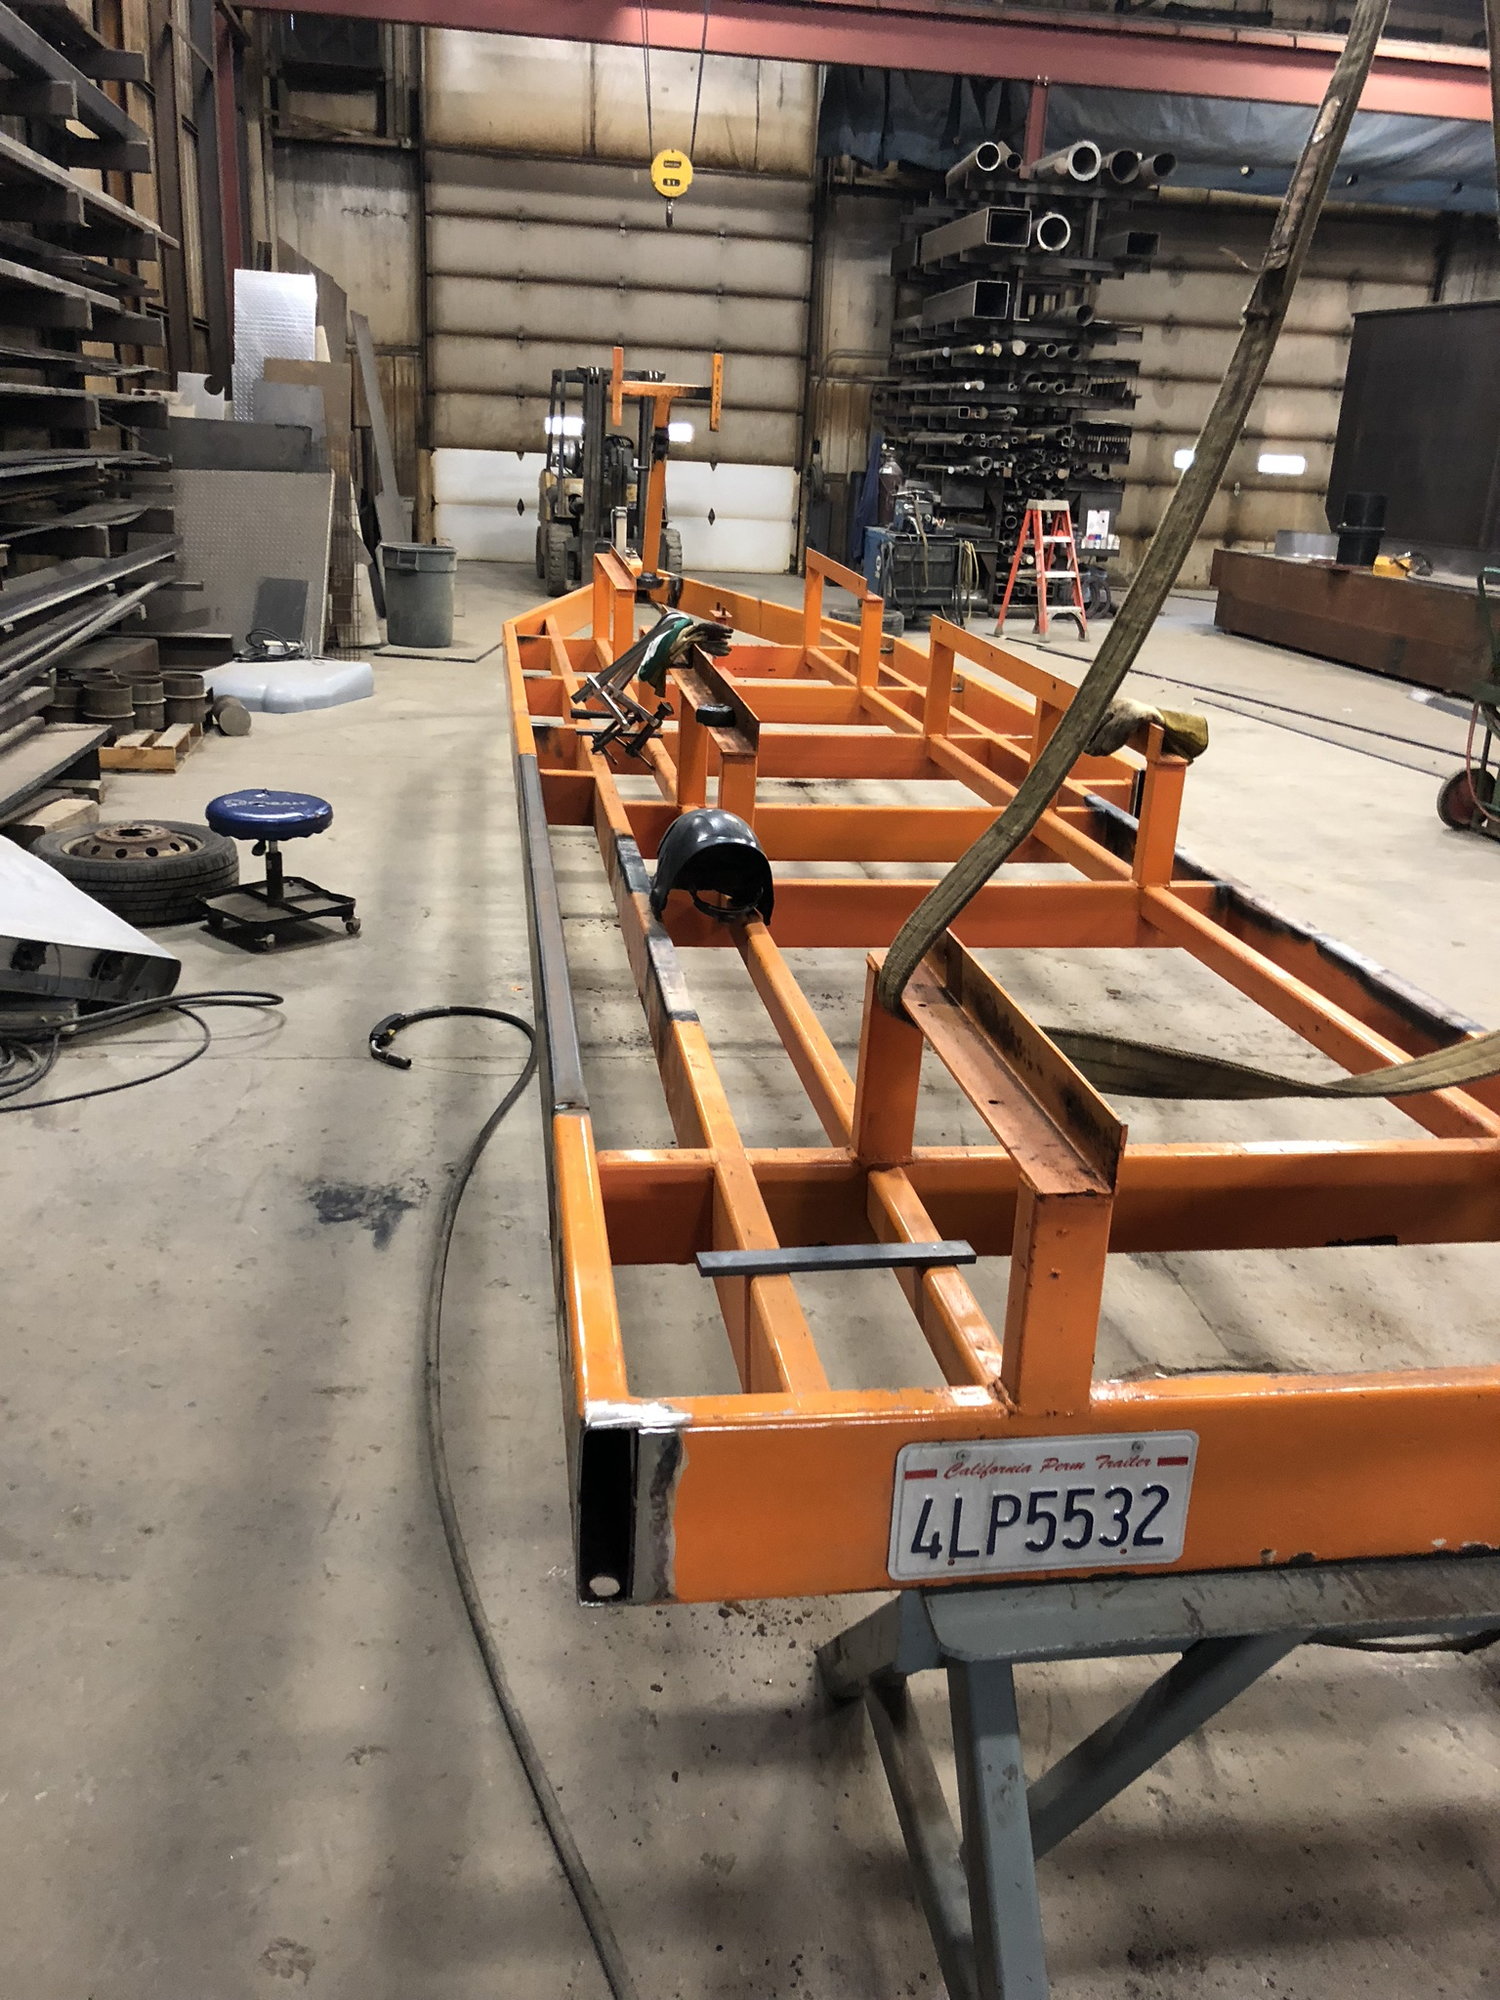
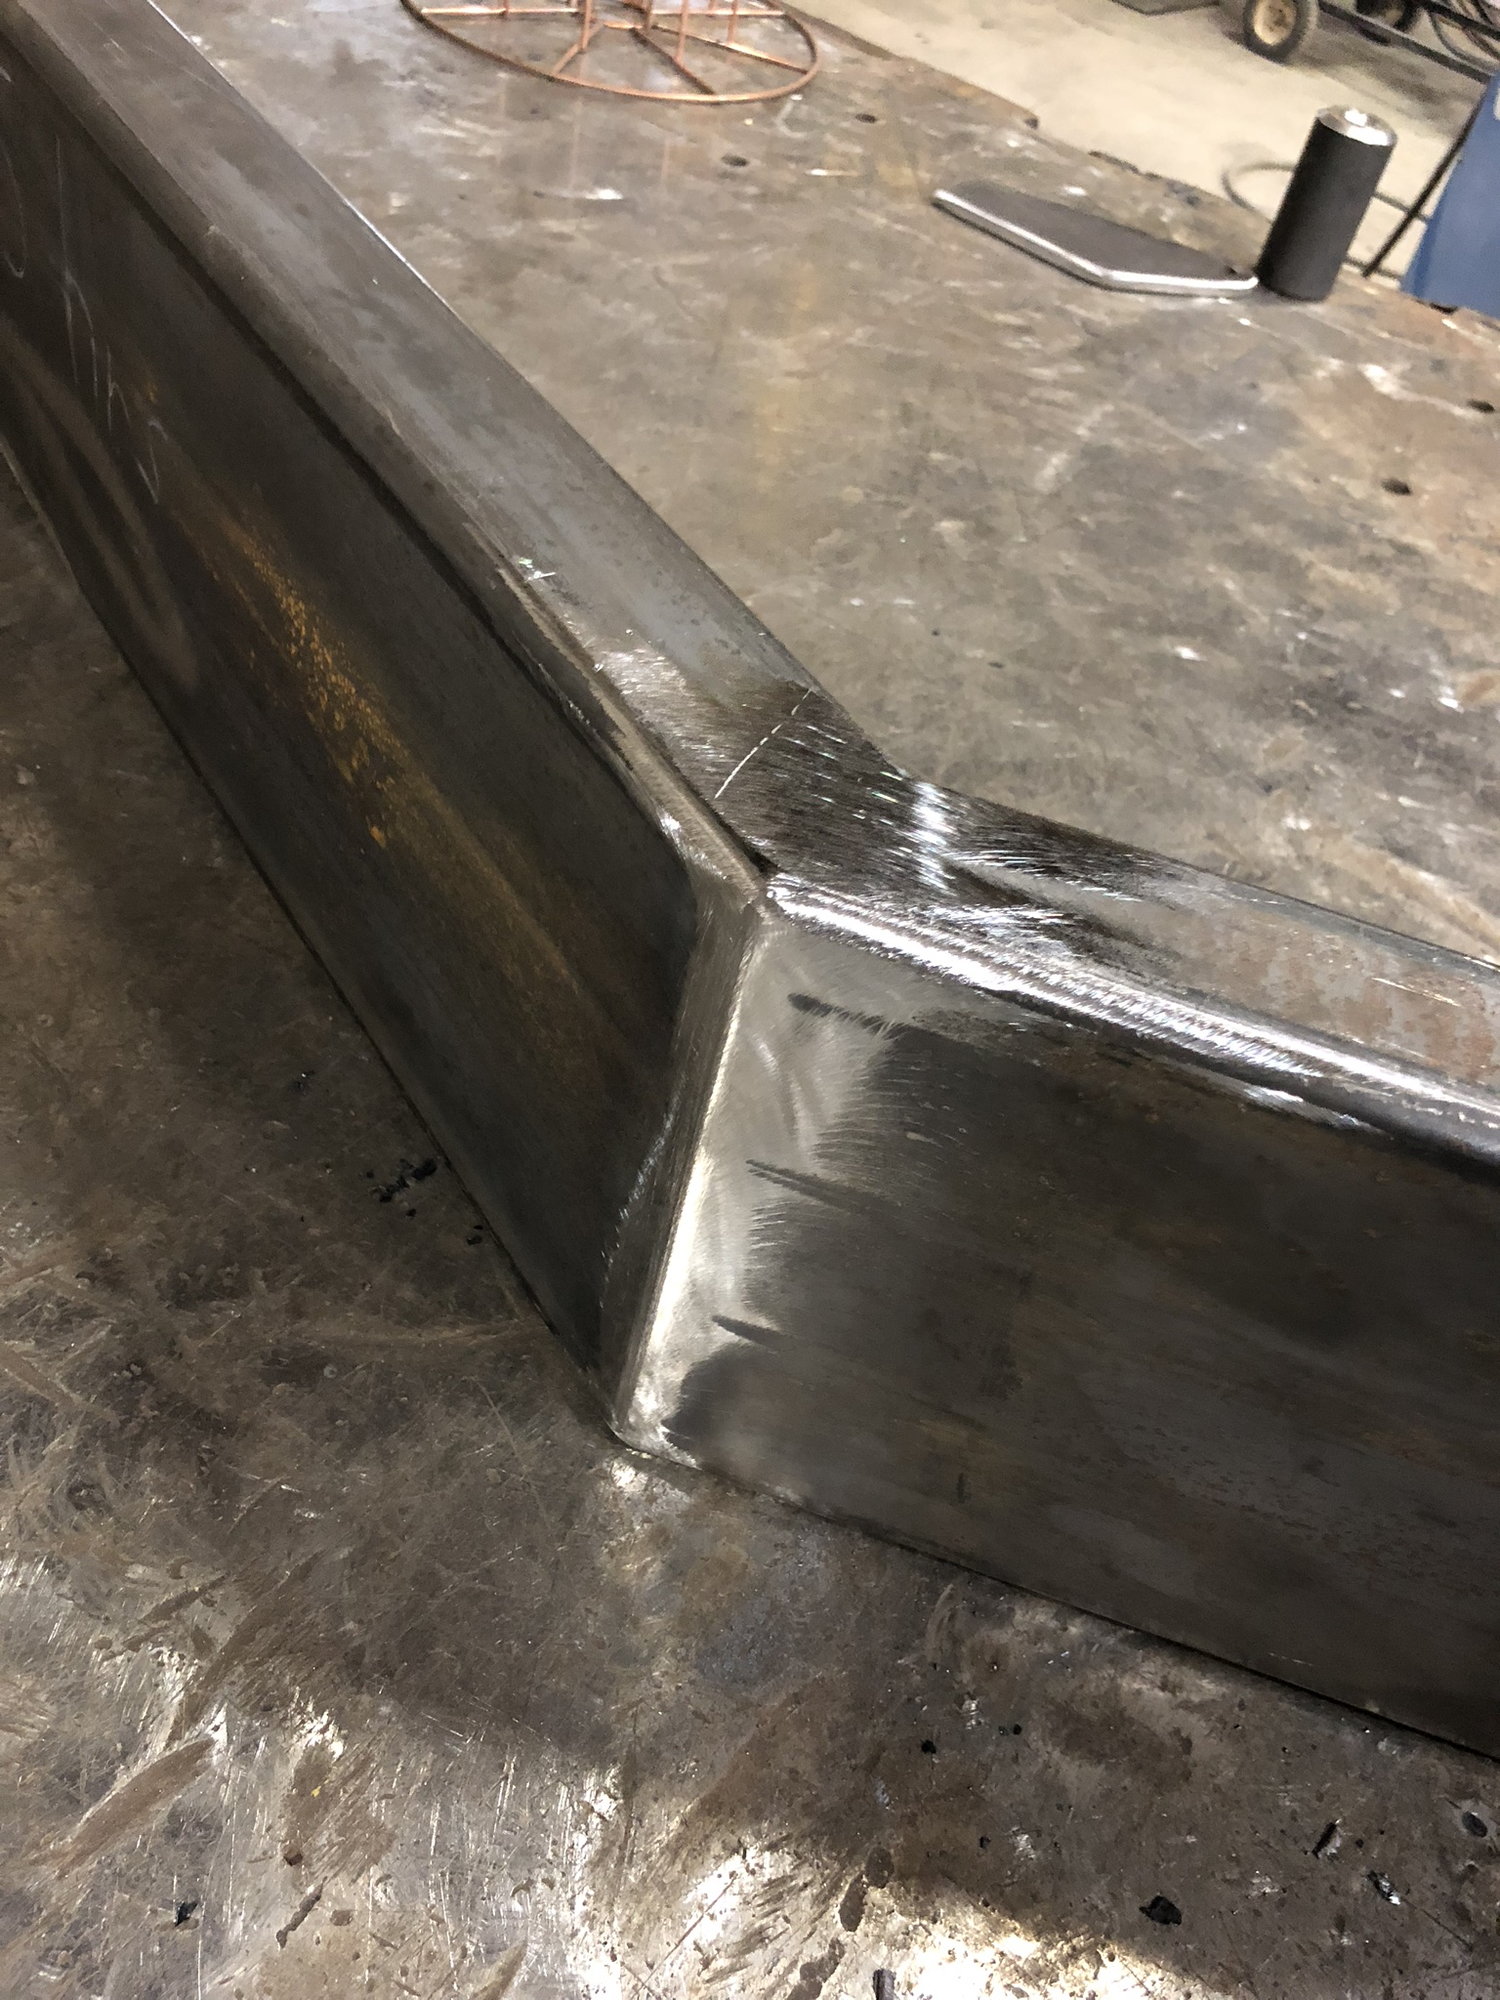
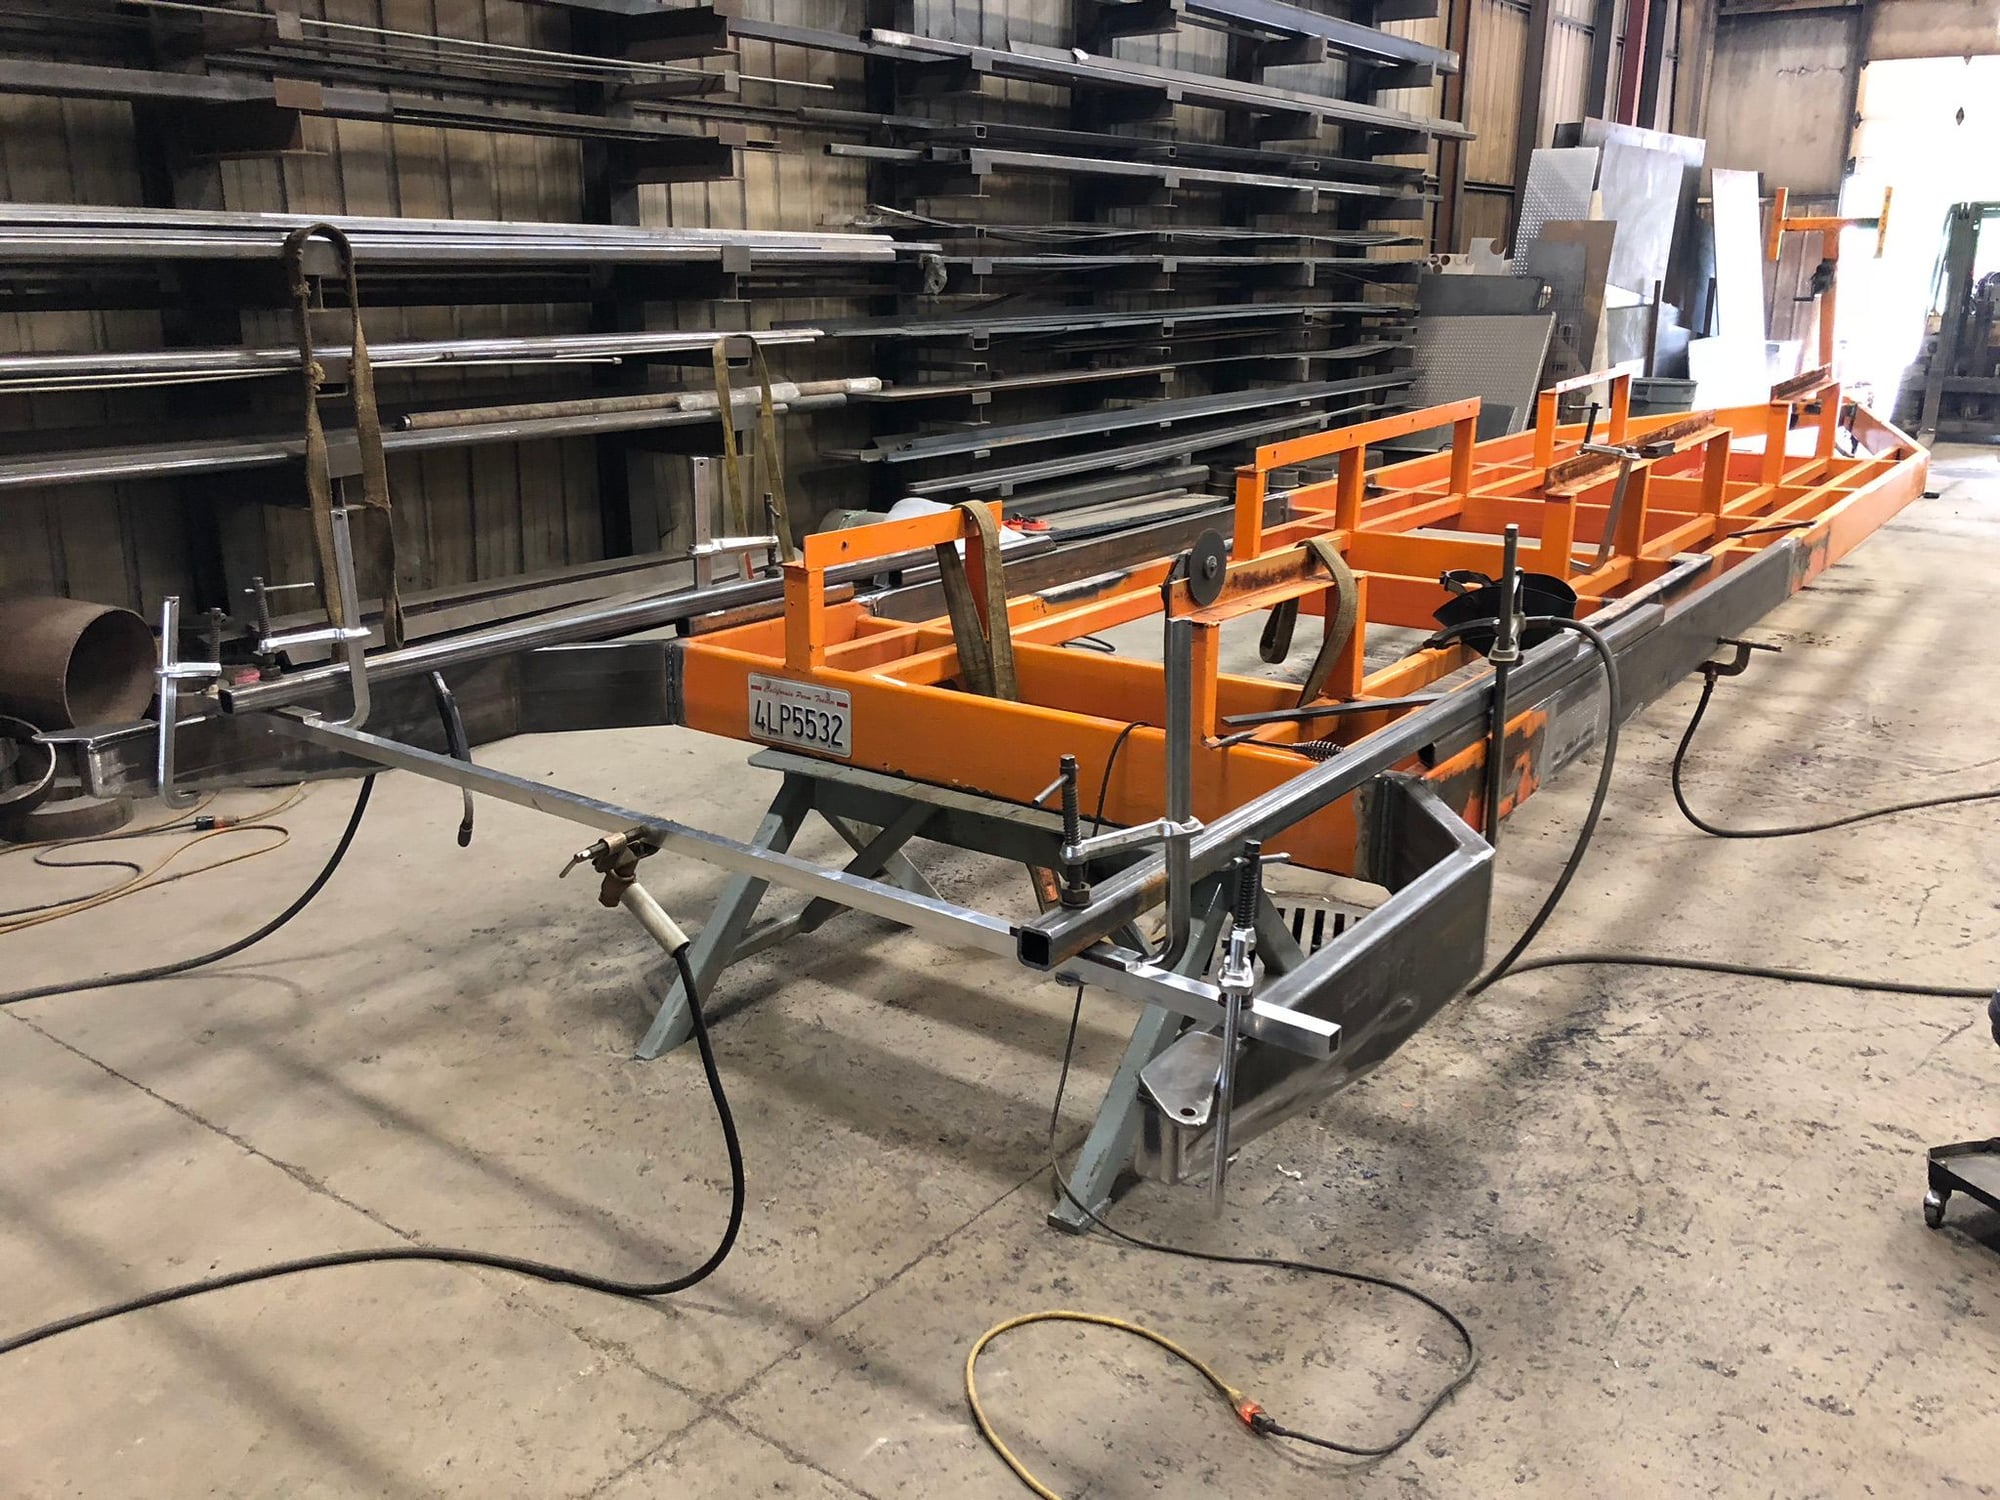
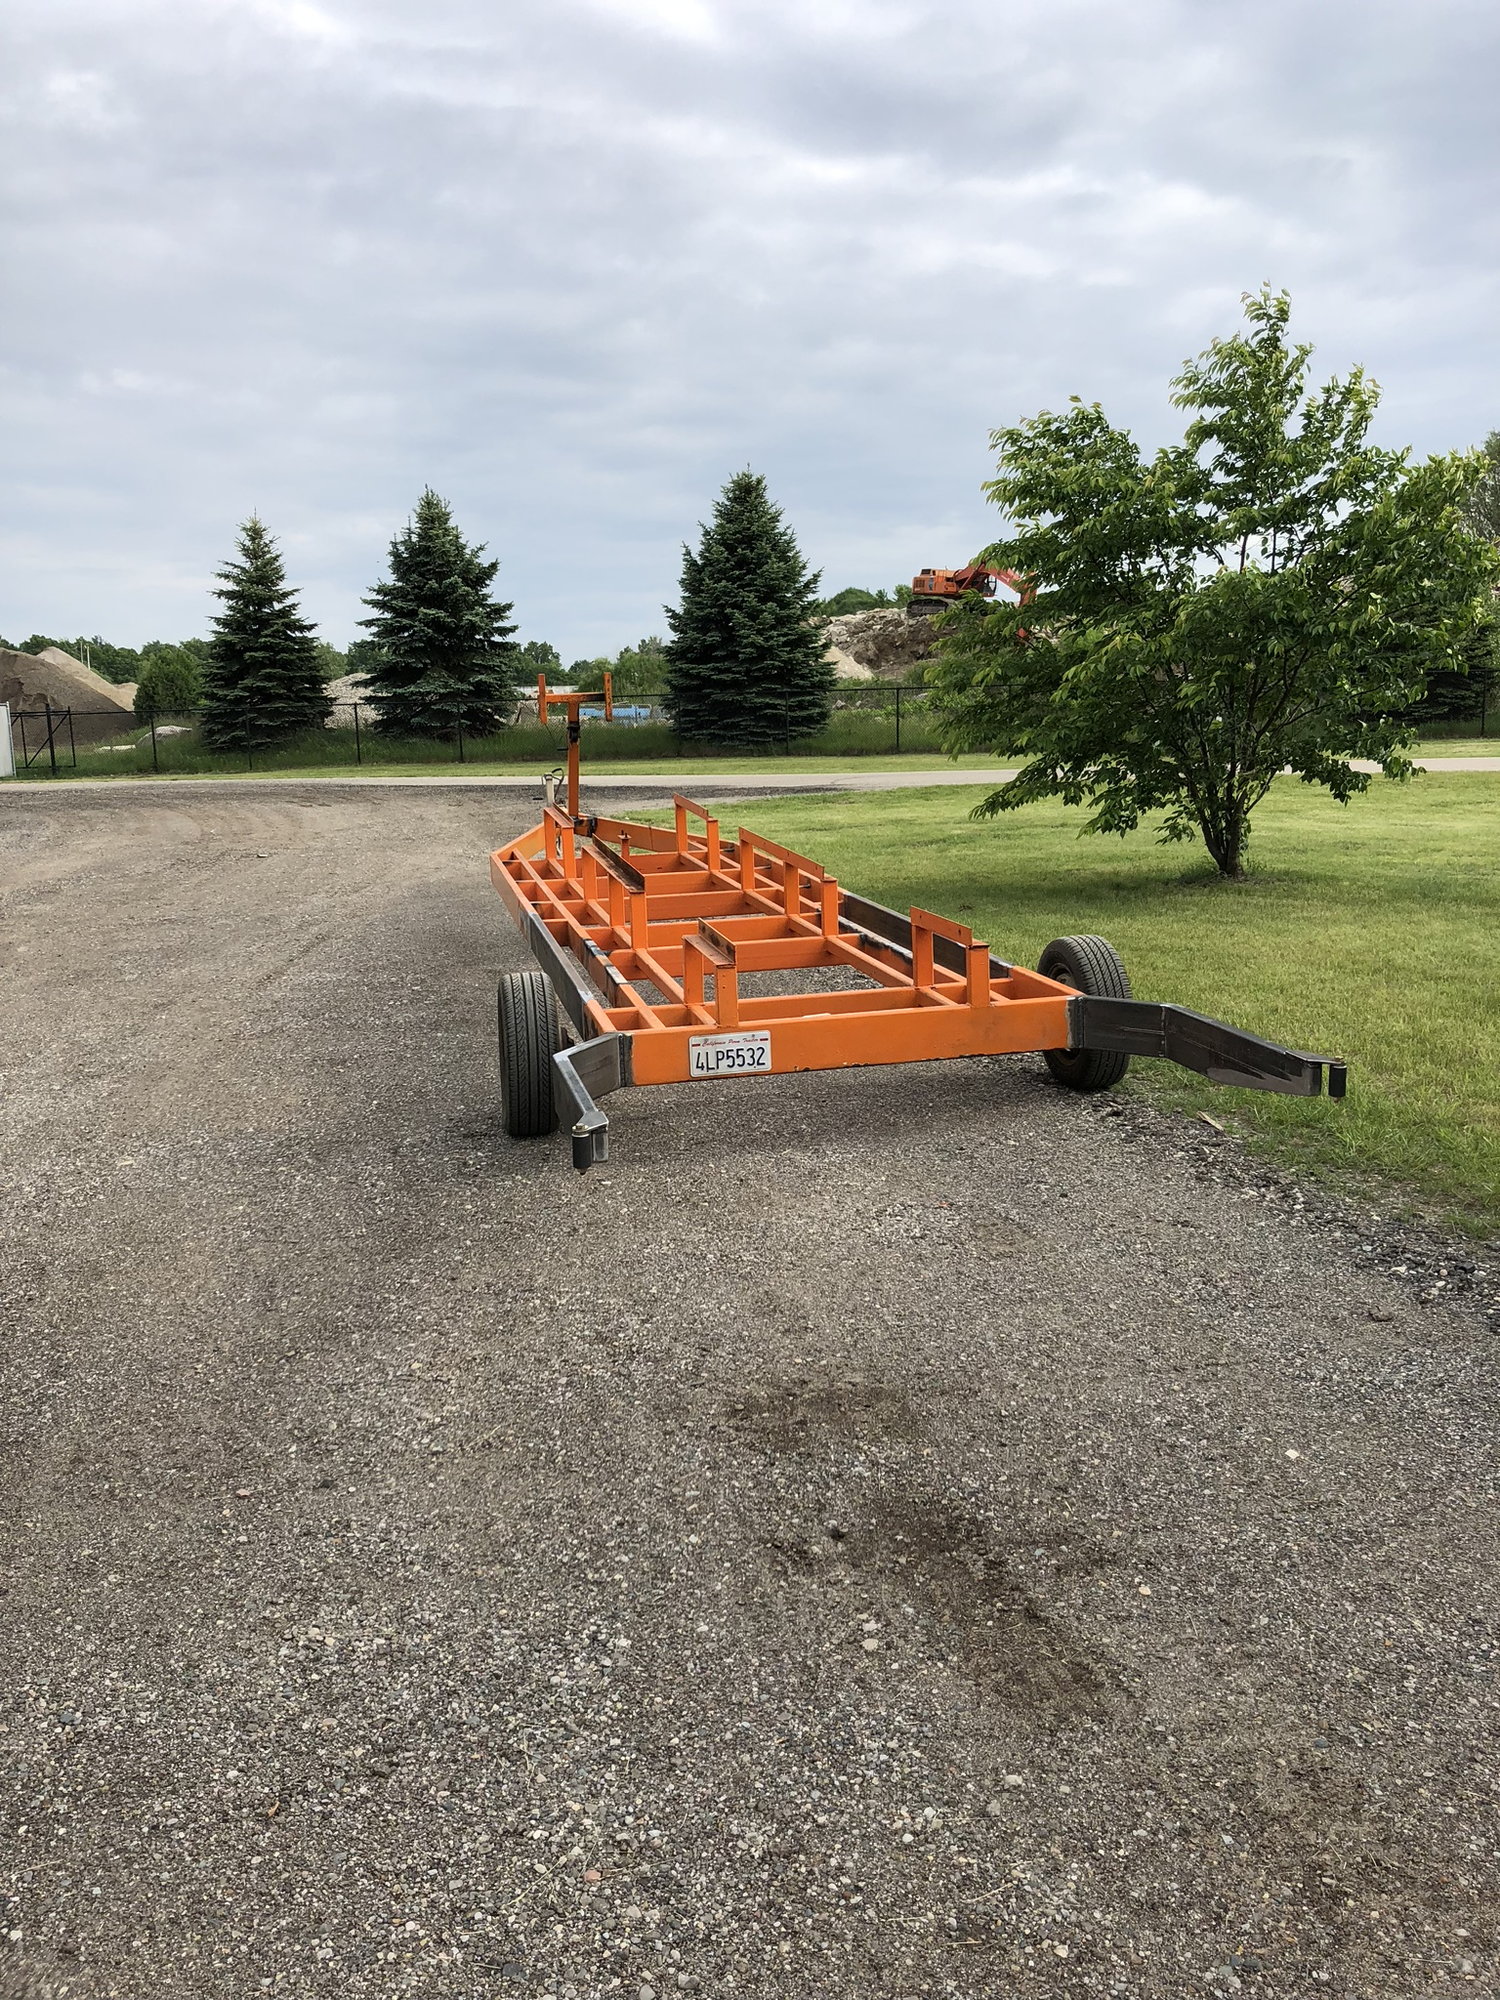
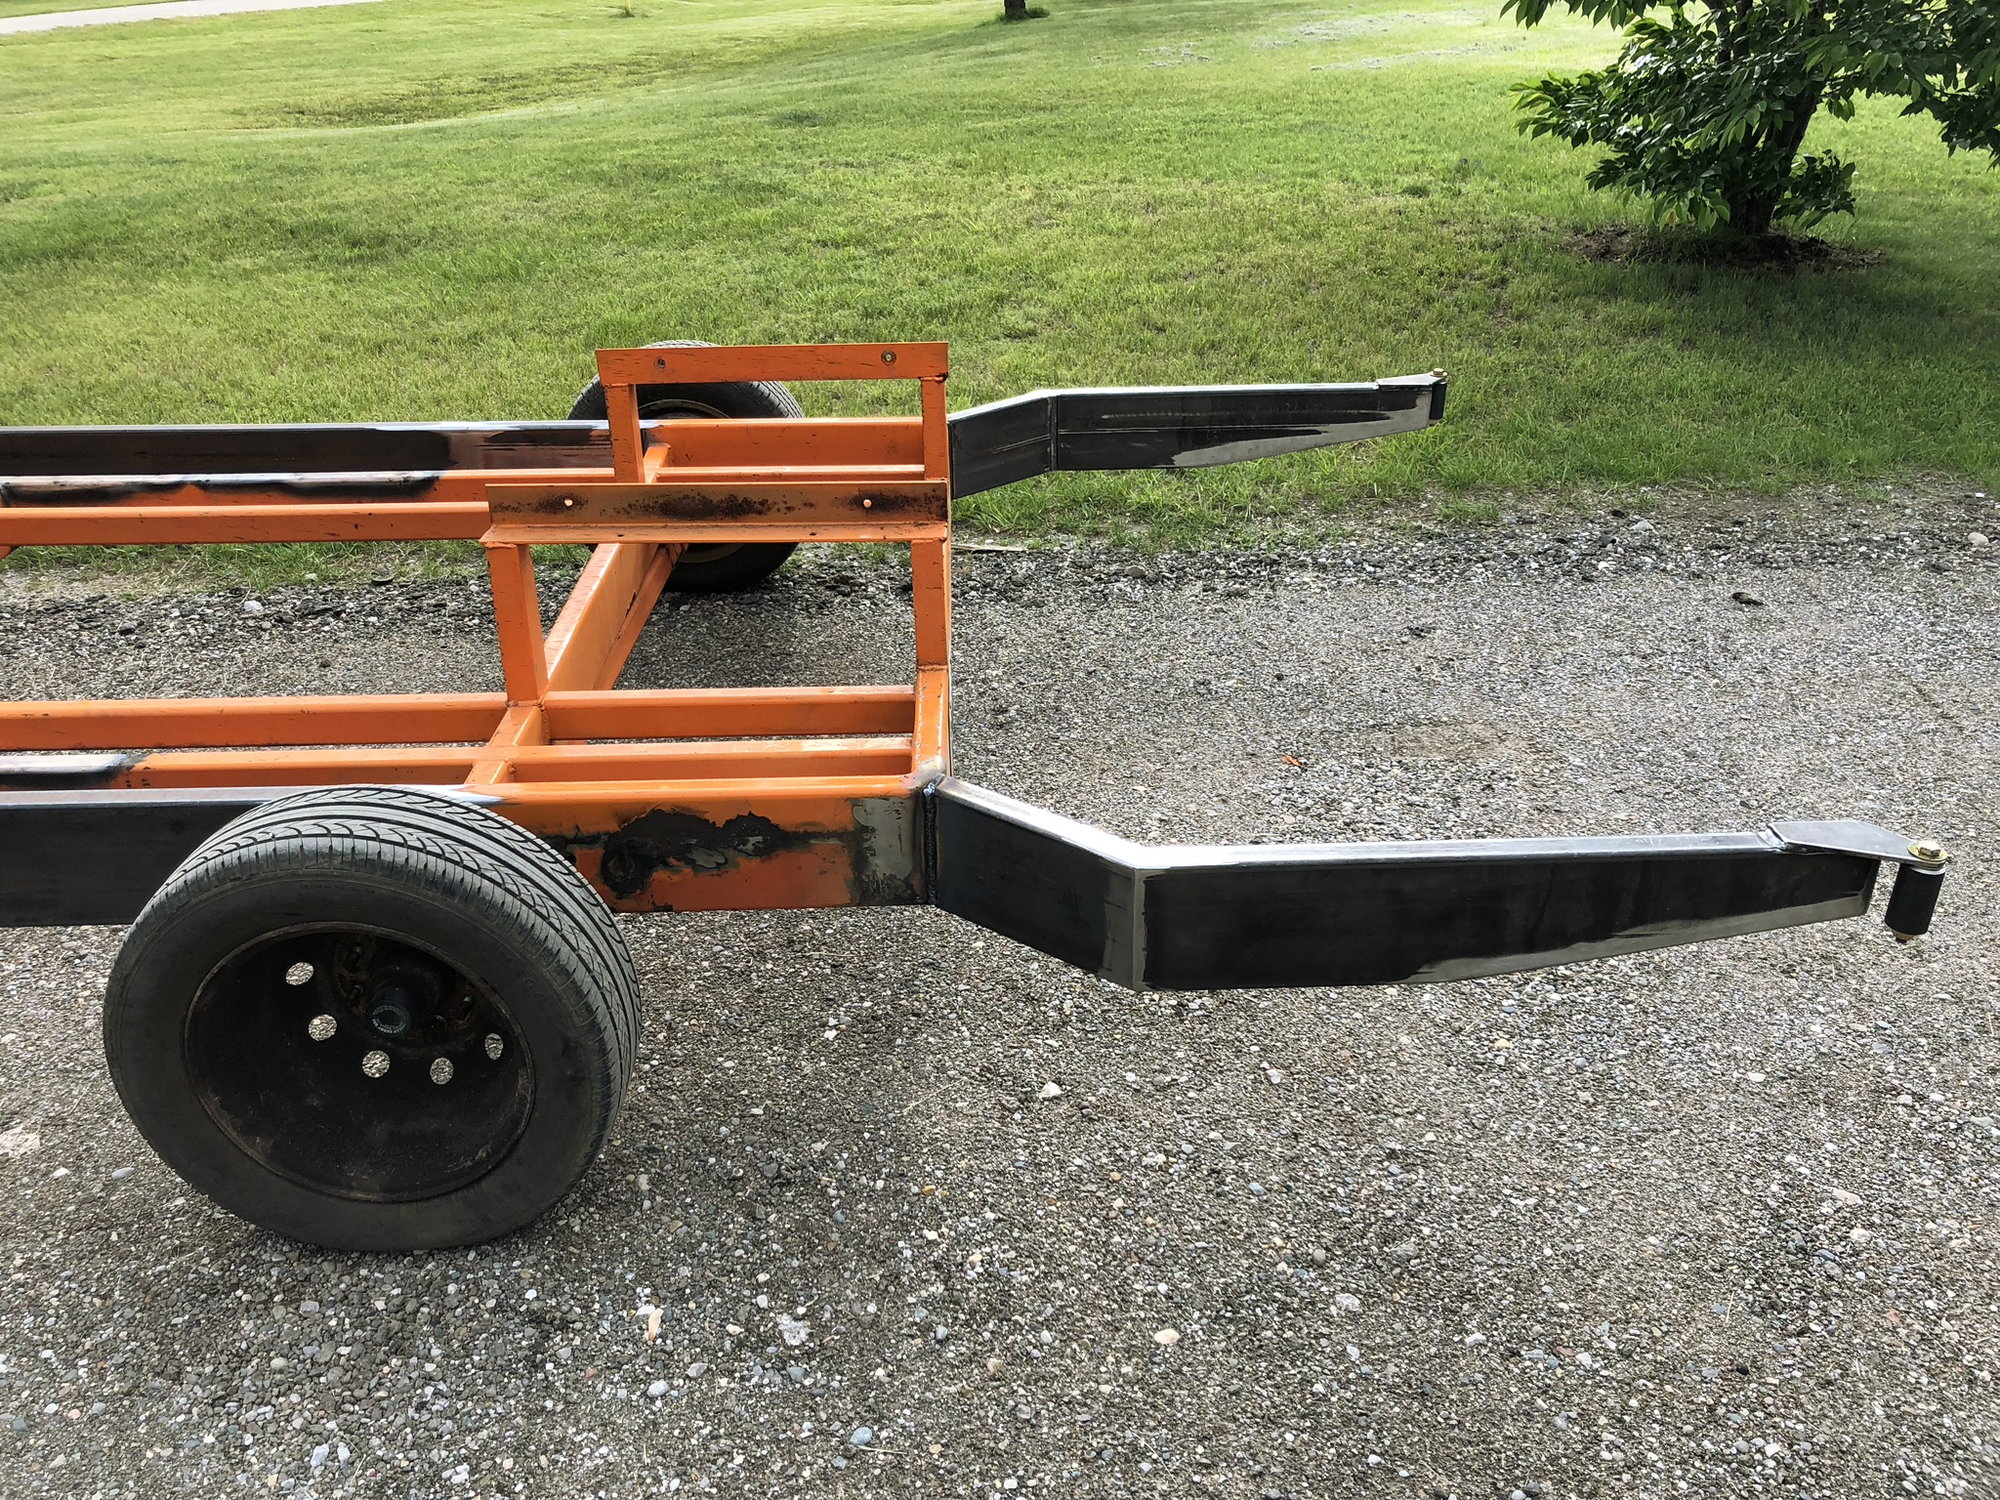
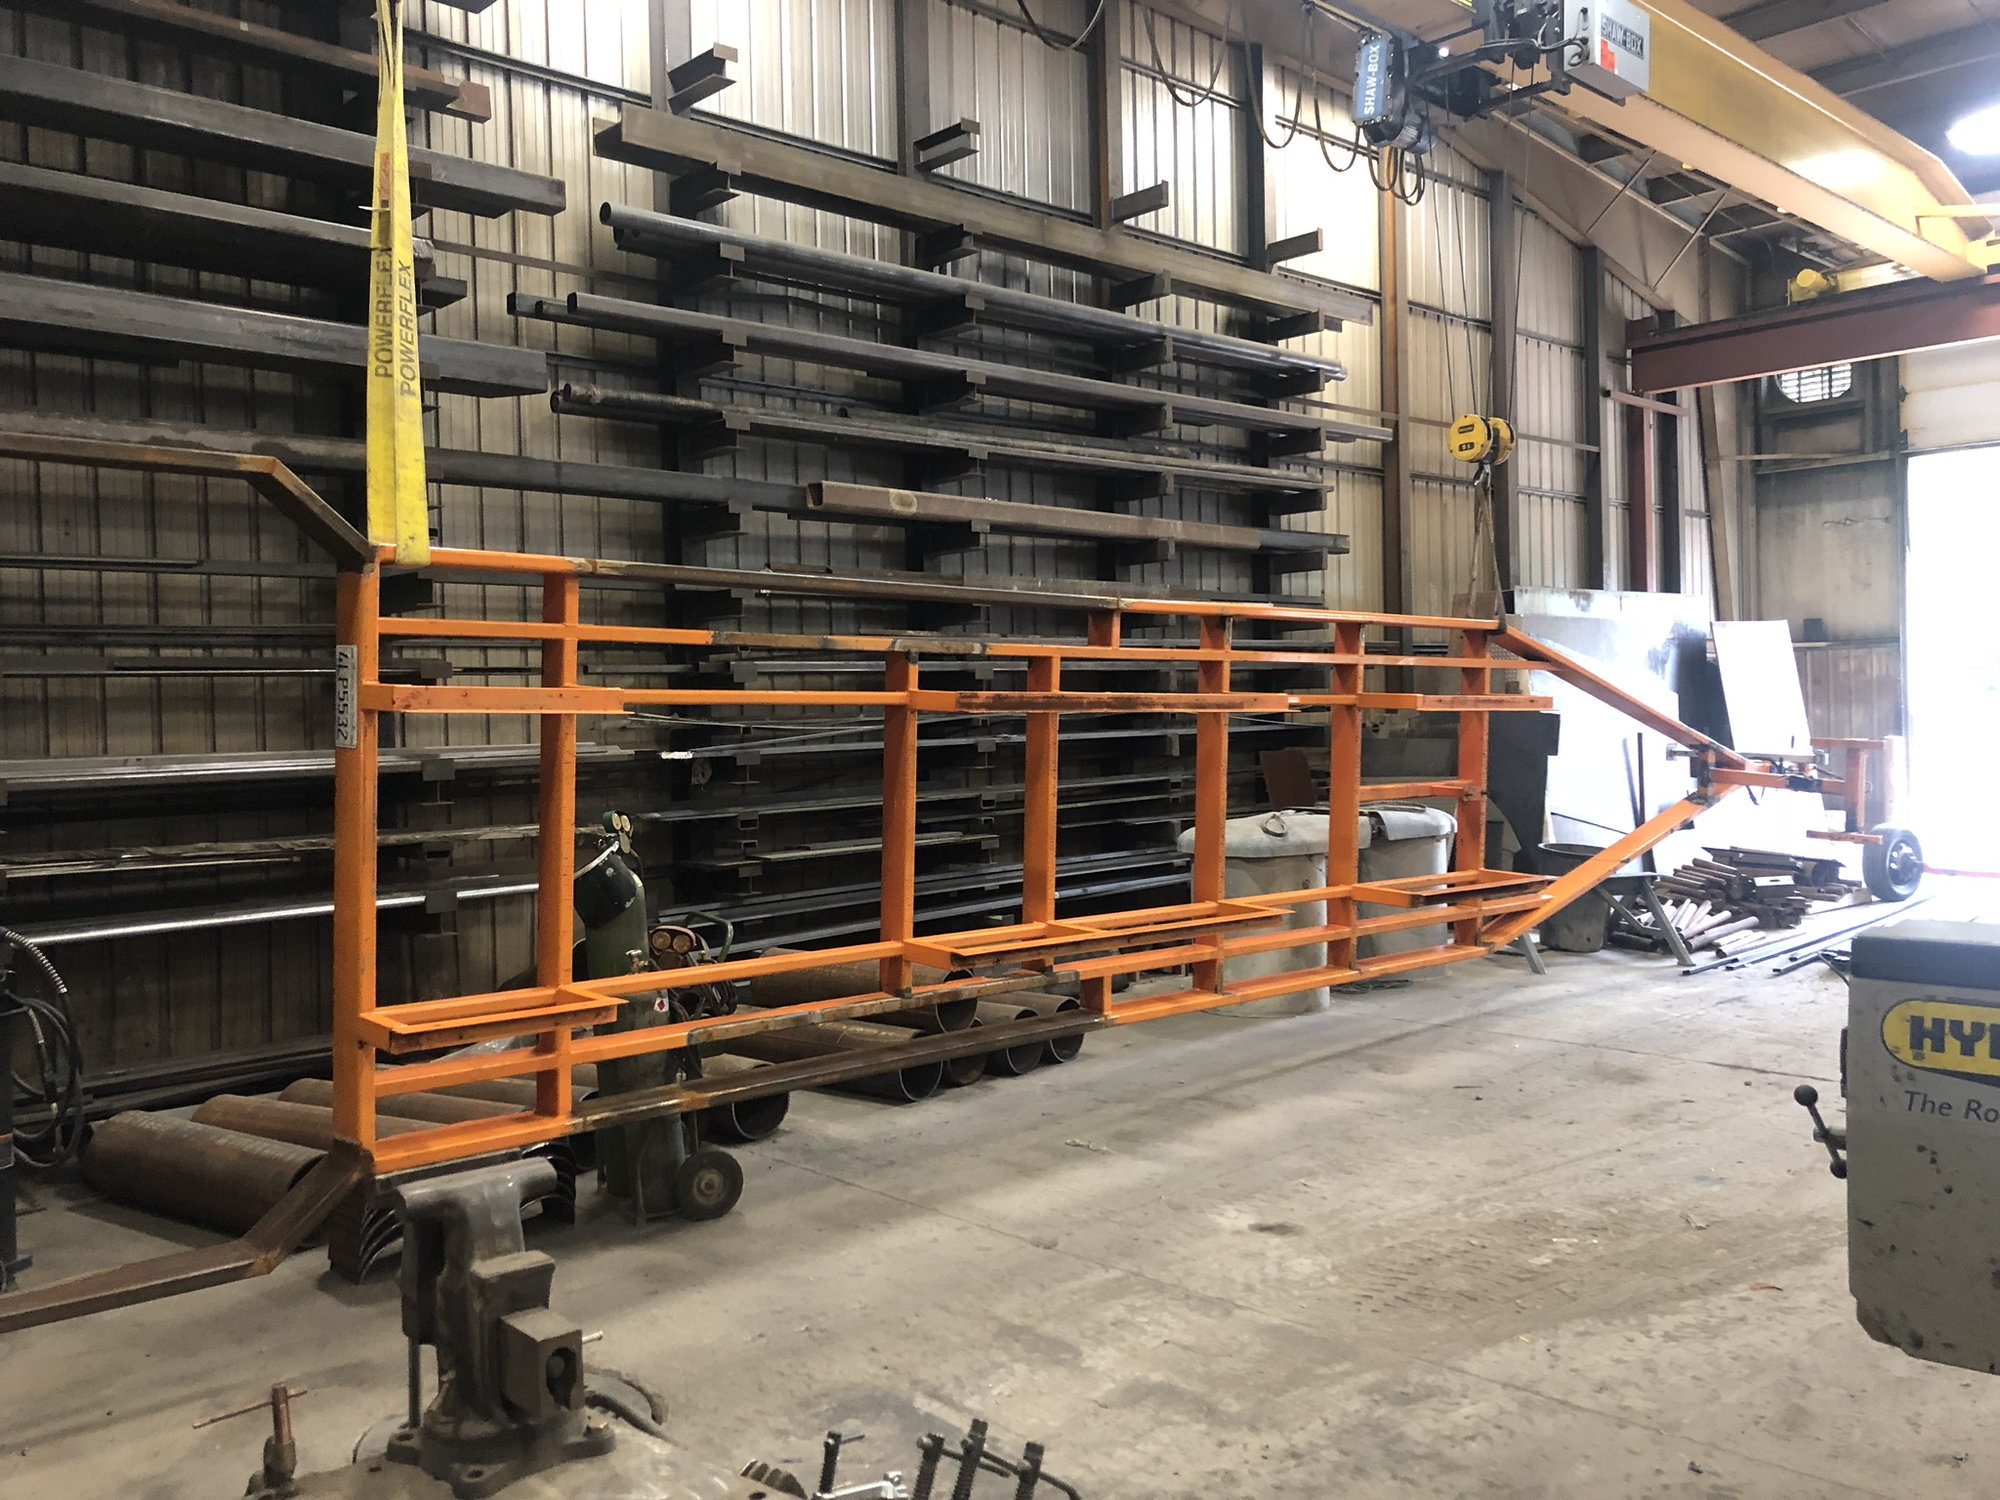
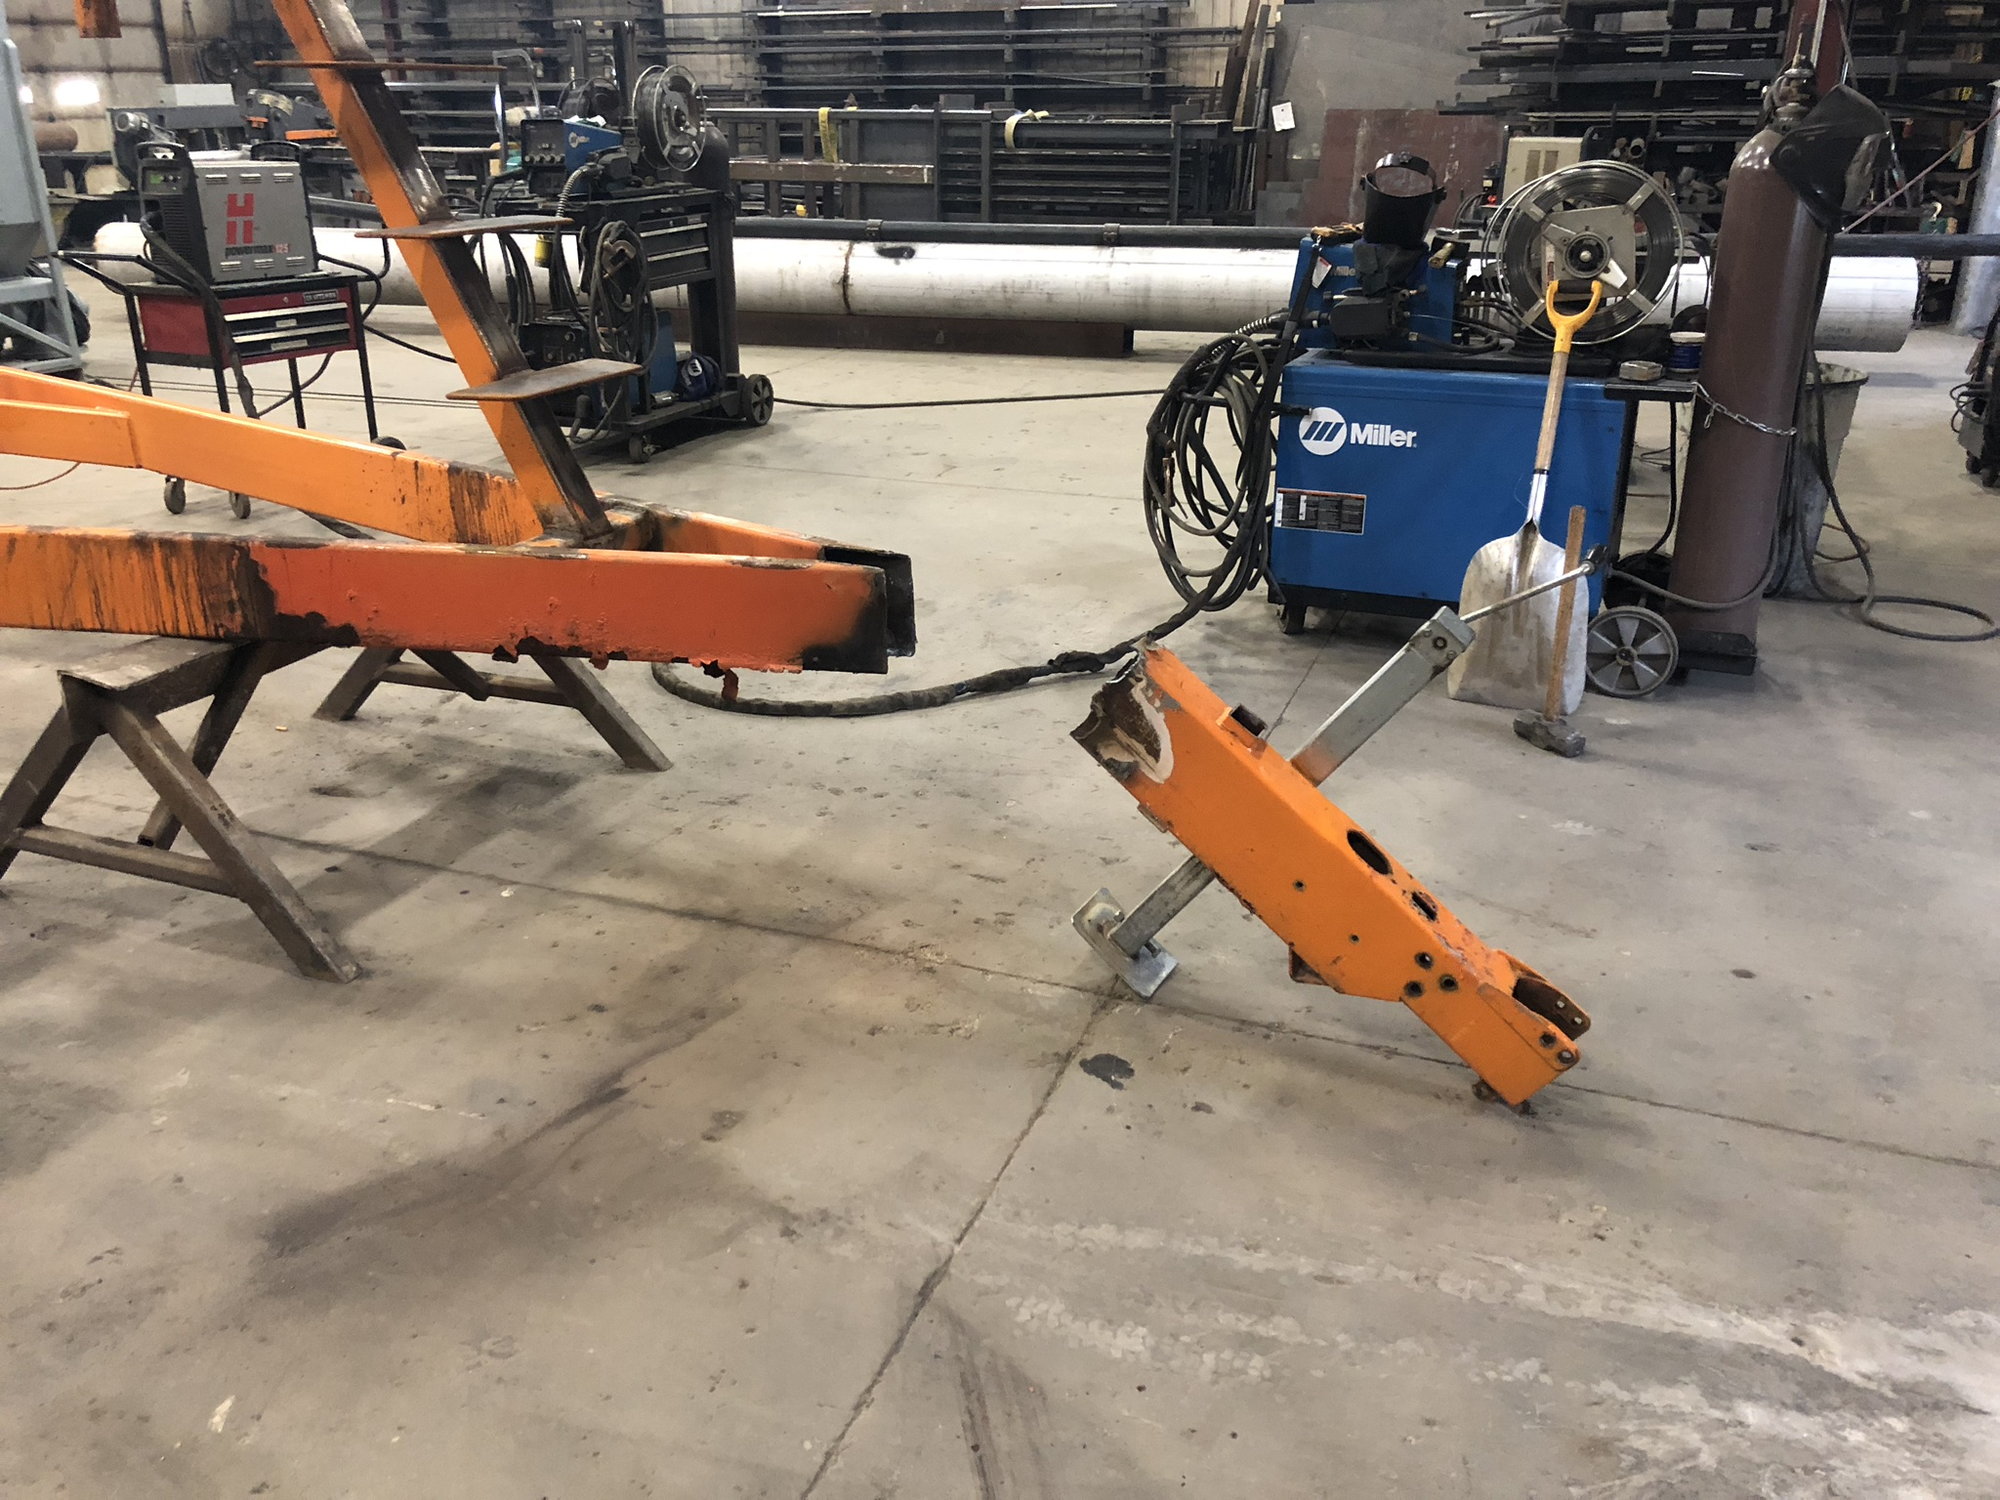
I believe (aswell at Pete) that it was an original Skater trailer. A company in California converted it to the tri-axle duallies for whomever owned the boat at the time. Haven’t a clue why. I think it’s horrible ugly and way over kill. Removed axles, replaced outside tubes, started working on drive guard, put some steps on the front, cleaned some old welds up, put a new tongue on it, and some other odds and ends


 02-25-2019, 08:21 PM
#6
Registered
Thread Starter
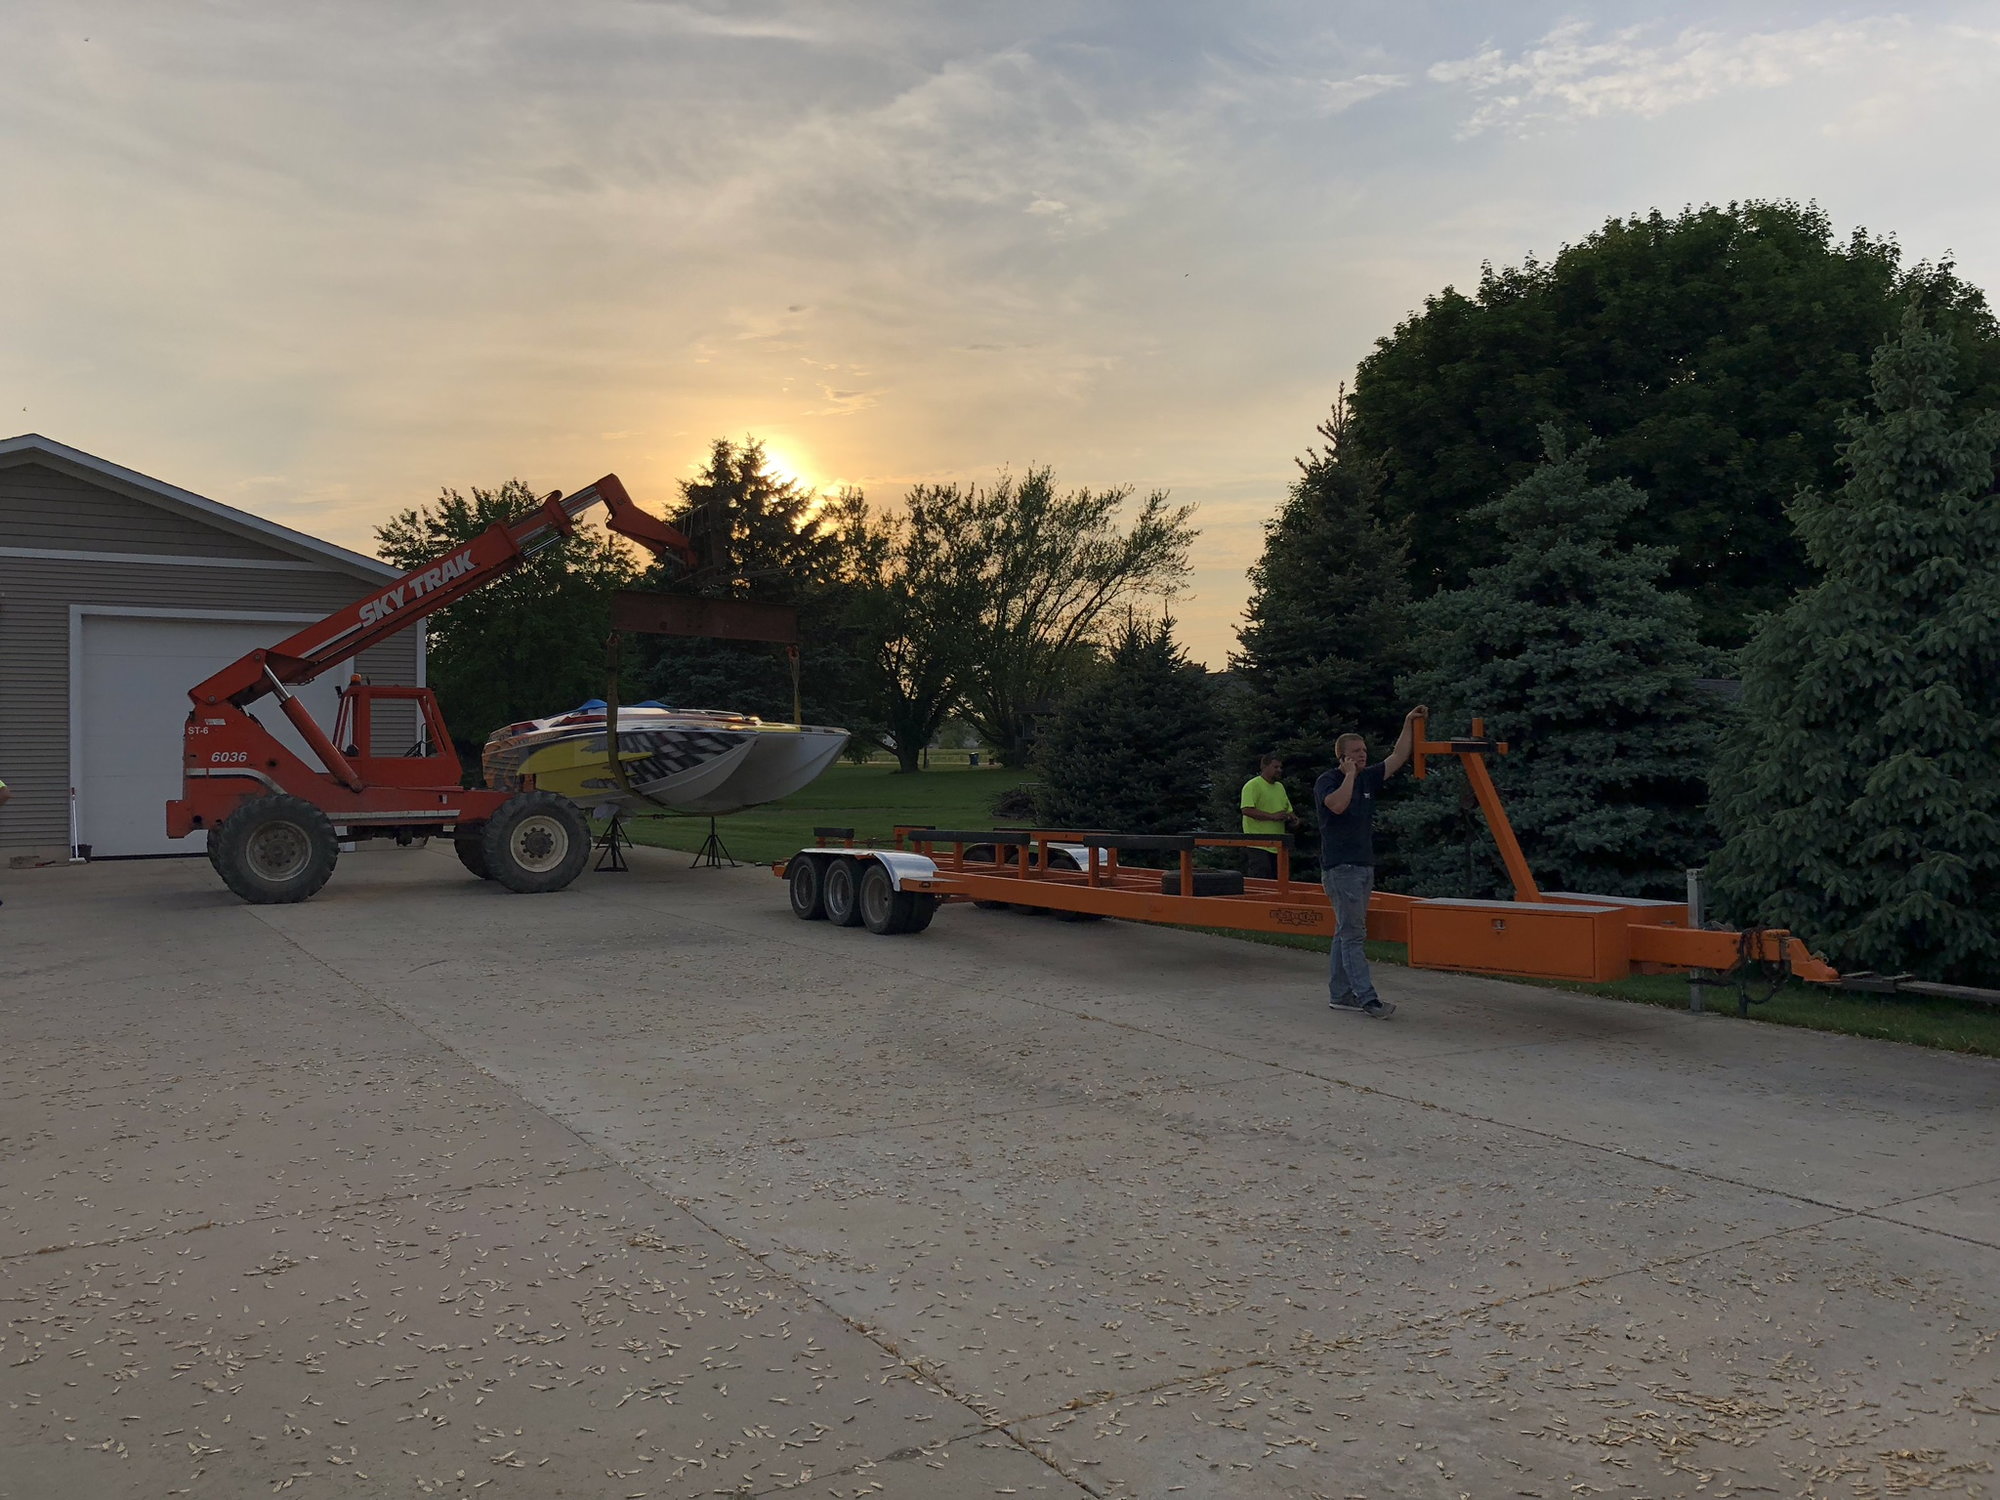
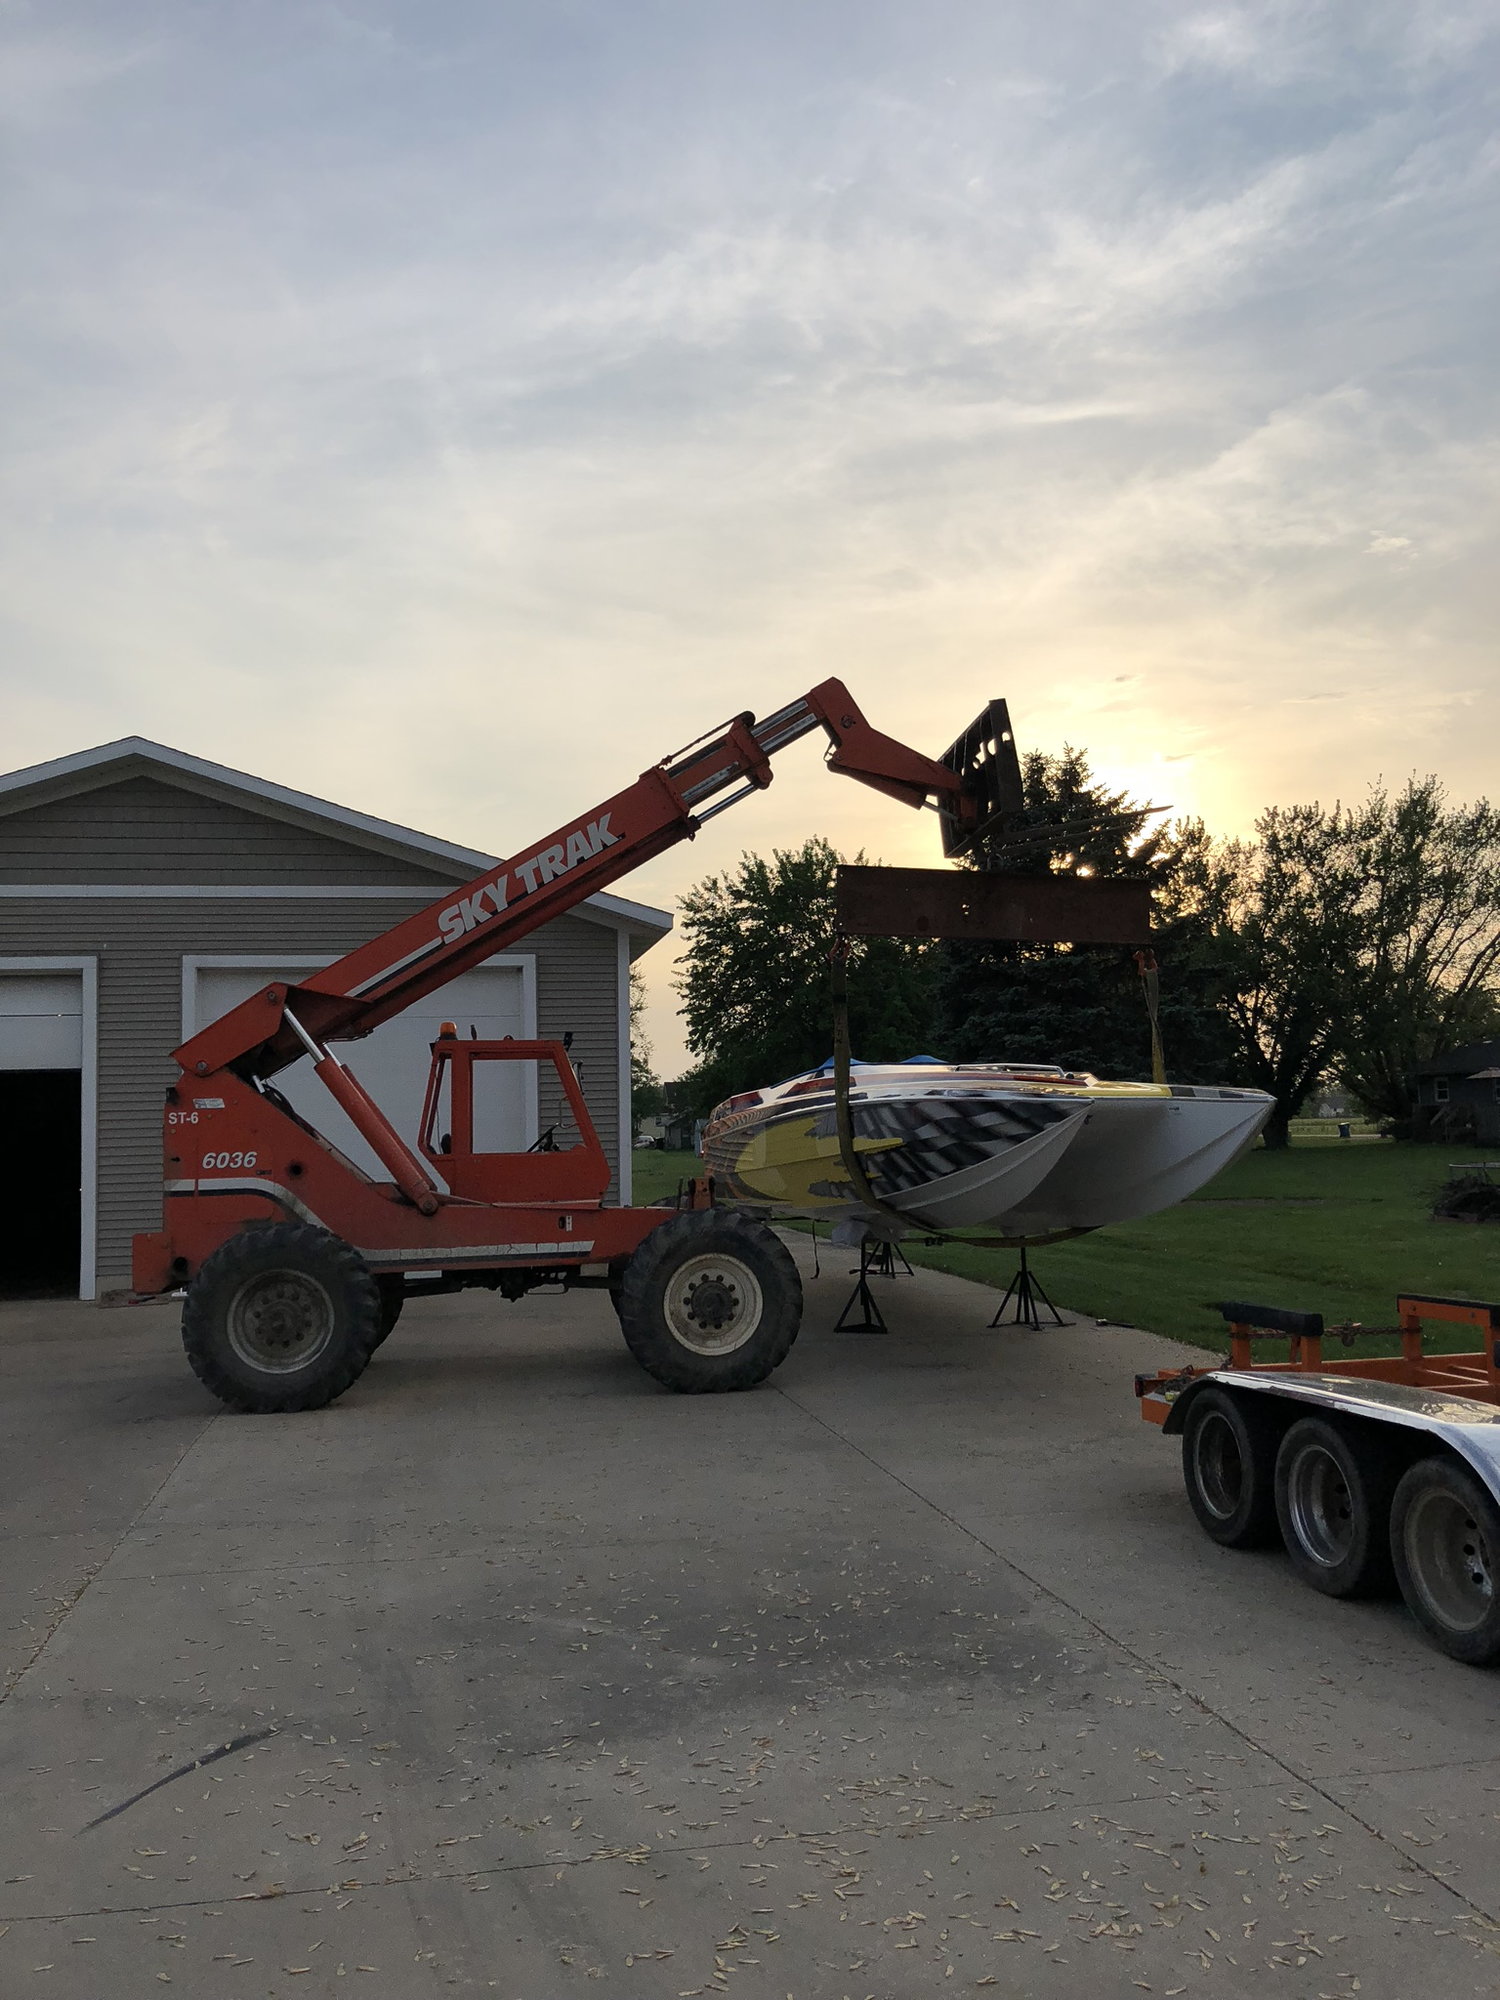
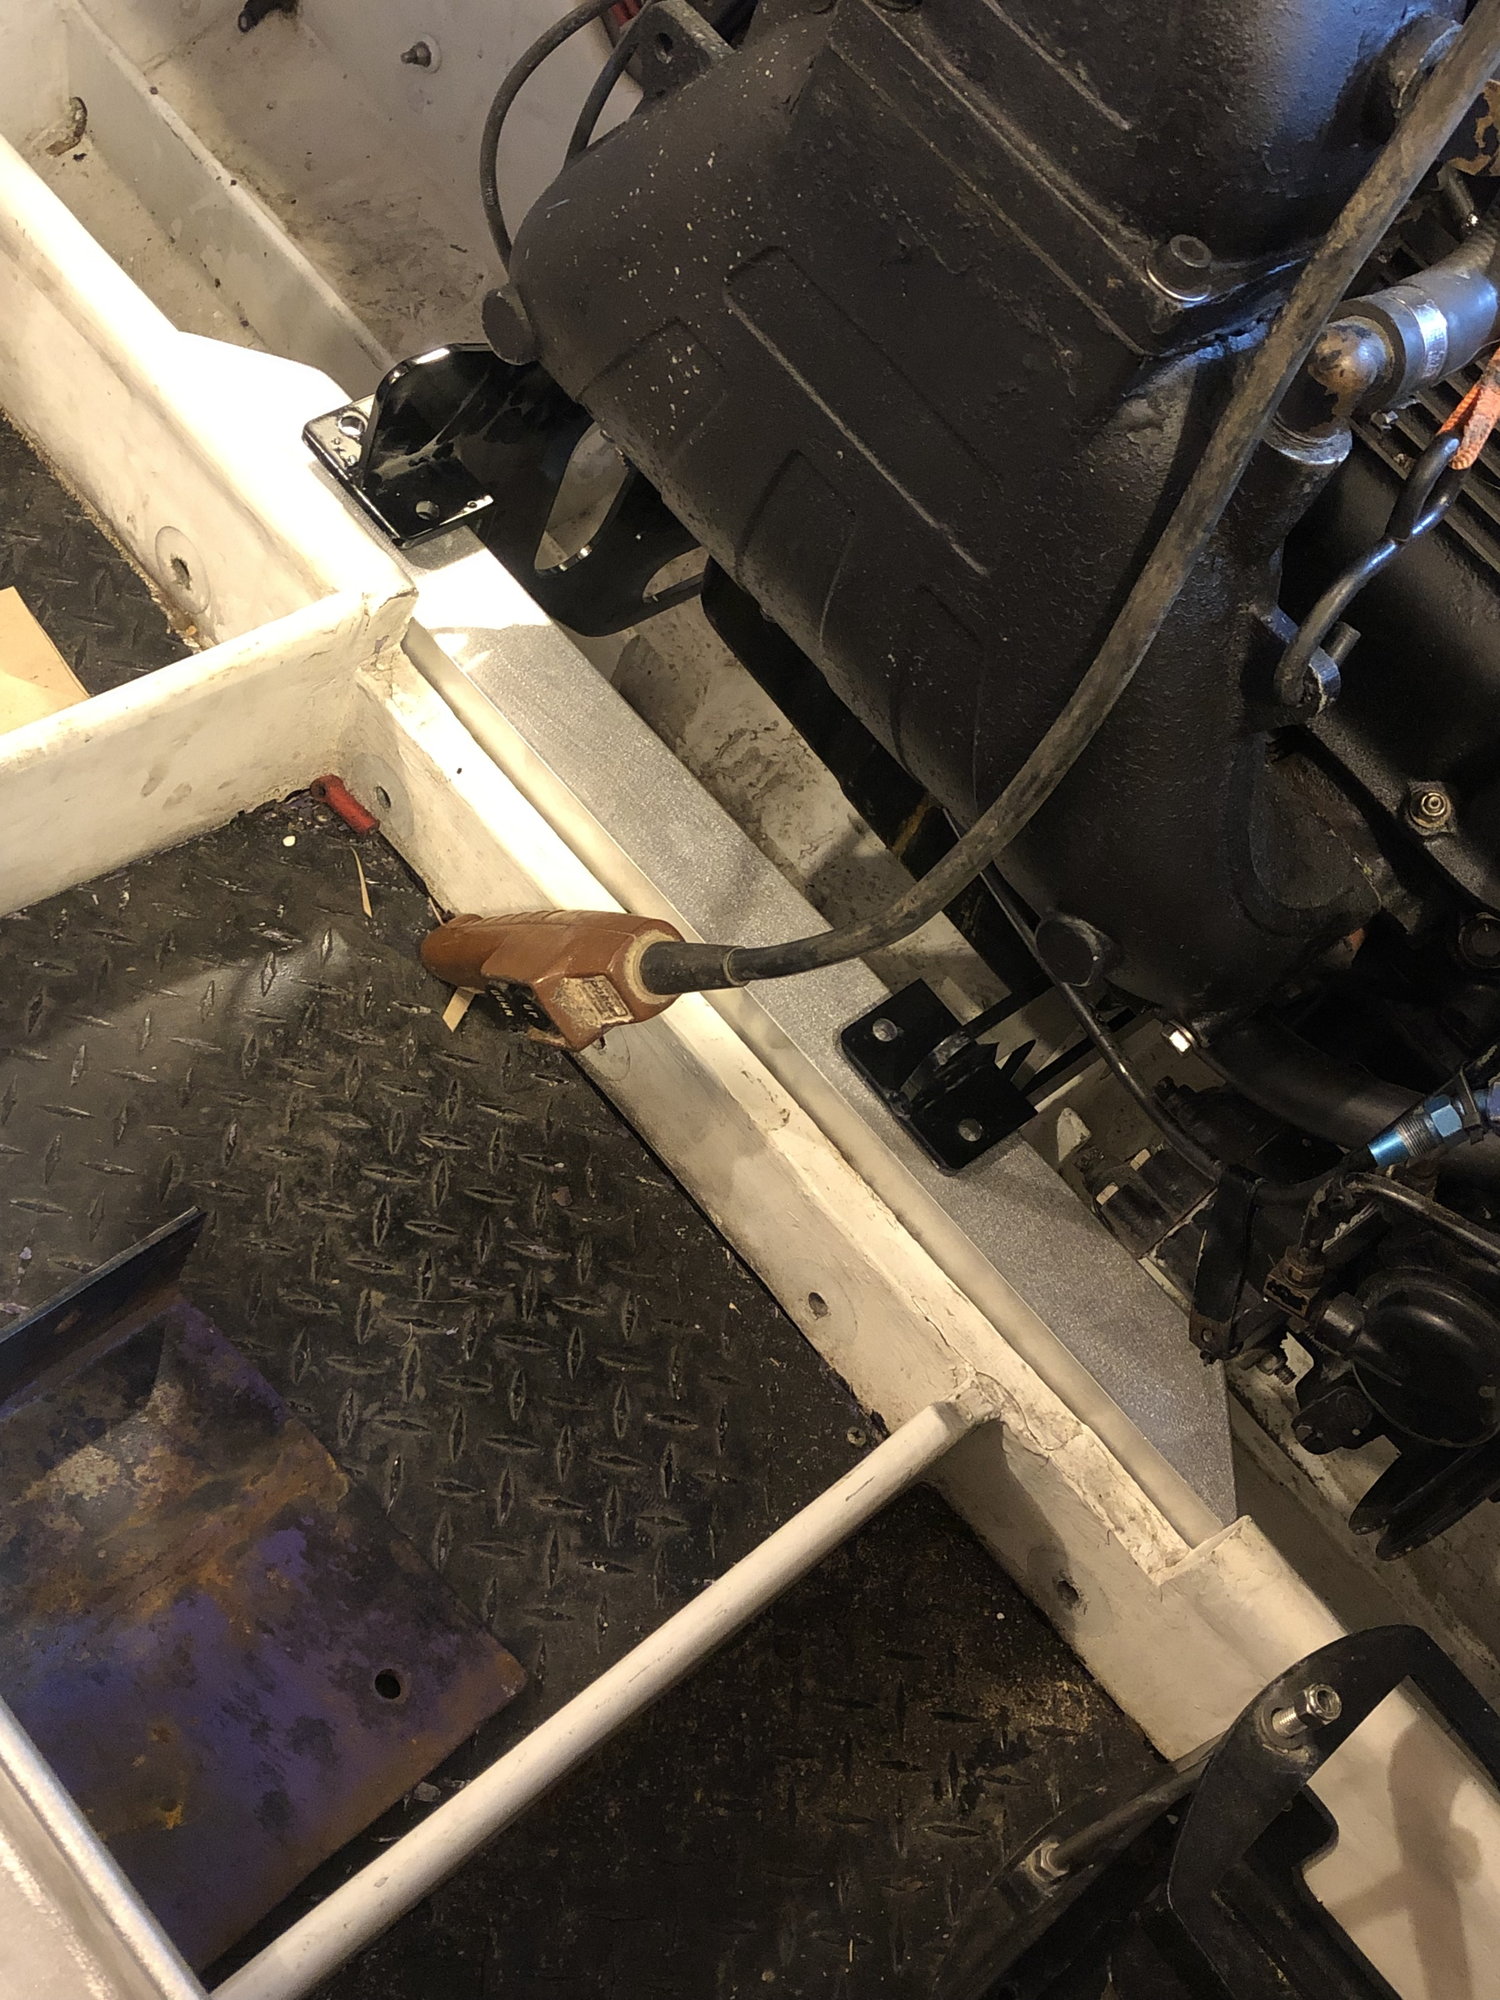
Test fit the boat on the trailer and realized it was too high. By a long shot. I ordered 45* down angles on the torsion axles and should have ordered 0*. I’ve got a couple different ideas to lower it but winter had finally hit in Michigan and I didn’t want to haul it back and forth to work on the over salted roads and have a rusted out trailer before paint so it sat under the boat in the barn. I took the axles out from underneath of it so I had enough height clearance to try and rig some motors. I initially was going to run the boxes and bravos but found a smokin deal on some surface drives and love the concept and idea of them. My father has a 40’ skater with ASD 8’s and I like the simplicity, strength, and hydrodynamics of the drives. I ran down to Skater and got some motor mounts from Pete and fit them in the boat. To get the minimum amount of angle on the driveshafts I had to move the motors over an inch and three quarters and down two inches. I have not received the ASD 7’s yet but I think if anything I will be able to mount the motors even lower and keep them where they’re at side to side.


02-25-2019, 08:35 PM
#7
Registered
Thread Starter
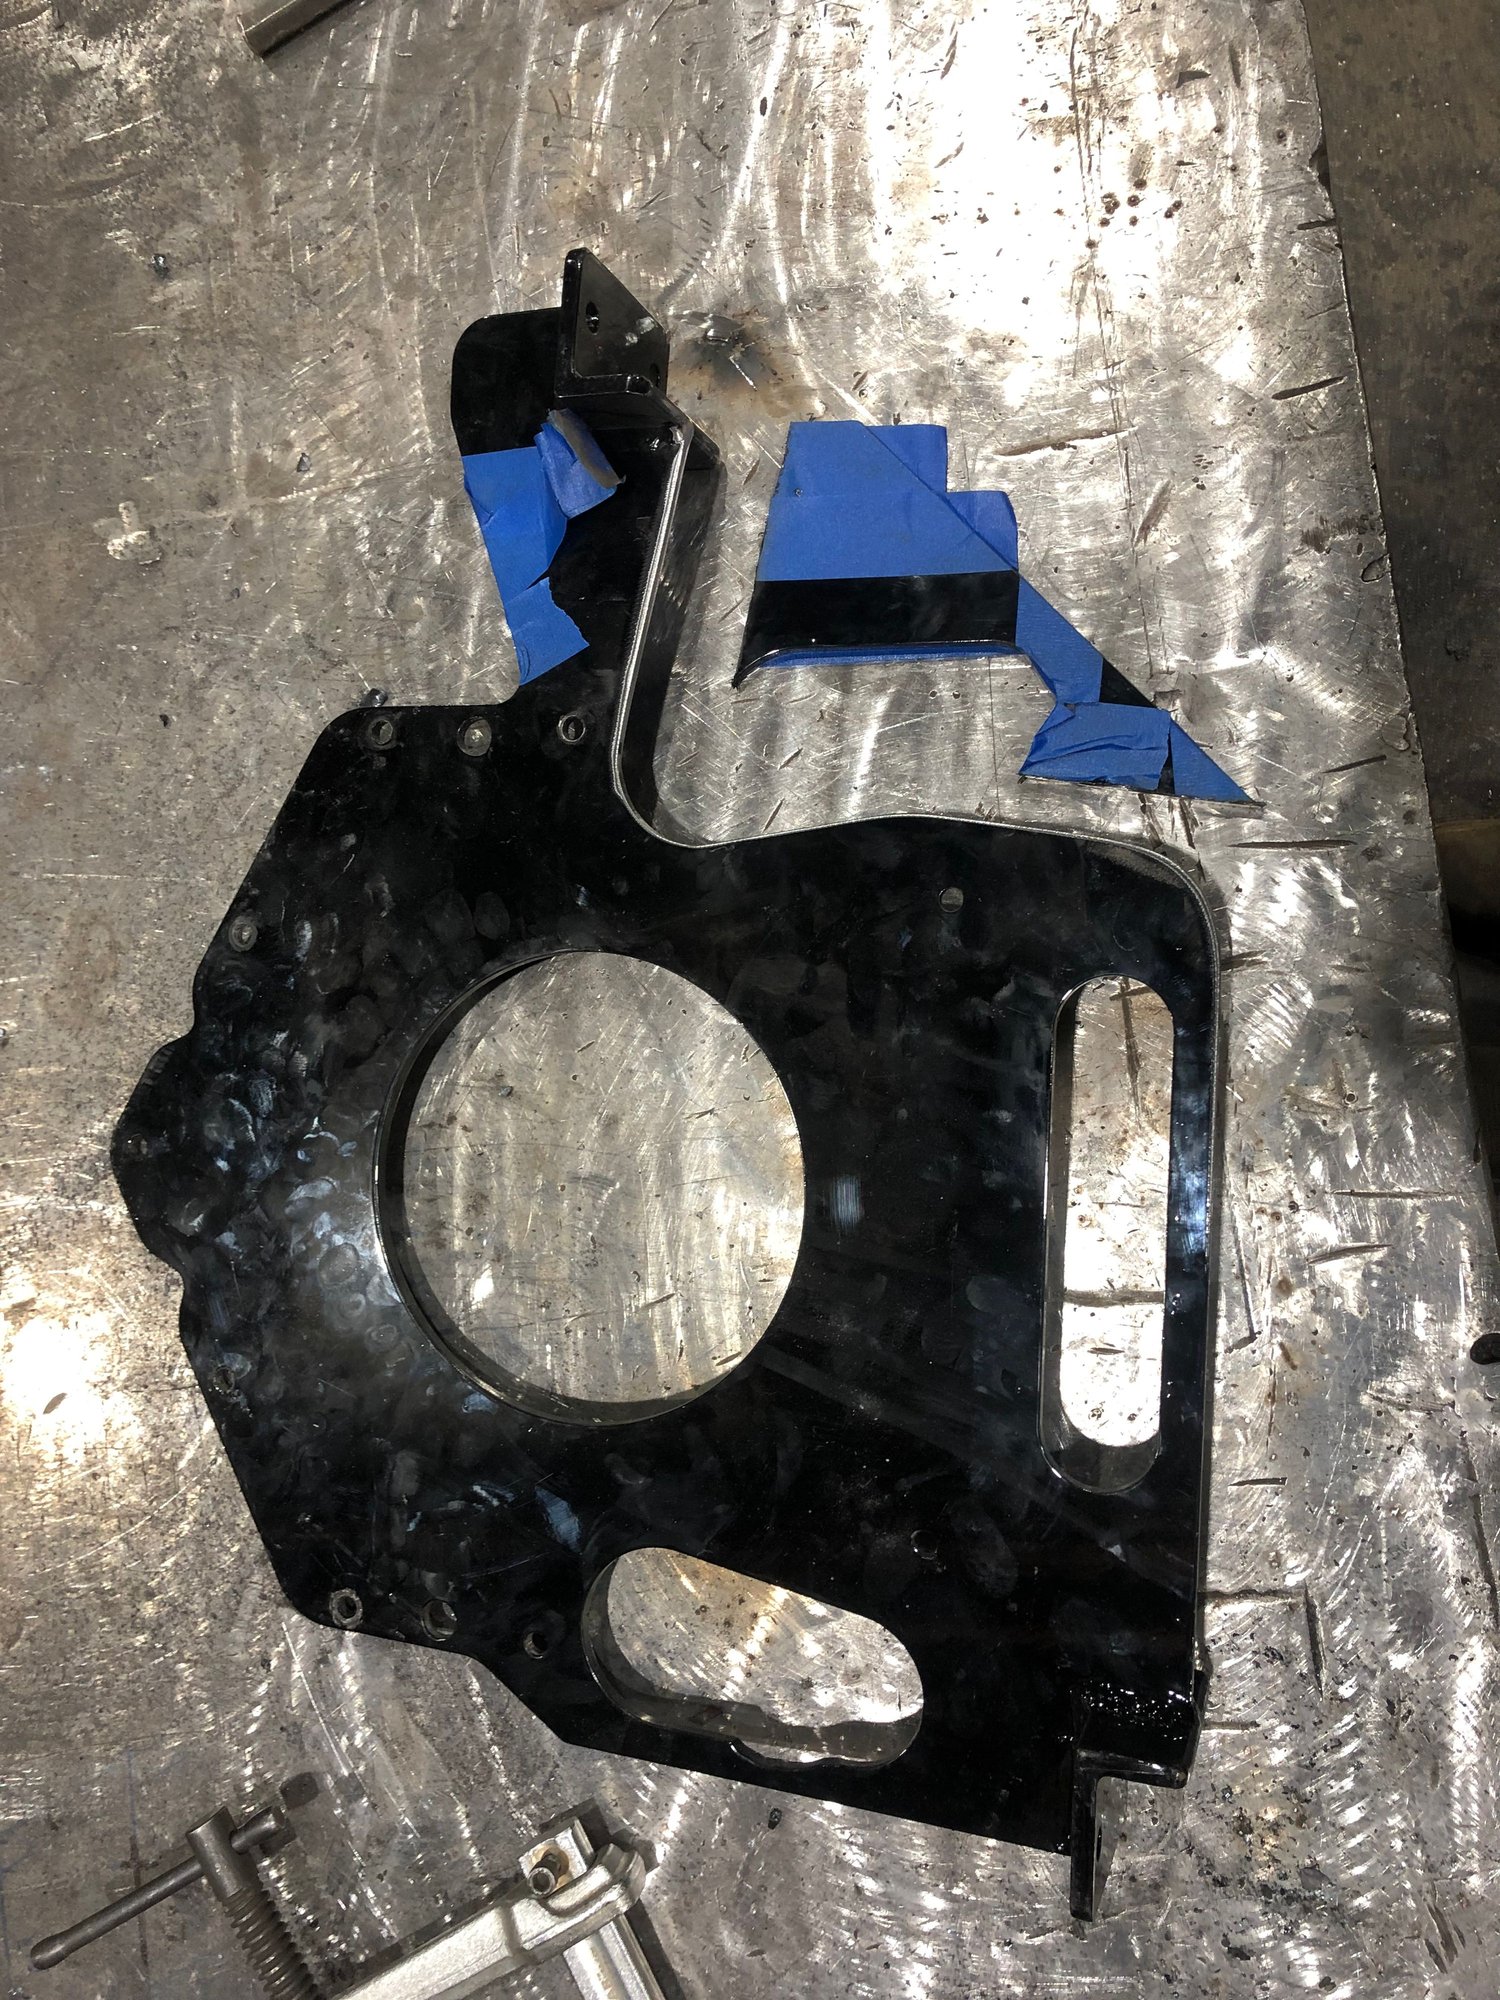
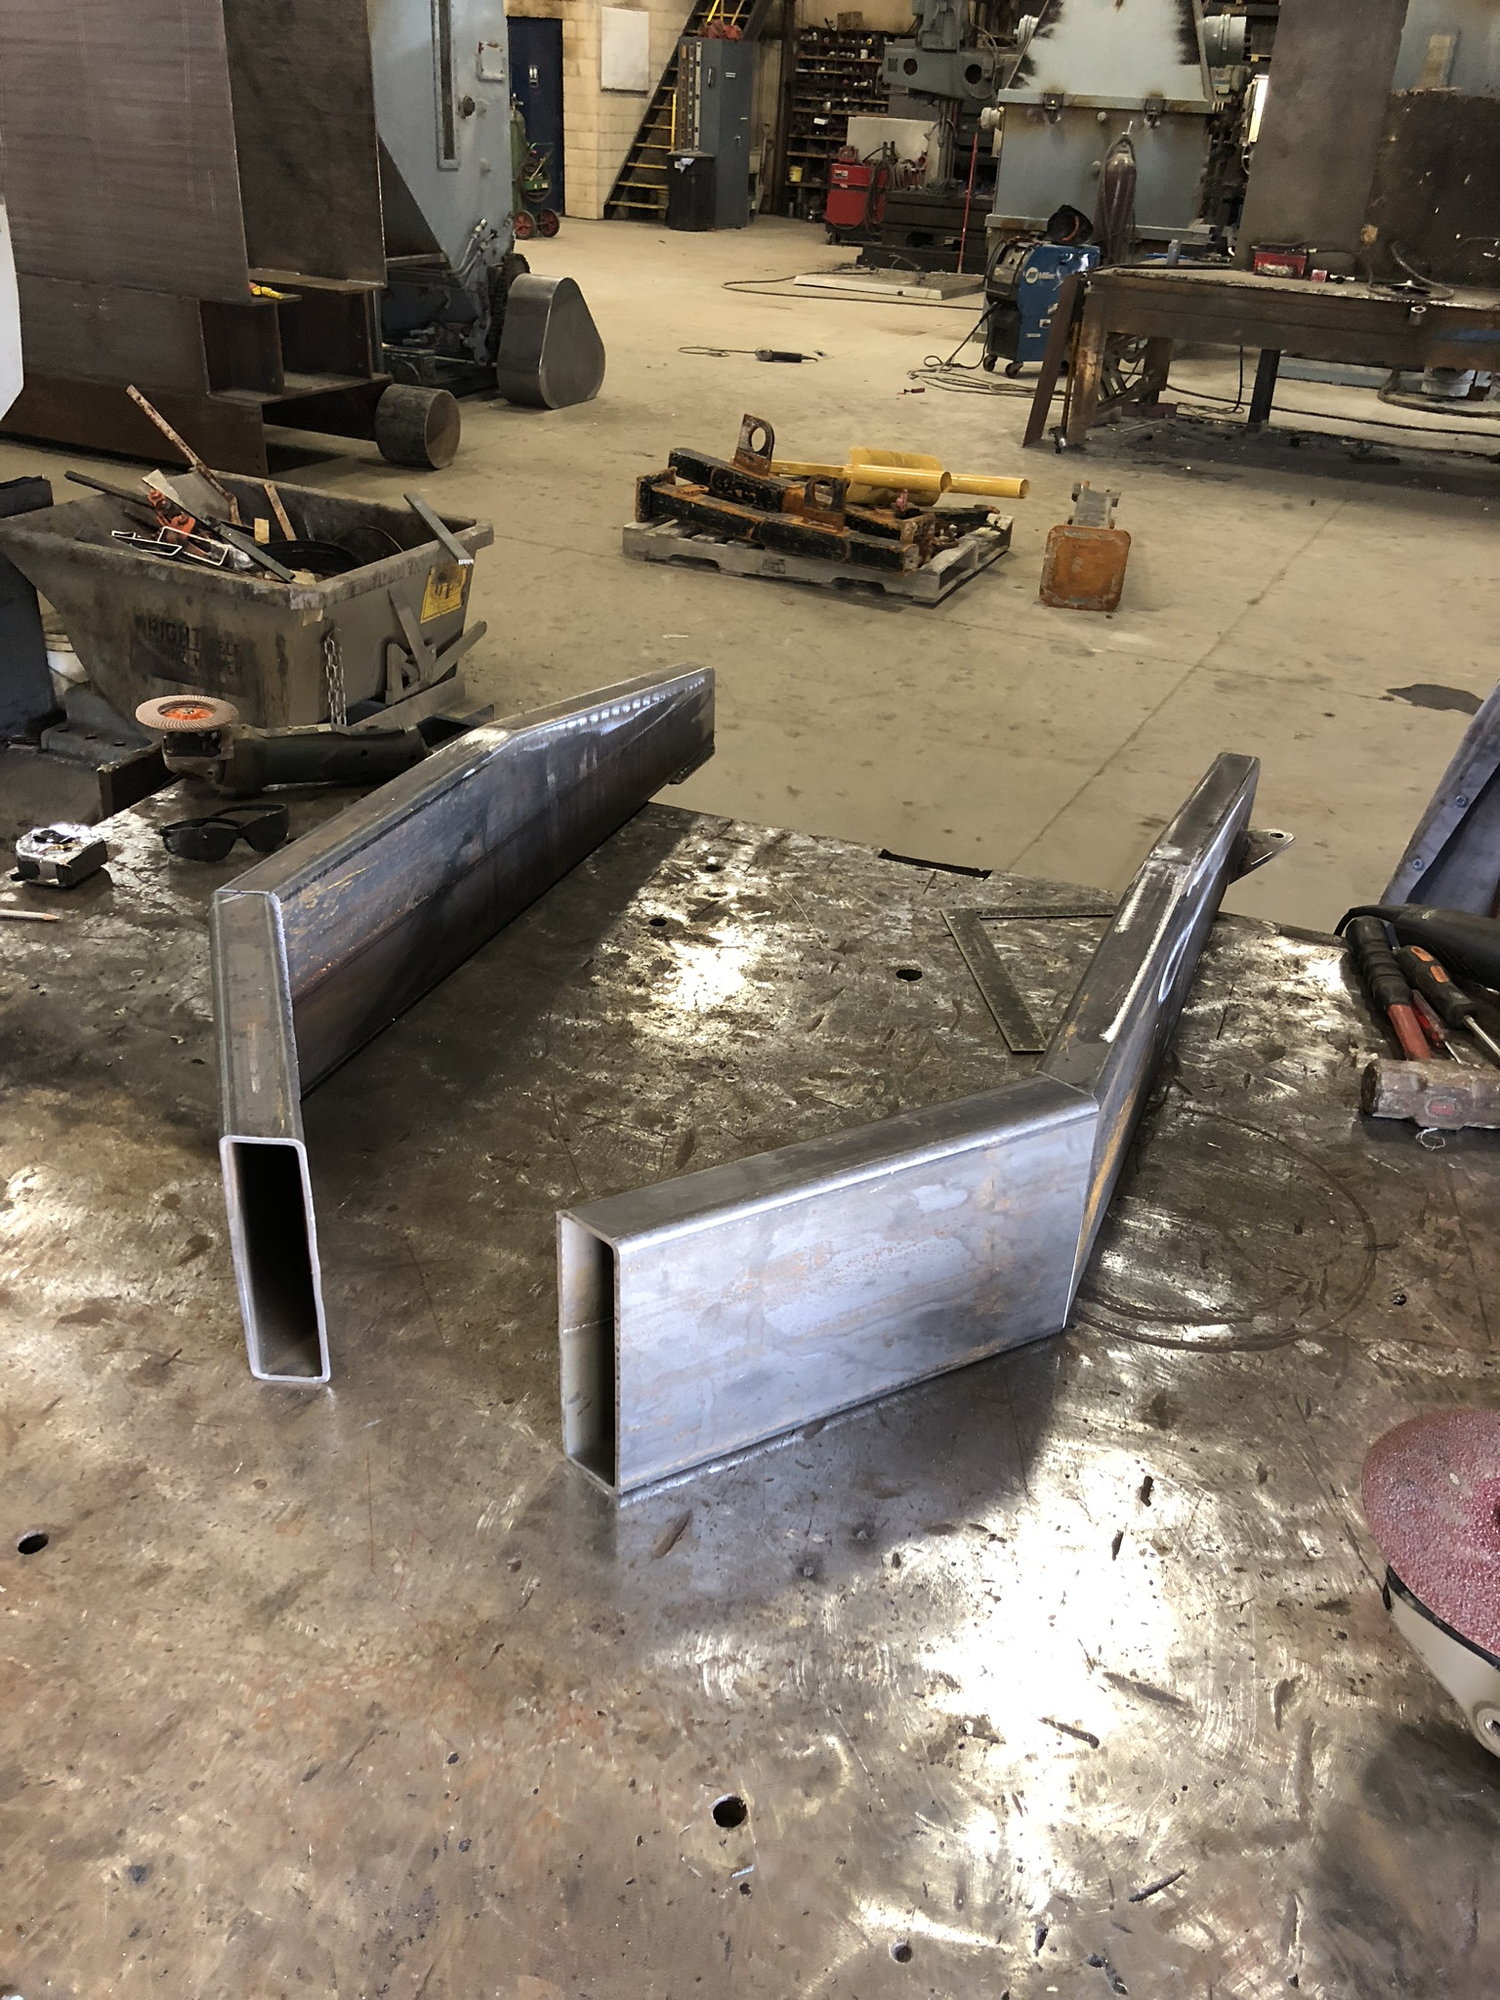
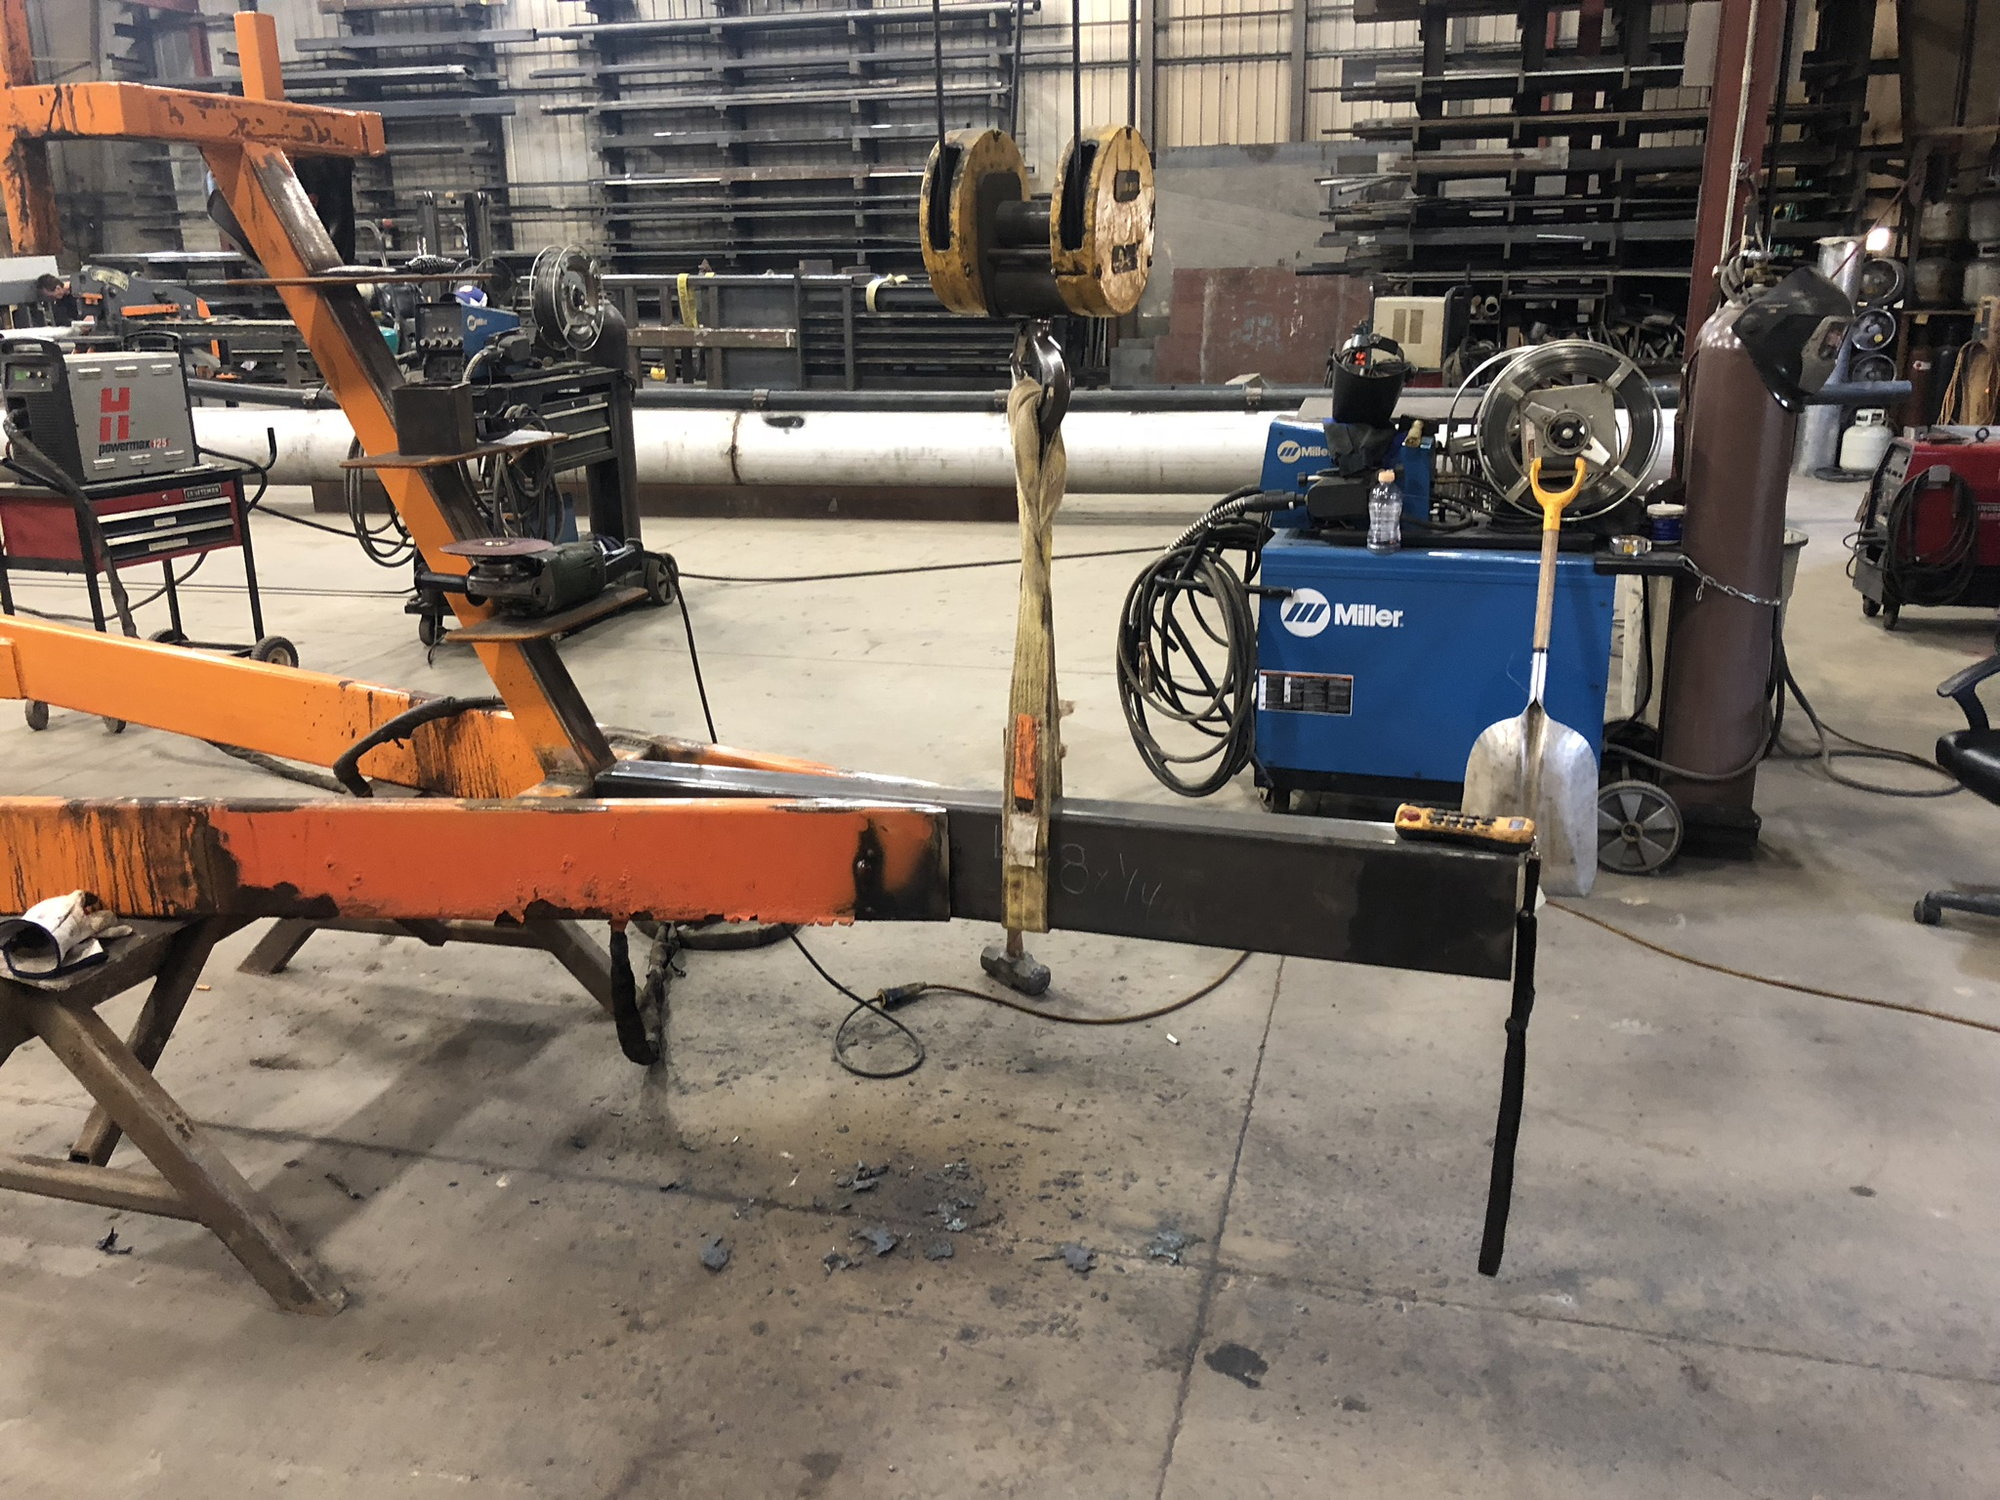
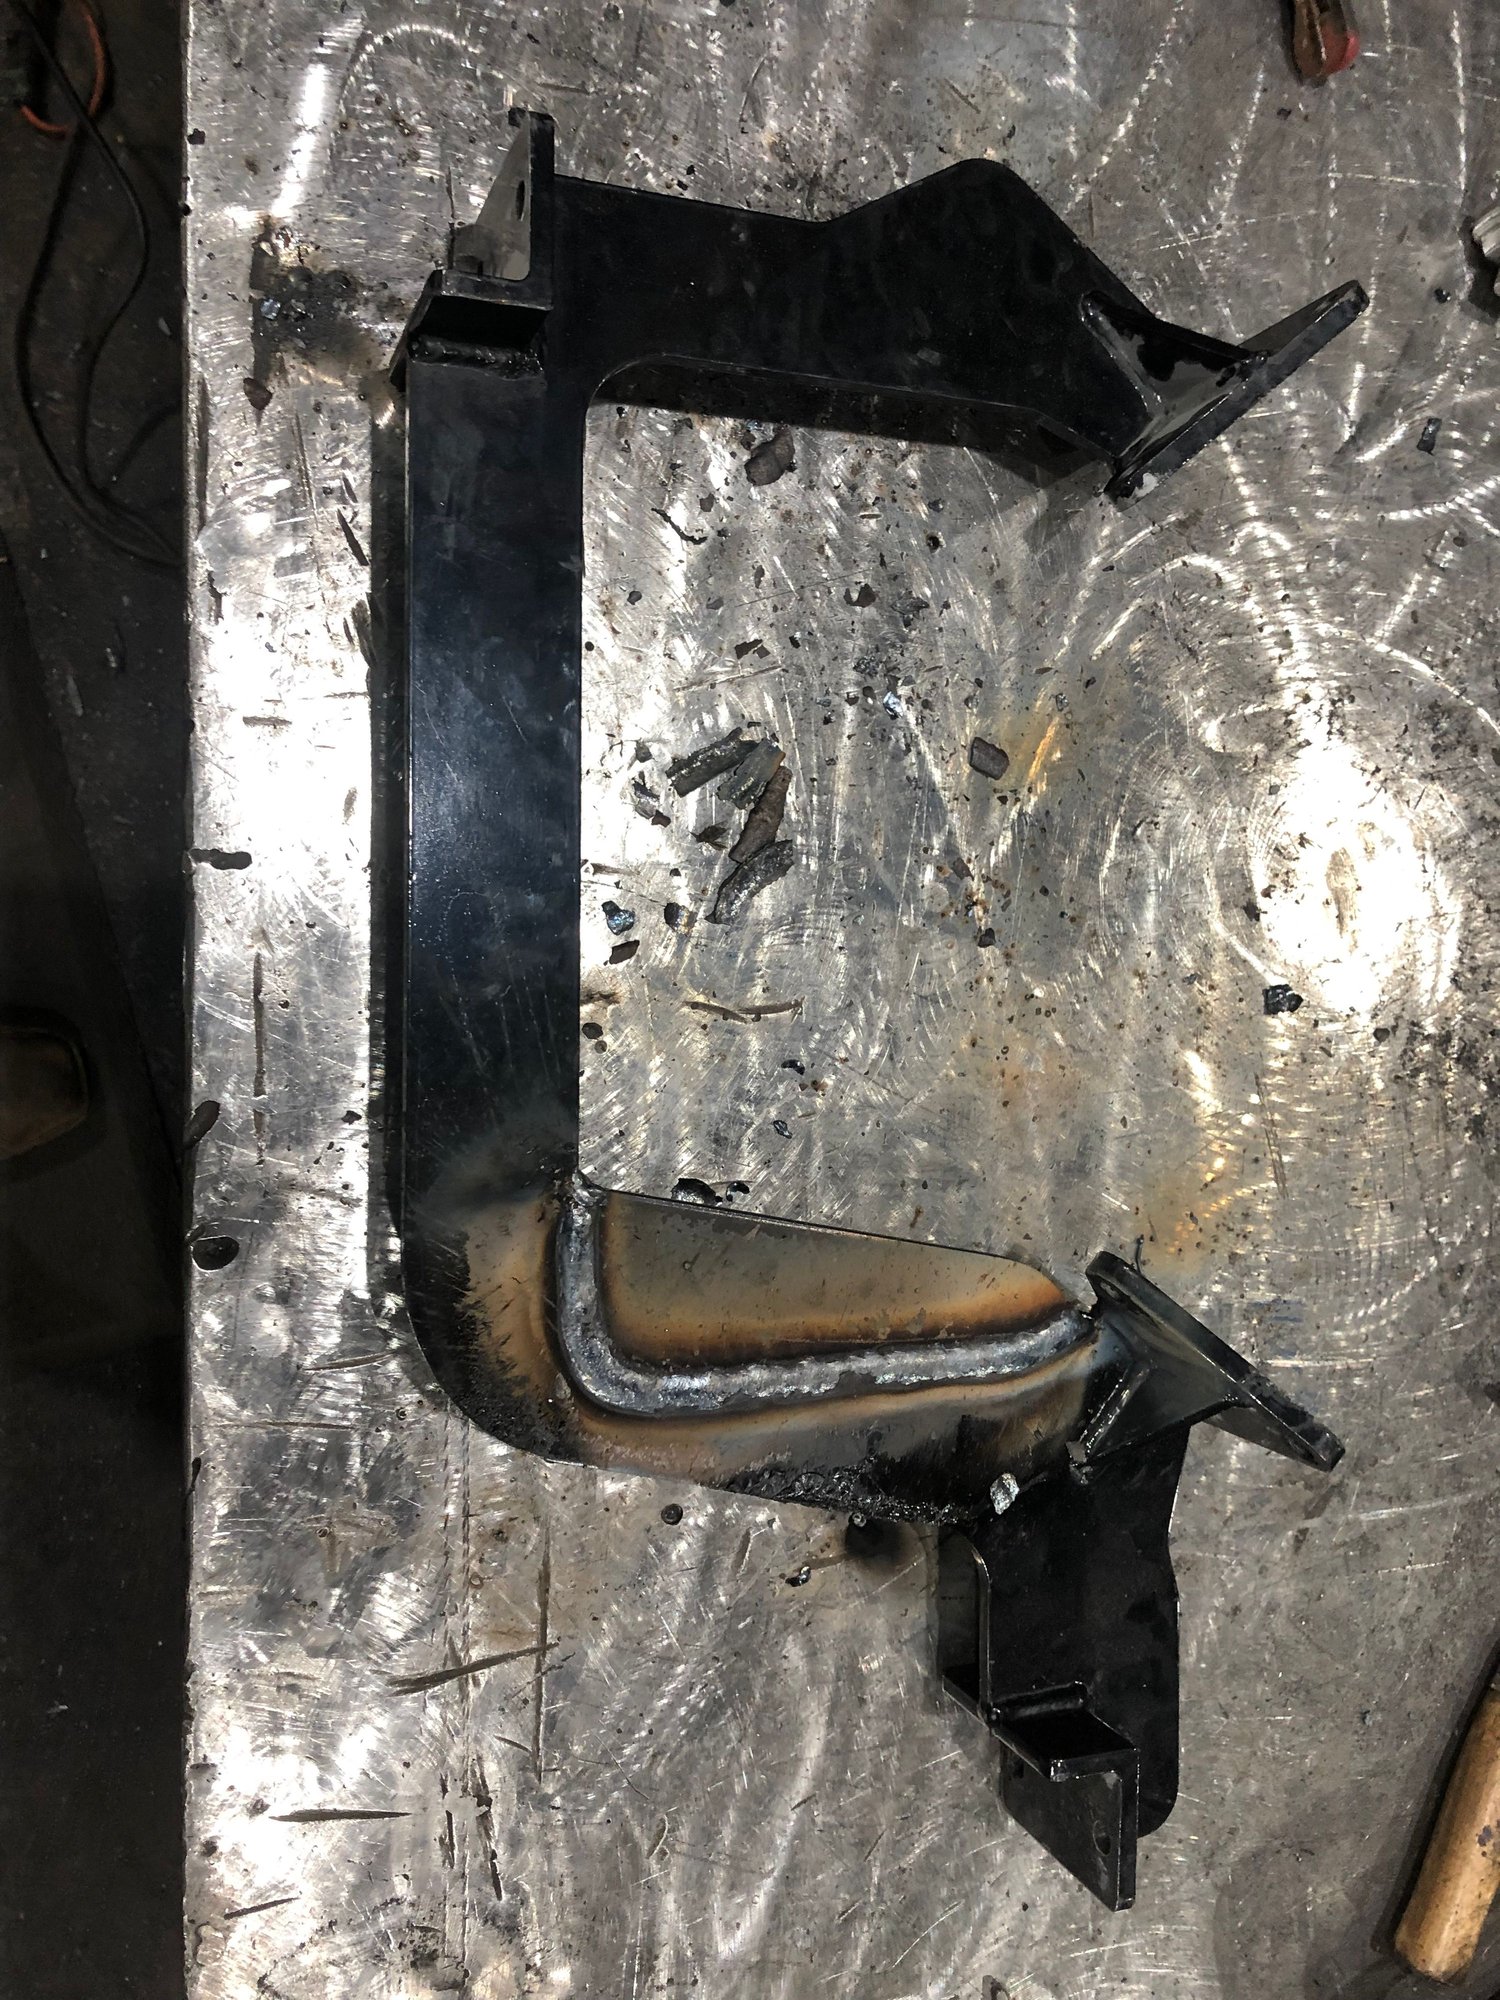
Rear motor mount clearance to slide closer to the tunnel
After cutting a bit out the mount out I wanted to fill some of it back in to regain strength
Taking an inch and three quarters out to move inboard
Clearance for tunnel on the front motor mounts

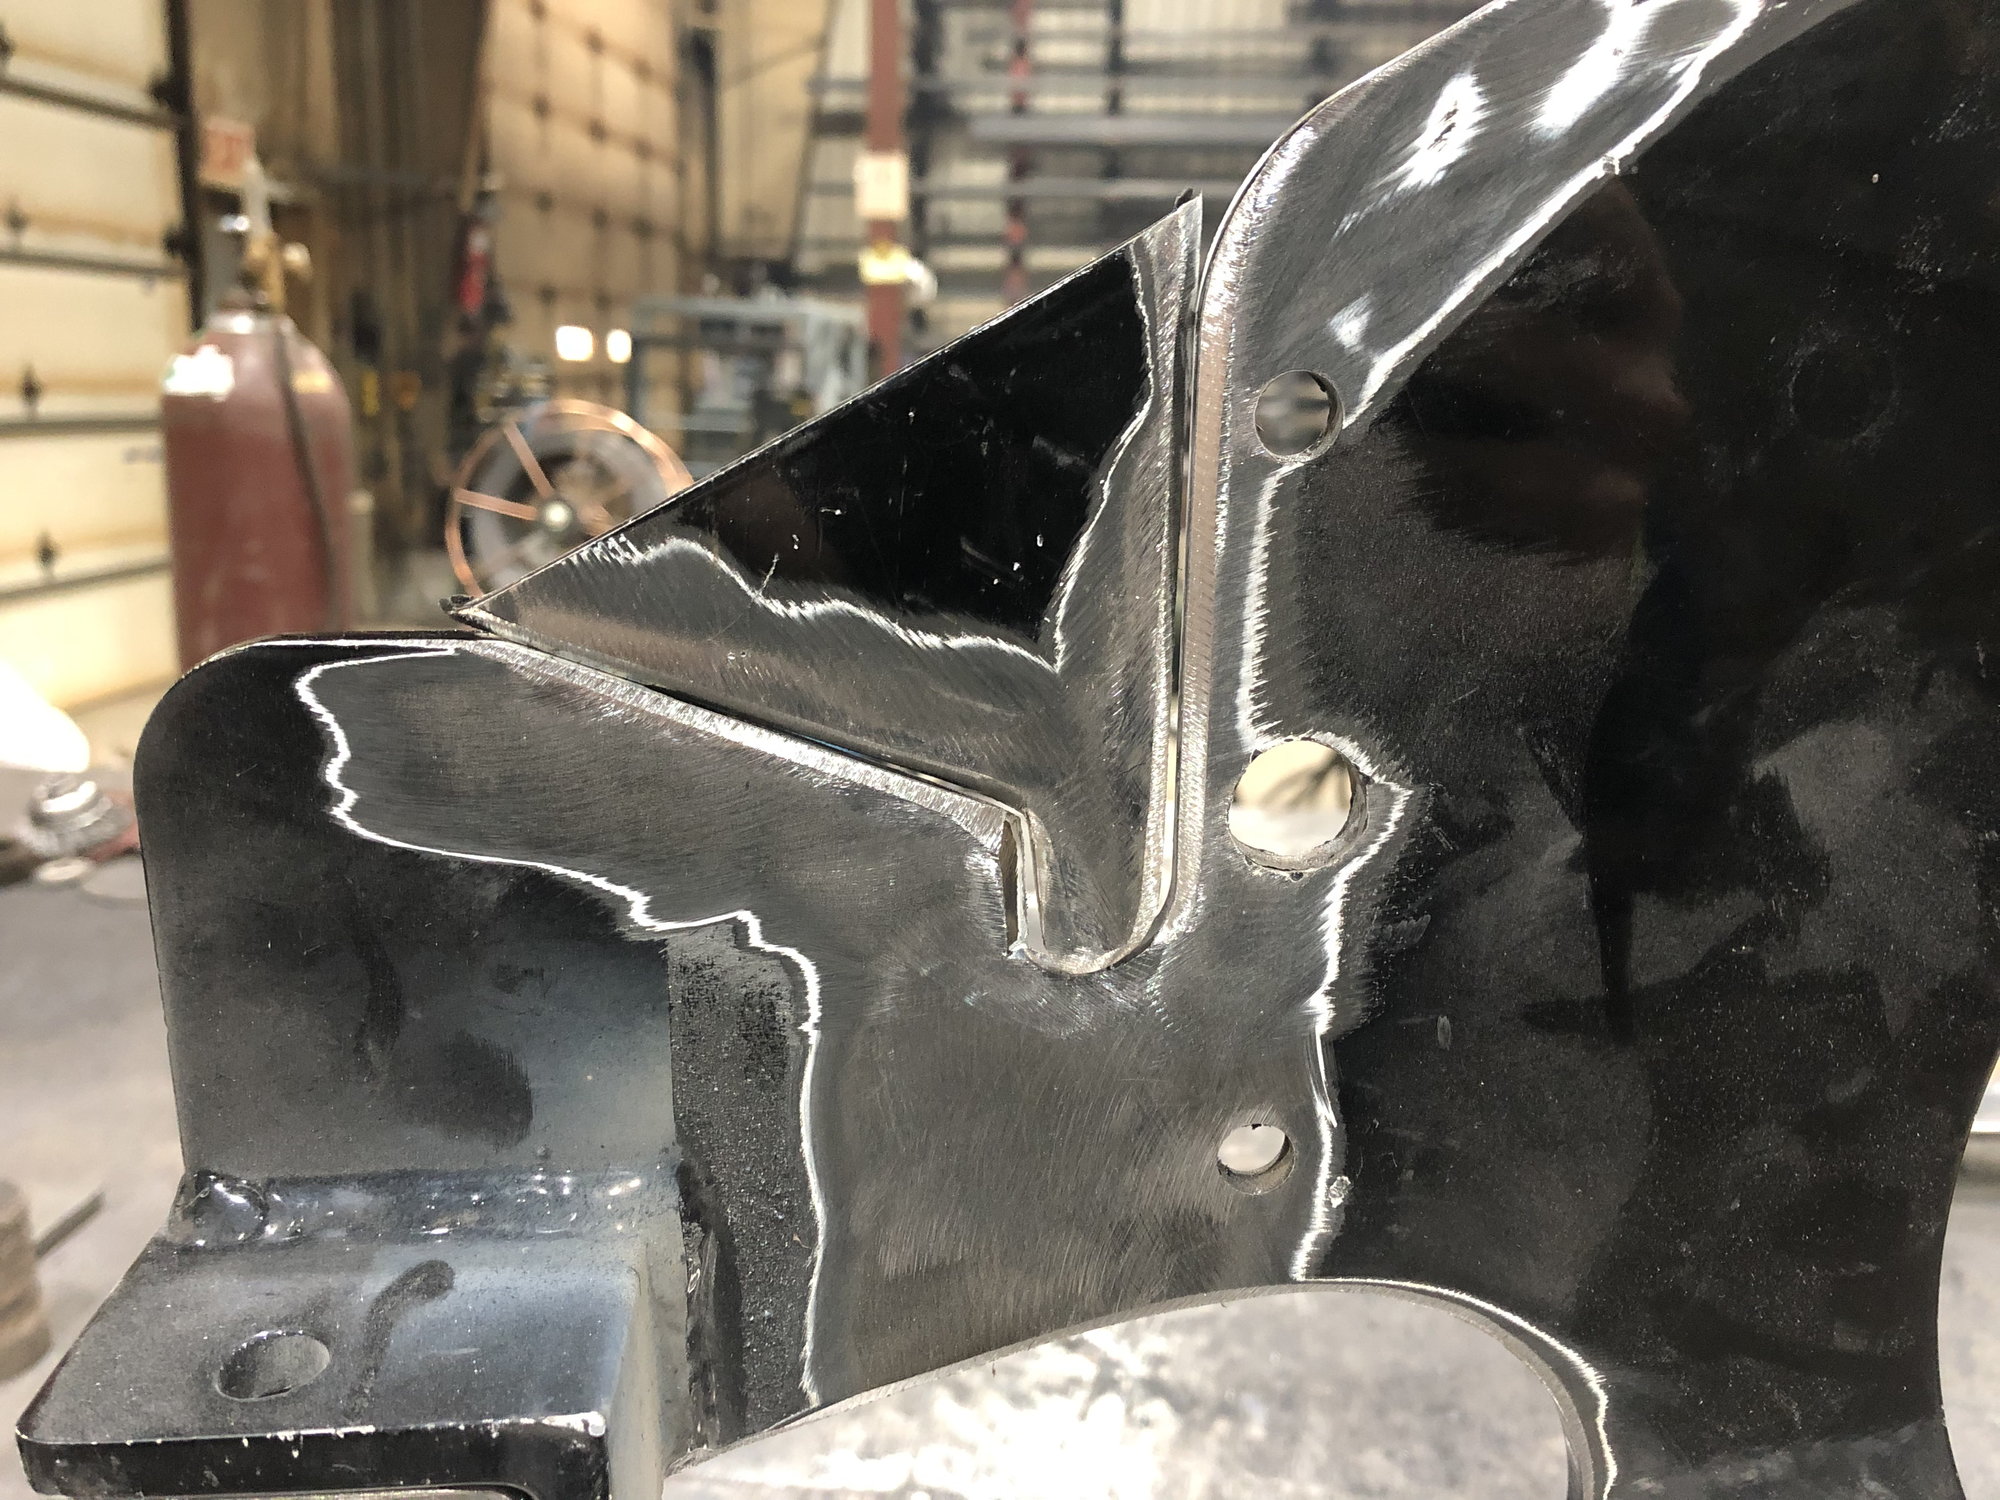
New piece tacked in
Fully welded (1/16” dual shield)
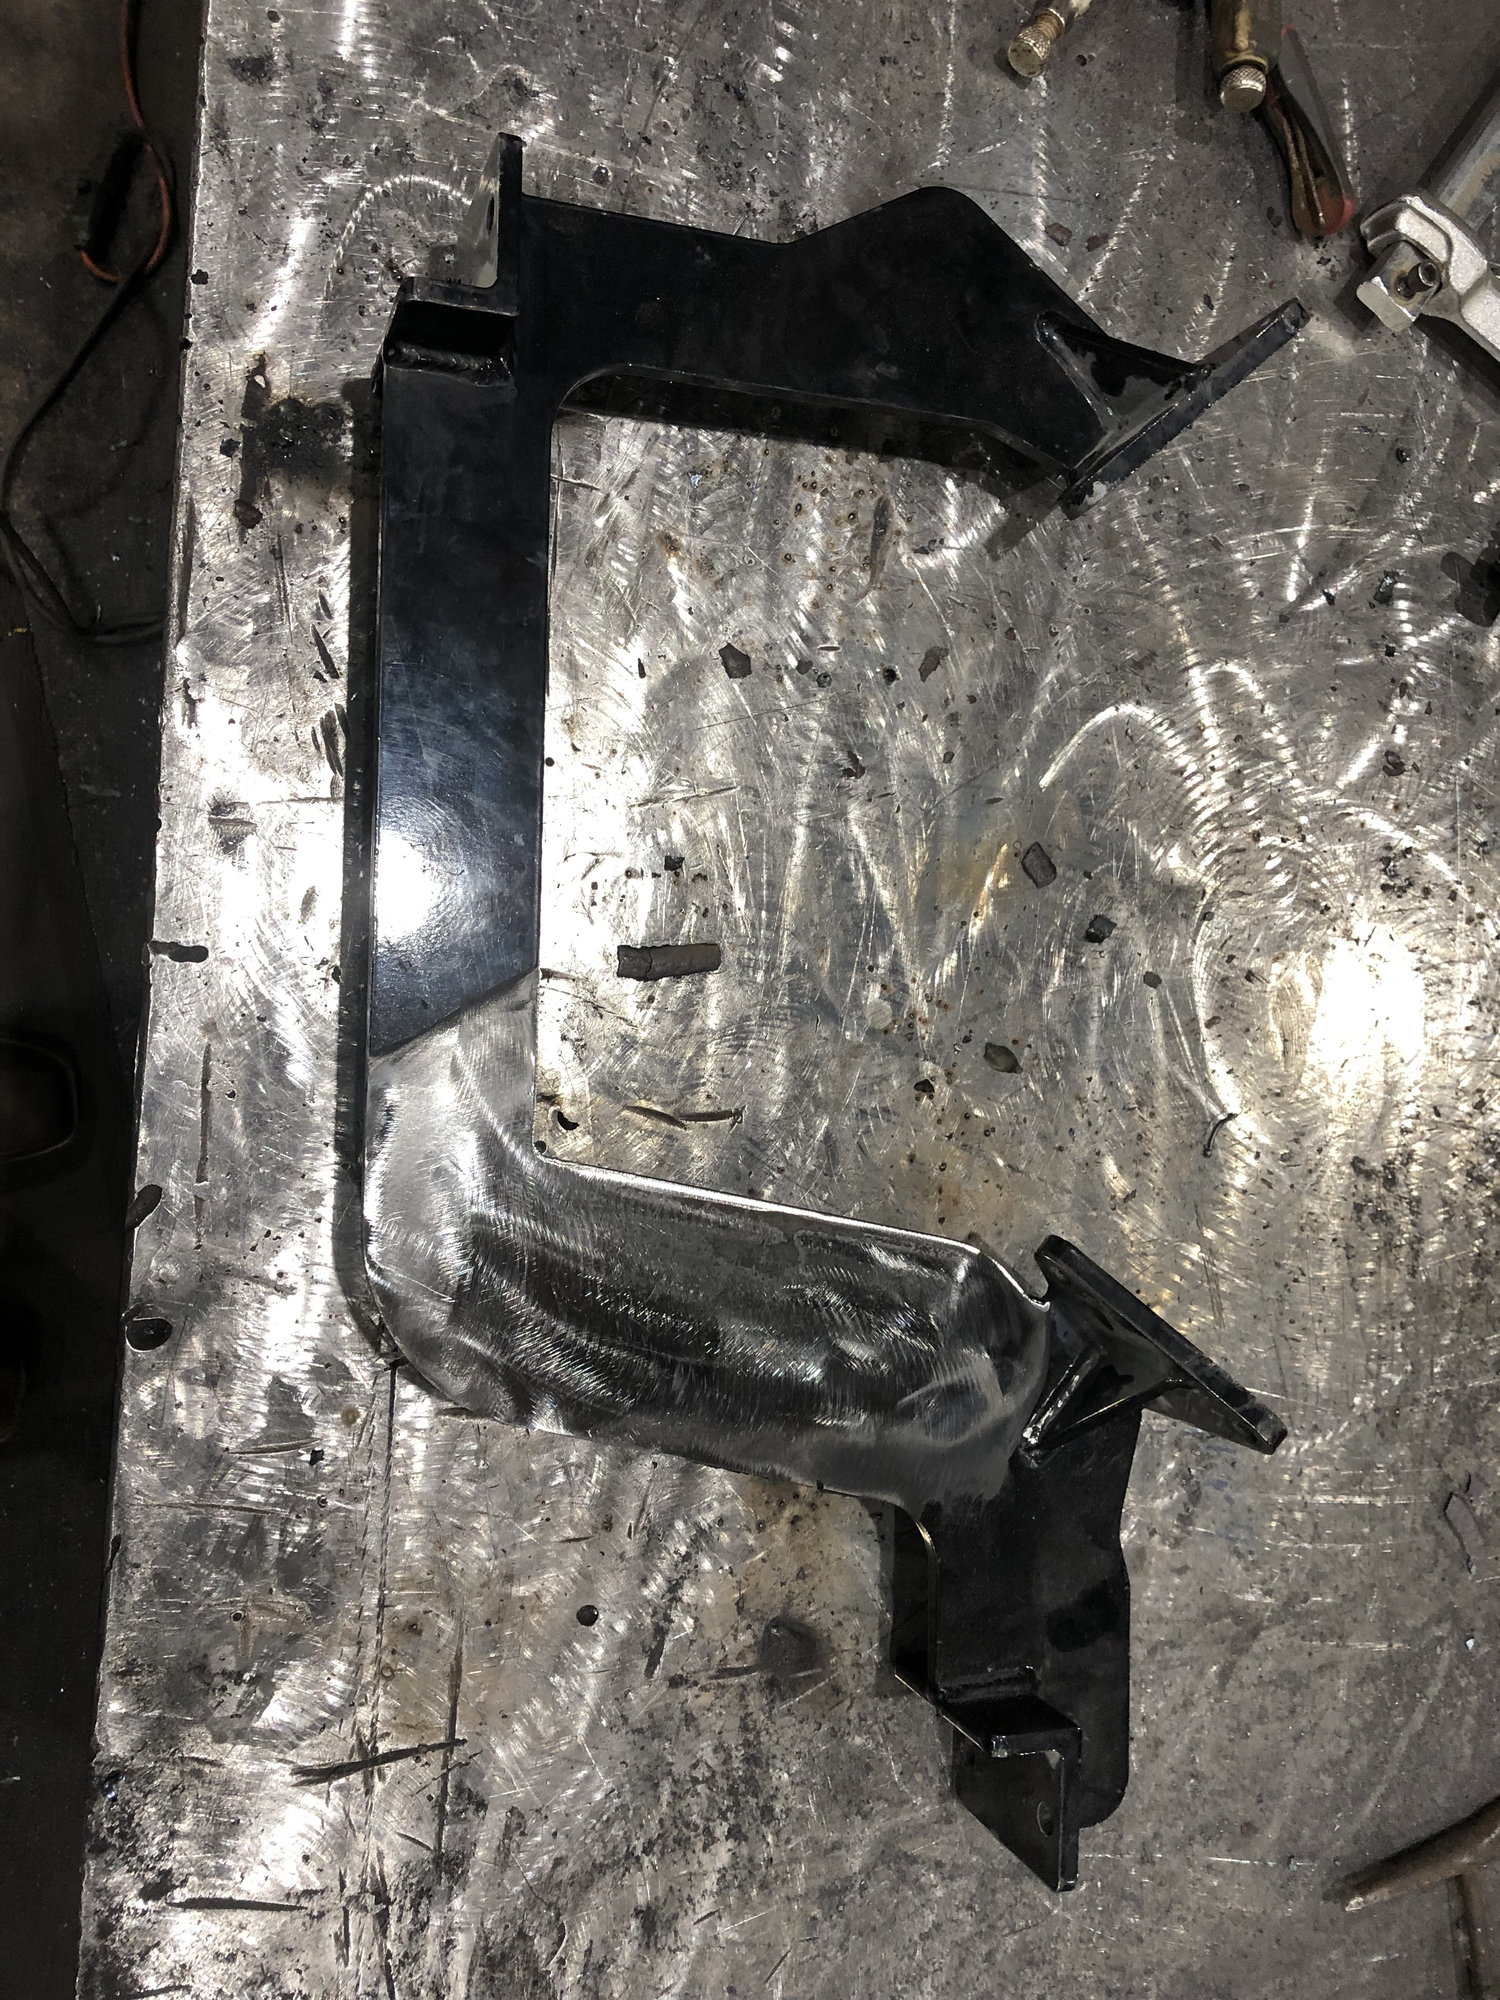
Sanded flat
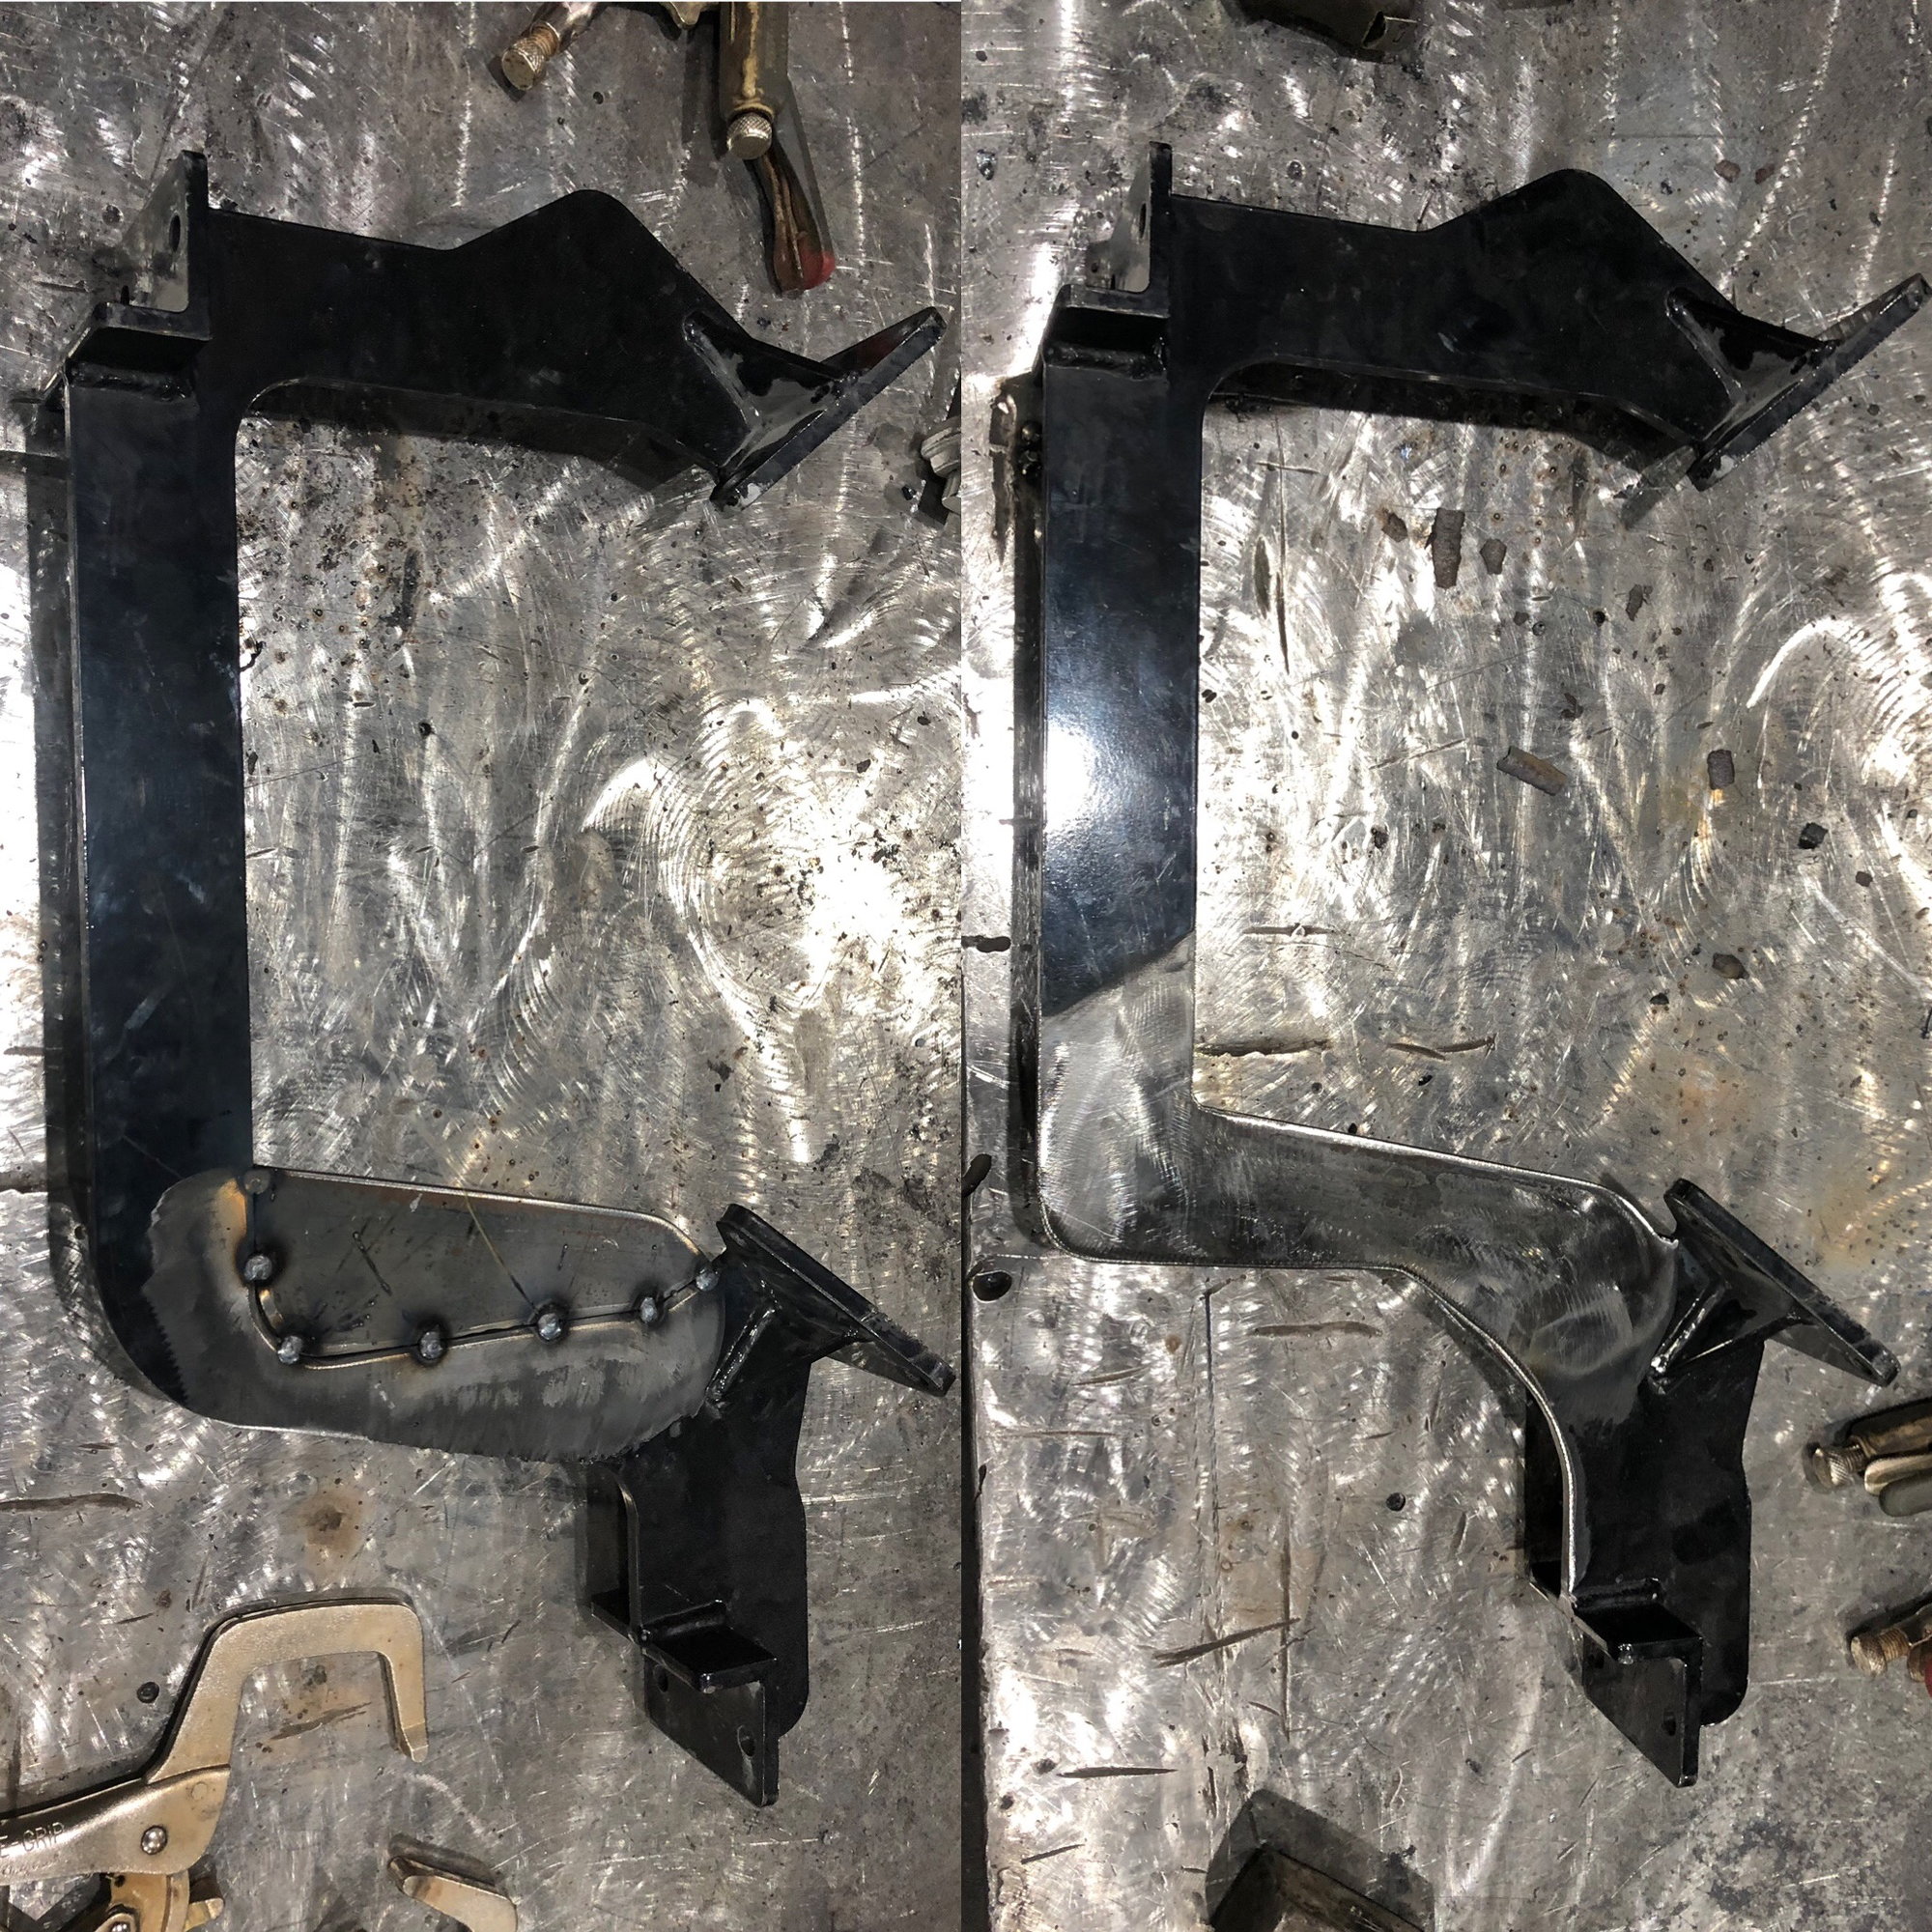
And the clearance cut out to move over
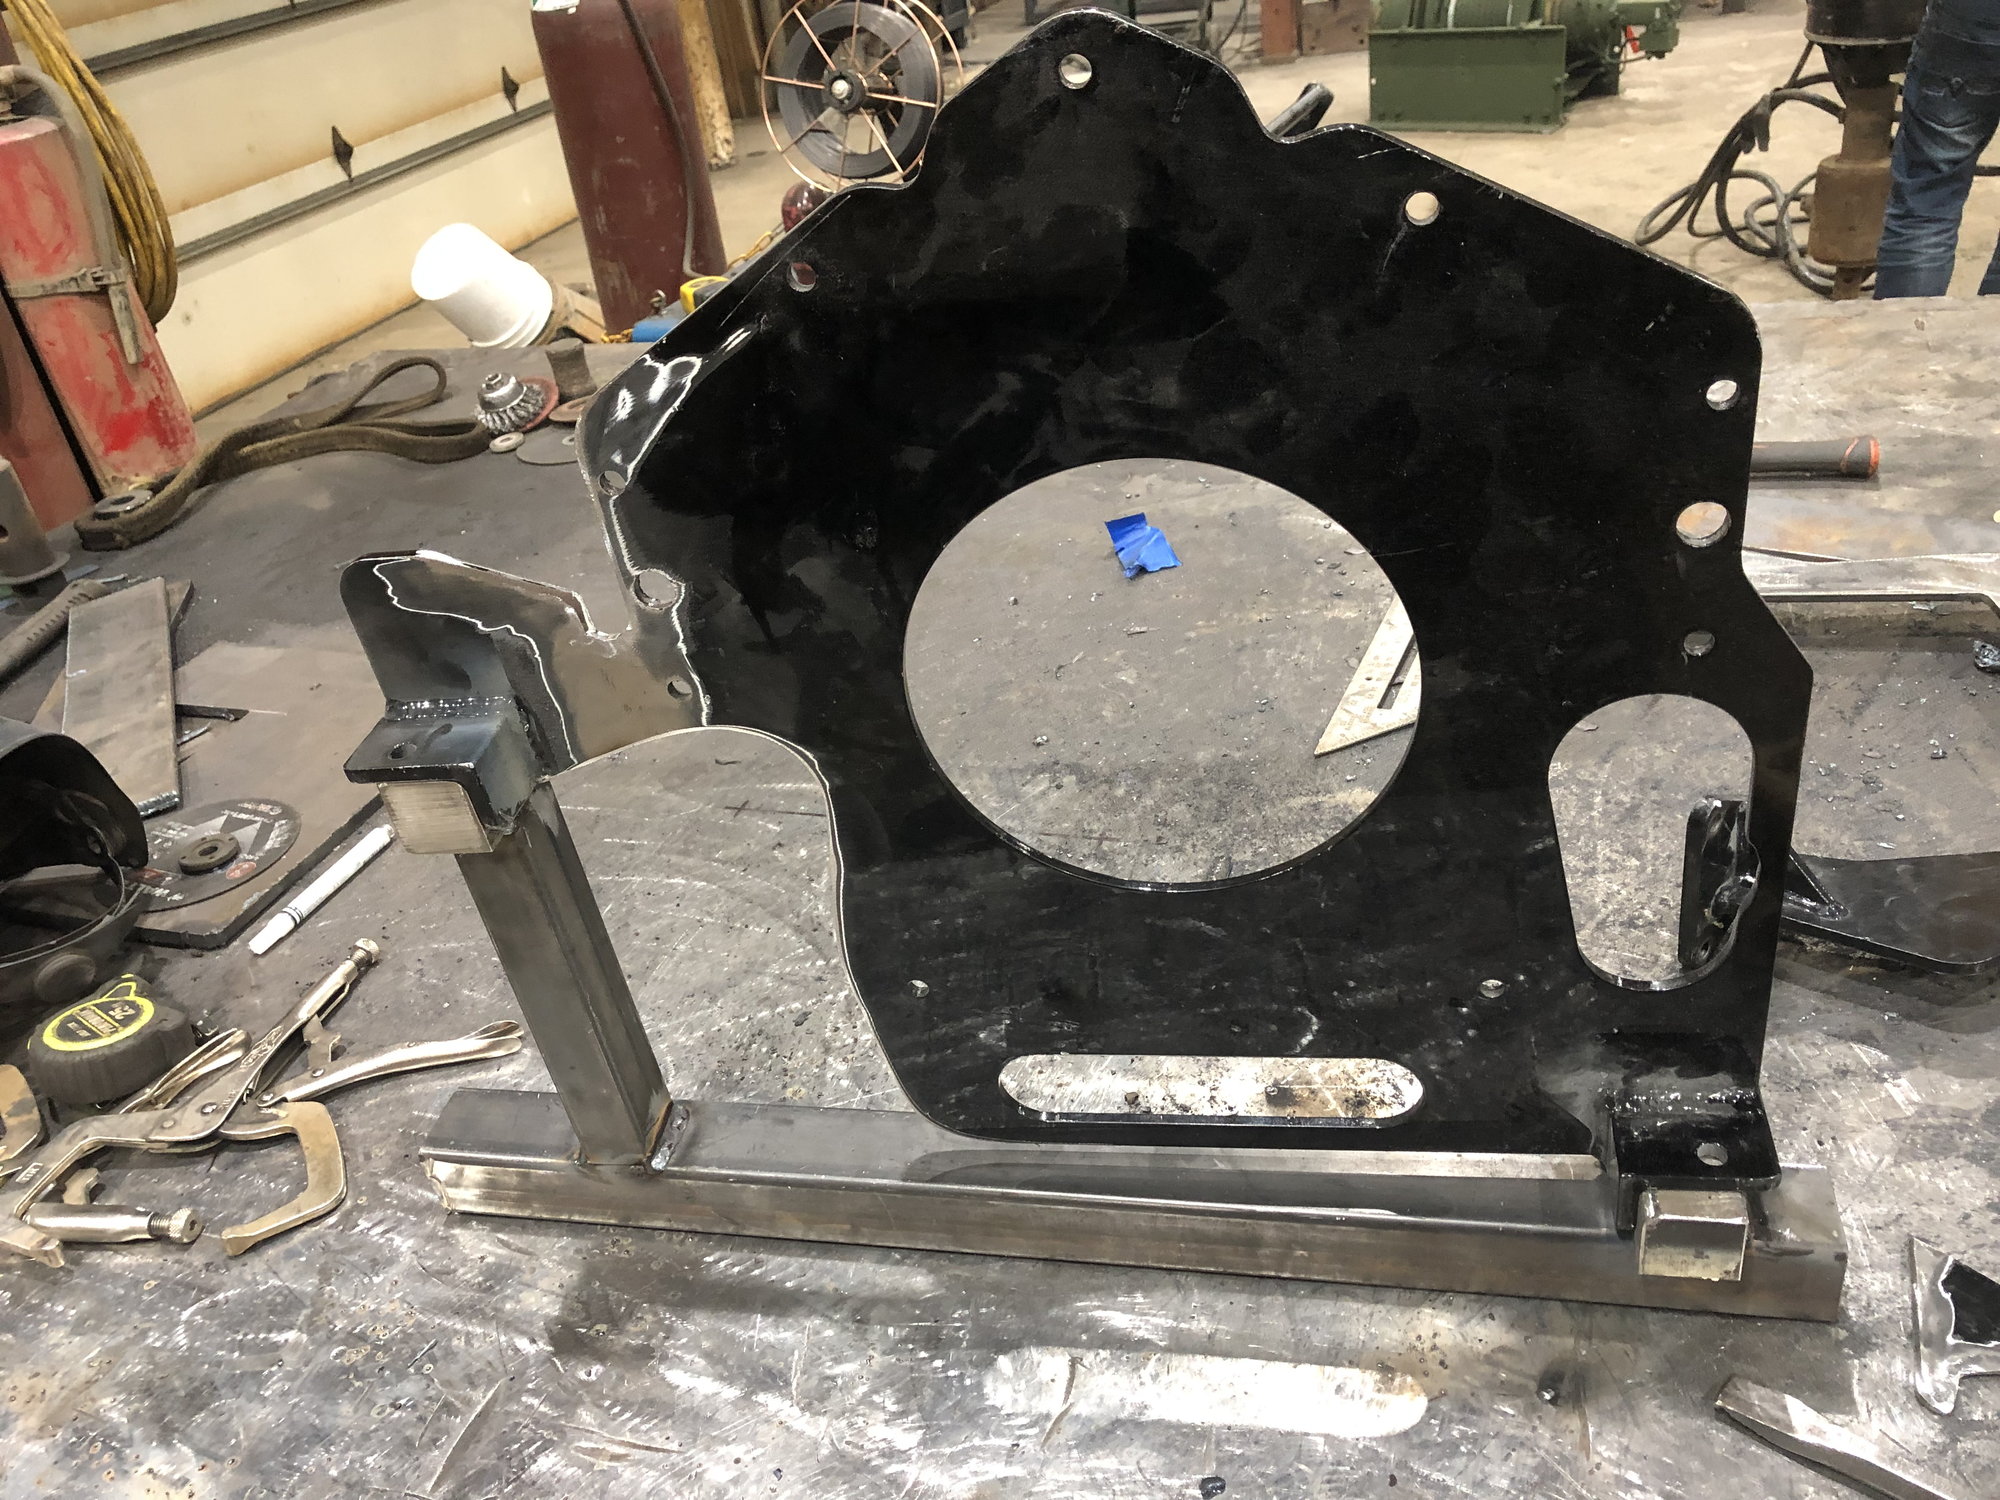
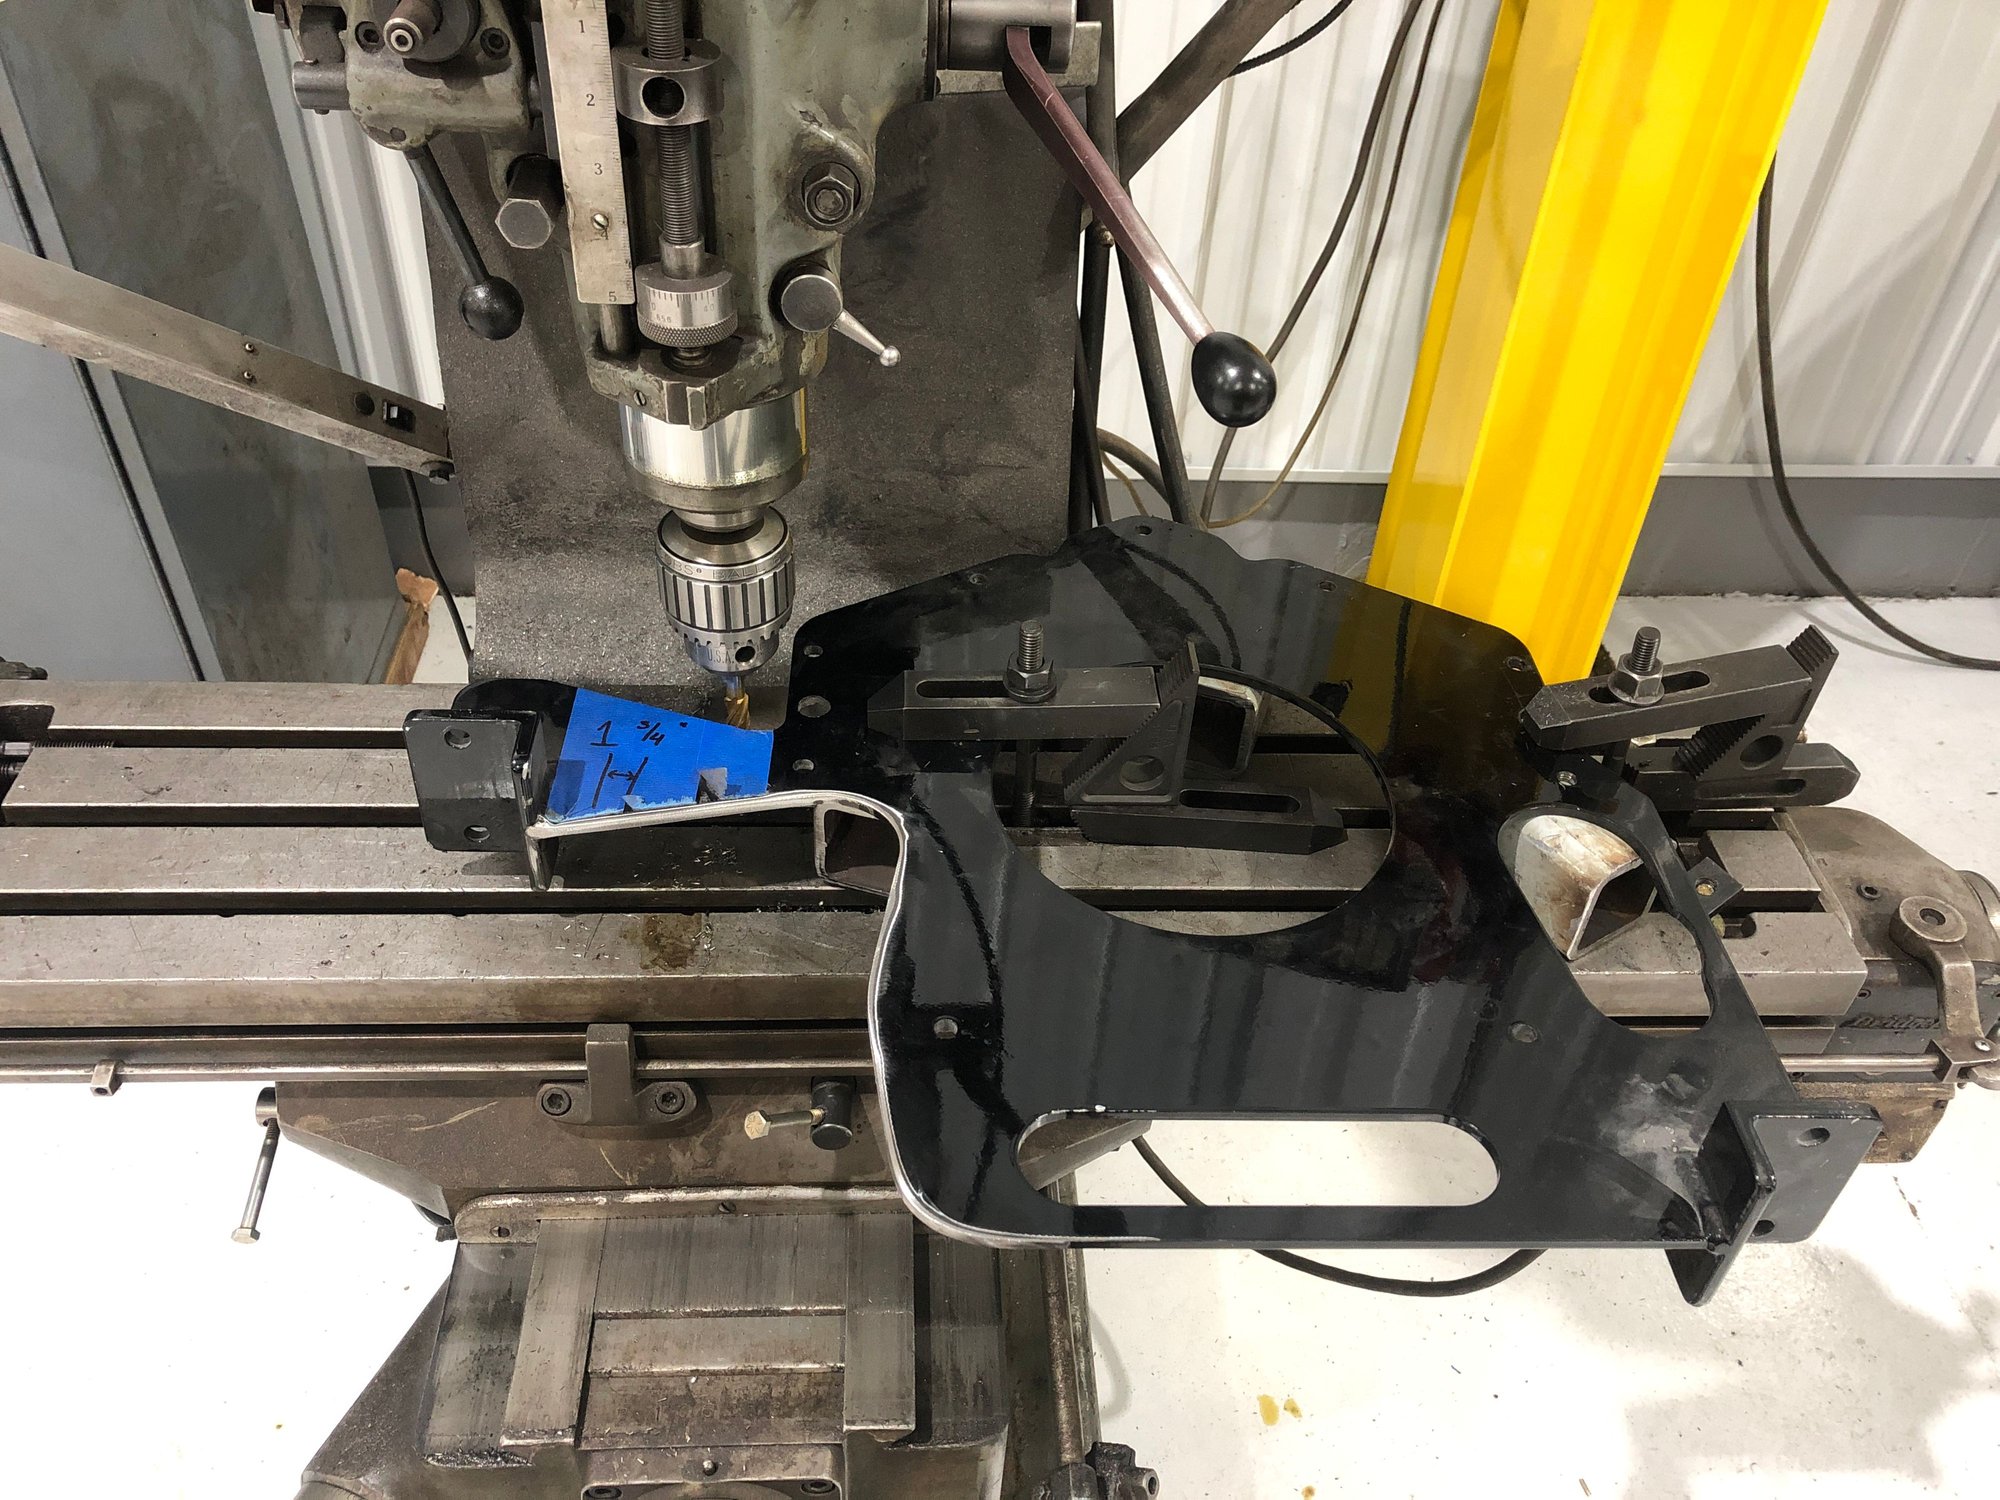
Built a jig to ensure the mounts were true with eachother and still maintained a 9” offset in height difference
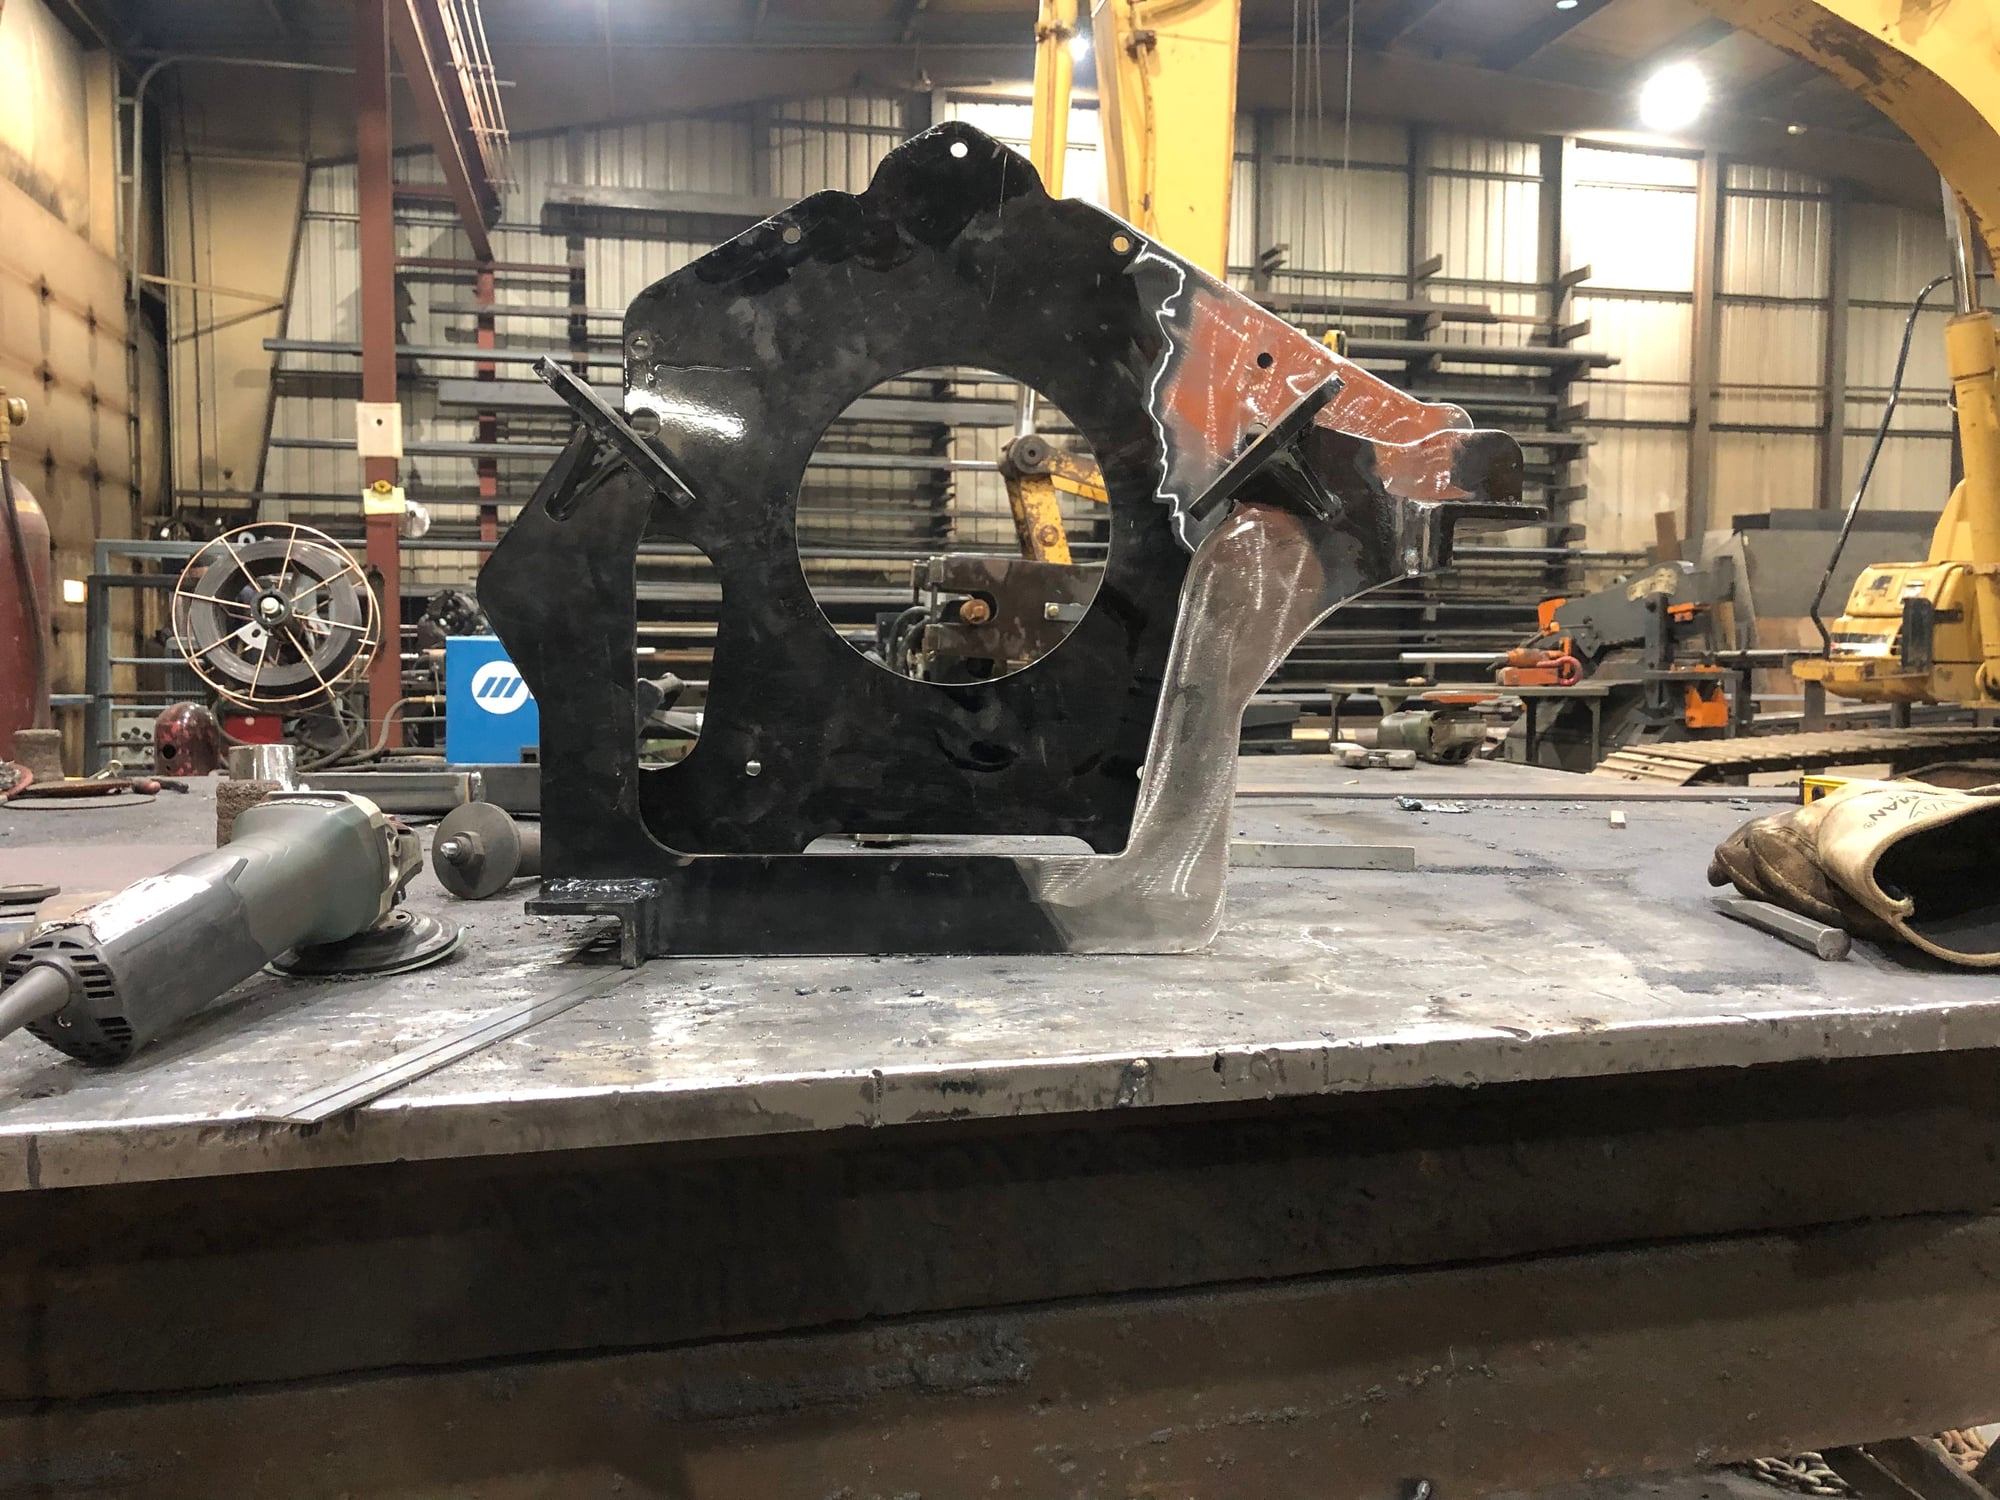
Both mounts setting on jig
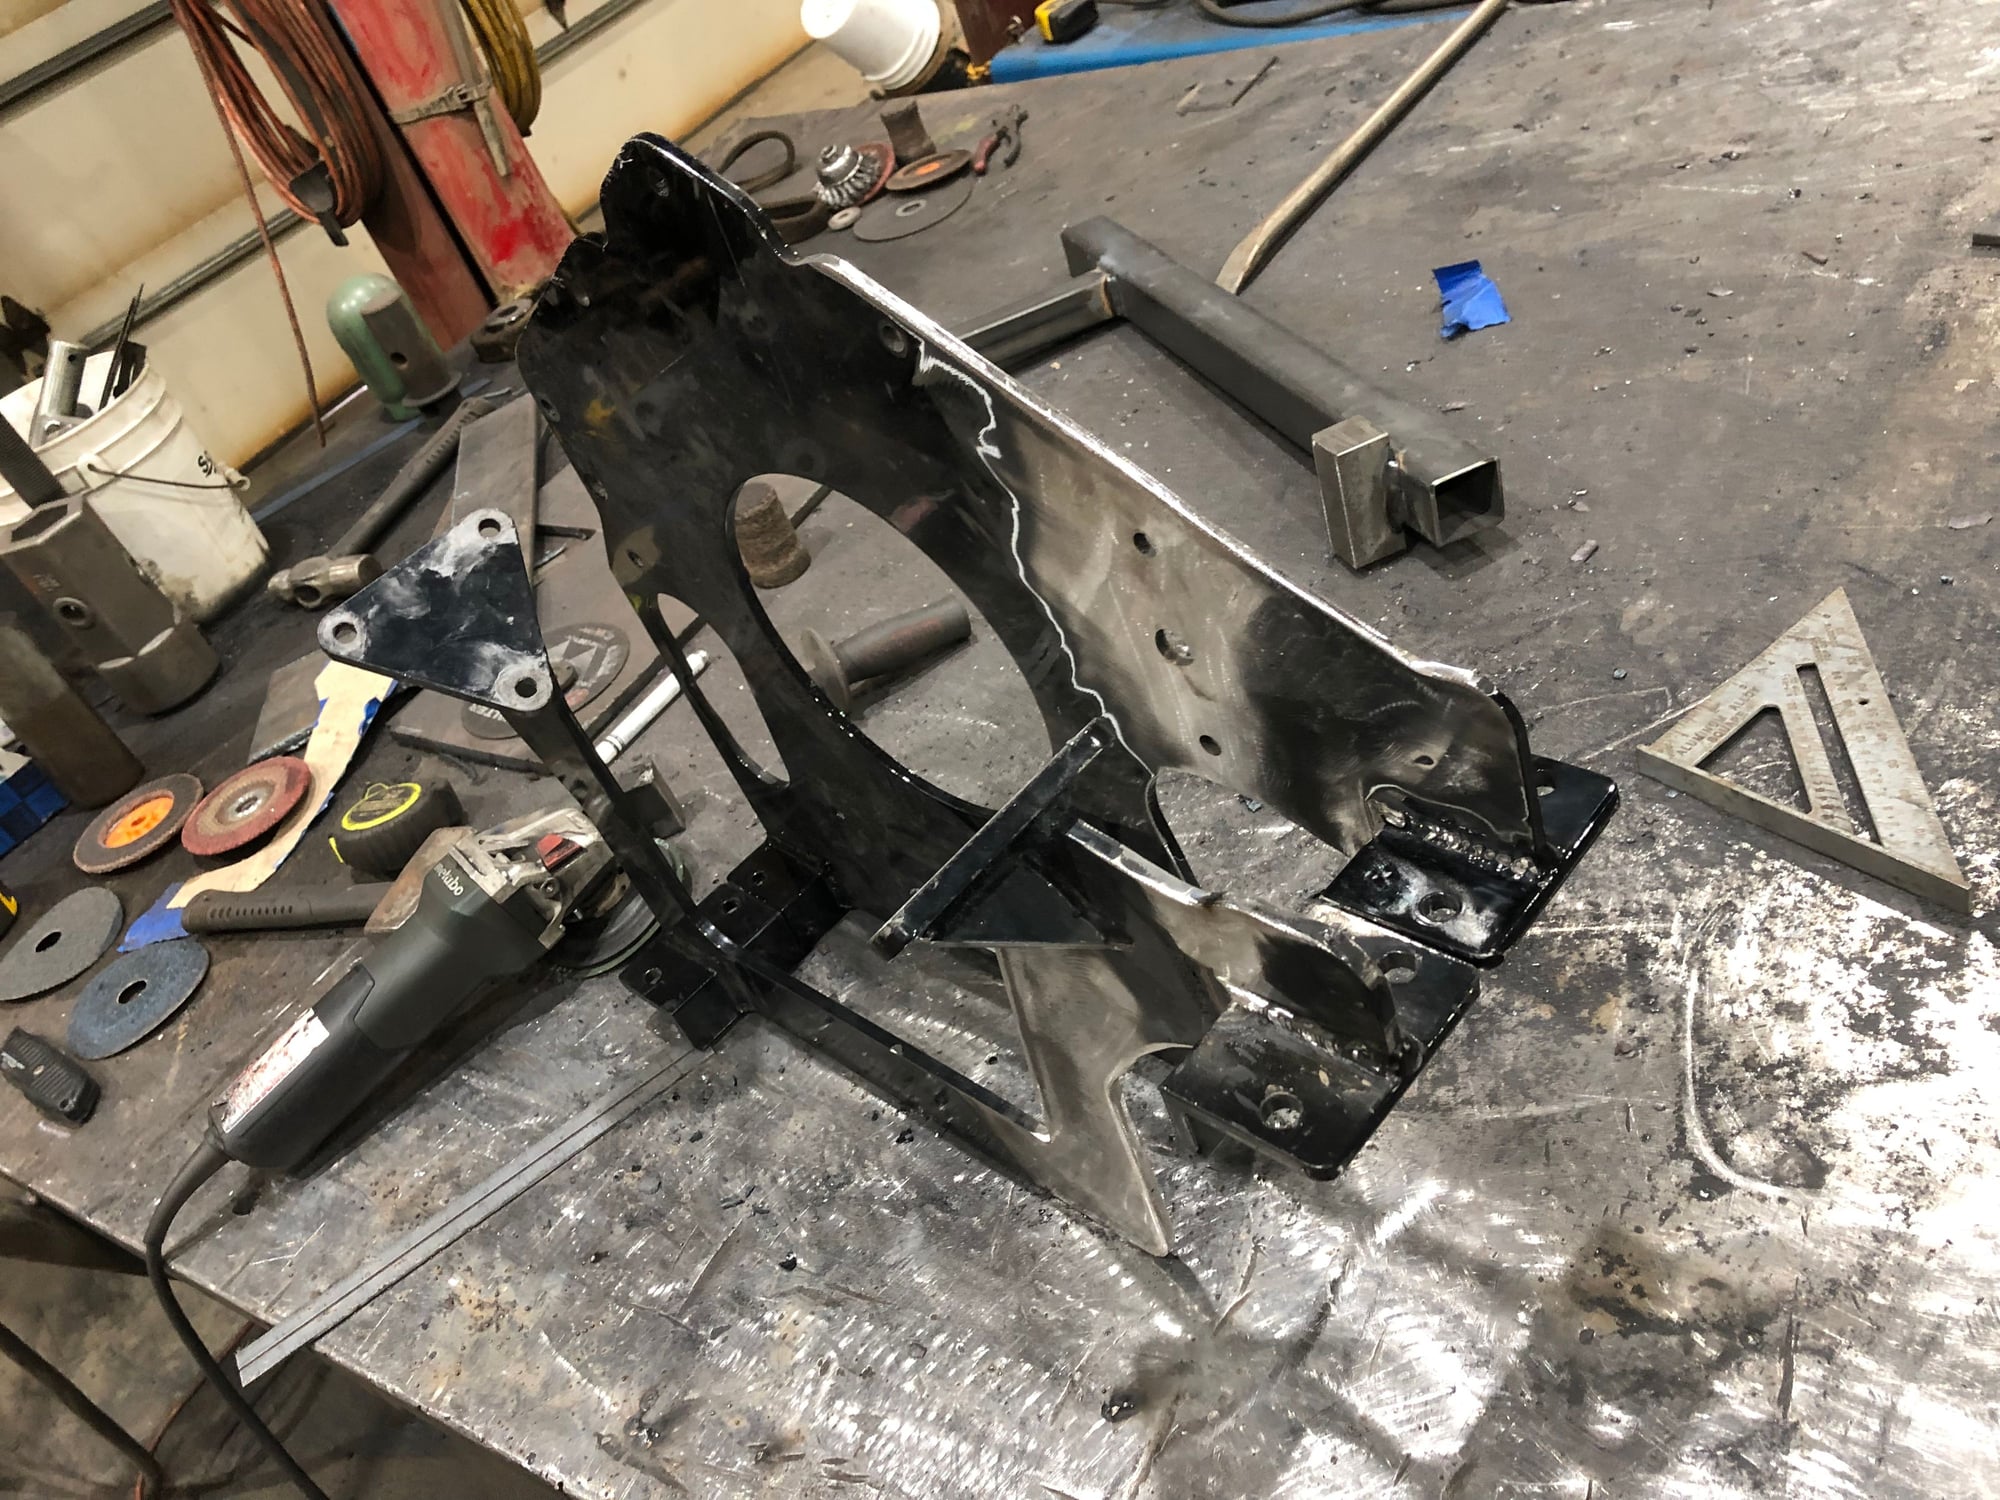
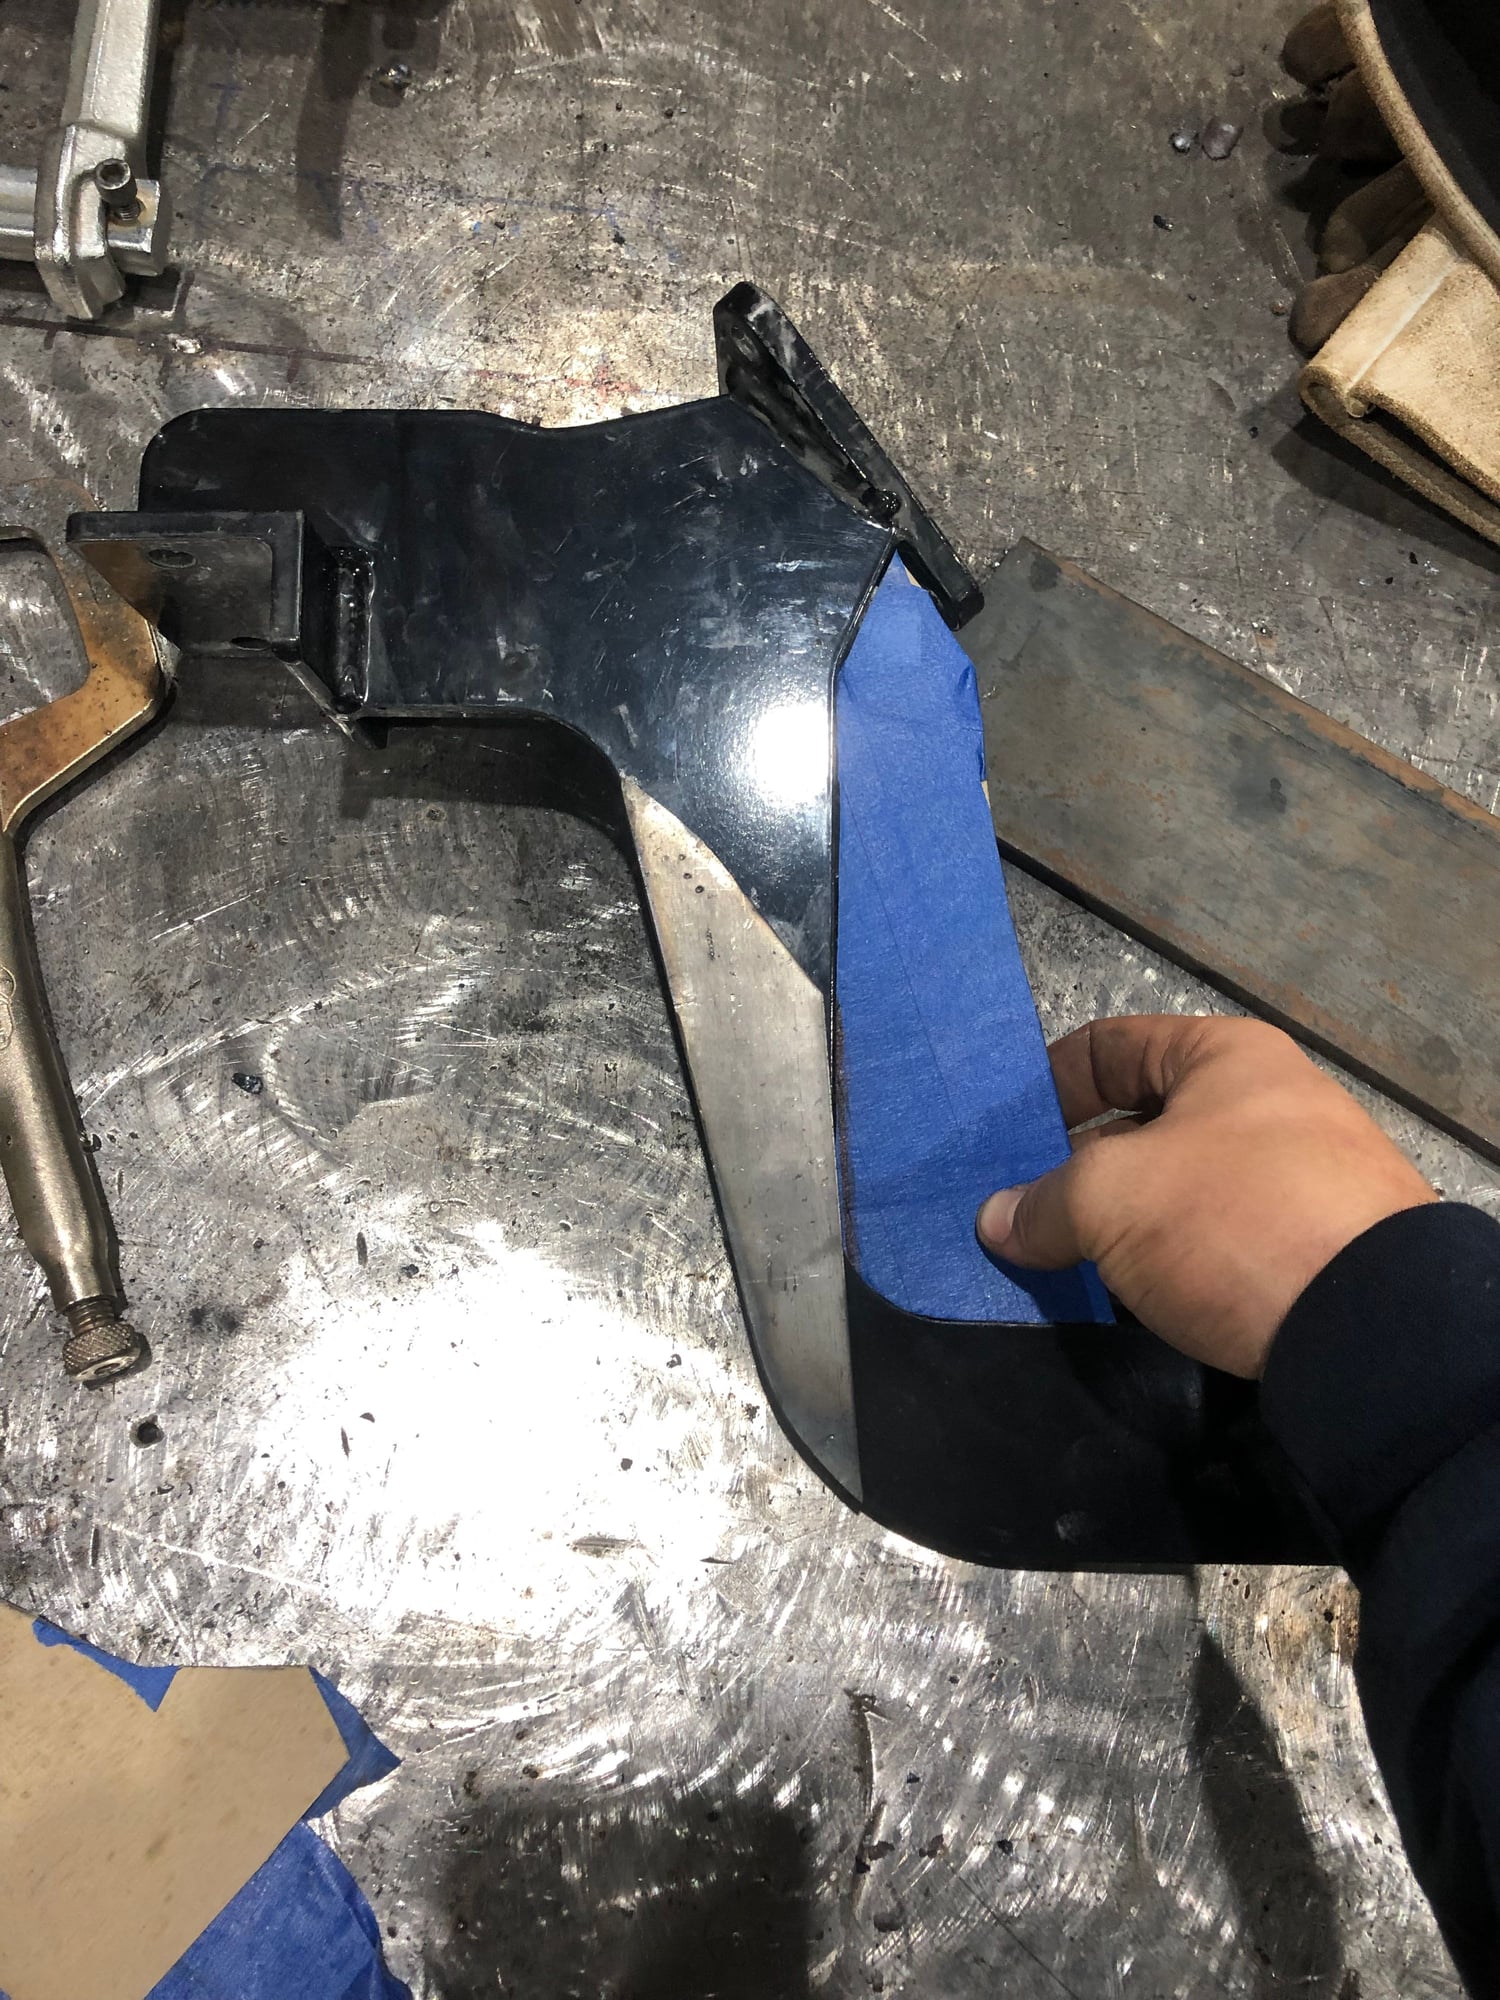
One side of mounts done!
02-26-2019, 08:27 AM
#9
Registered
Thread Starter
 02-26-2019, 08:32 AM
#10
Registered
Thread Starter
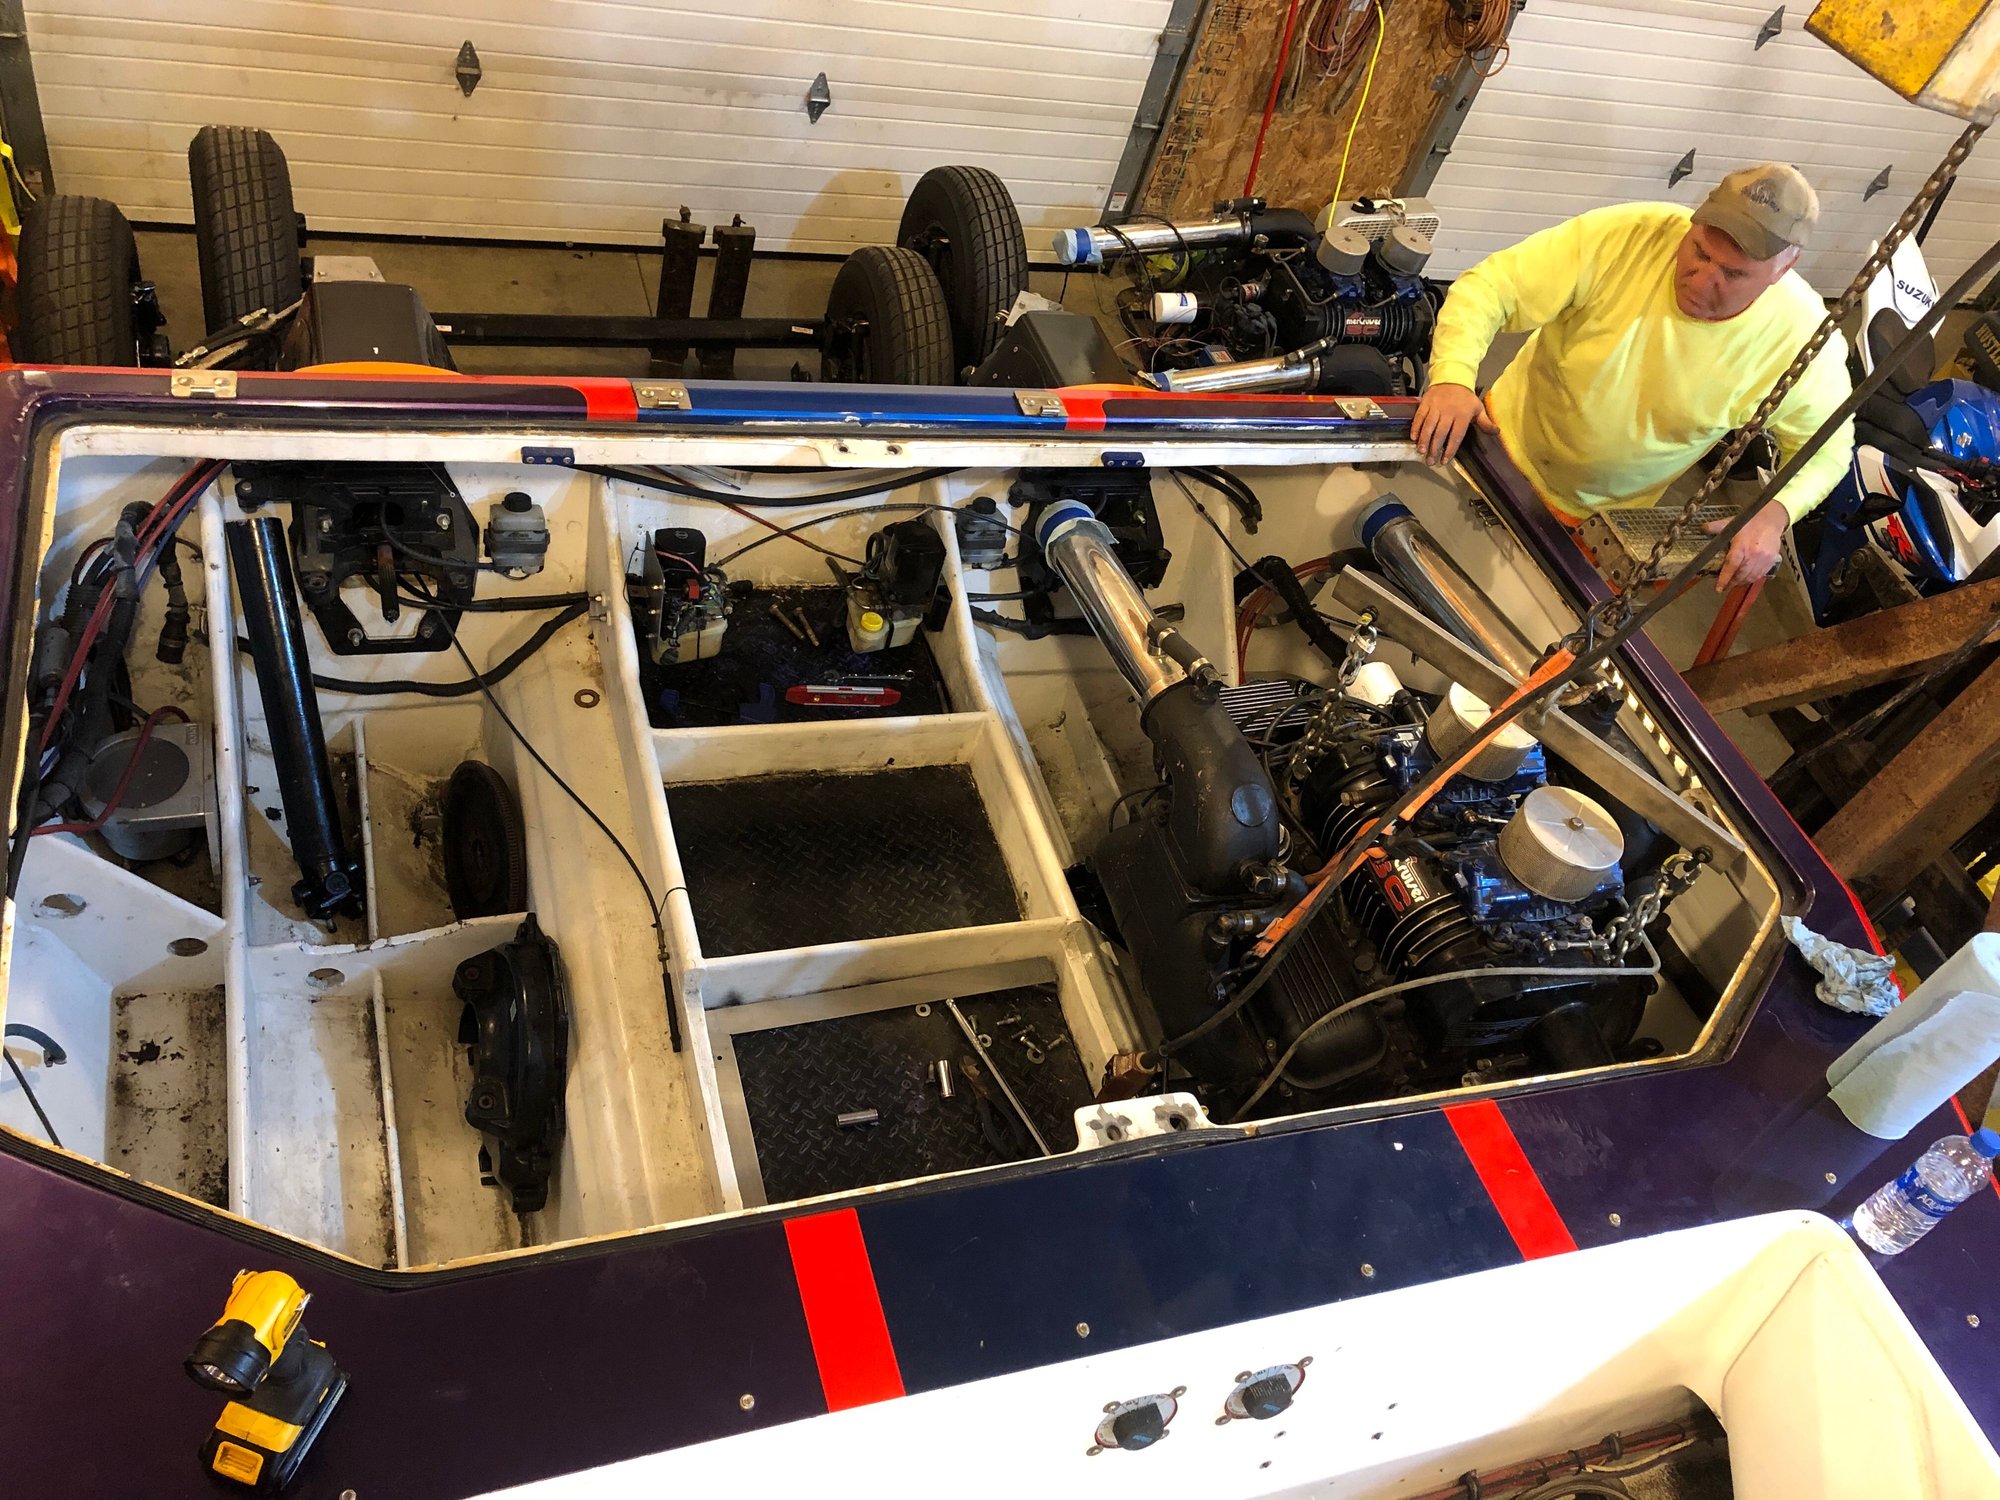
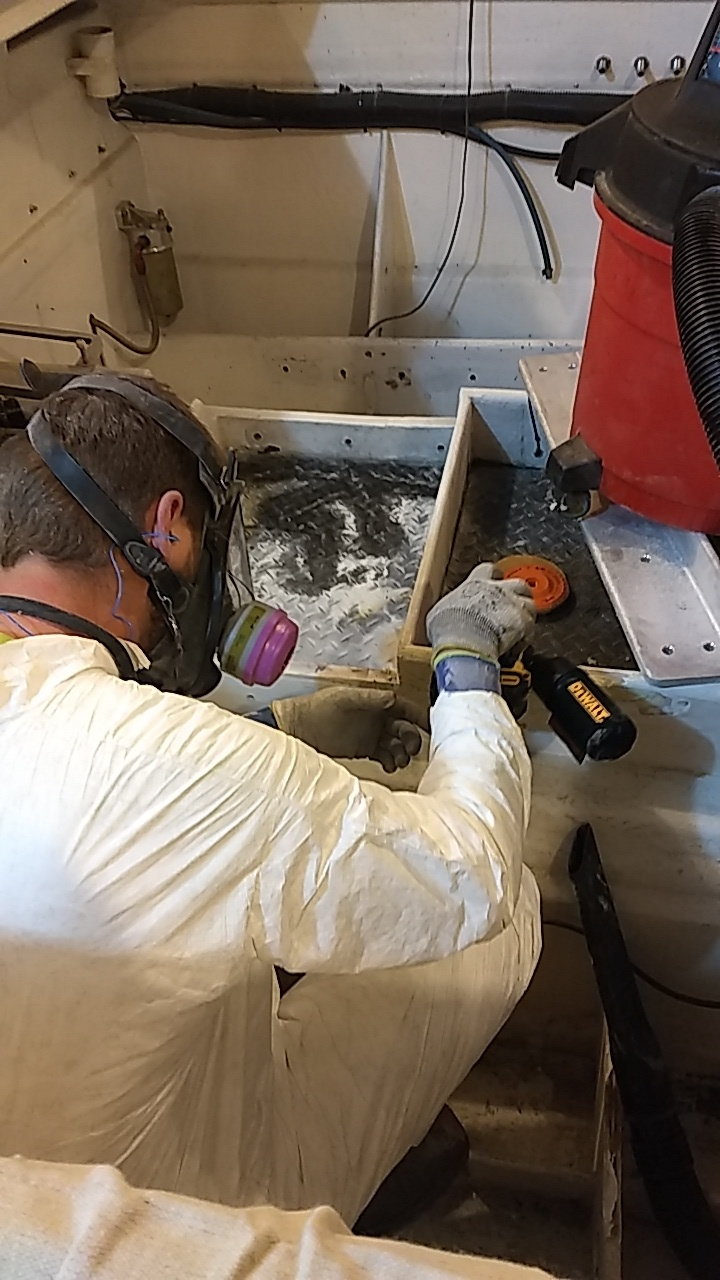
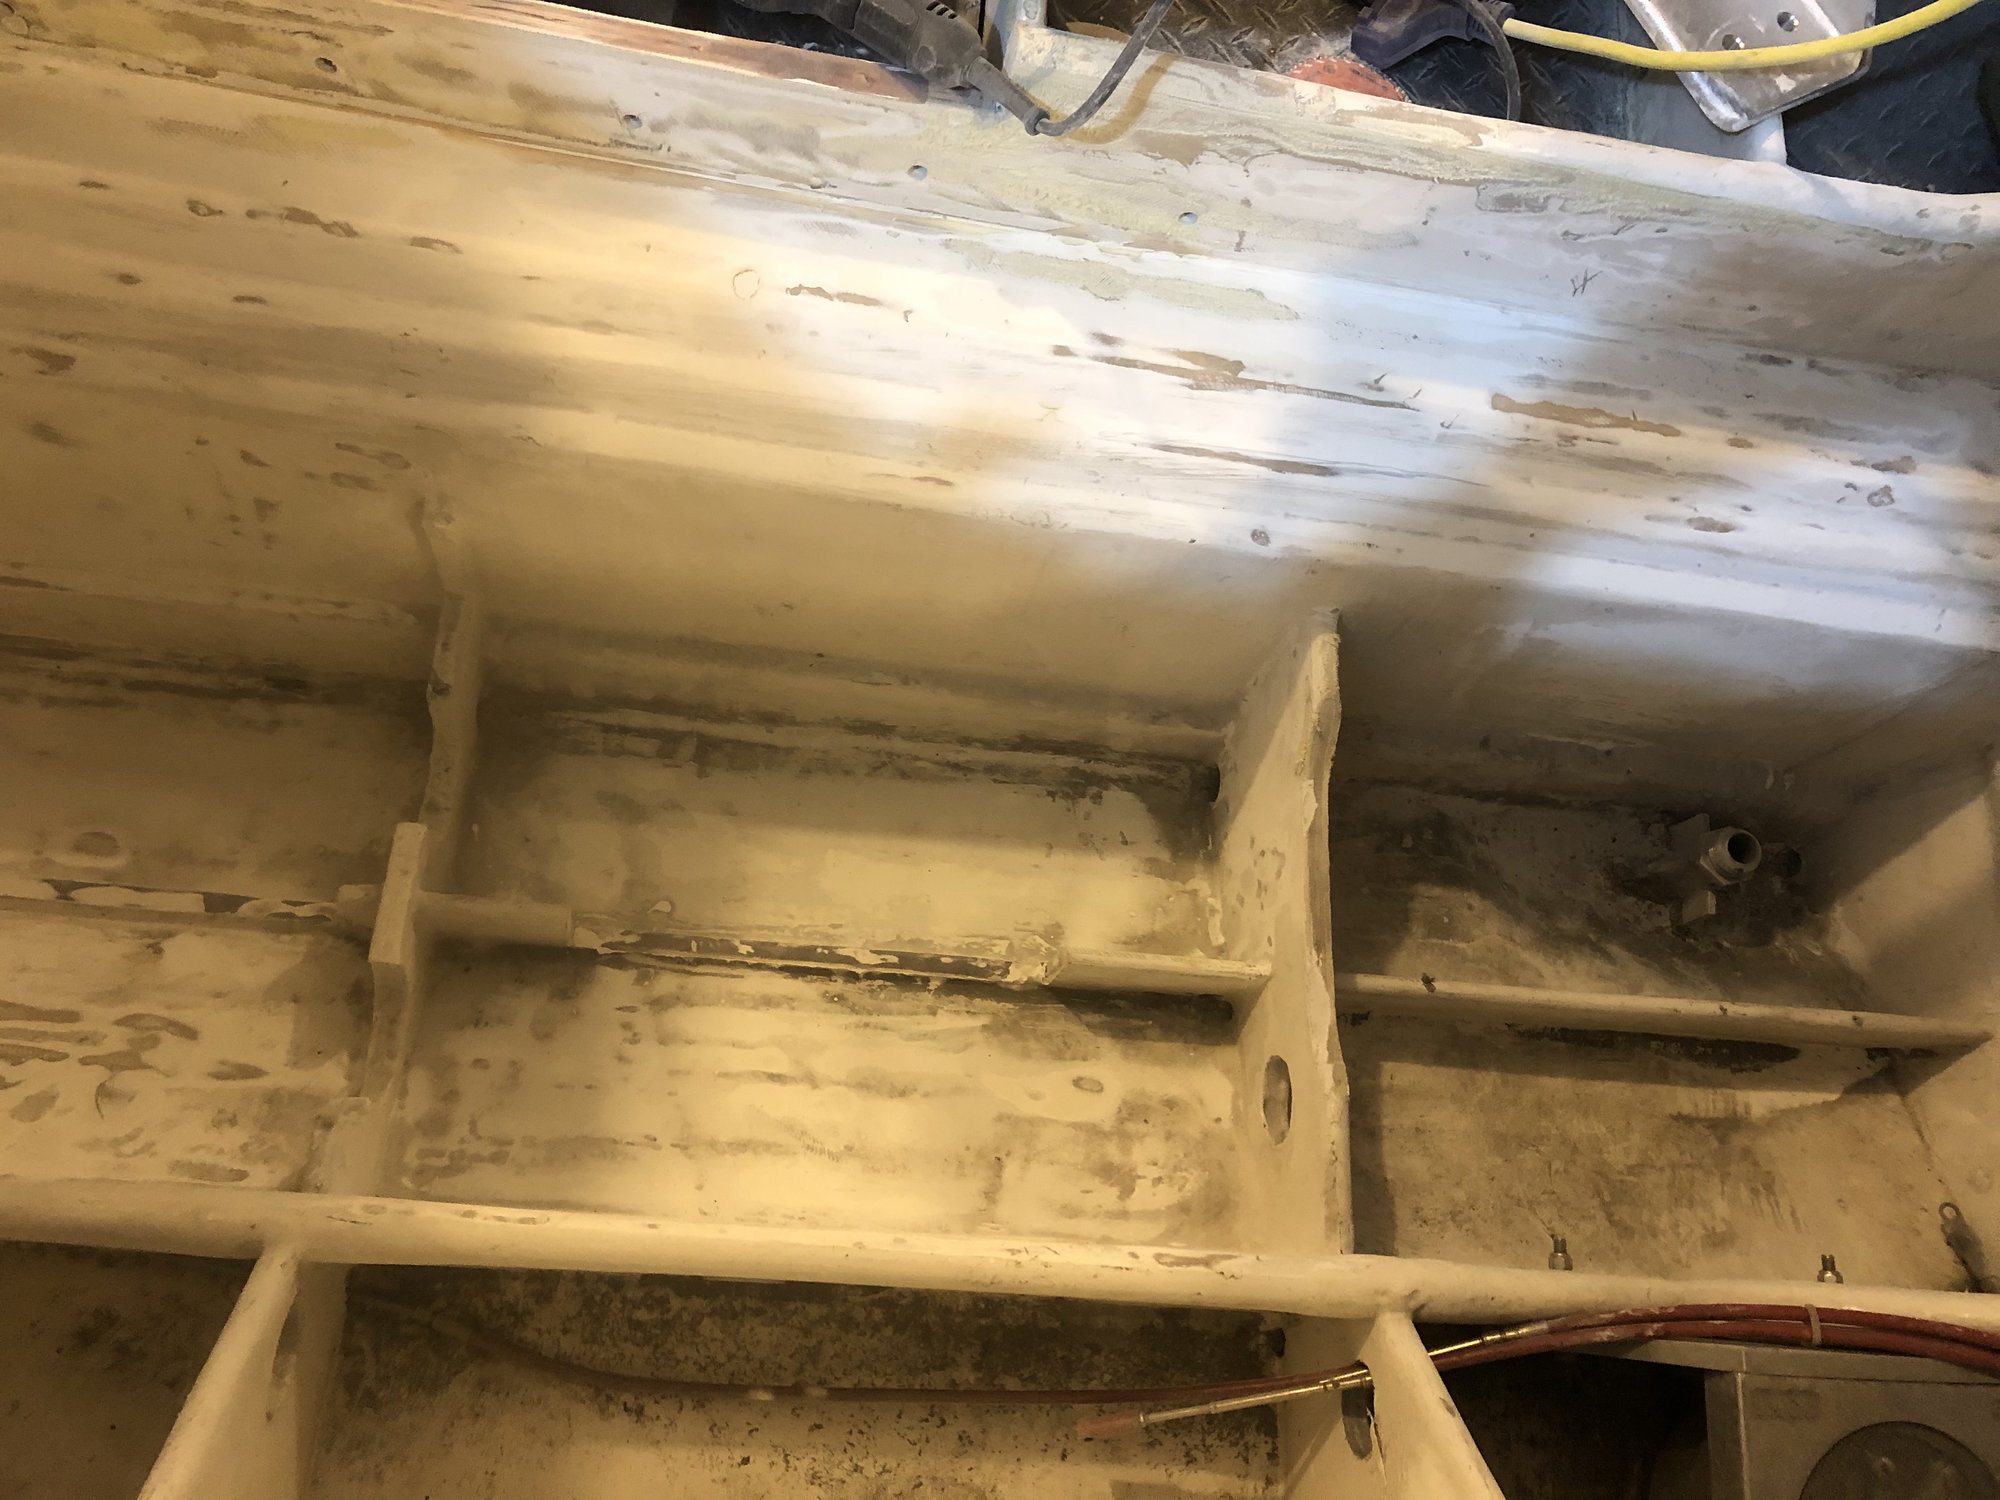
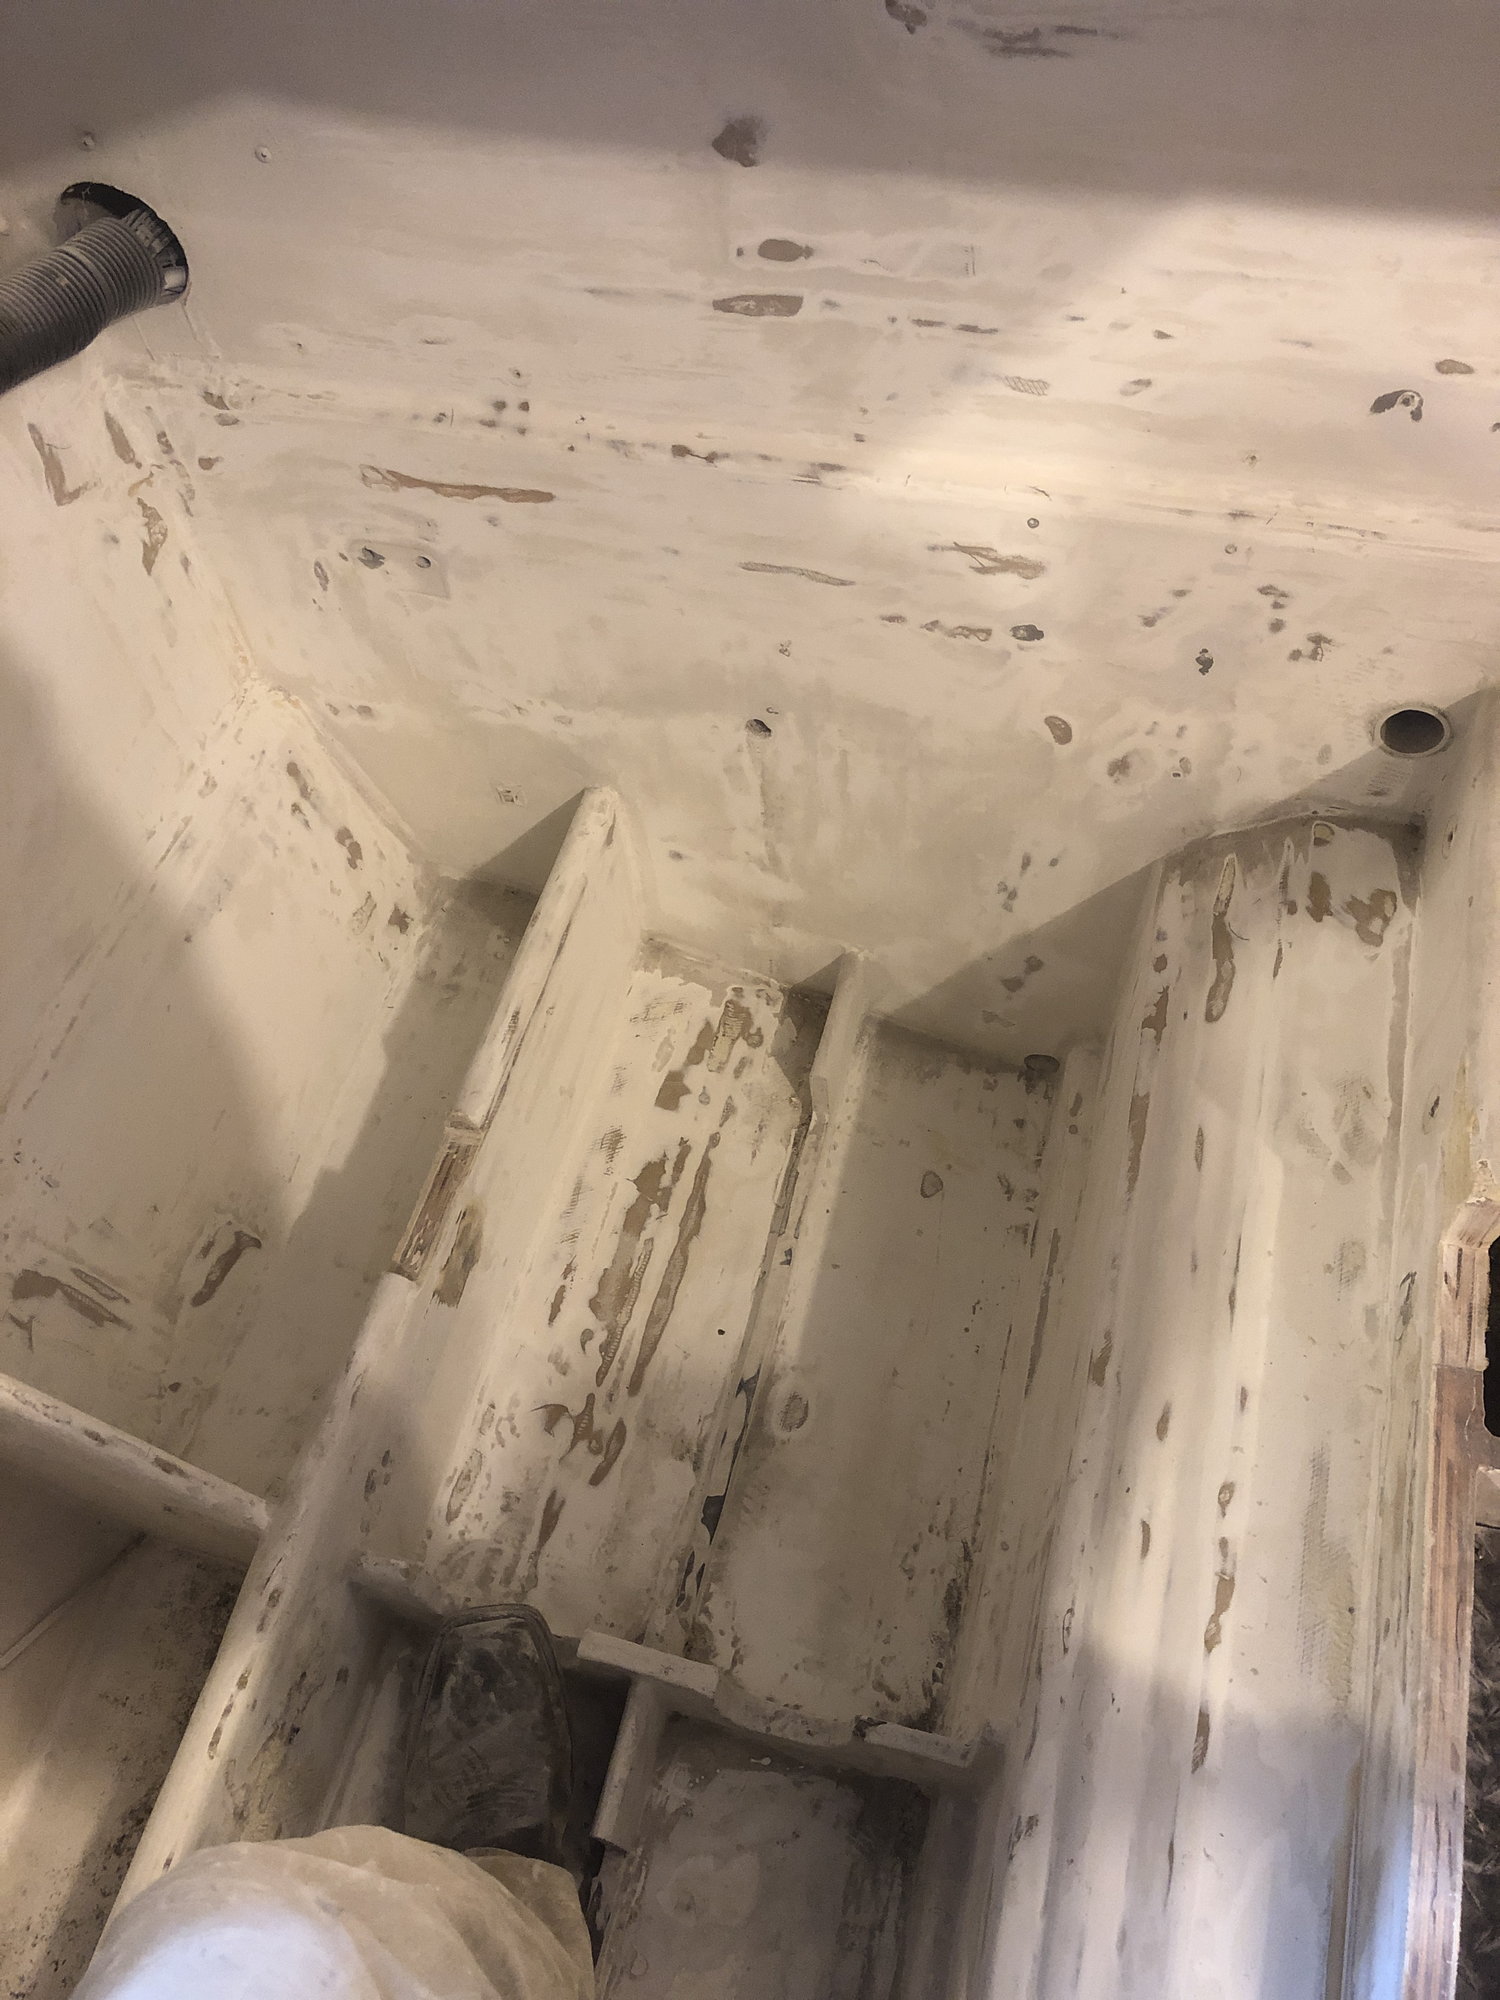
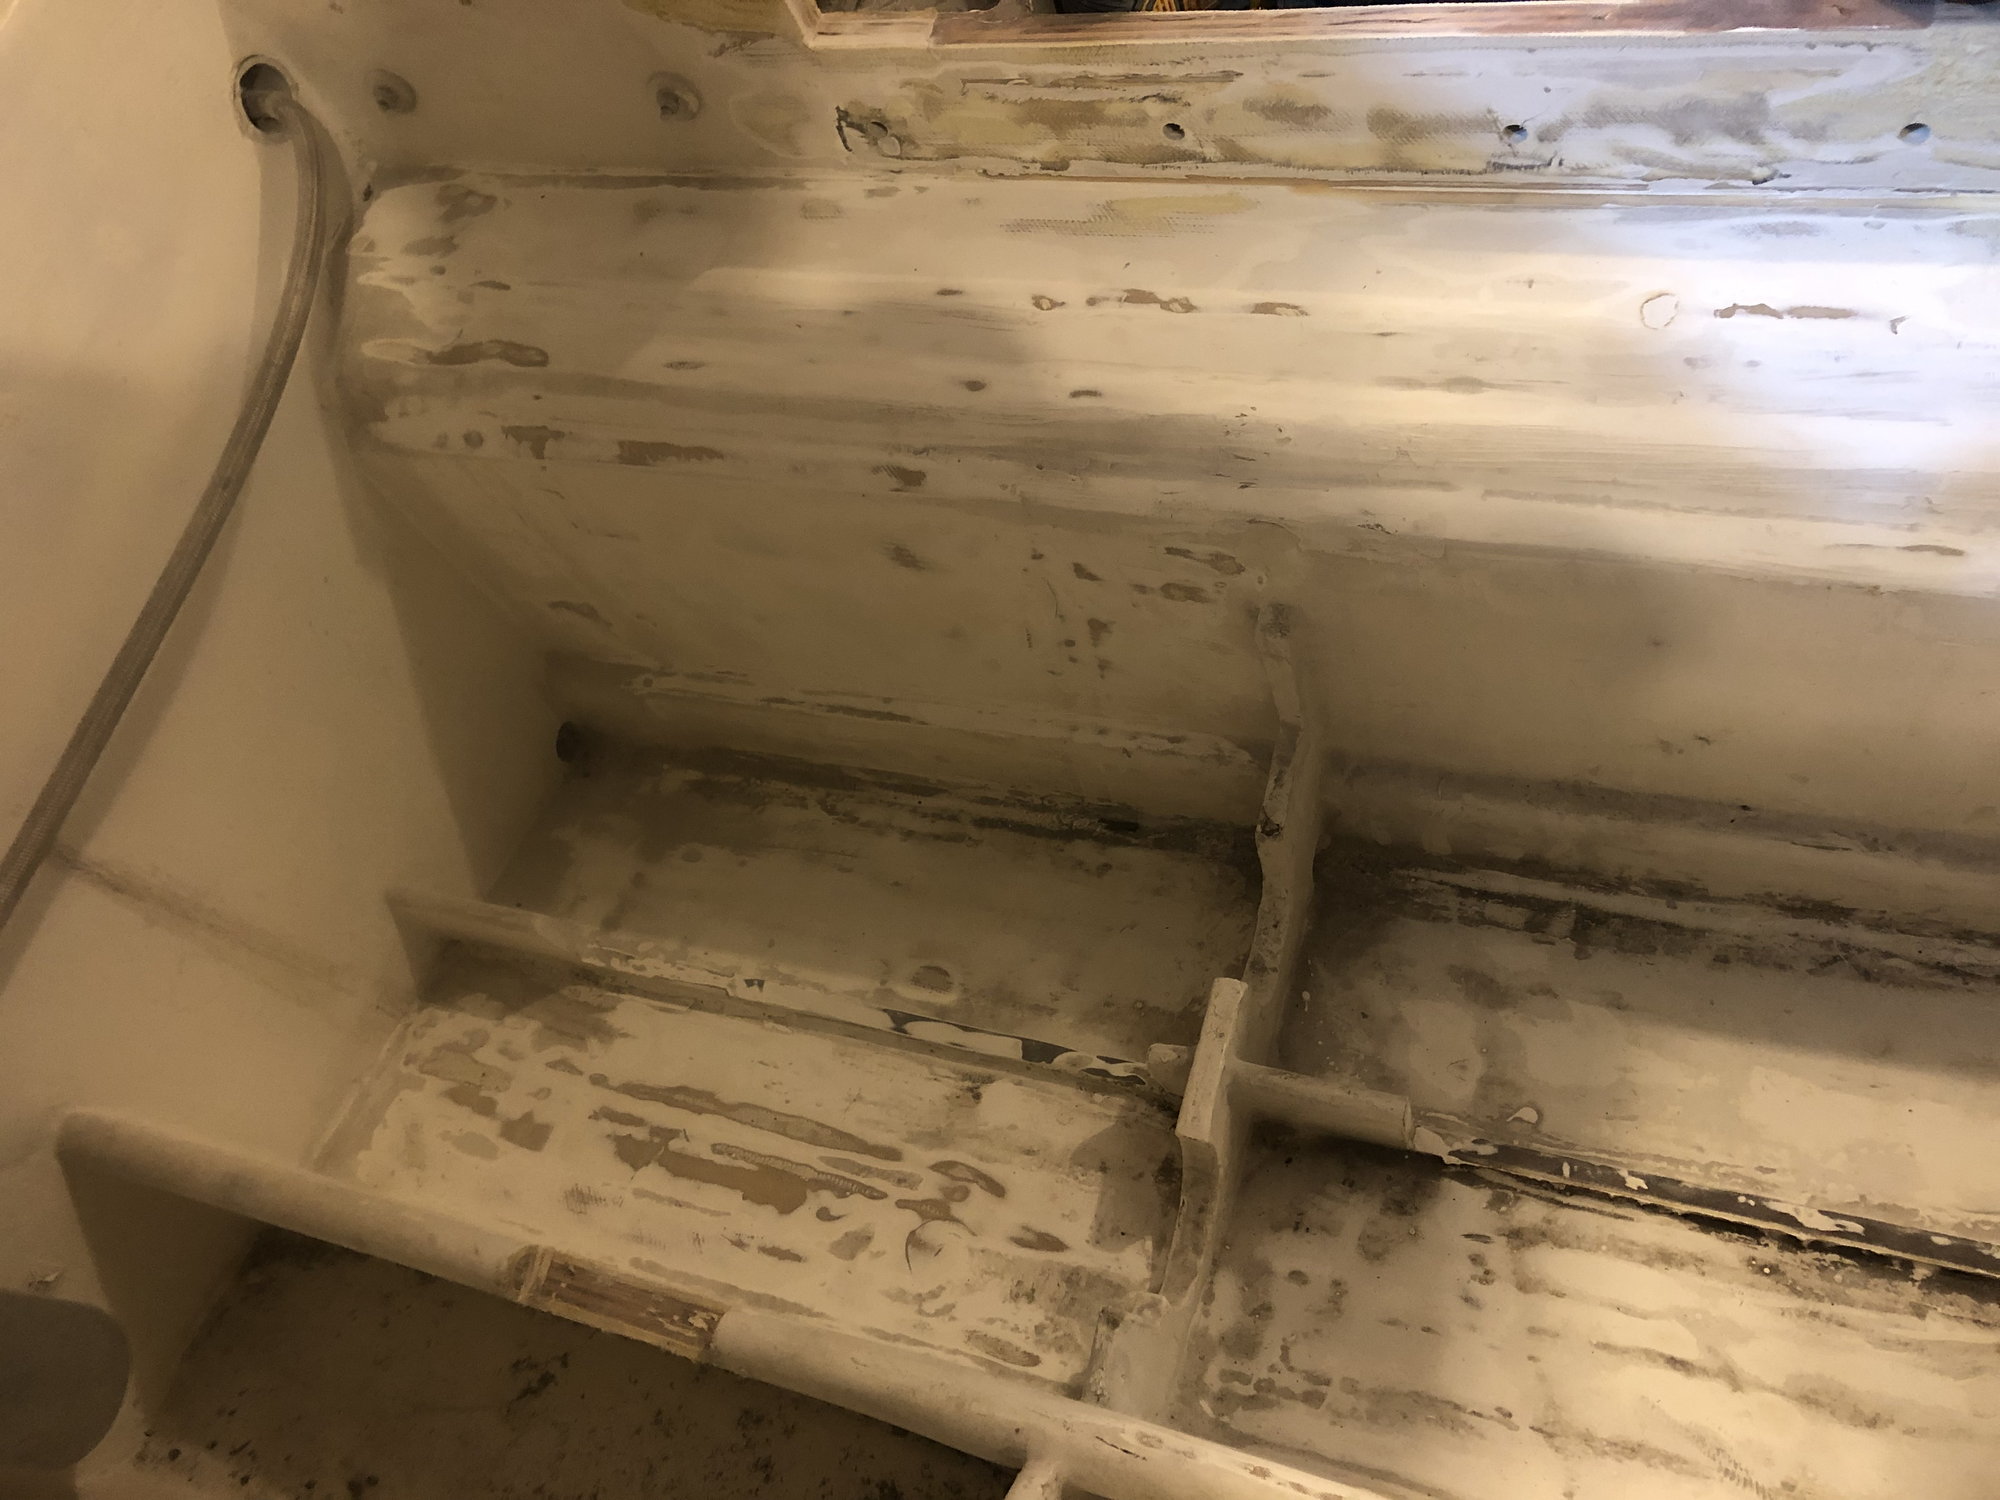
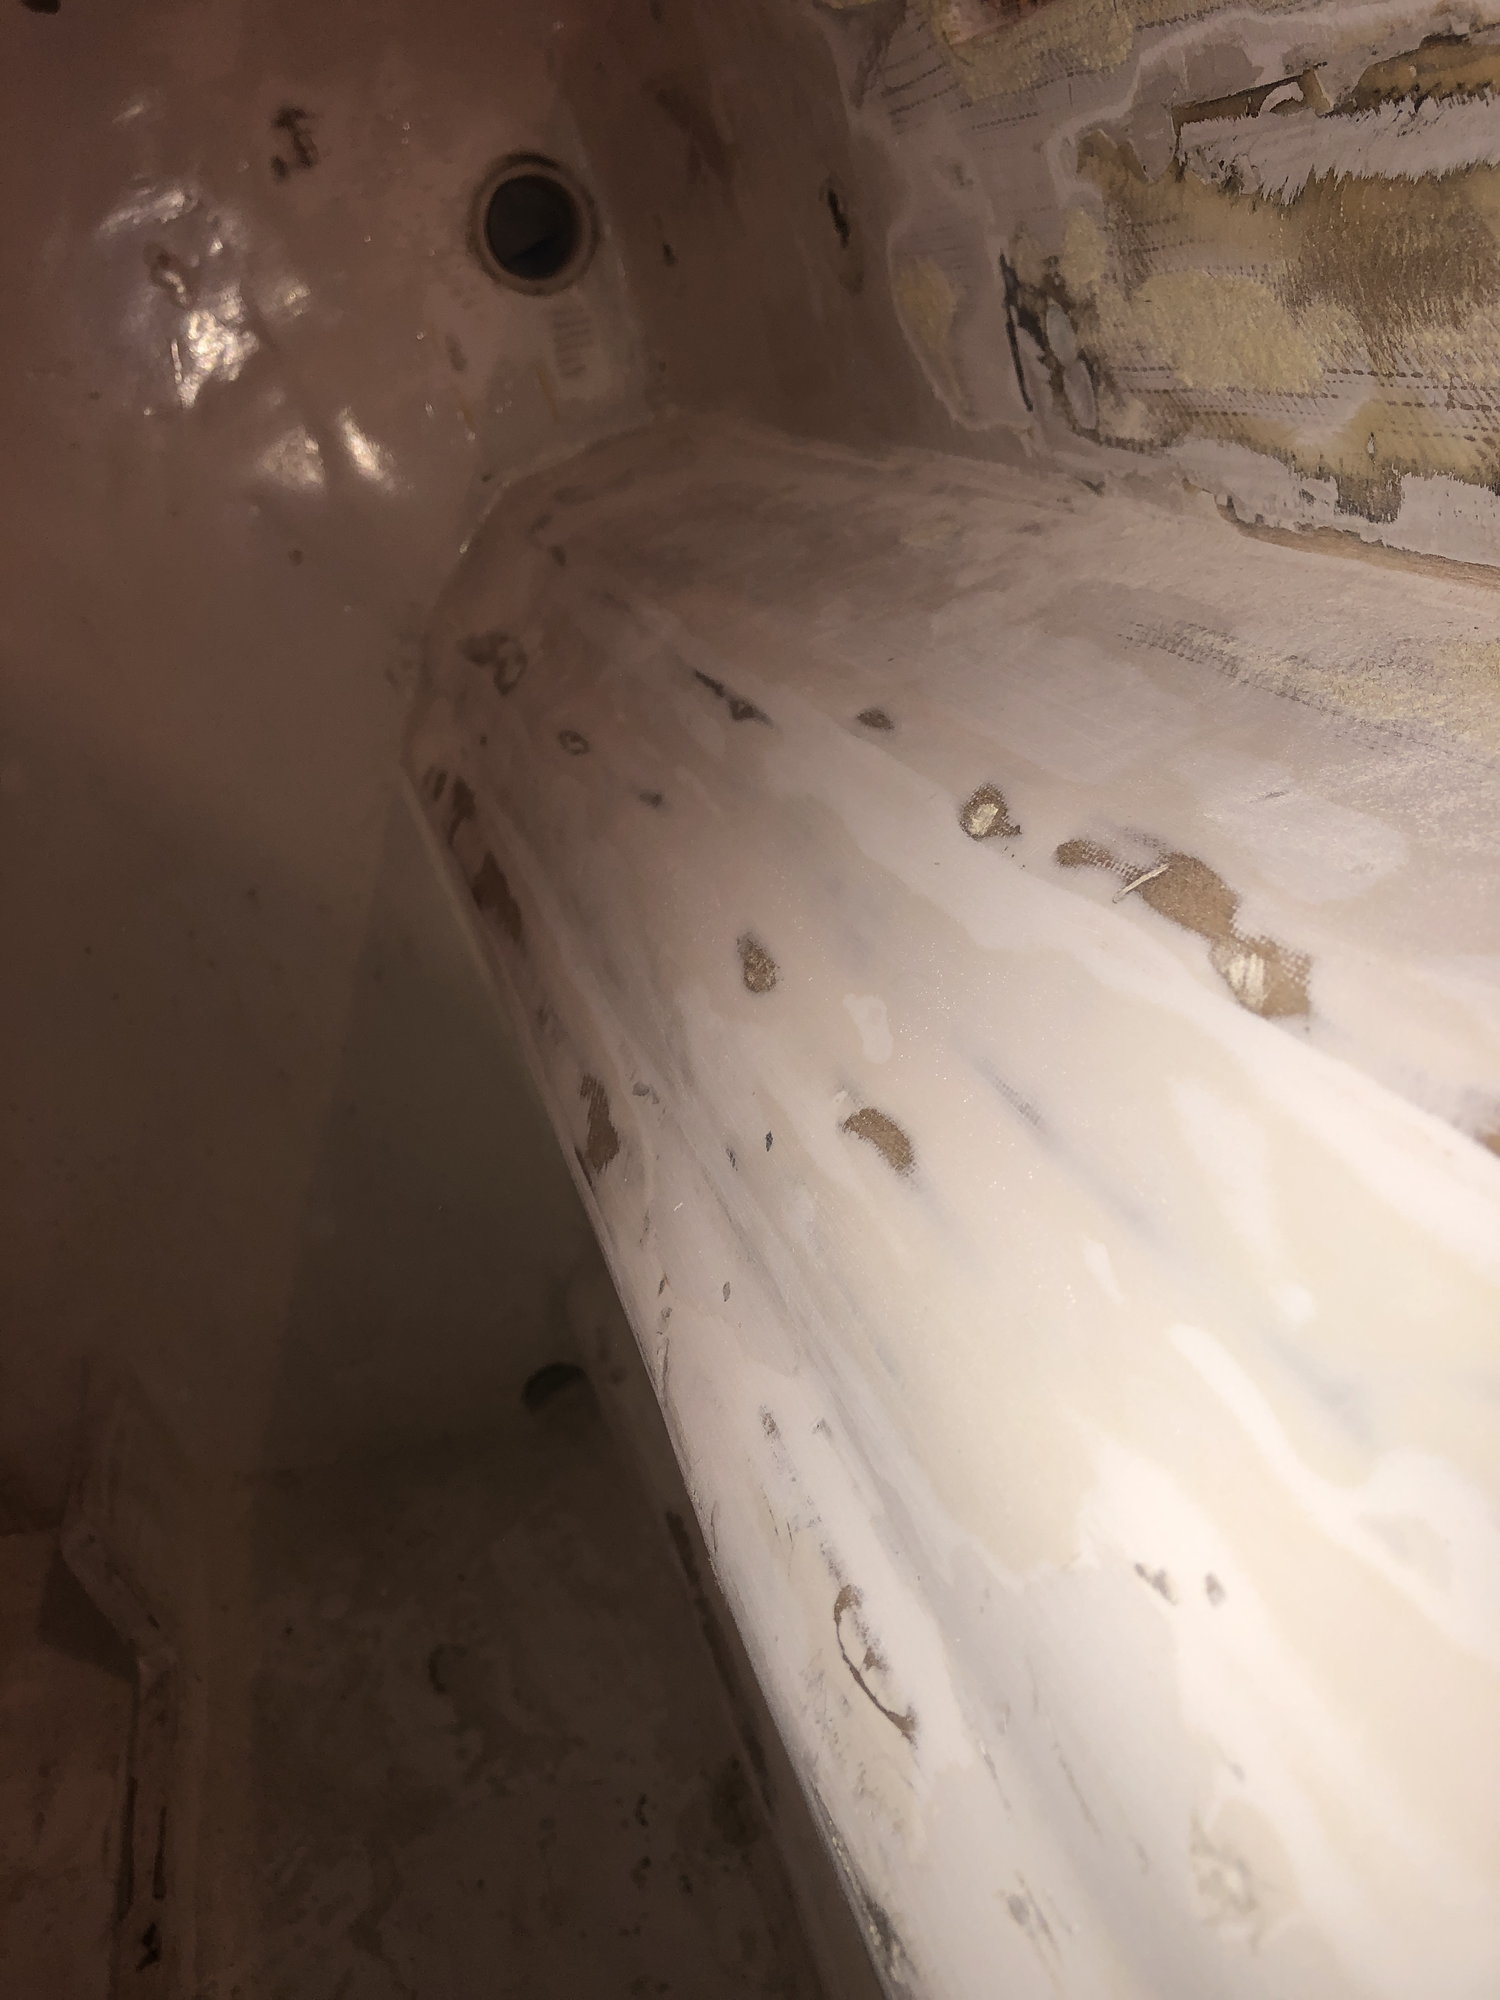
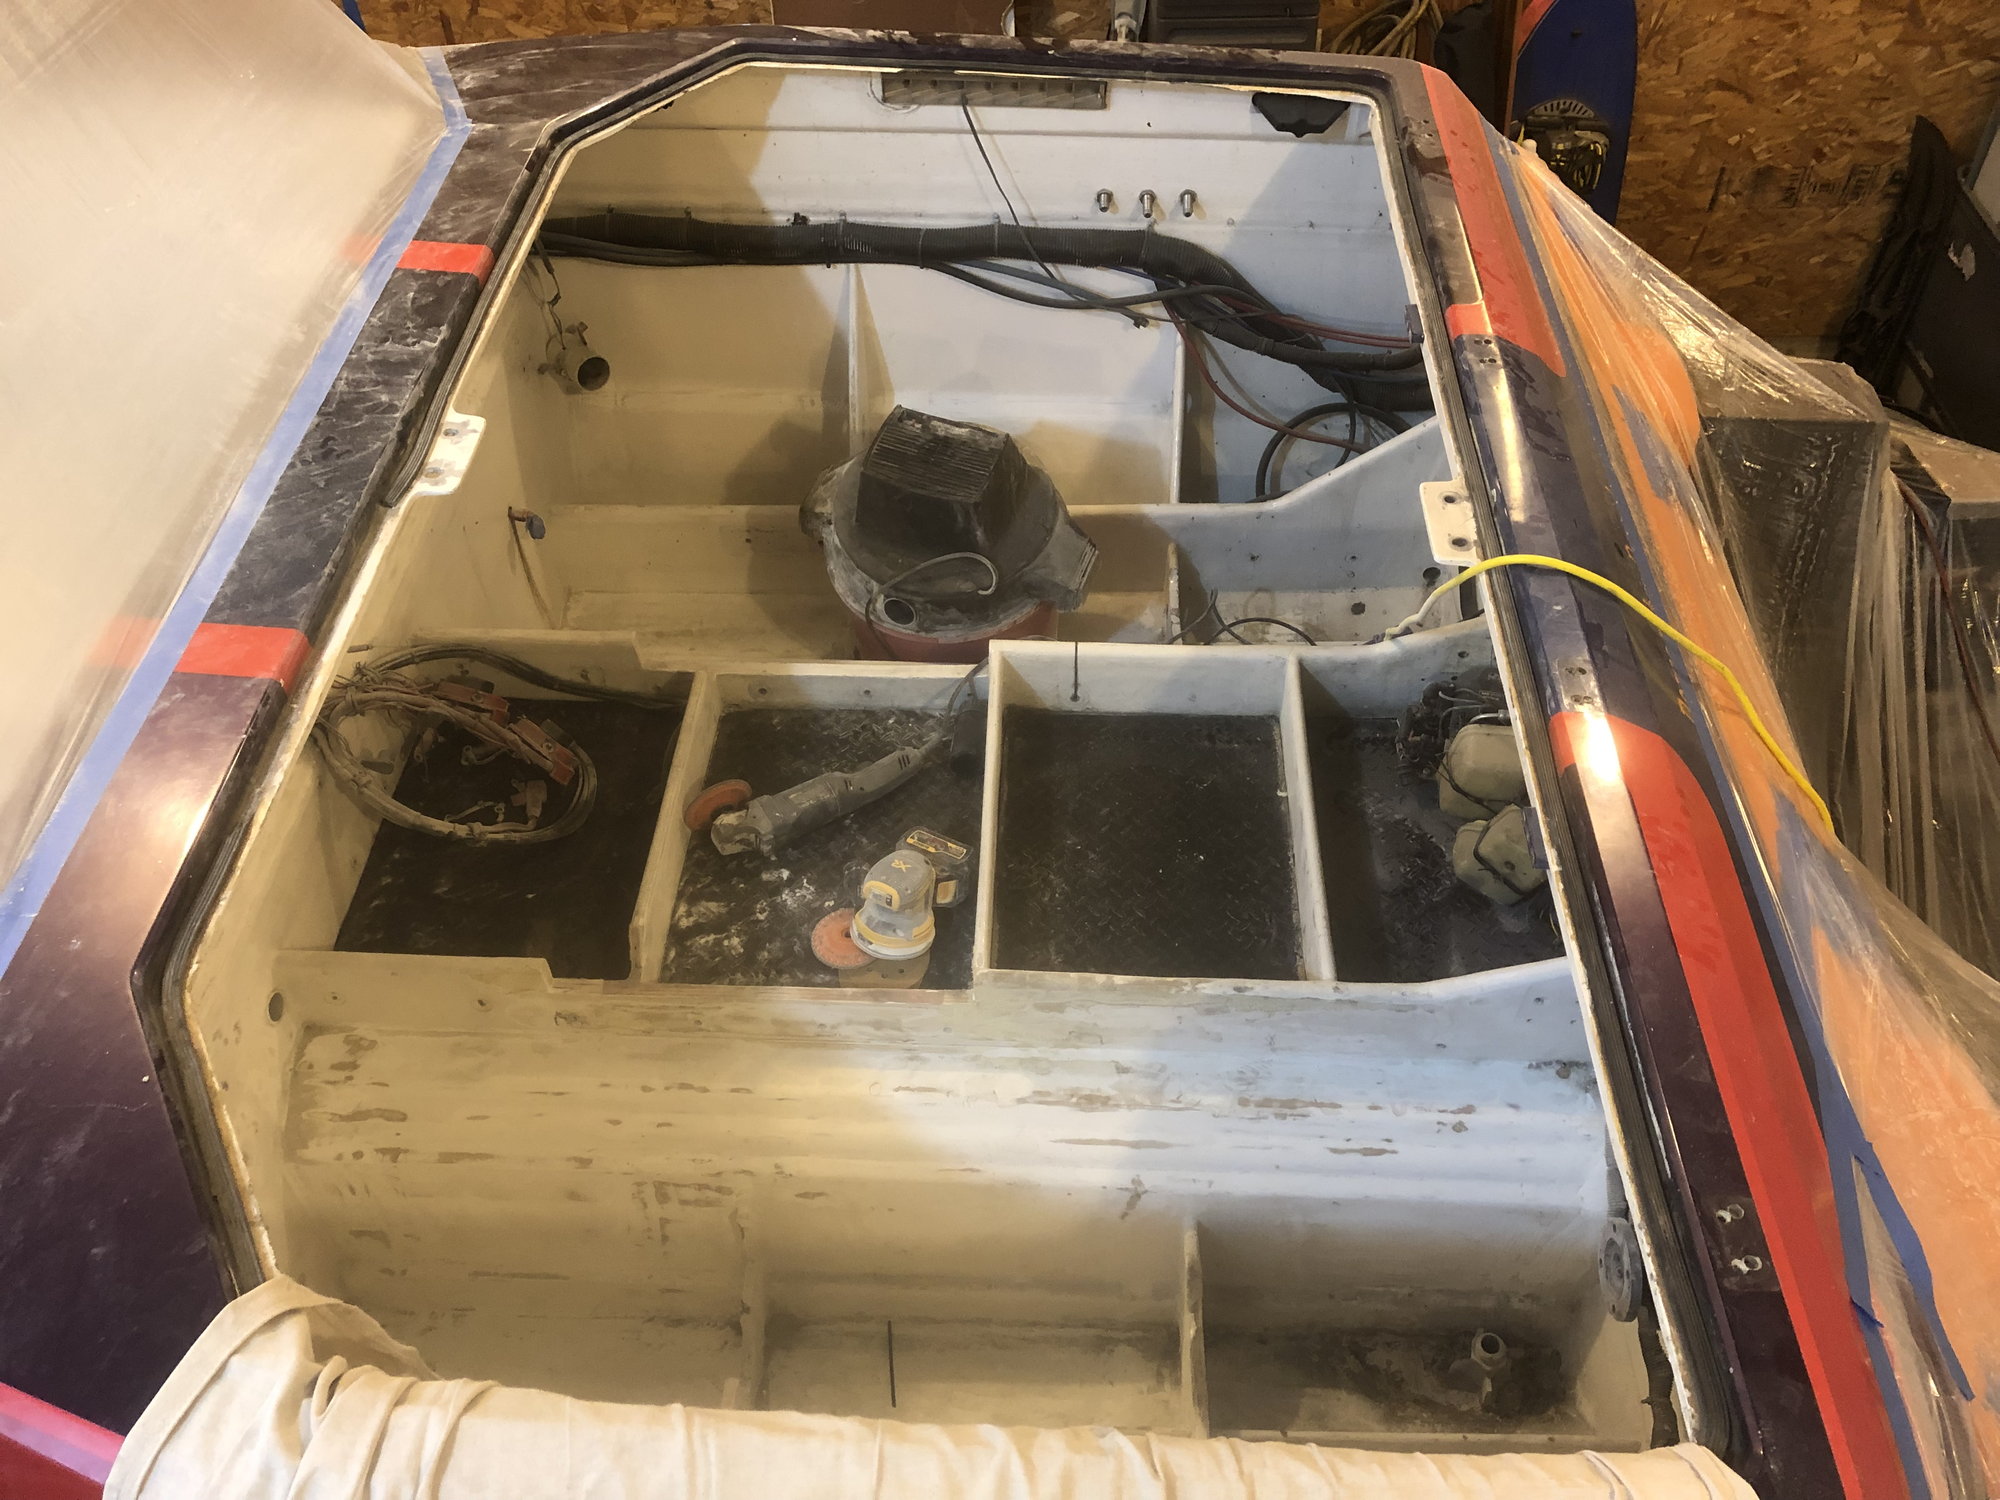
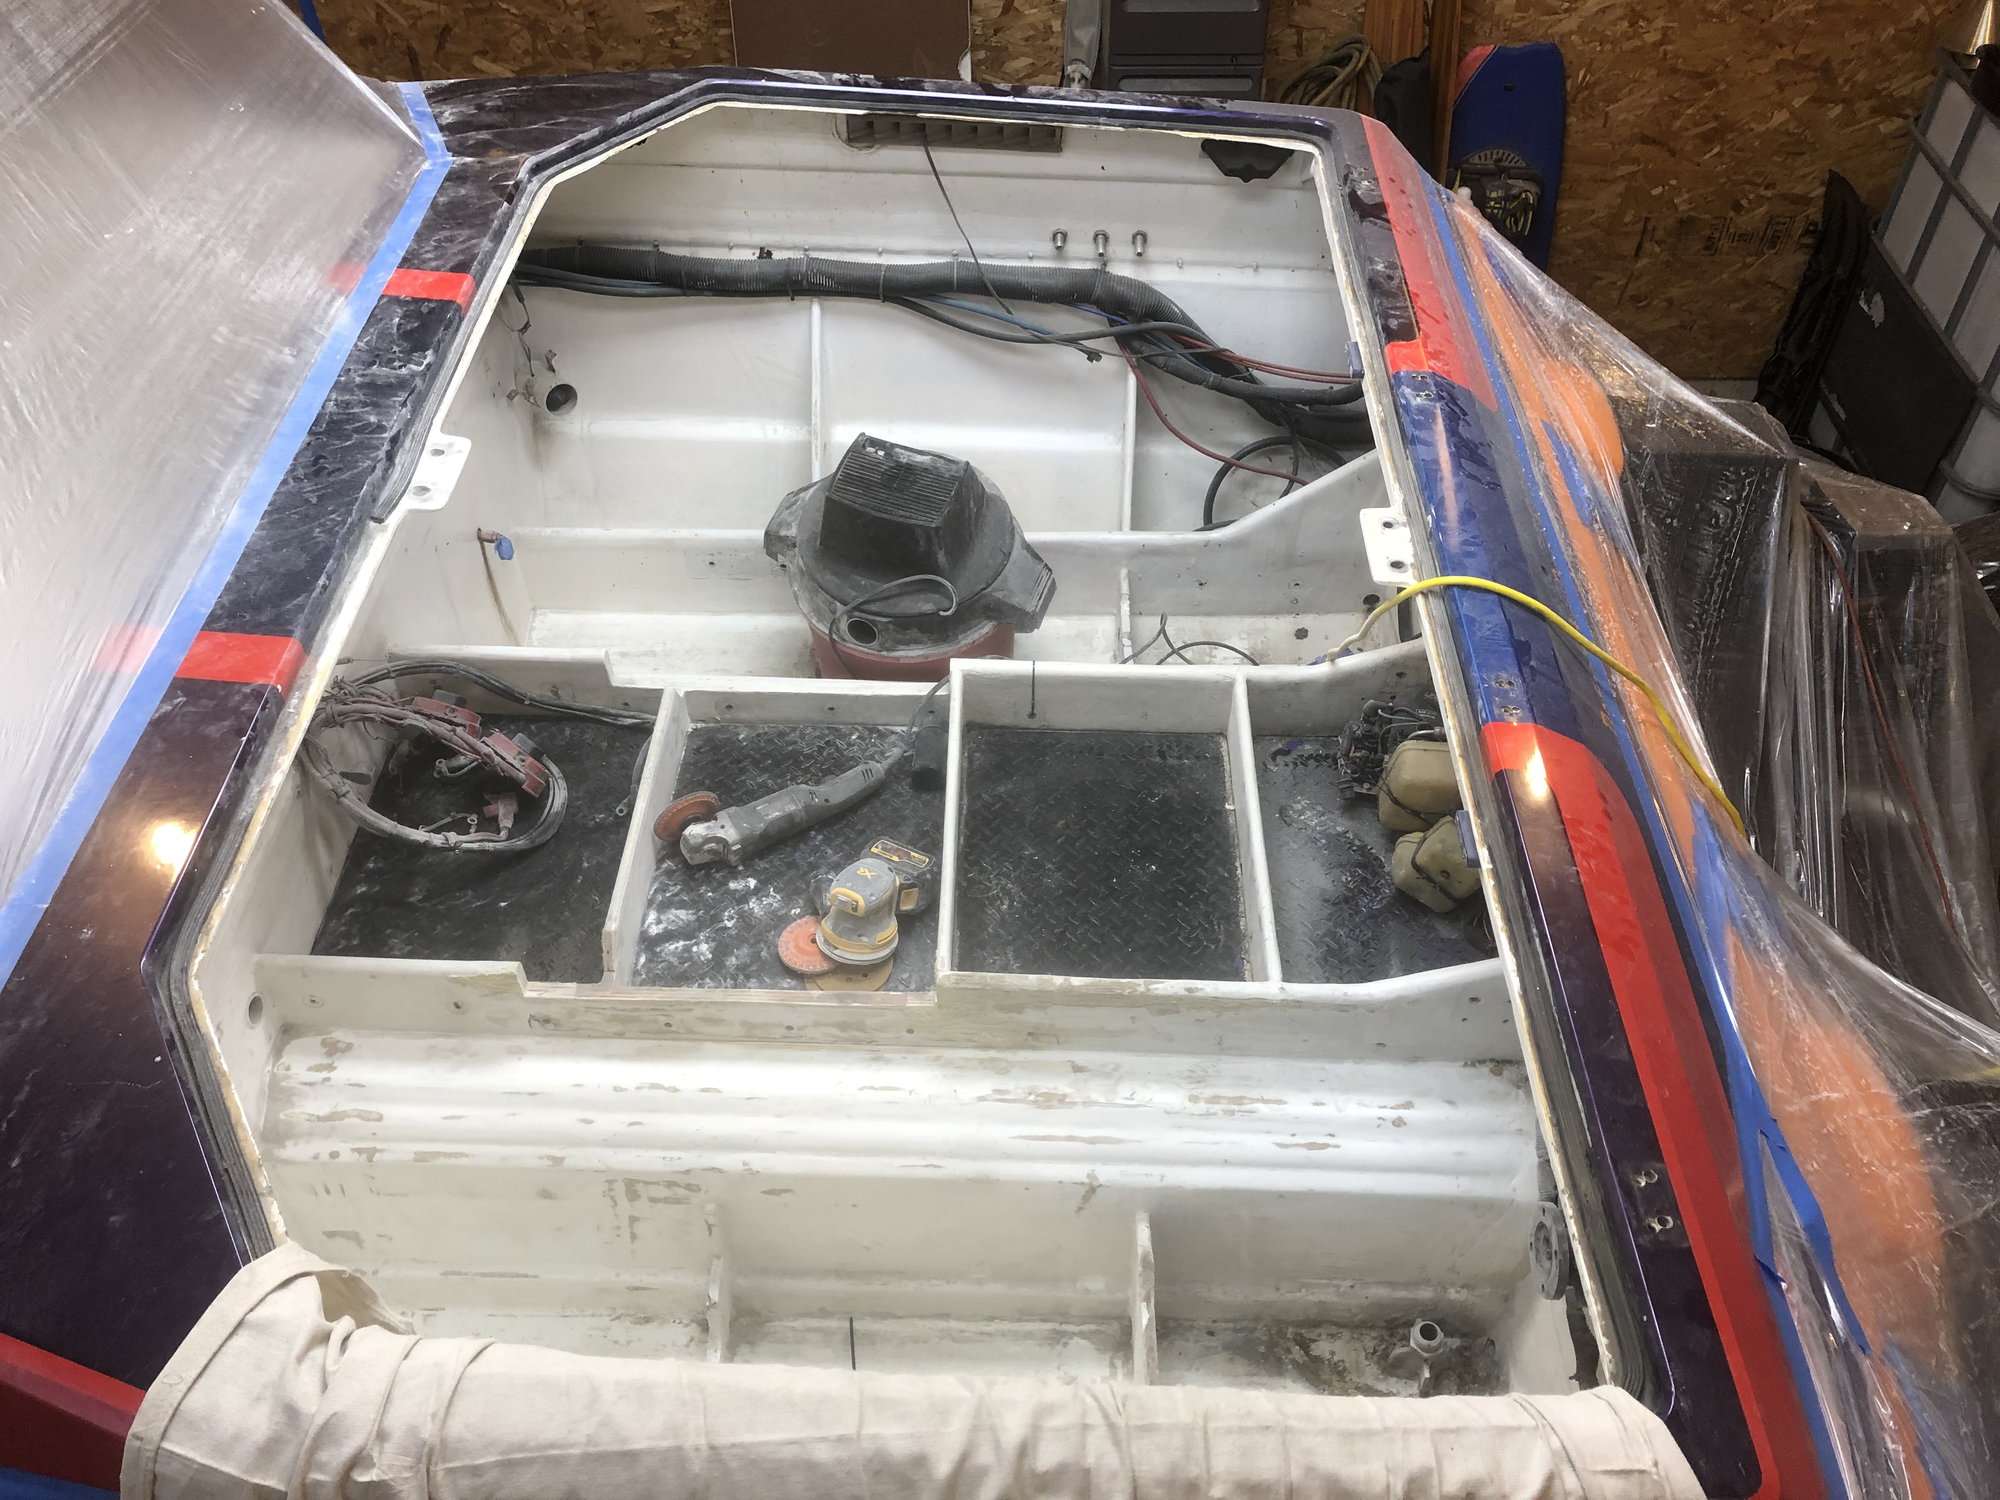
I wanted to fill in the stringers that had been cut down and kind of just went off the deep in with sanding in the bilge for paint and what not. The boat came with a single hatch that opens front to rear. I am thinking about either going back to the barn doors that open to the outside of the boat or making two skinnier hatches that open toward the middle of the boat. Either way I would like to have a hatch in the center for fenders and ropes... possibly a cooler.
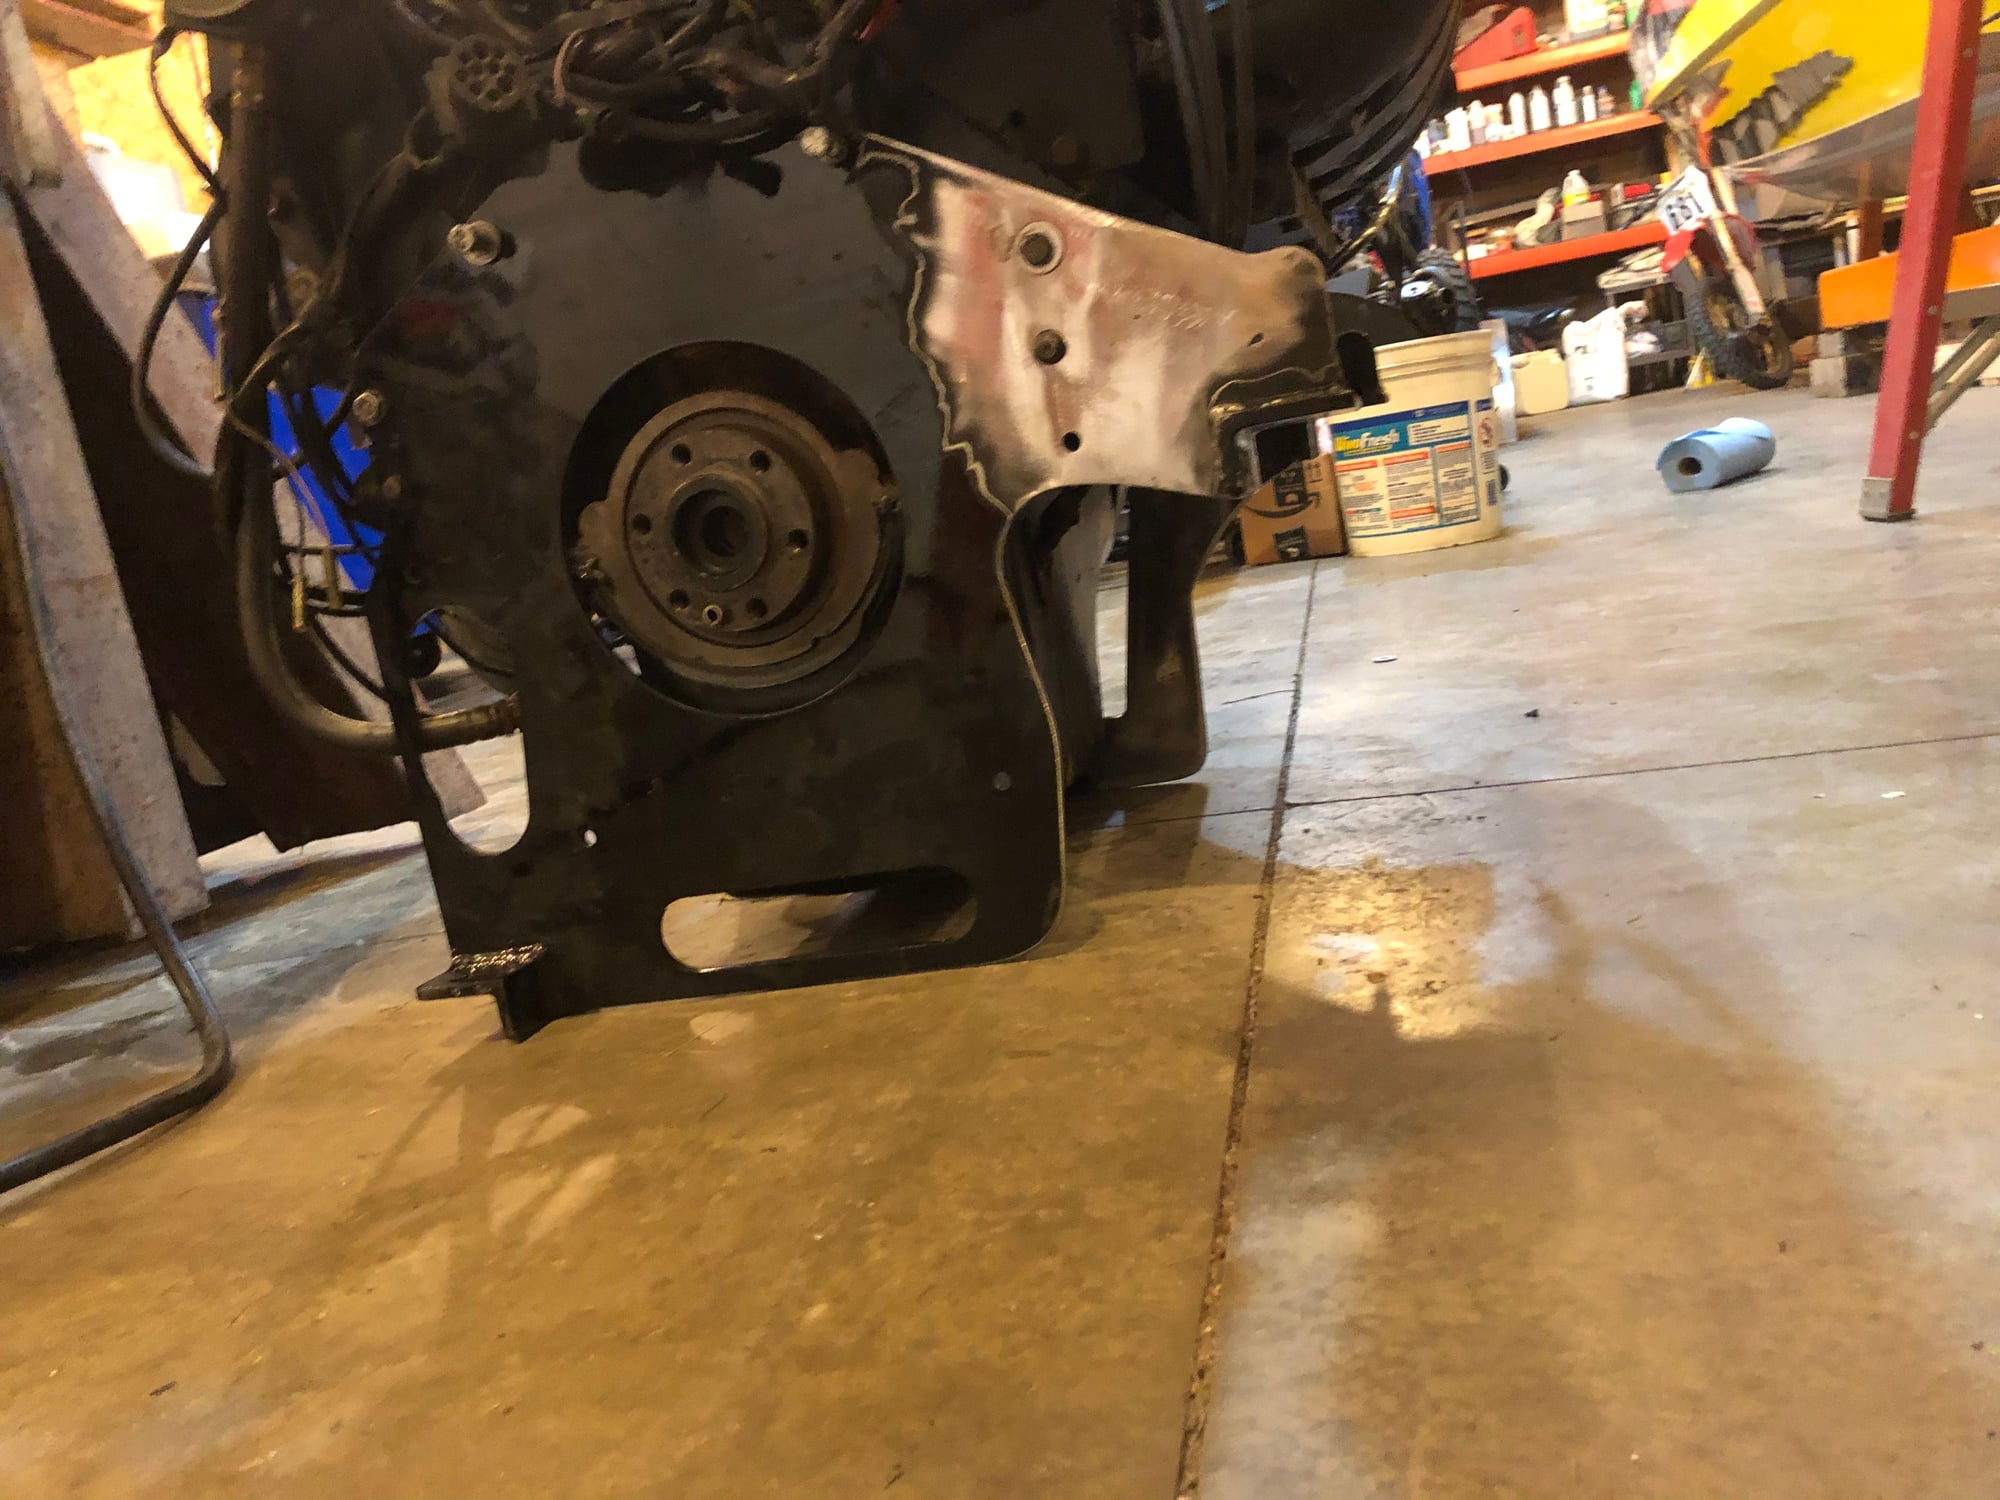
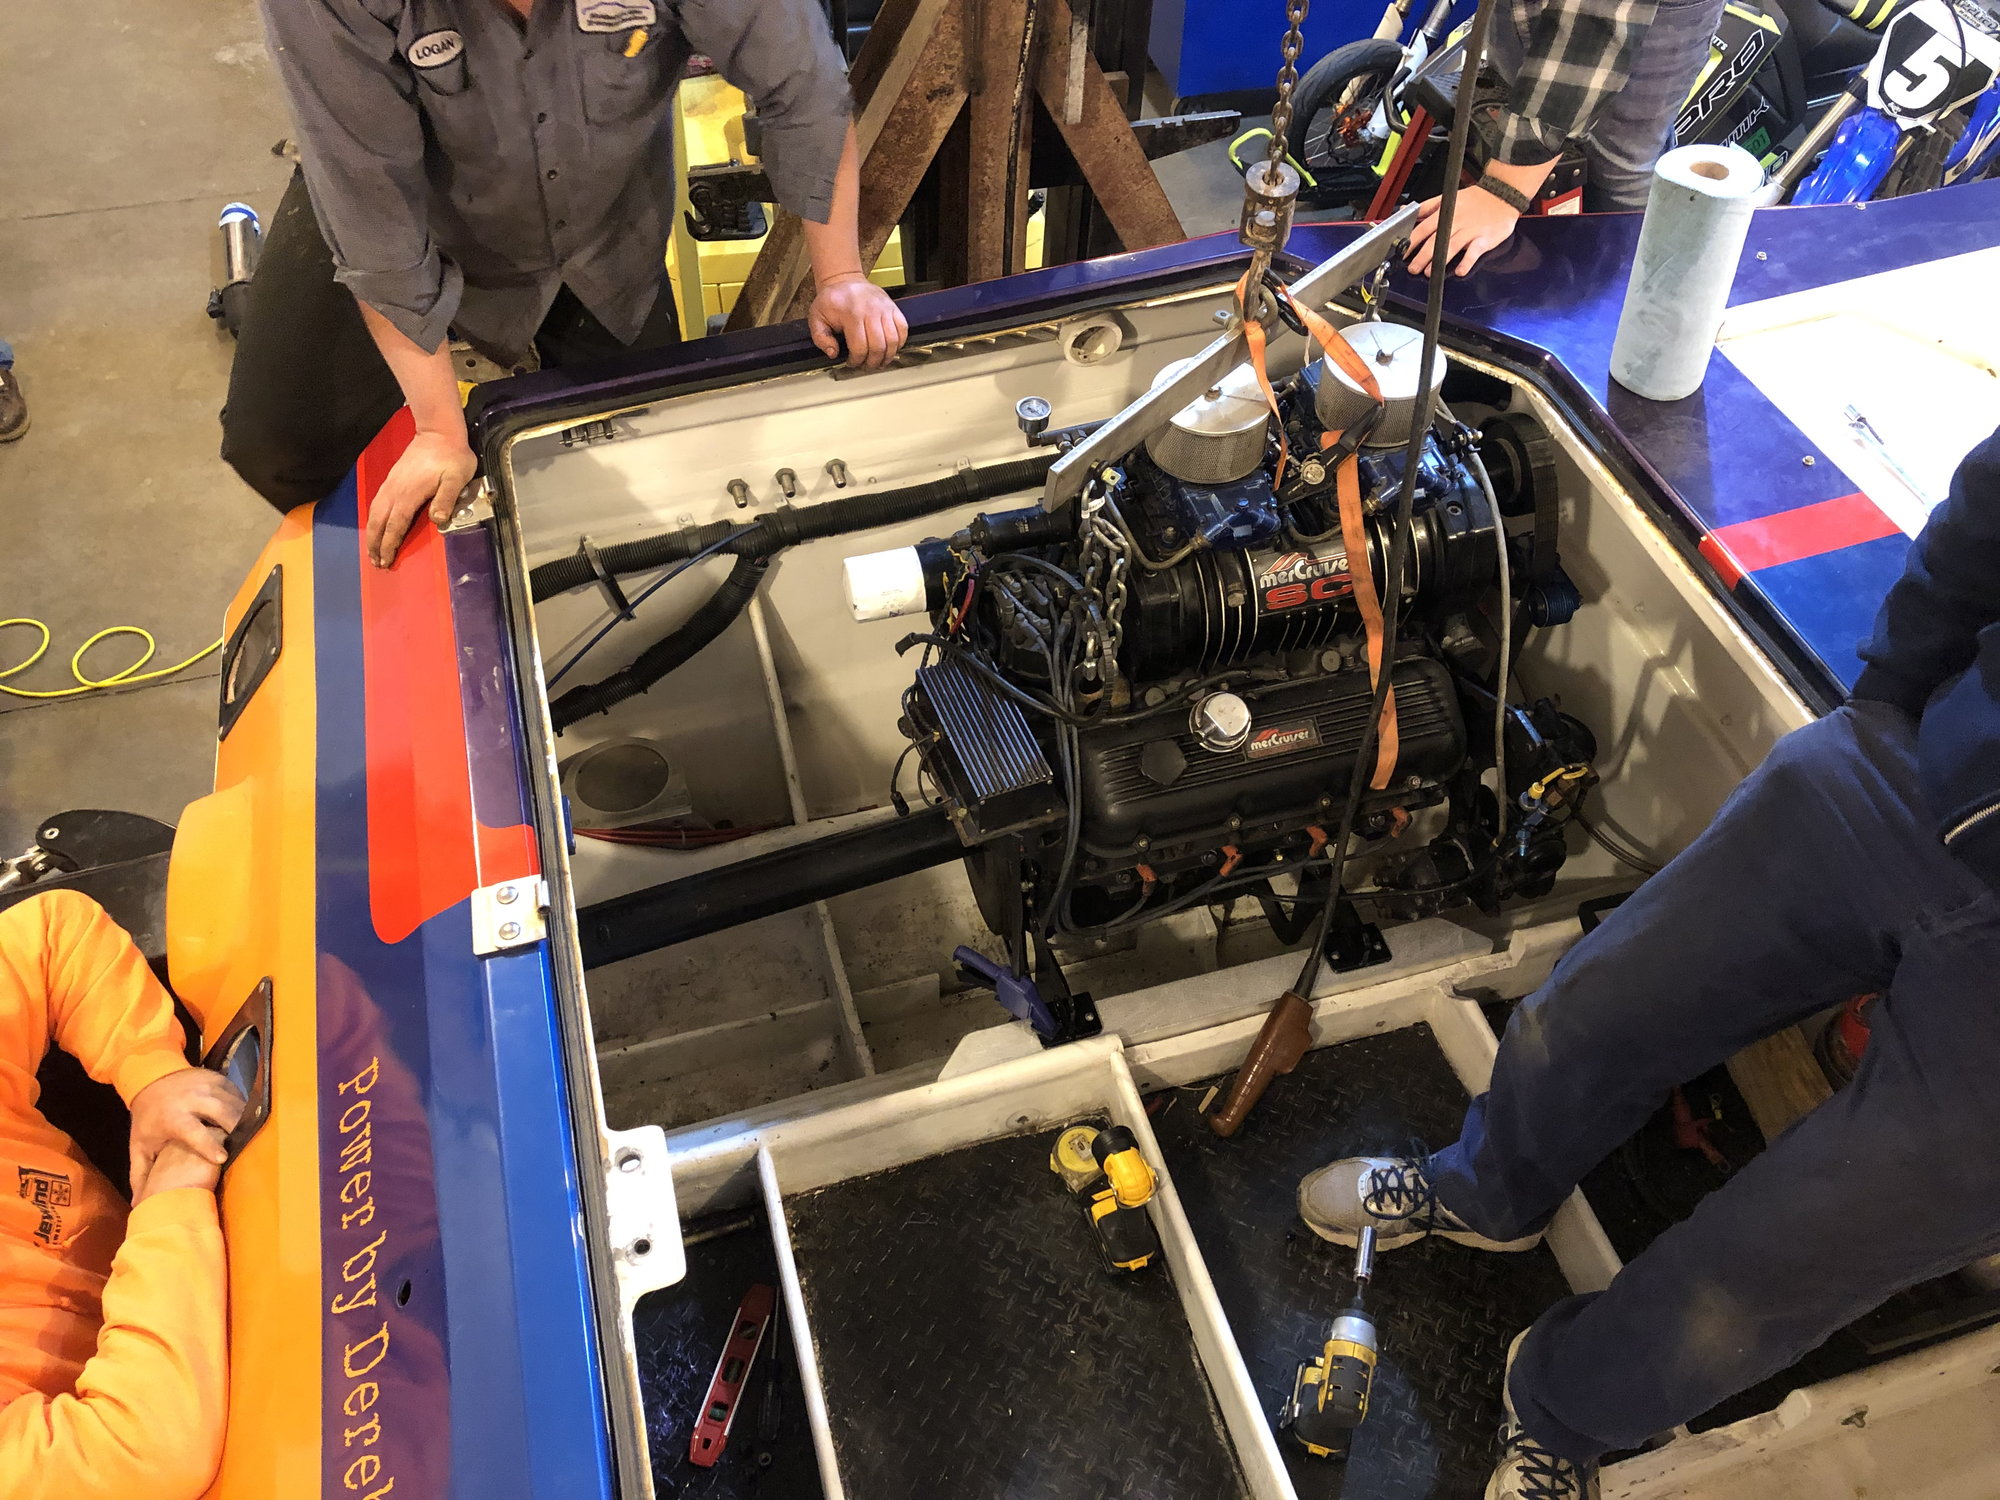
Mounts on the motor
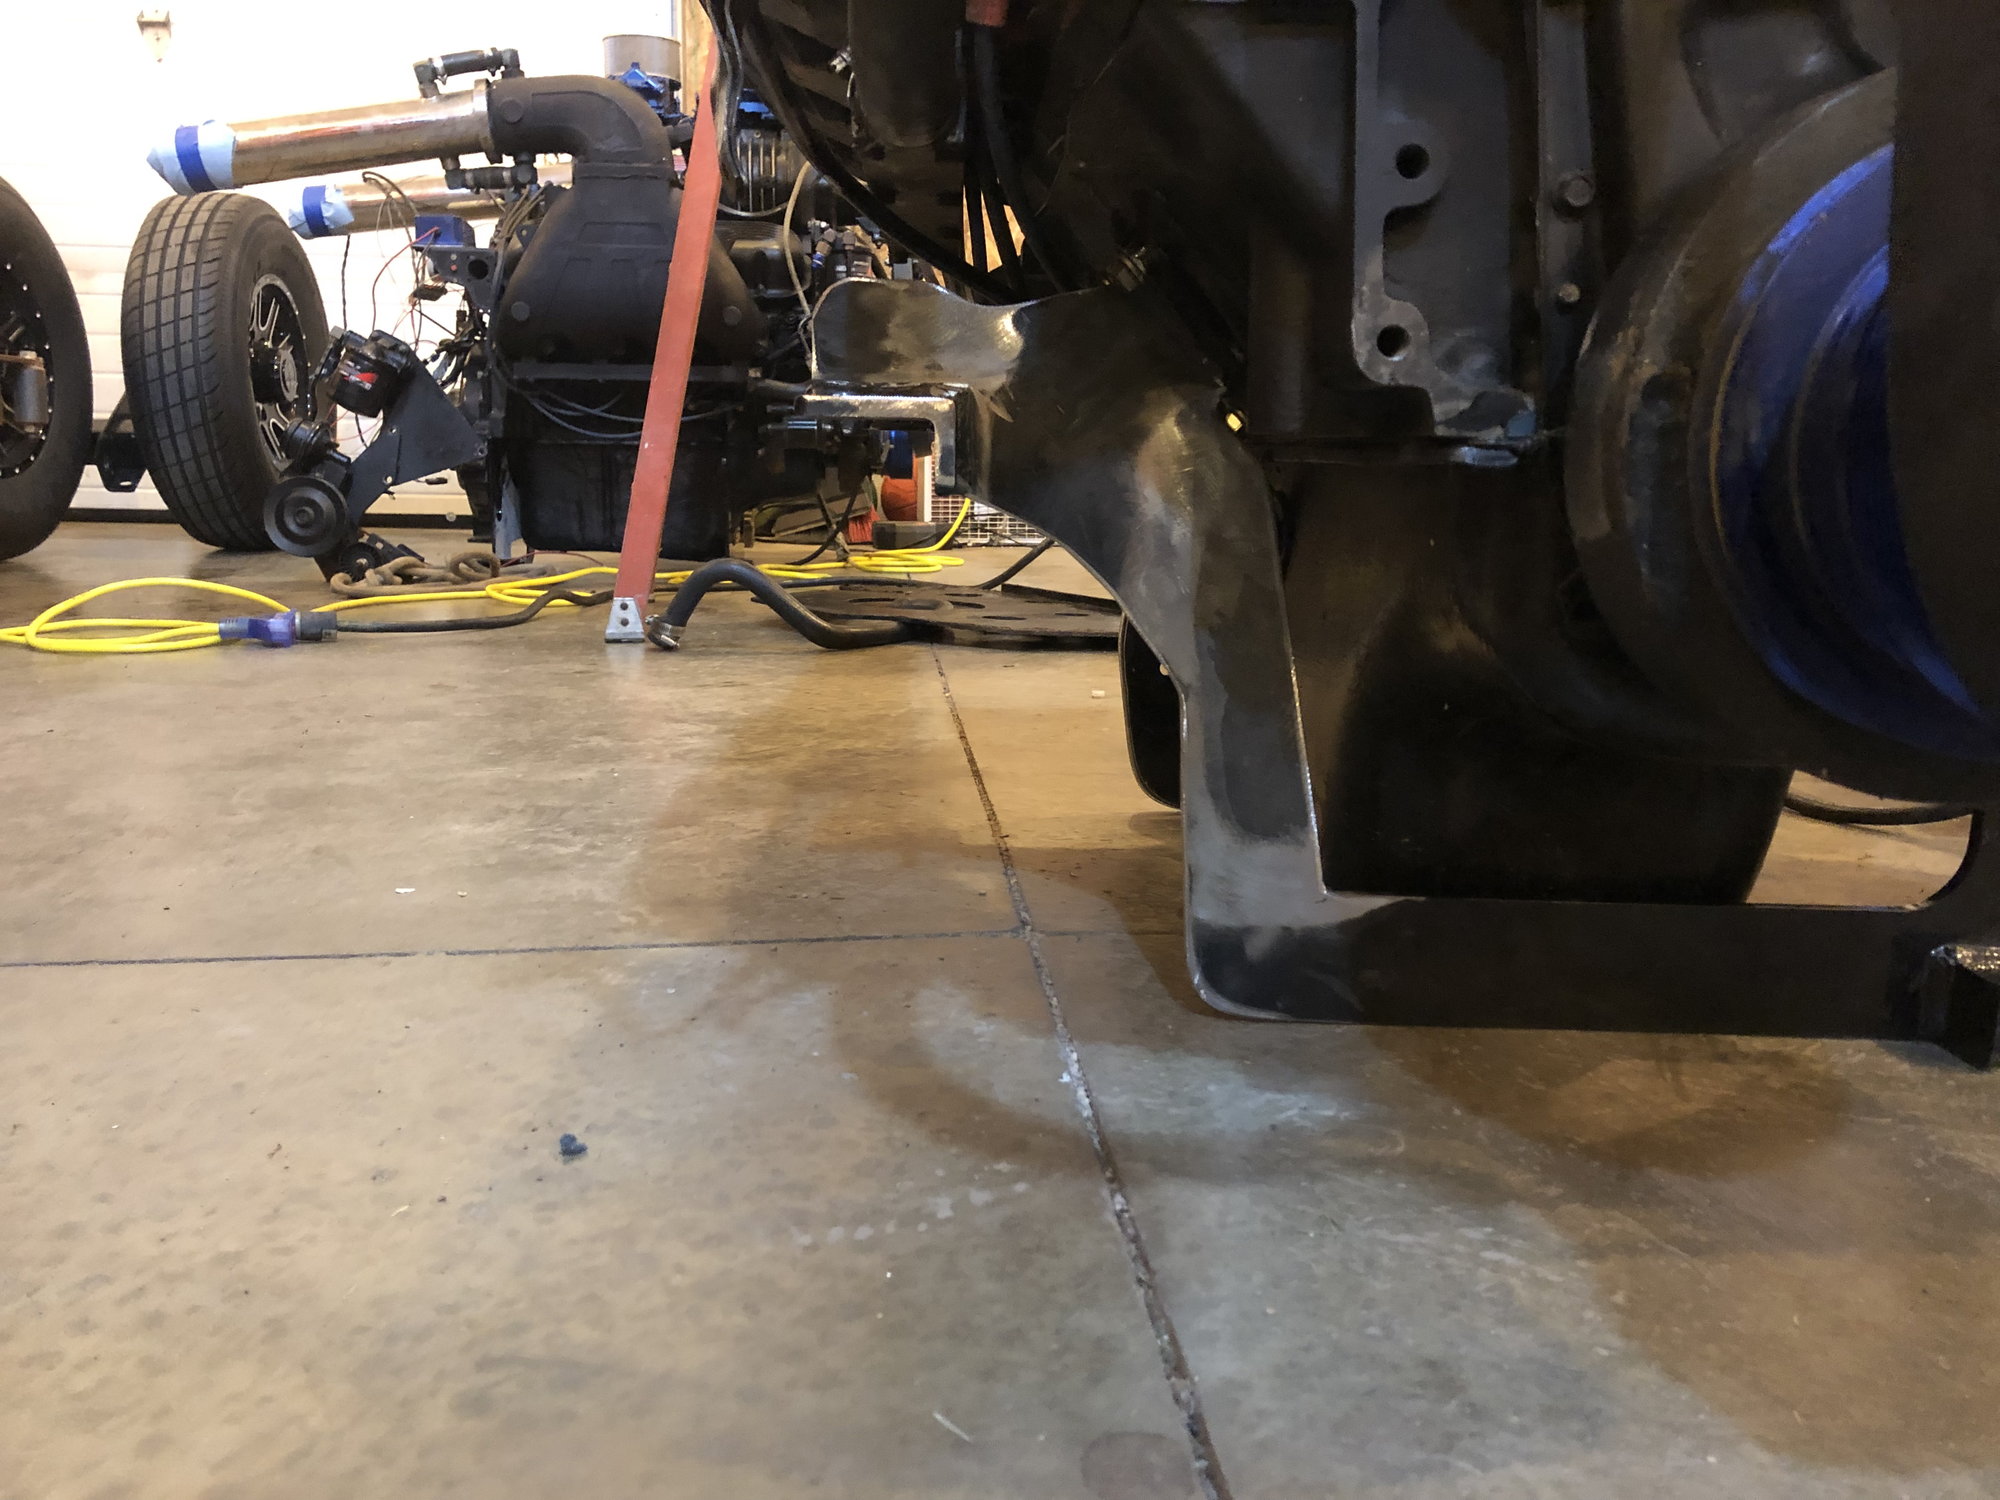
The begining of a long journey
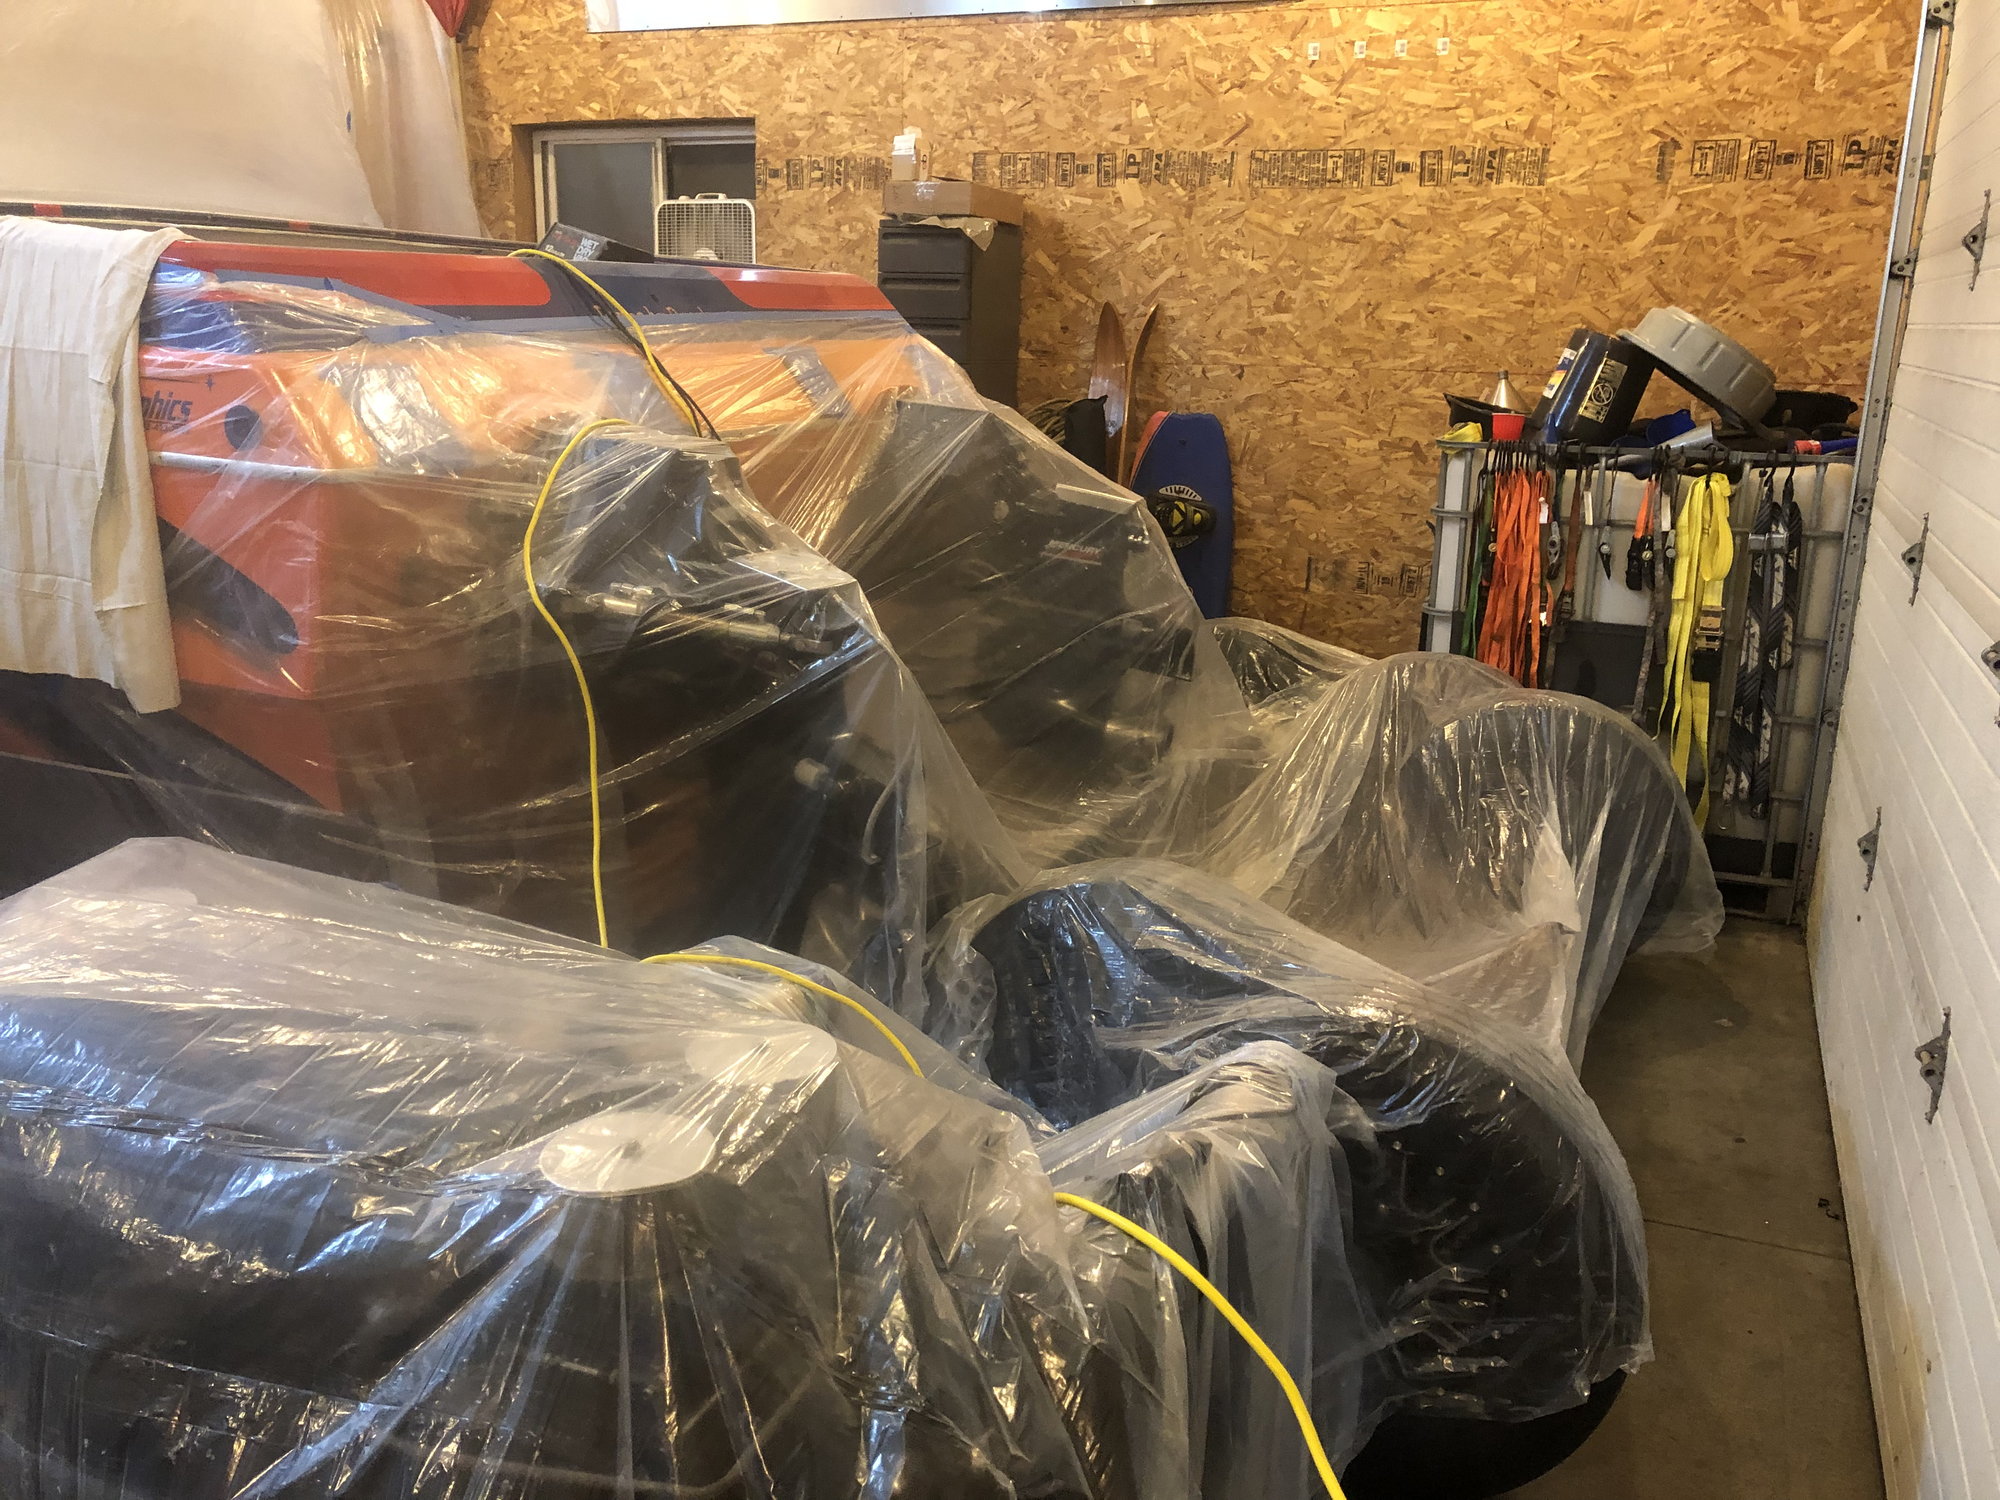
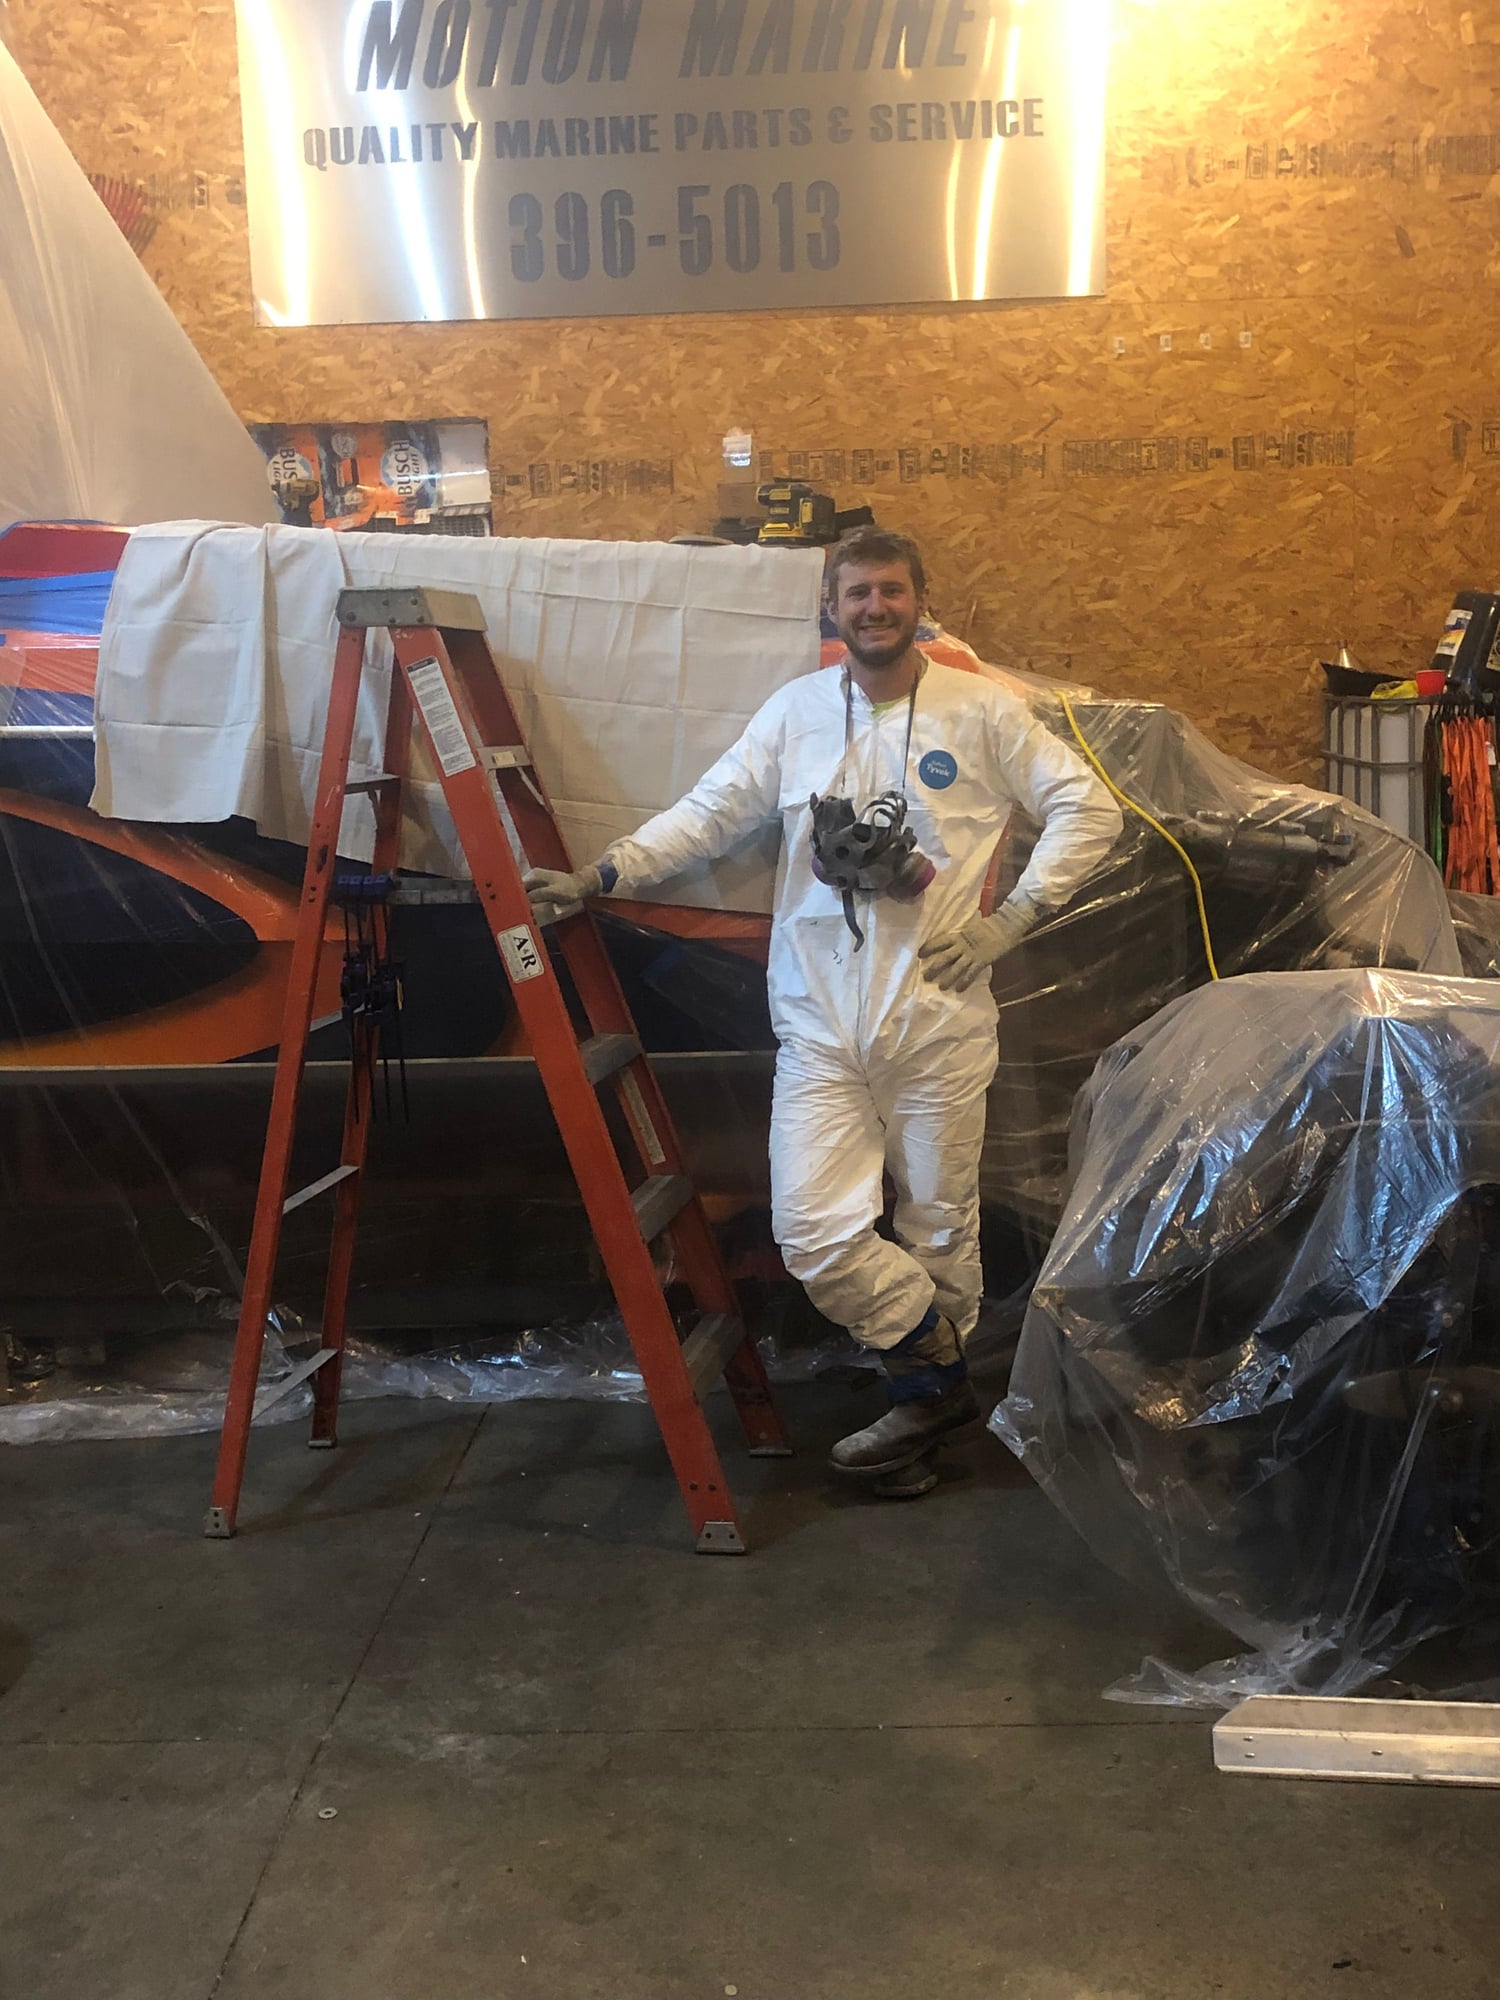
Started sanding and figured it was time to split the barn in half with some plastic. I’ve got a few other toys nestled in there and didn’t want to have to detail them after sanding and now I only have to heat half of the barn!

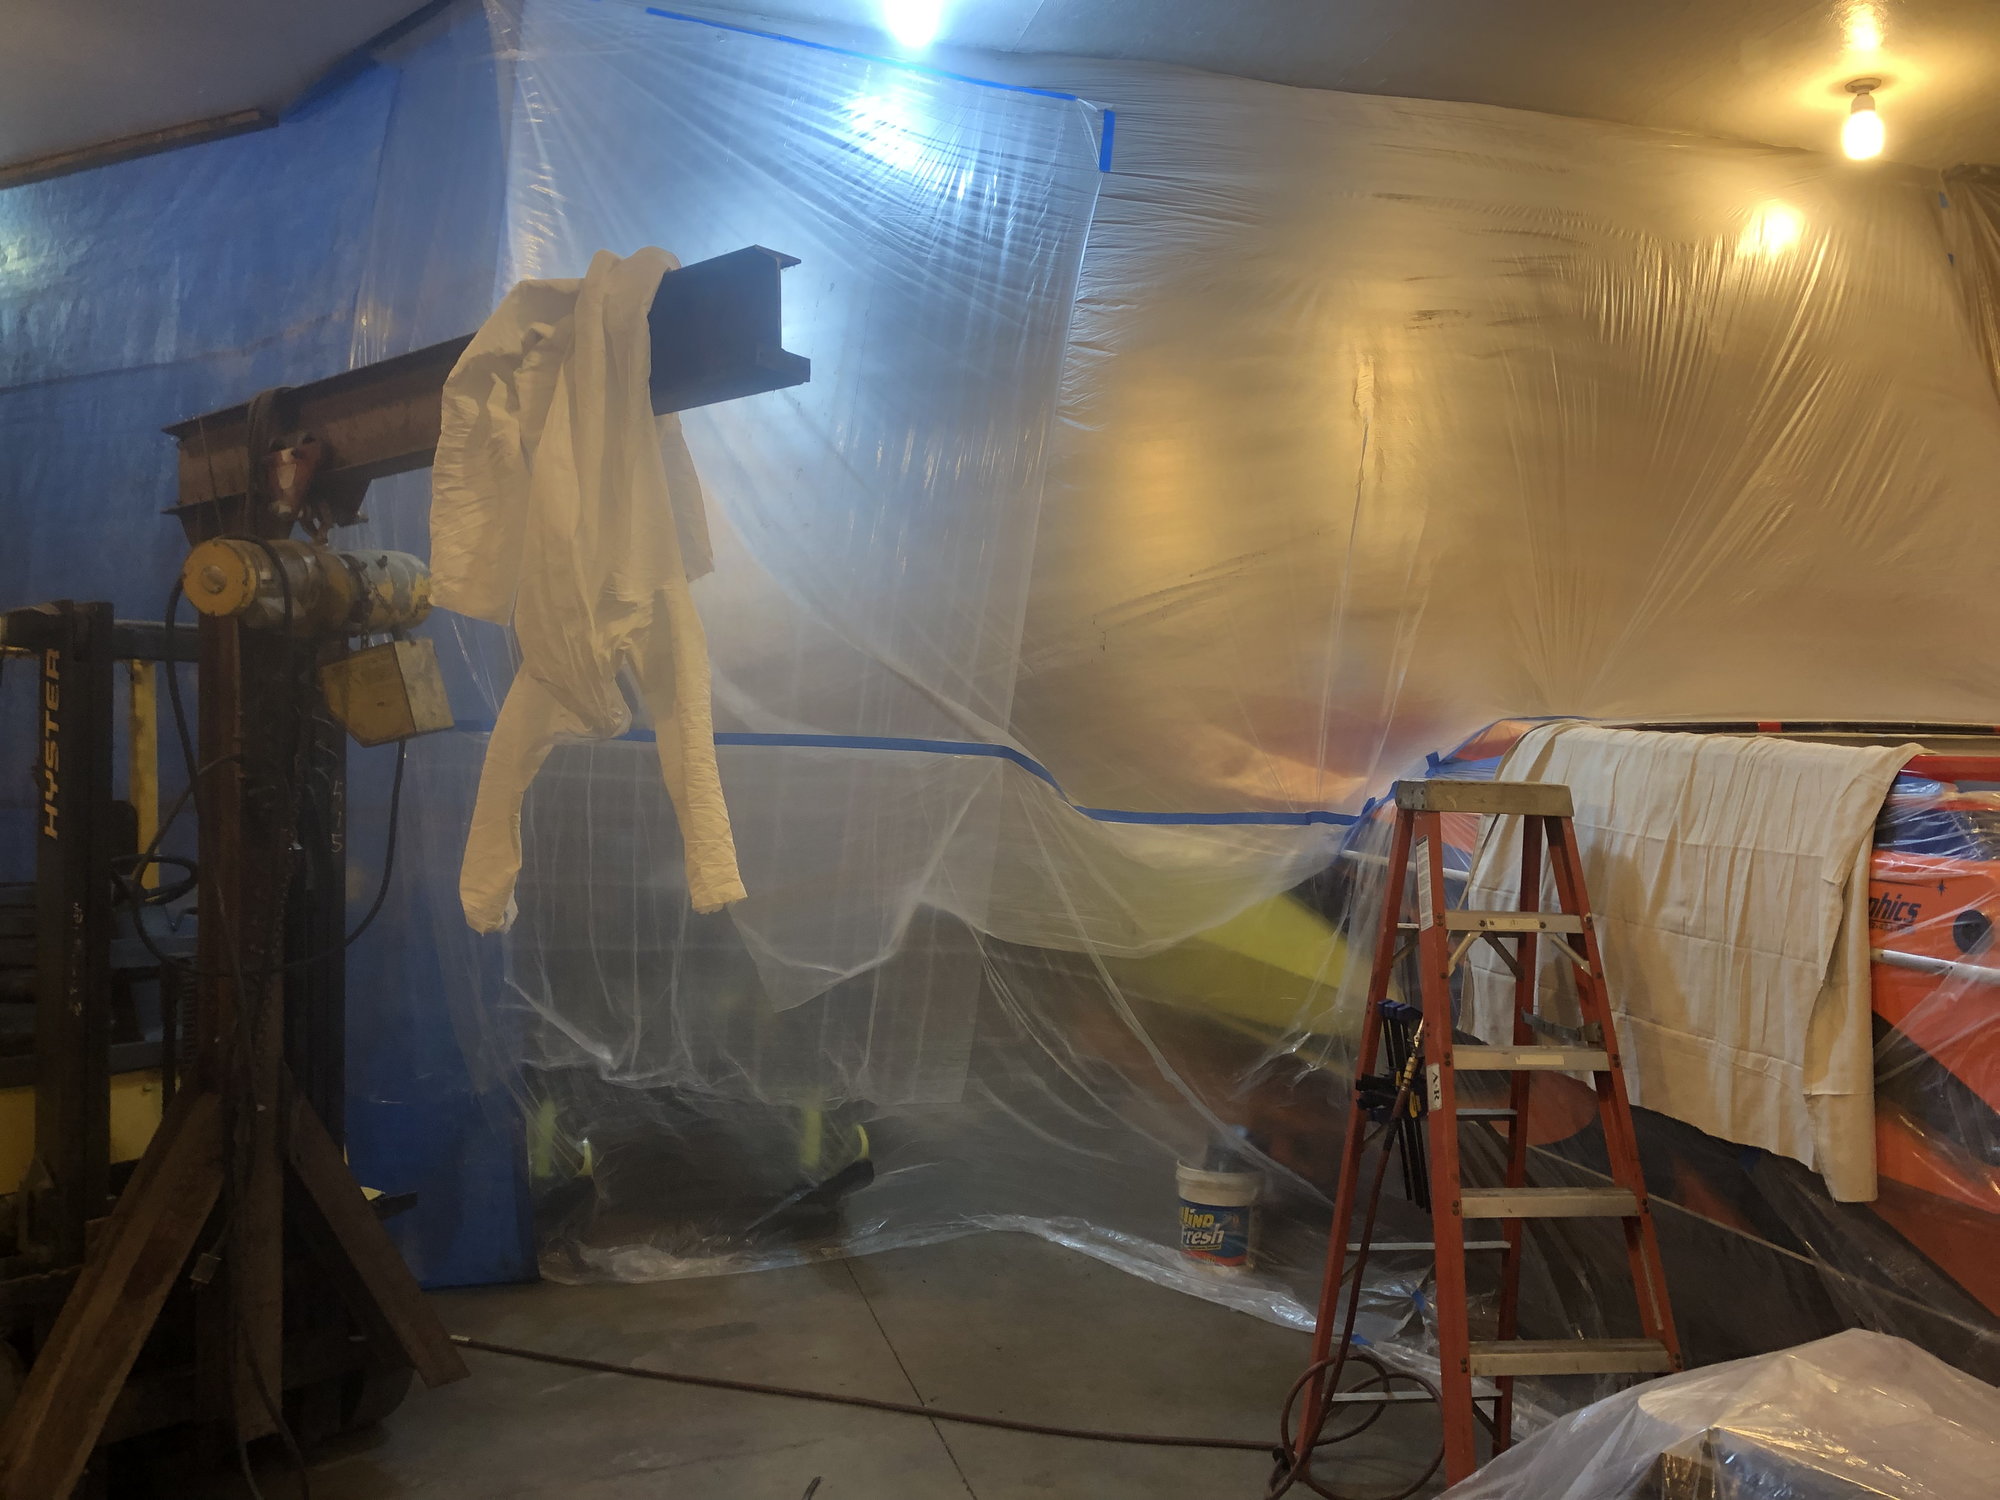
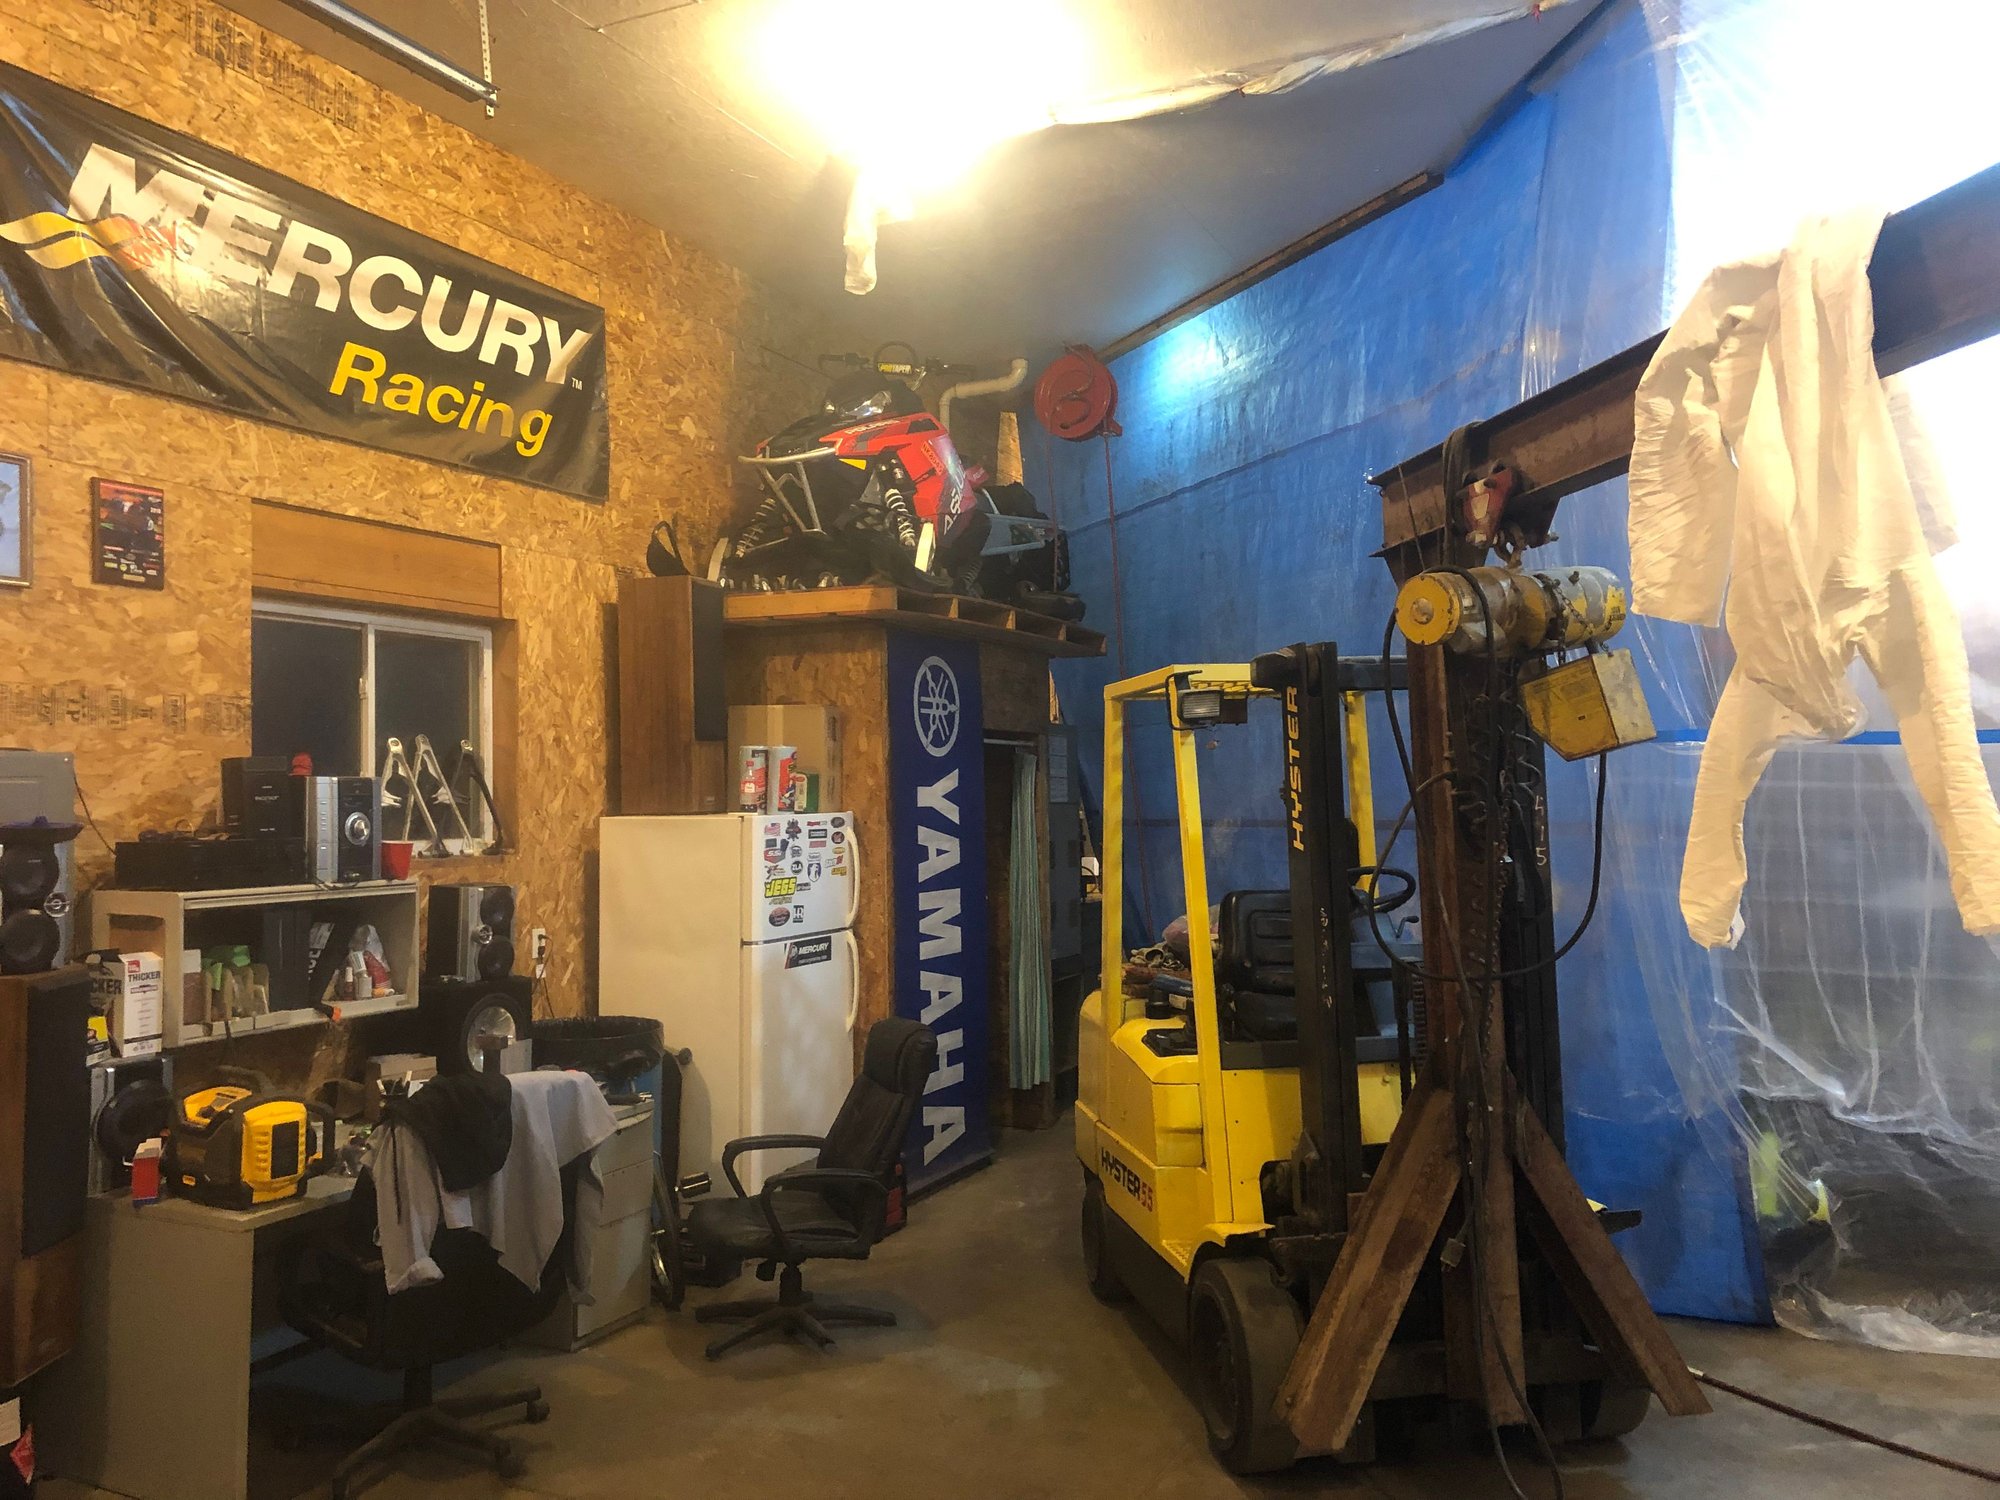
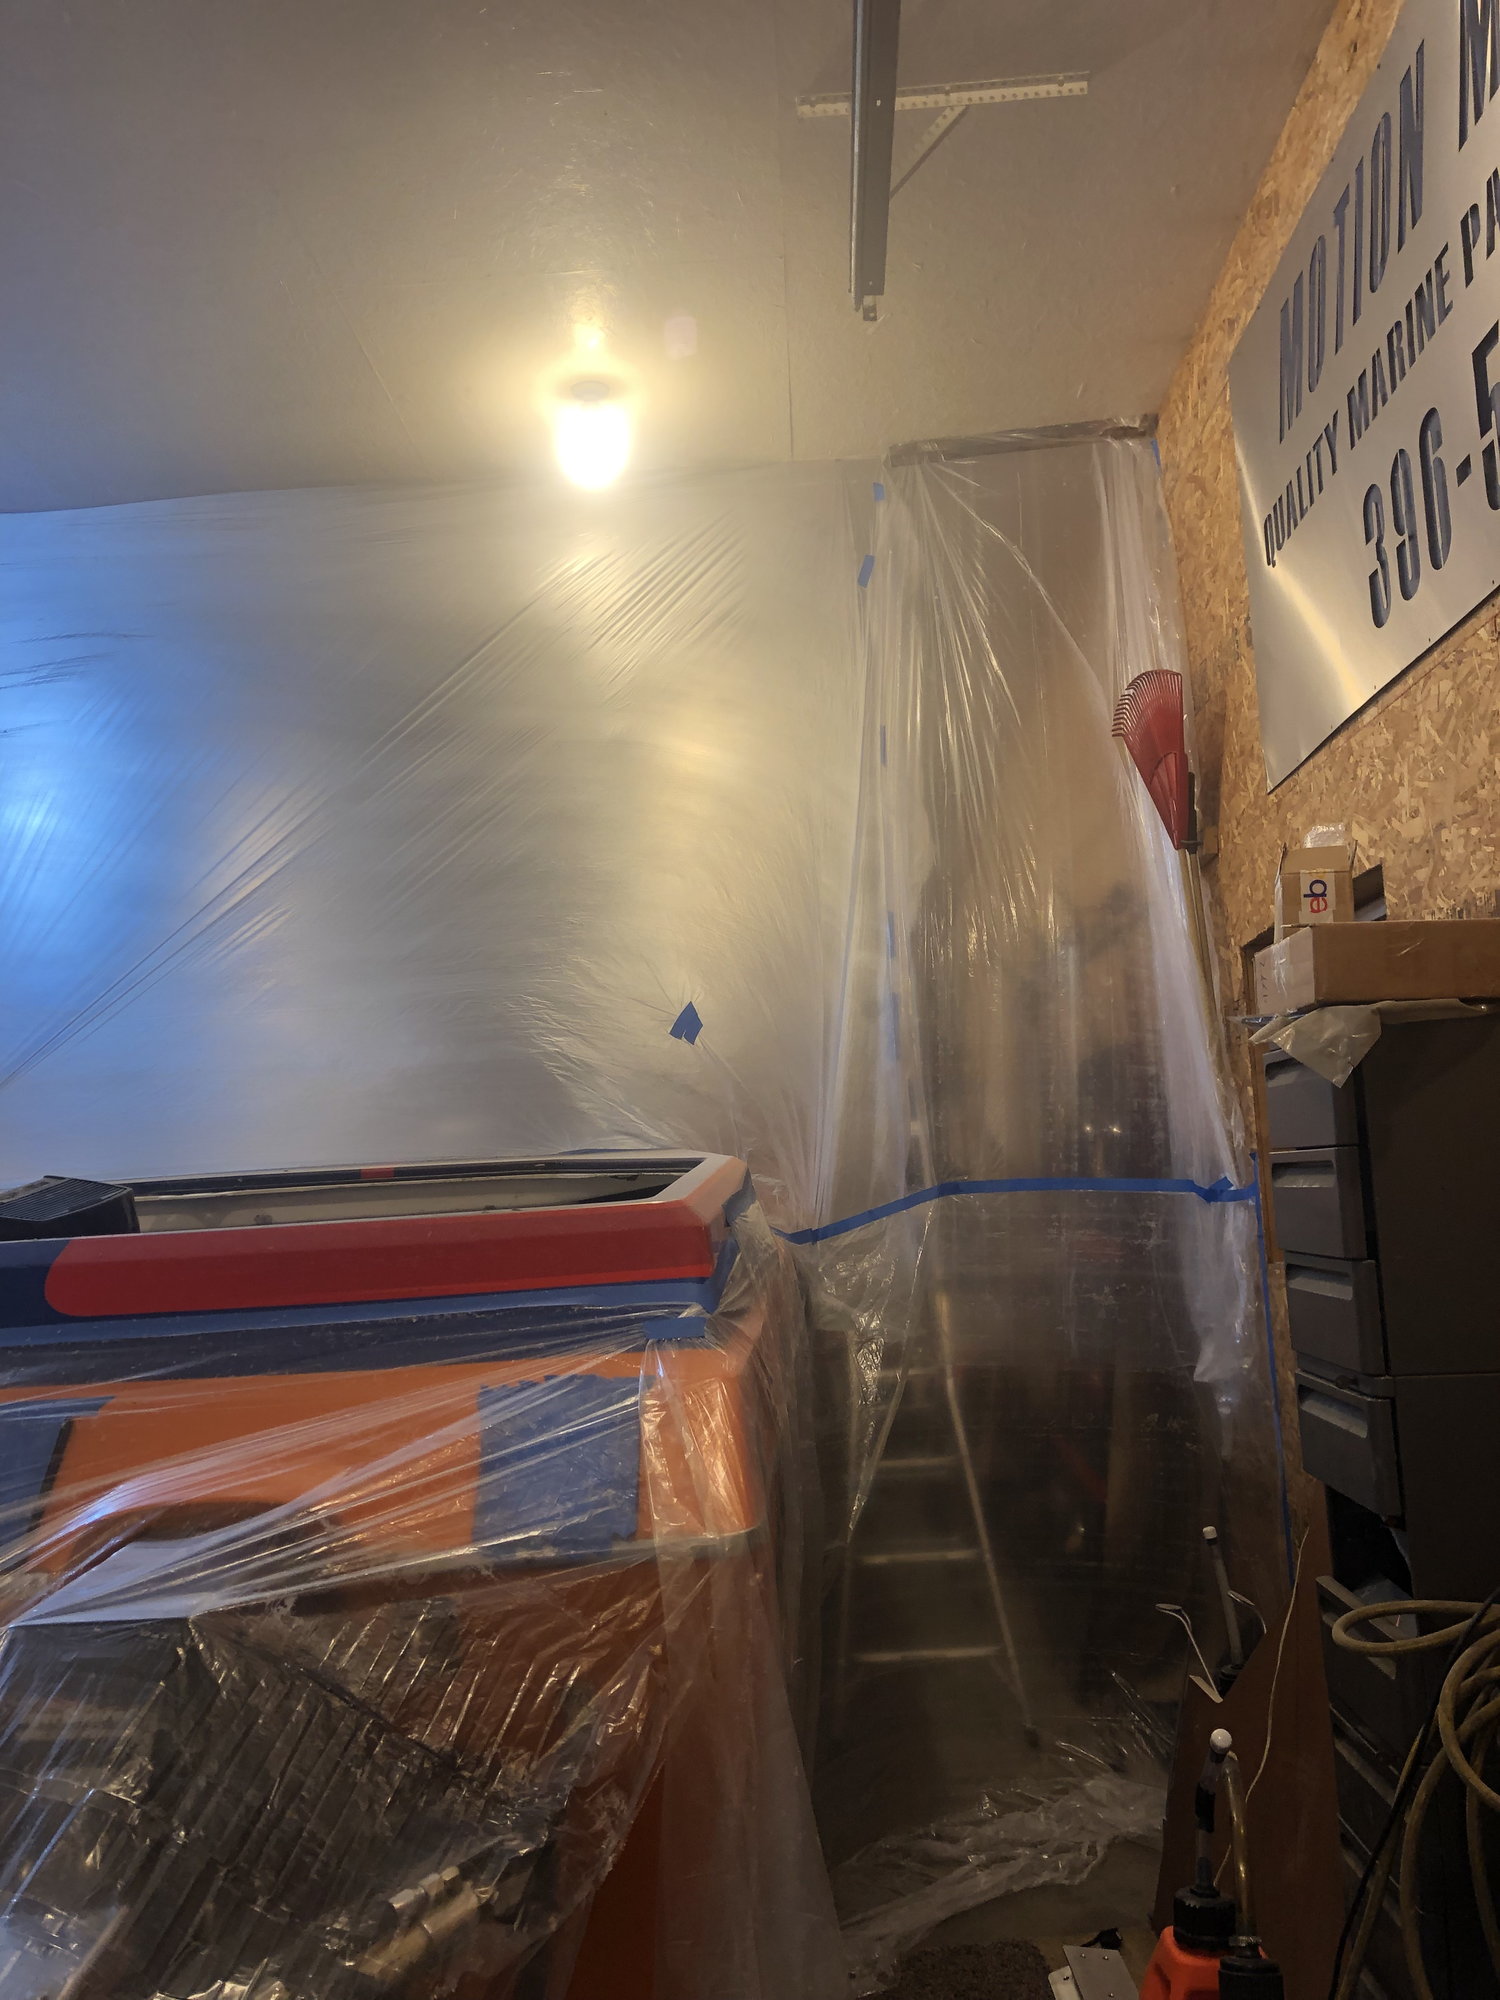

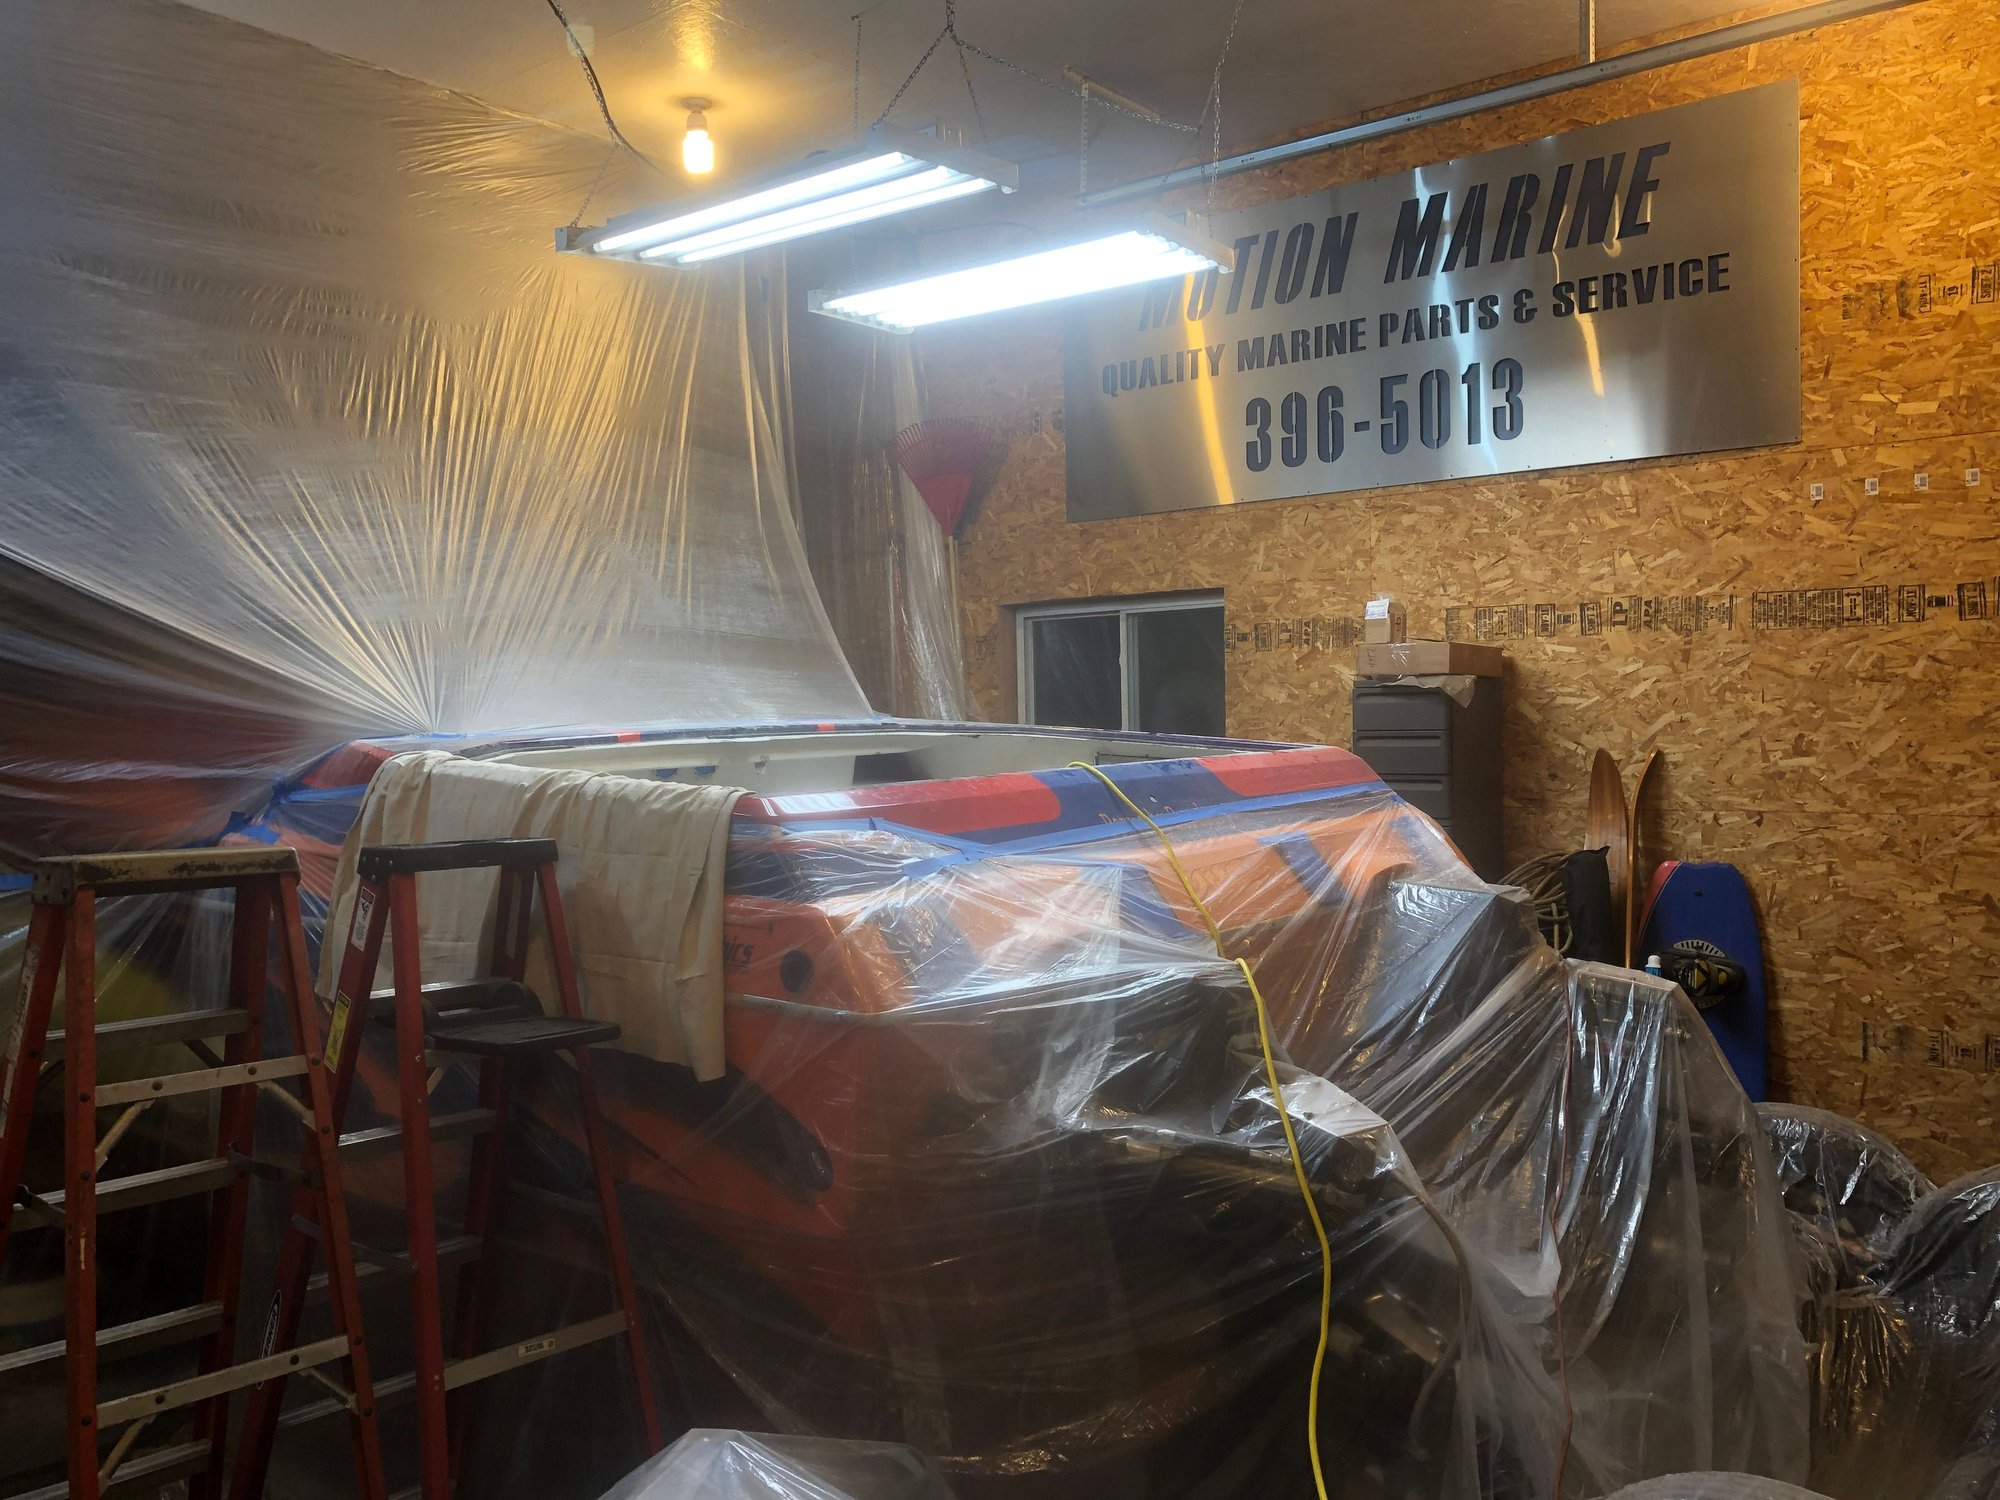
Let there be light!
Before the overhead lights
After. Much much better
Mounts on the motor
The begining of a long journey
Started sanding and figured it was time to split the barn in half with some plastic. I’ve got a few other toys nestled in there and didn’t want to have to detail them after sanding and now I only have to heat half of the barn!
Let there be light!
Before the overhead lights
After. Much much better
Last edited by Rossman; 02-26-2019 at 08:50 AM.

