

Mirage 217 -Bringing it back
 05-07-2024, 11:05 PM
#31
Decent weather setting in and can't wait to be complete with the demolition (1-2 more nights I hope) Then glassing, repairs and reconstructing/redesigning the stringer system, bulkheads etc.
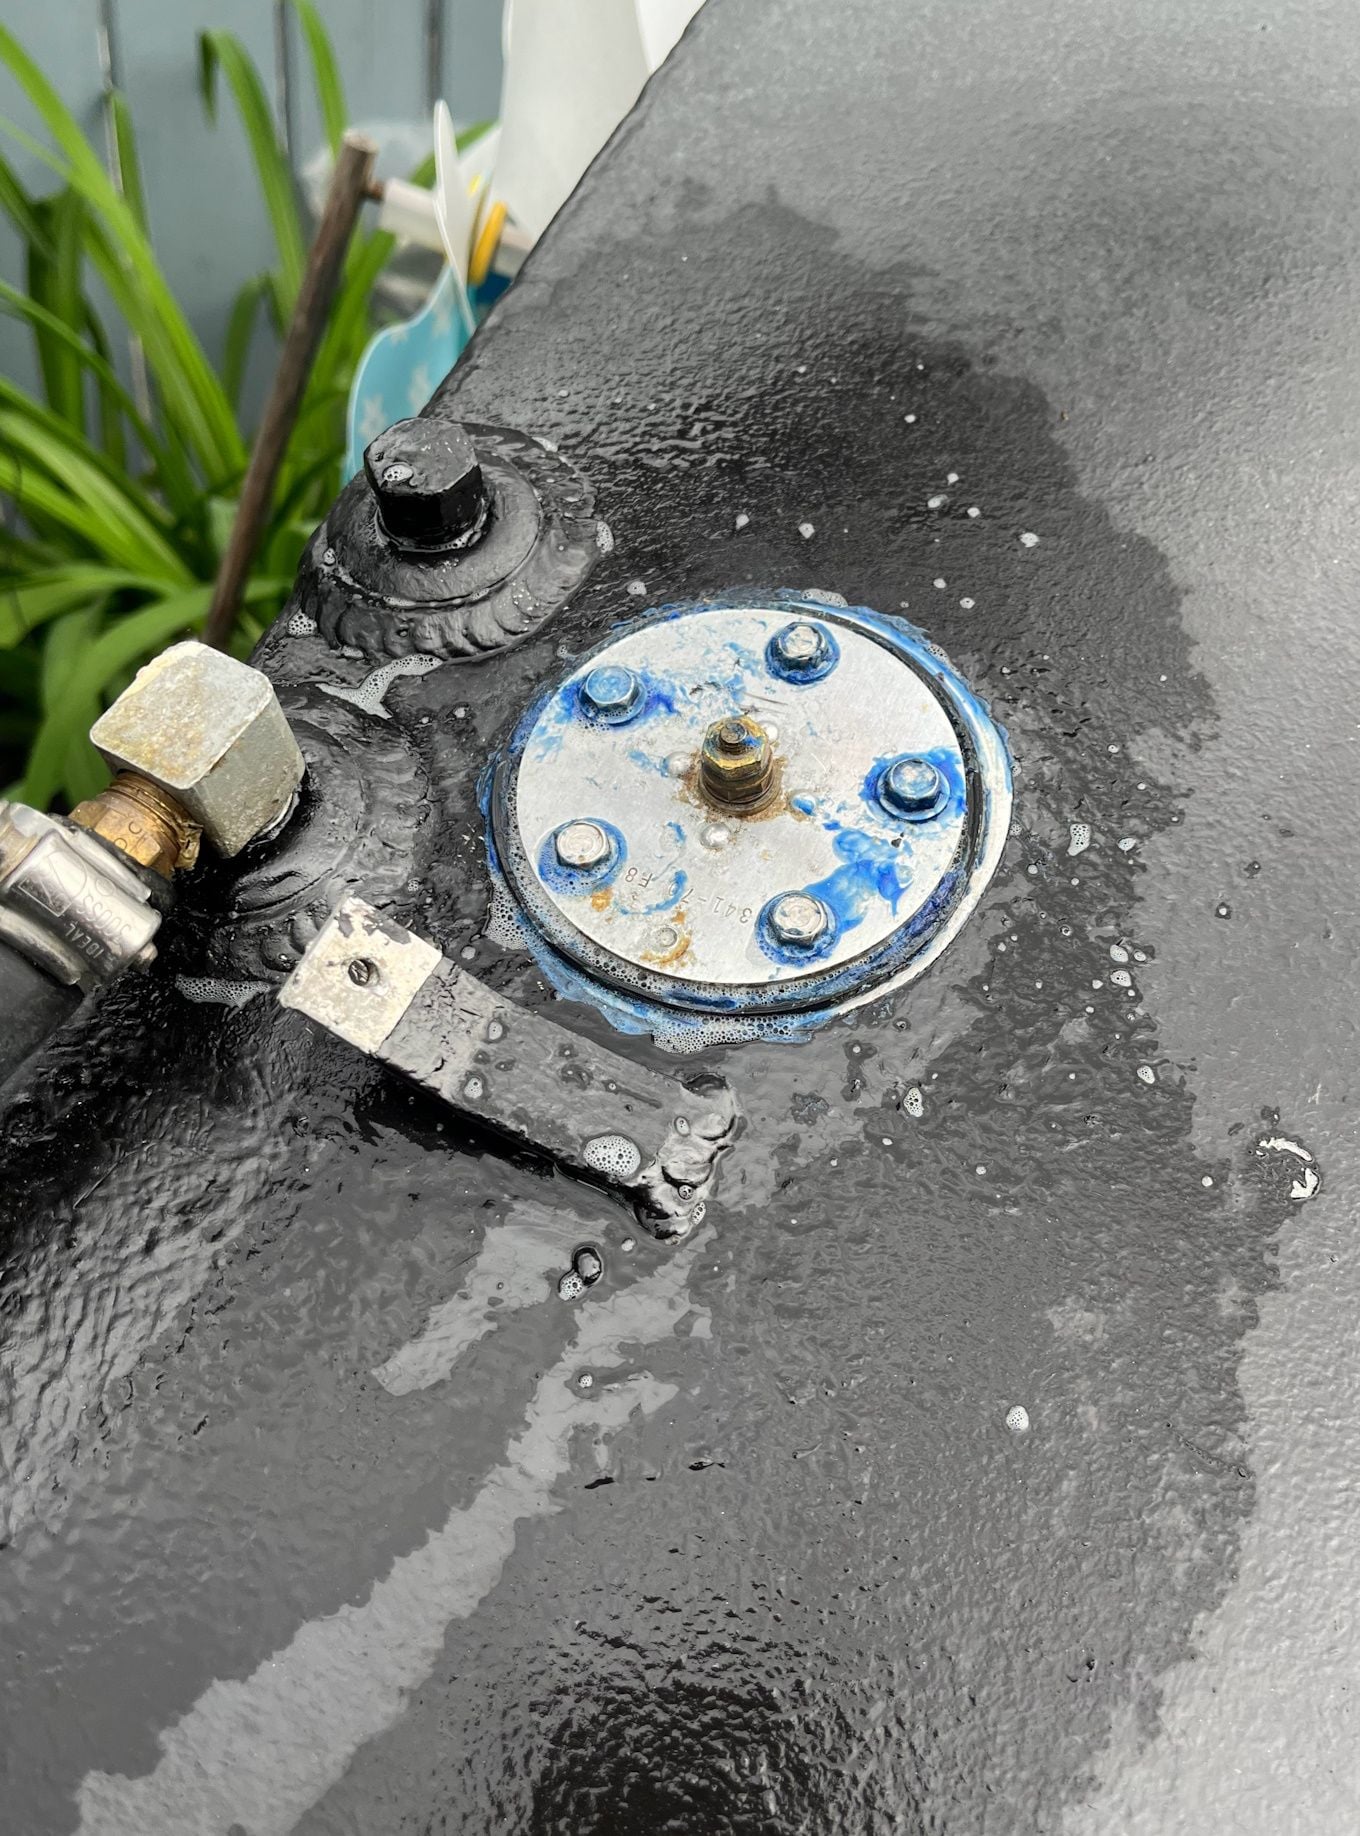
Prepped the fuel tank. There was a little bit of minor corrosion, so before finishing I decided to use some epoxy in those areas.
Coated the bottom with Zero-Rust, which I've used on cars for years. Usually in the wheel wells or anywhere that is susceptible to rust and corrosion.It's thick, durable, and dries pretty fast. Definitely want to be using this outside though. Pretty strong odor.
Anyway bottom of tank is done. New sender kit is here, so will paint the top, install the new sender/seal and pressure test the tank again once it's all together,
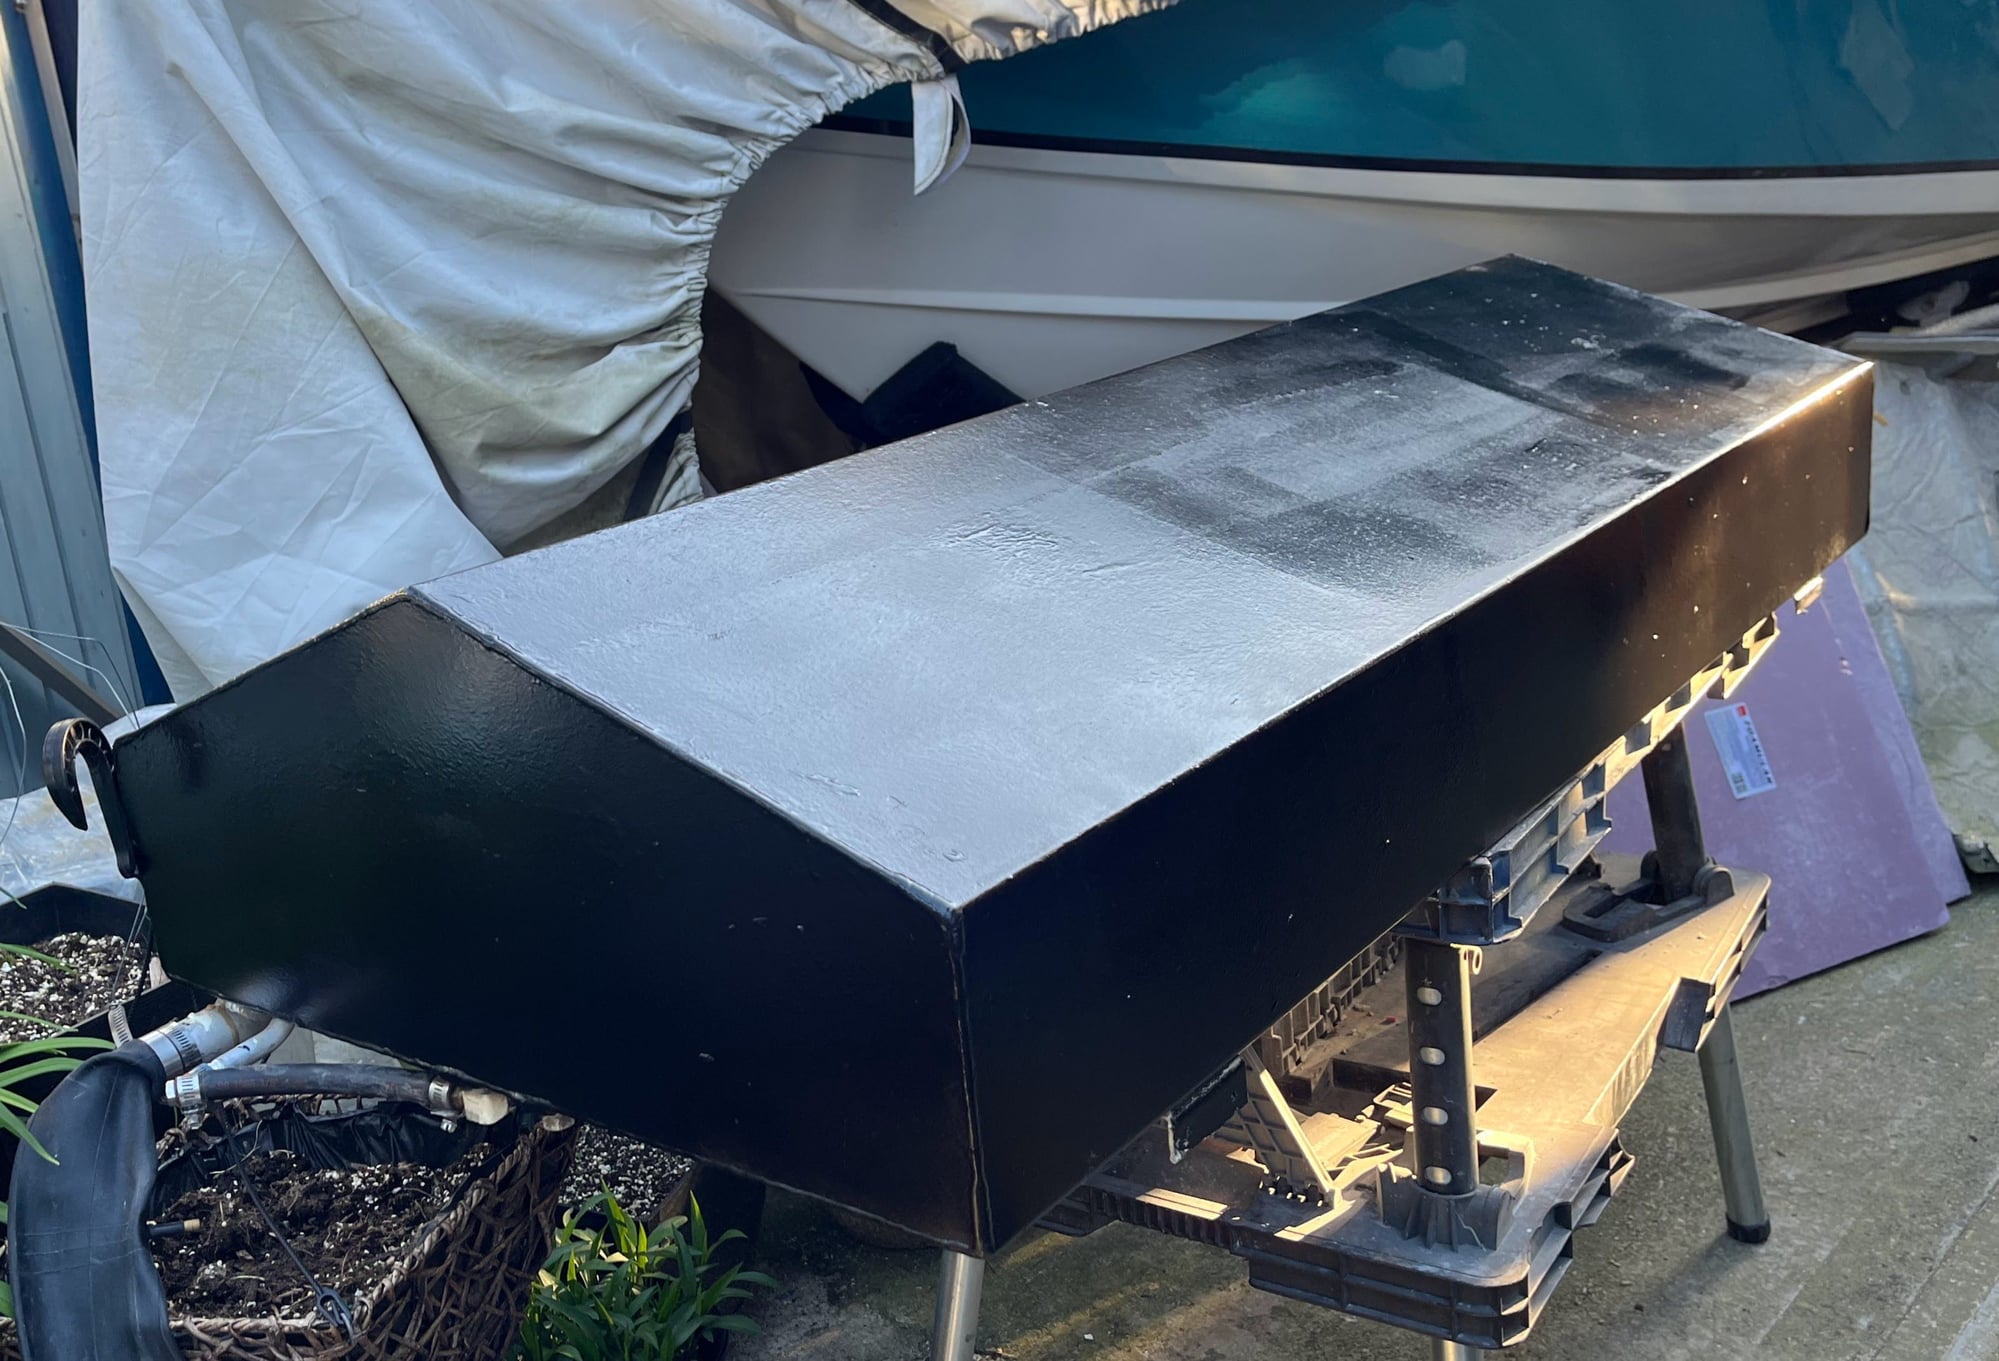
Bottom of tank coated.
Prepped the fuel tank. There was a little bit of minor corrosion, so before finishing I decided to use some epoxy in those areas.
Coated the bottom with Zero-Rust, which I've used on cars for years. Usually in the wheel wells or anywhere that is susceptible to rust and corrosion.It's thick, durable, and dries pretty fast. Definitely want to be using this outside though. Pretty strong odor.
Anyway bottom of tank is done. New sender kit is here, so will paint the top, install the new sender/seal and pressure test the tank again once it's all together,
Bottom of tank coated.
 05-26-2024, 01:43 PM
#32
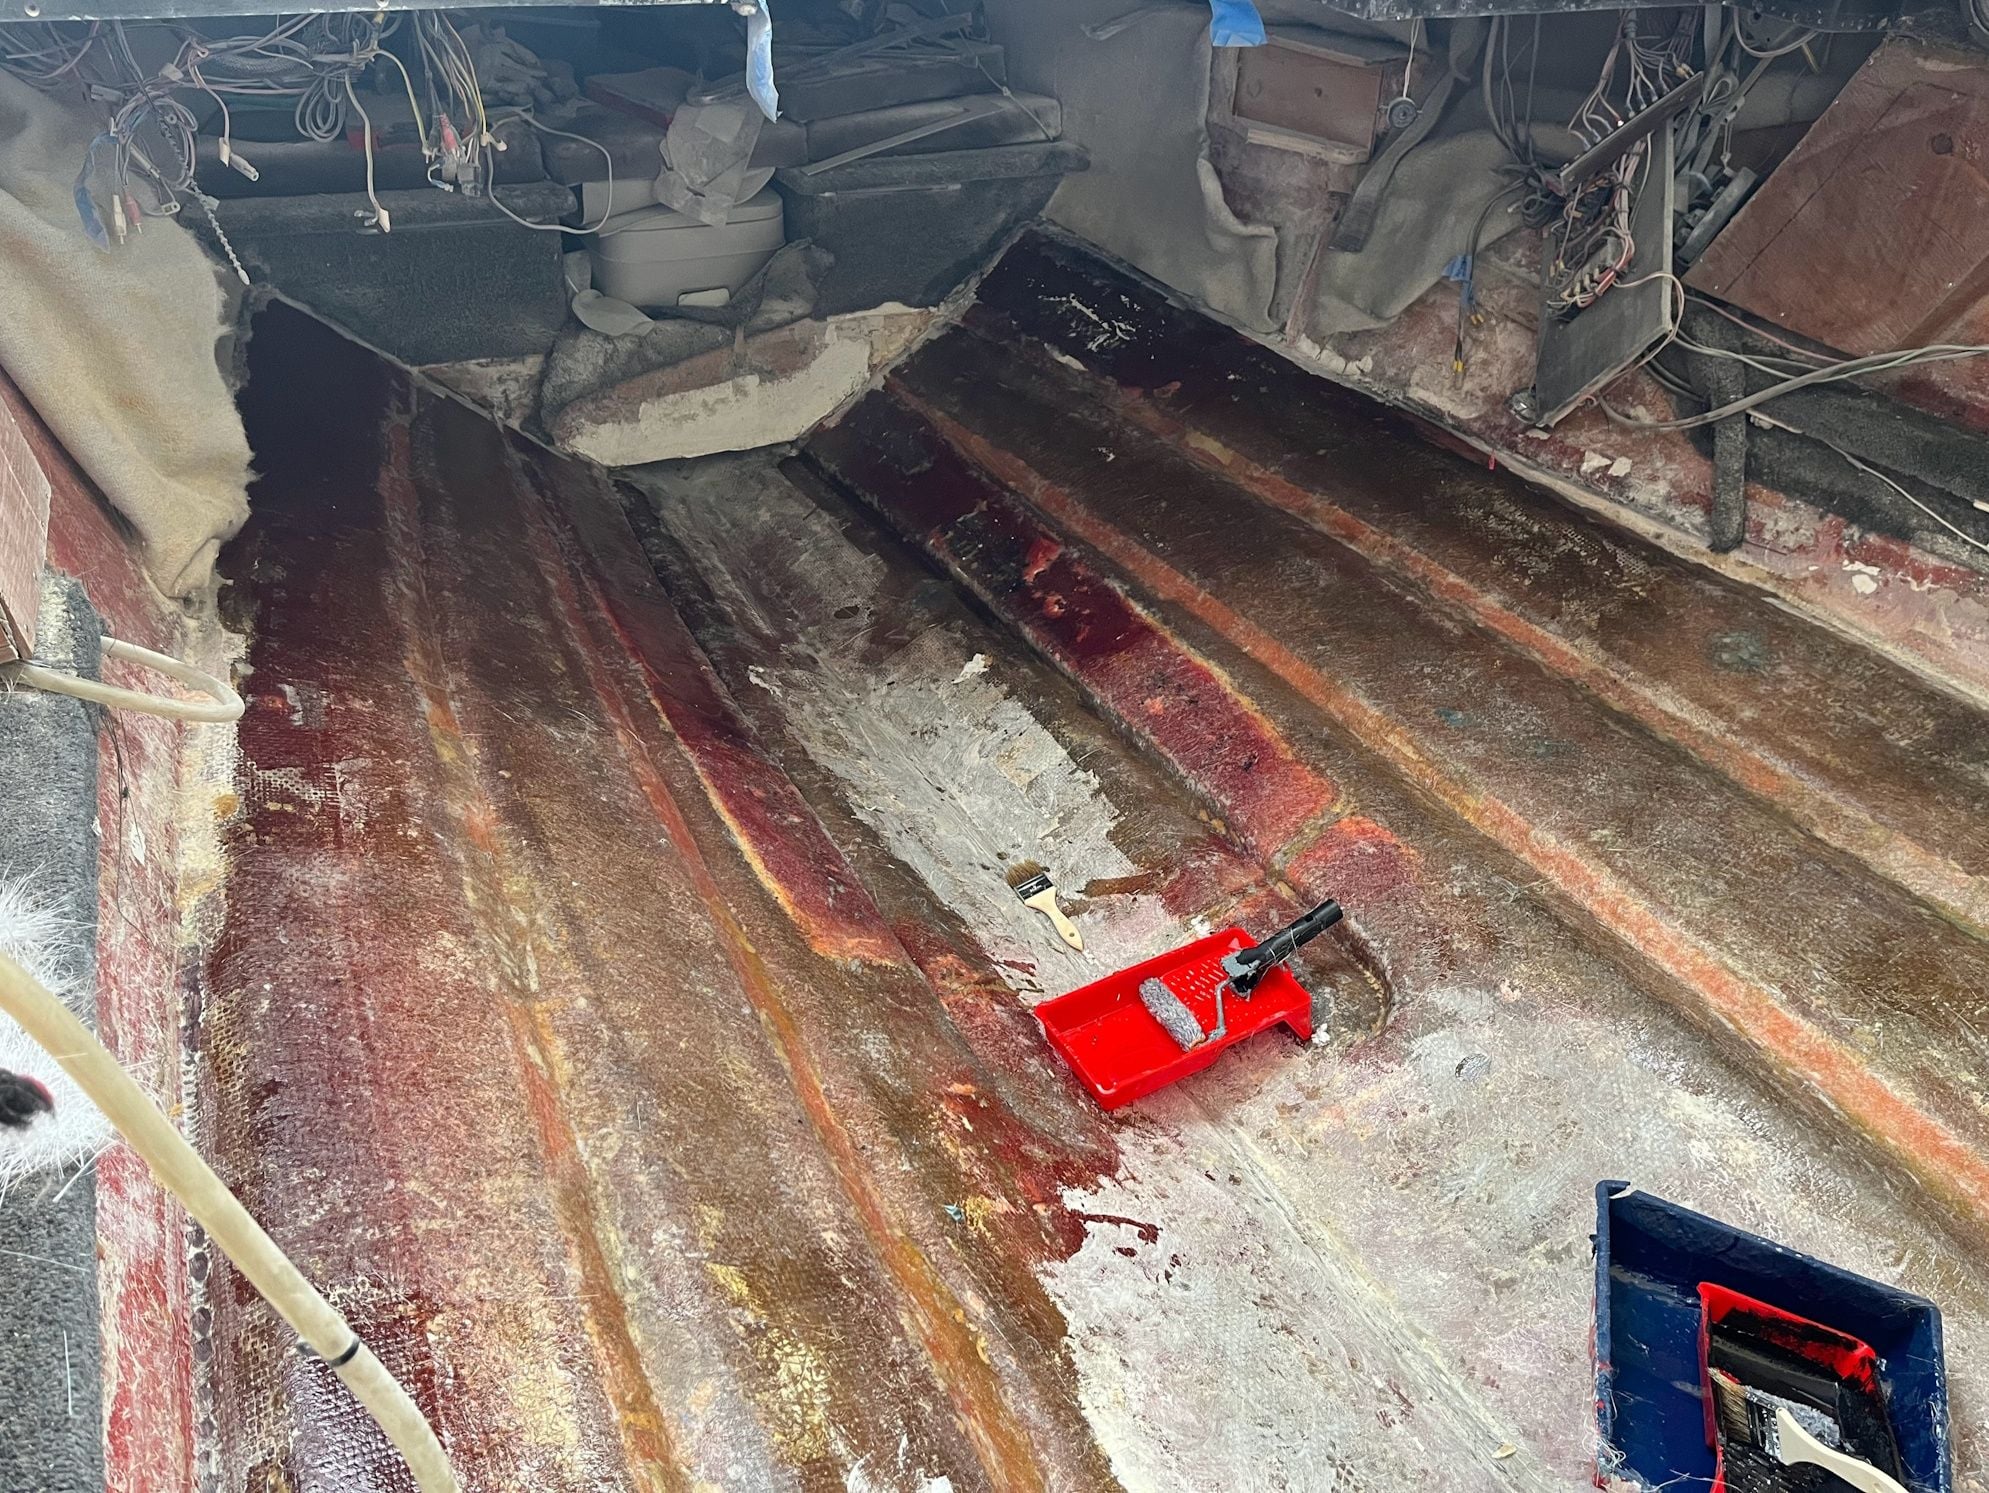
Bit of a photo update. Most of the hull is stripped down. The factory hand laid the hull but choppered in the accessories. I ground off a lot of the excess choppered glass that wasn't really doing anything anymore.
Plus it wasn't really tight with resin, almost like straw or grass clippings. Just something that was there not really bonded to anything efficiently. I could tear it .apart by hand in most cases
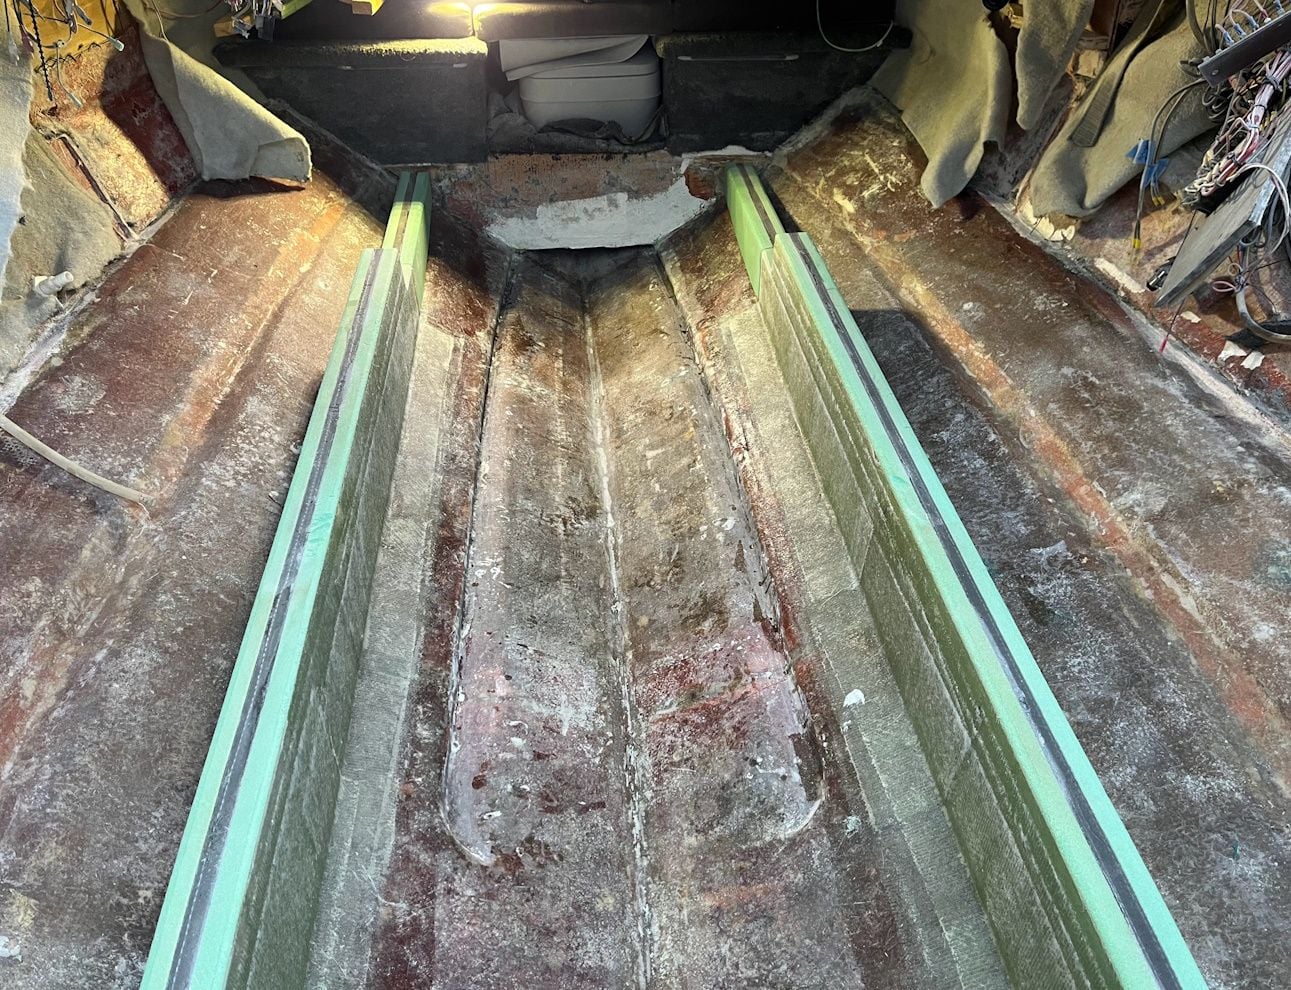
Added a couple layers of mat where the lift strakes wood was now exposed, After grinding added a layer of mat to promote better bond of everything I add. I had to do it a couple of times.
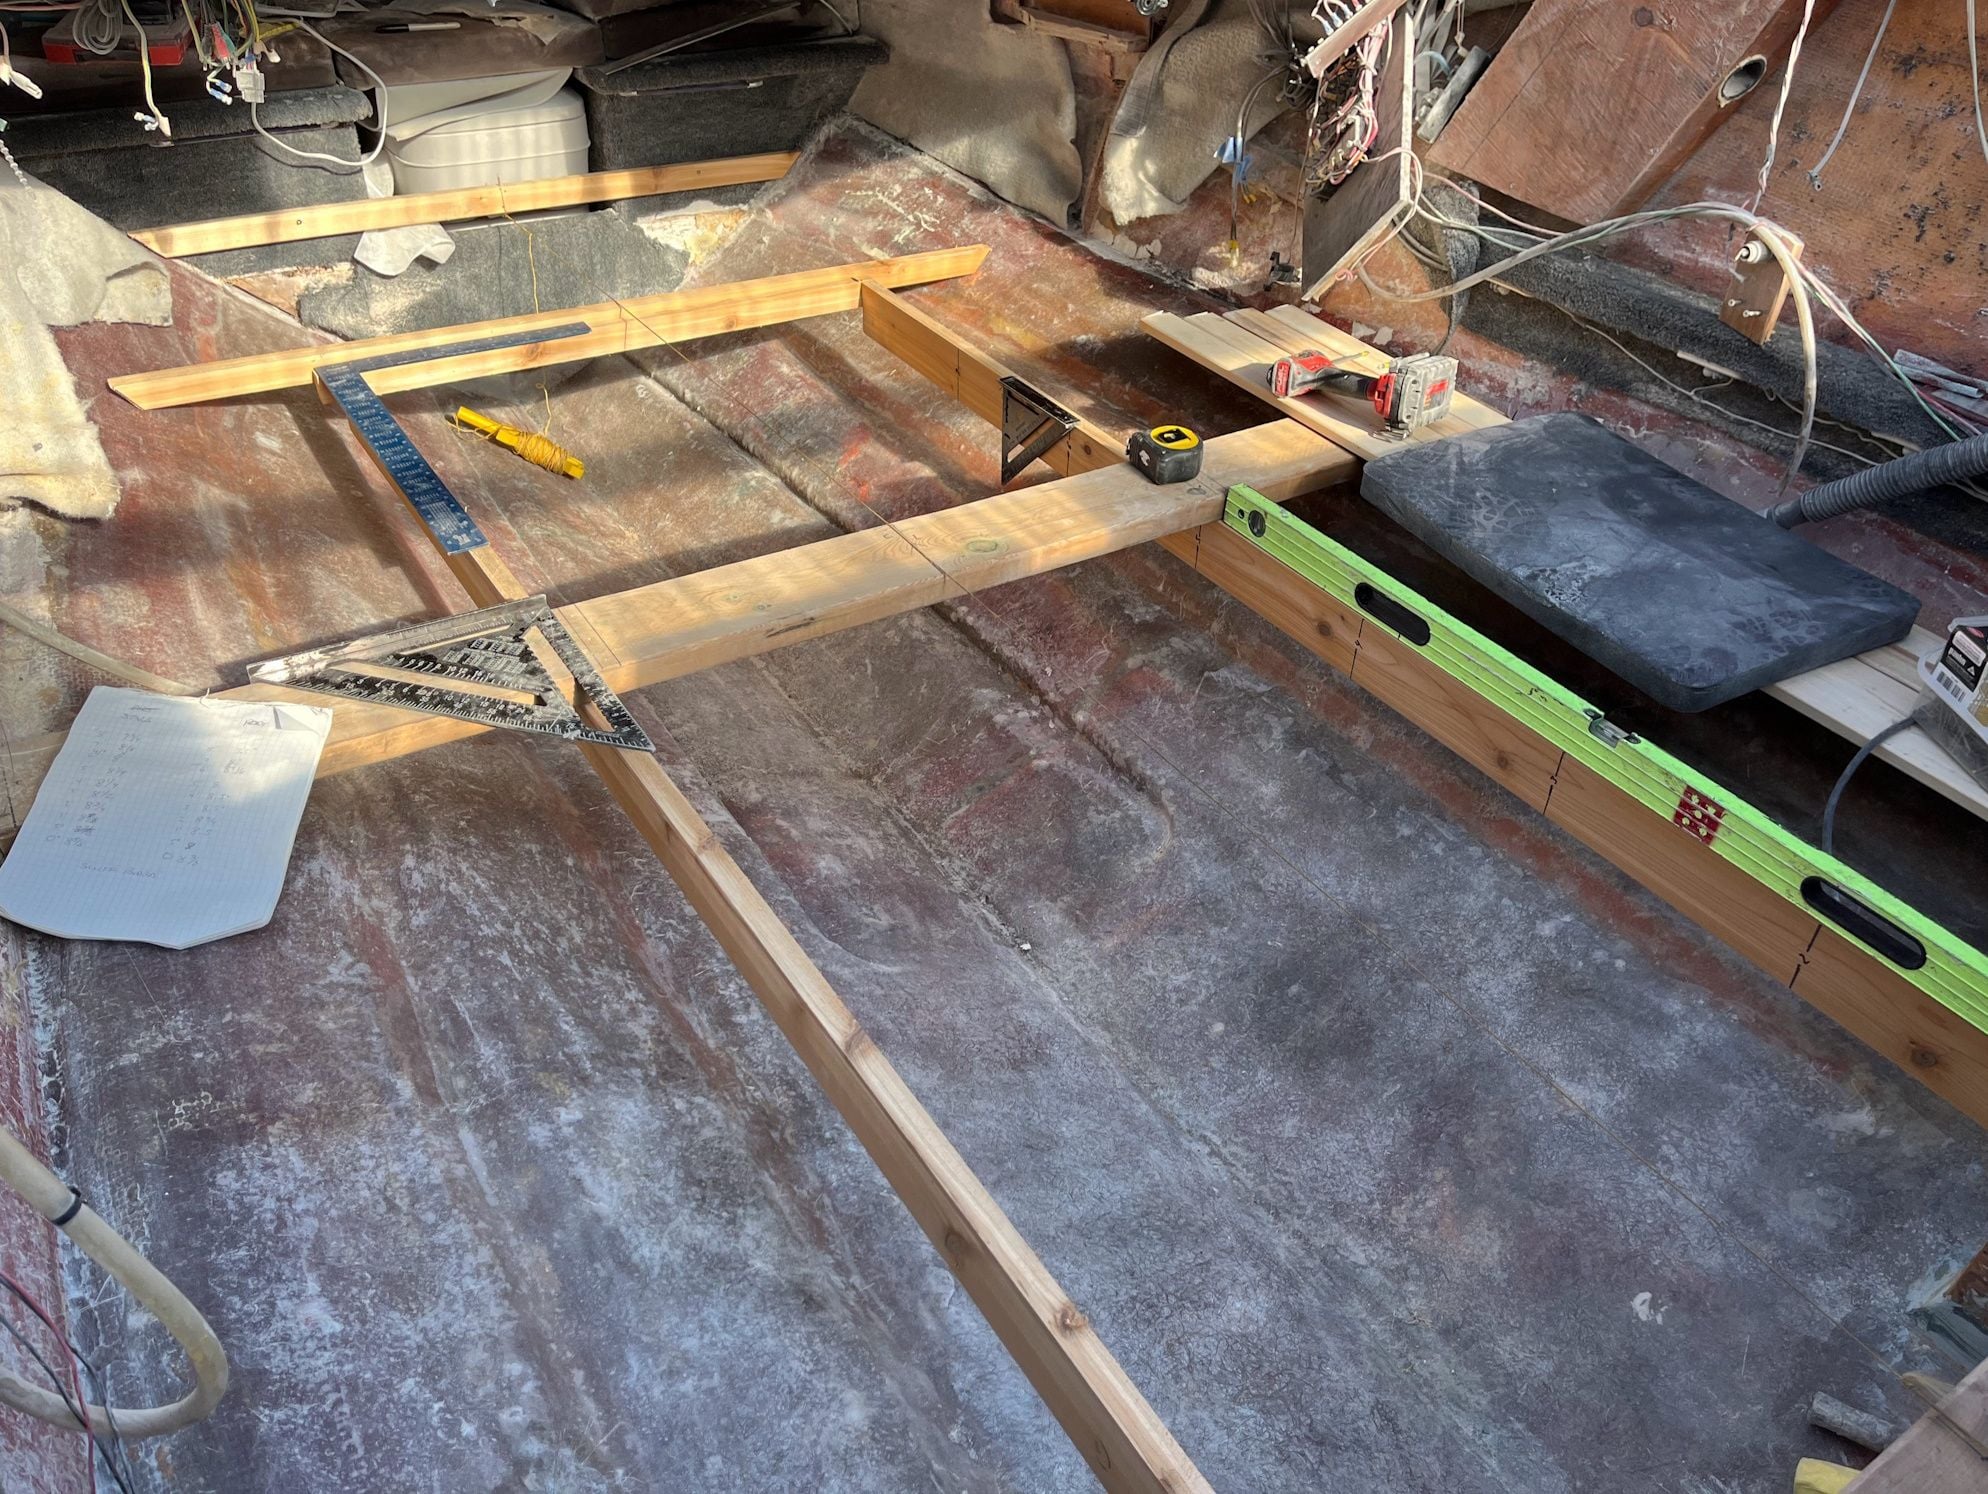
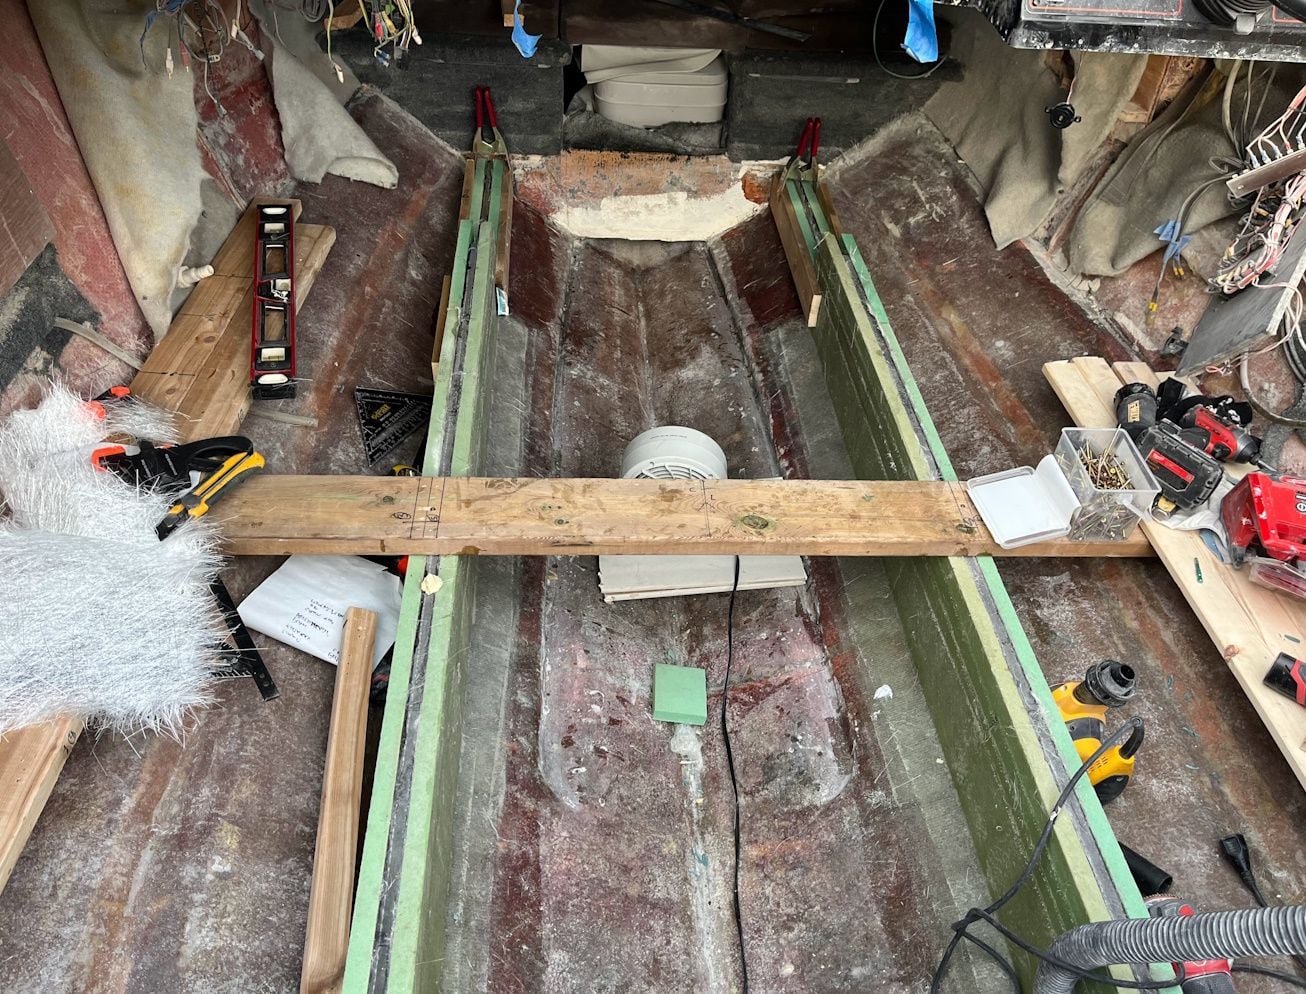
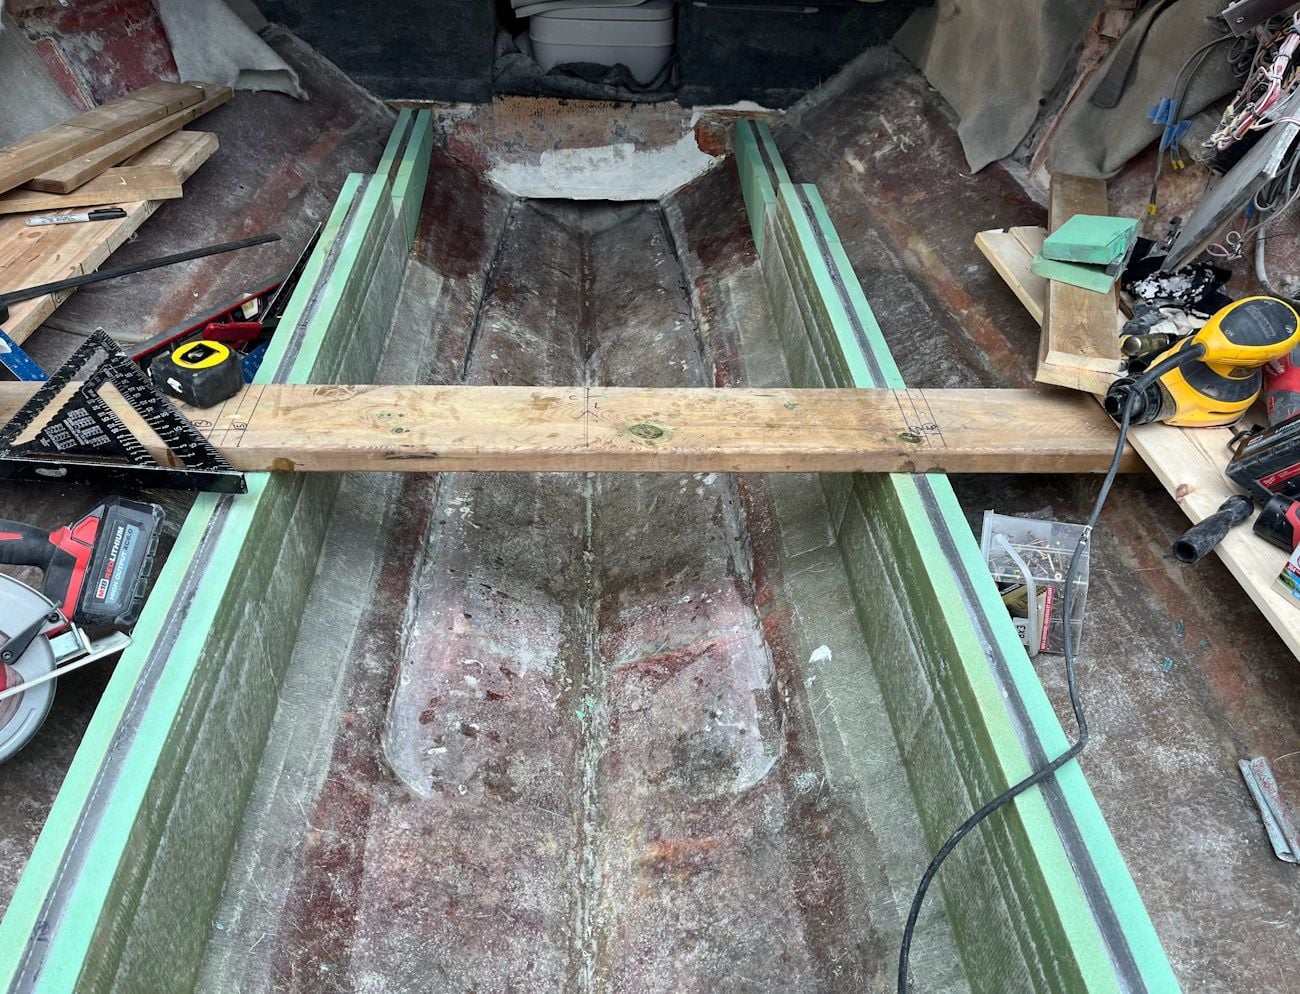
Leveled the boat, then constructed a guide frame for my stringer construction.
Plus it wasn't really tight with resin, almost like straw or grass clippings. Just something that was there not really bonded to anything efficiently. I could tear it .apart by hand in most cases
Added a couple layers of mat where the lift strakes wood was now exposed, After grinding added a layer of mat to promote better bond of everything I add. I had to do it a couple of times.
Leveled the boat, then constructed a guide frame for my stringer construction.
05-28-2024, 03:39 PM
#33
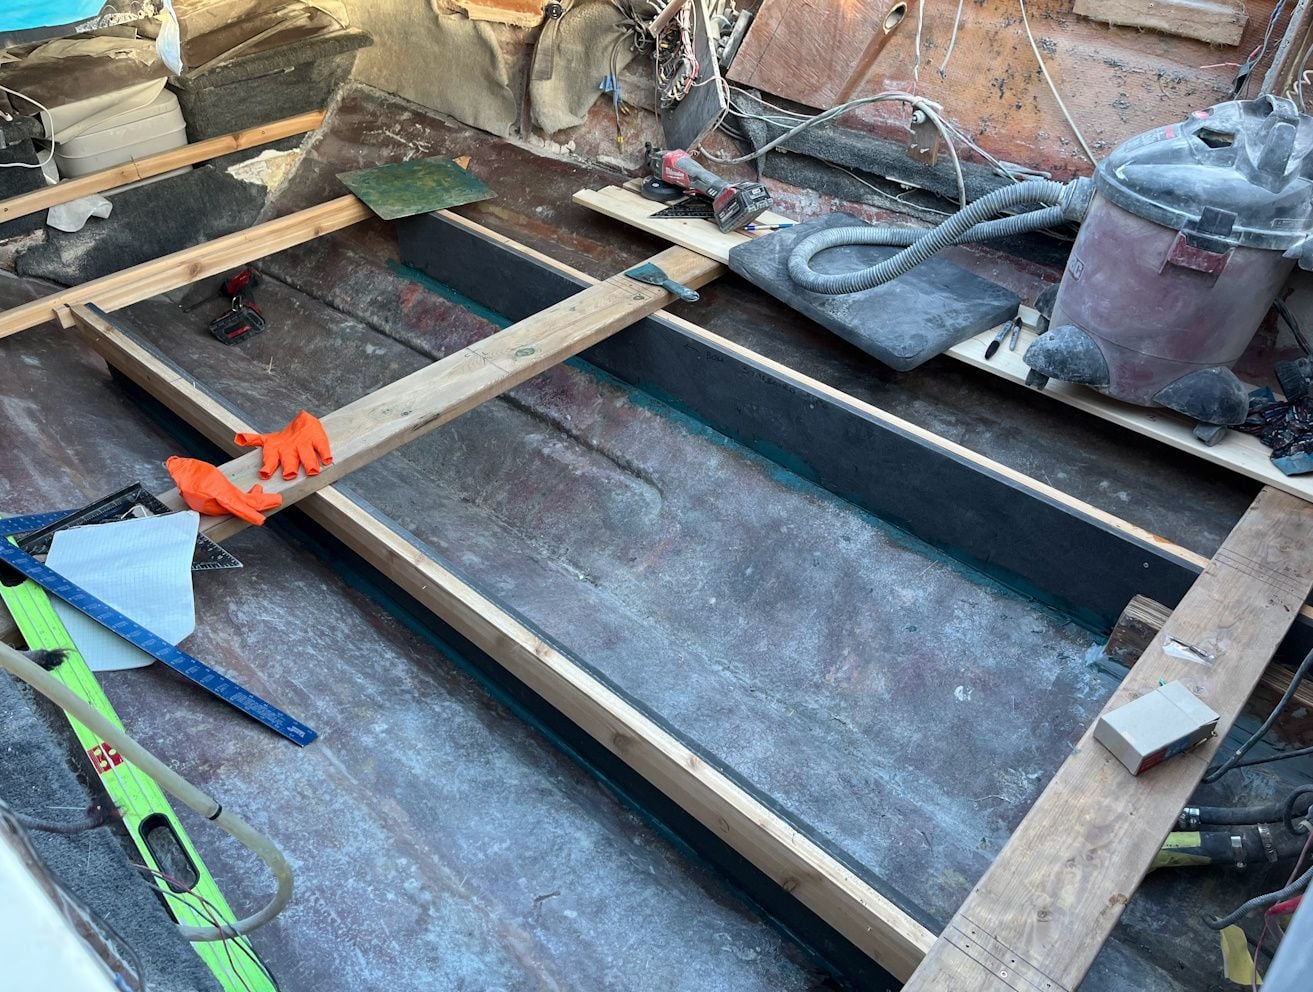
Now comes the part I like much better than demolition. Putting things back. Hopefully I've learned enough over the years to have things better than they were. Anyway I used a couple of nice straight pieces of cedar to be that frame that supports the stringers. So far so good. it should be quite a bit lighter than the pervious incarnation. The Coosa is pretty easy to work with, other than the ash-like black sawdust.
I tested a small 1" ripping and the stuff is very strong. I've seen videos showing that it will hold screws. I've personally found that is not 100% true. I think it would hold a course-threaded screw with deep threads fairly well. But you cannot over-torque them (ie impact hex driver.) I only have to mount the bolster seats. In theory that should be okay, but I am tempted to embed either PT plywood or a stainless metal plate to support those threads.
Anyway so far so good.
Last edited by DougB; 05-28-2024 at 03:42 PM.
The following 2 users liked this post by DougB:
87MirageIntruder (05-29-2024), Tartilla (05-29-2024)
 05-30-2024, 06:11 PM
#37
True enough, though I don't know how much I am loving it at times (haha)
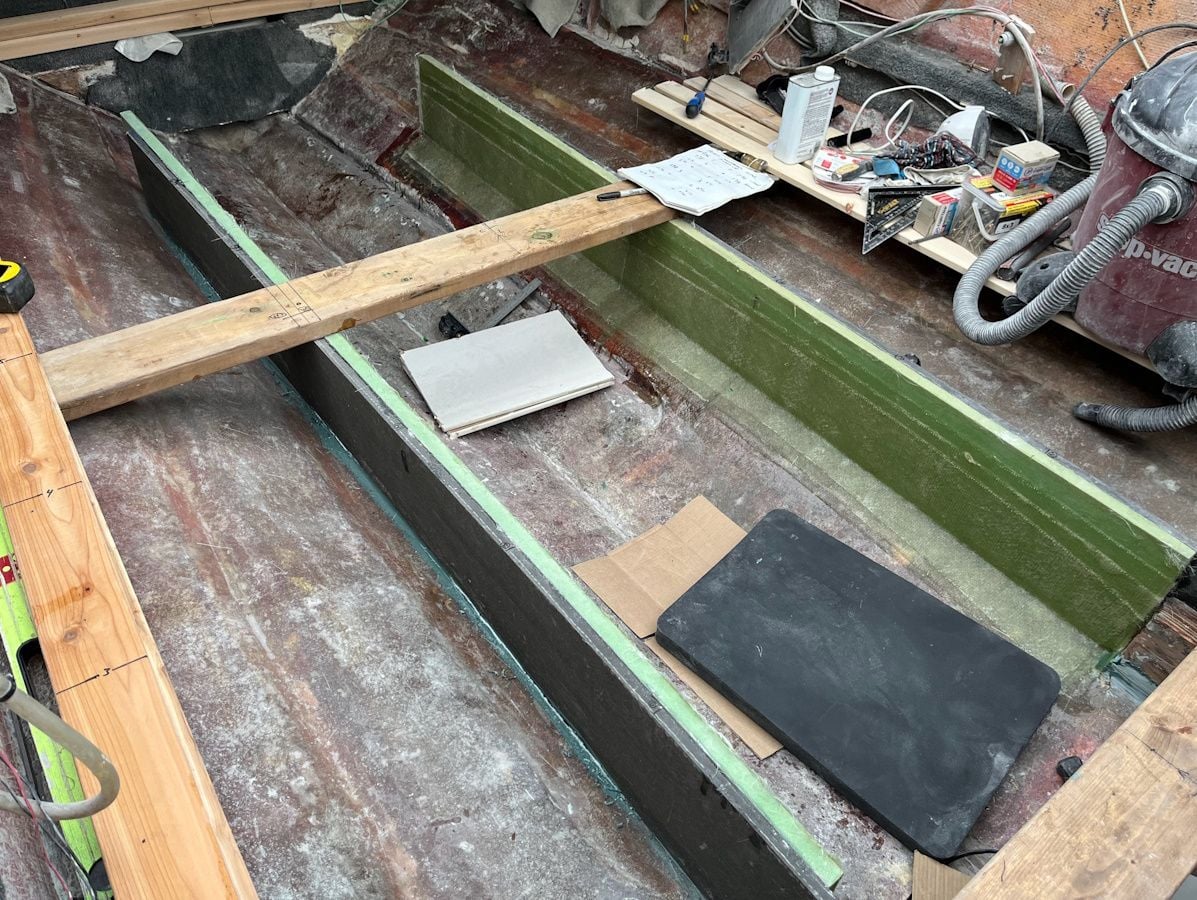
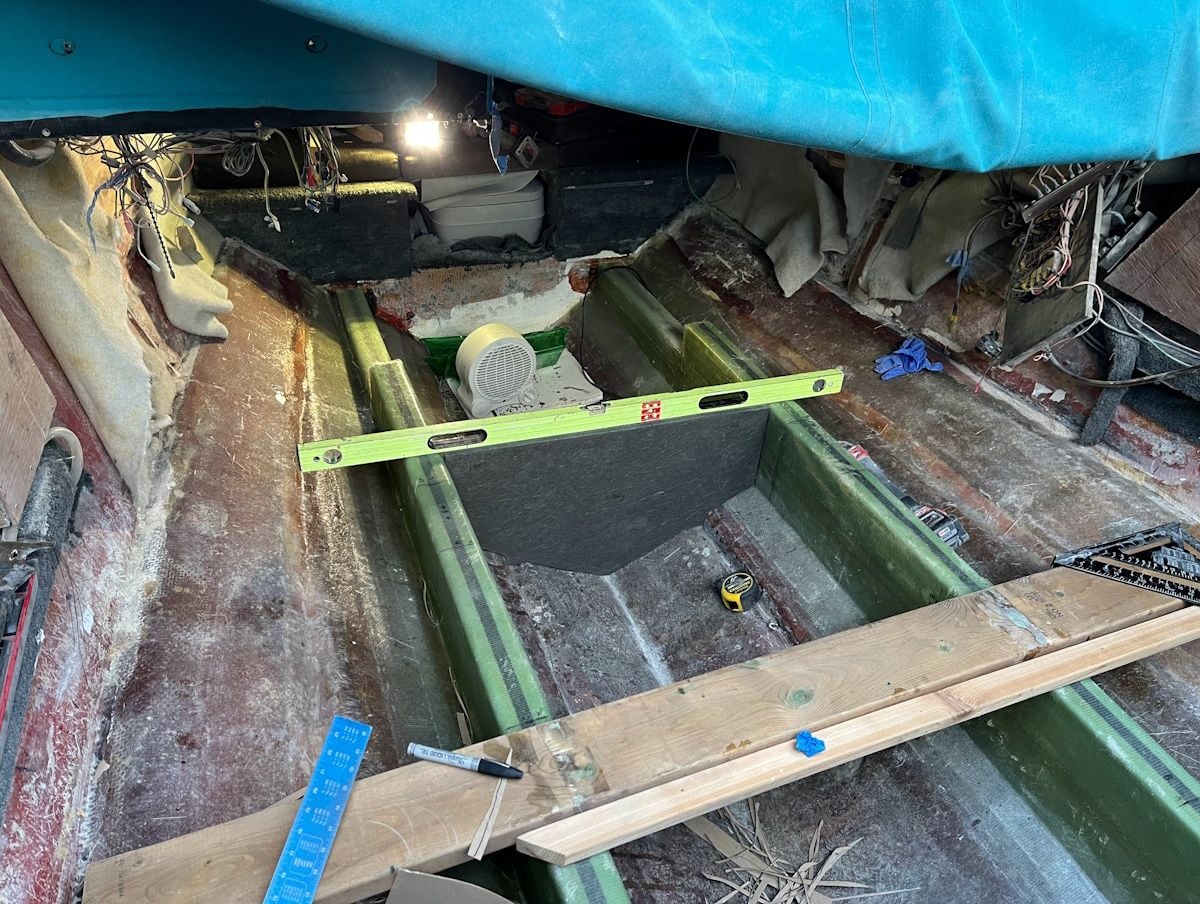
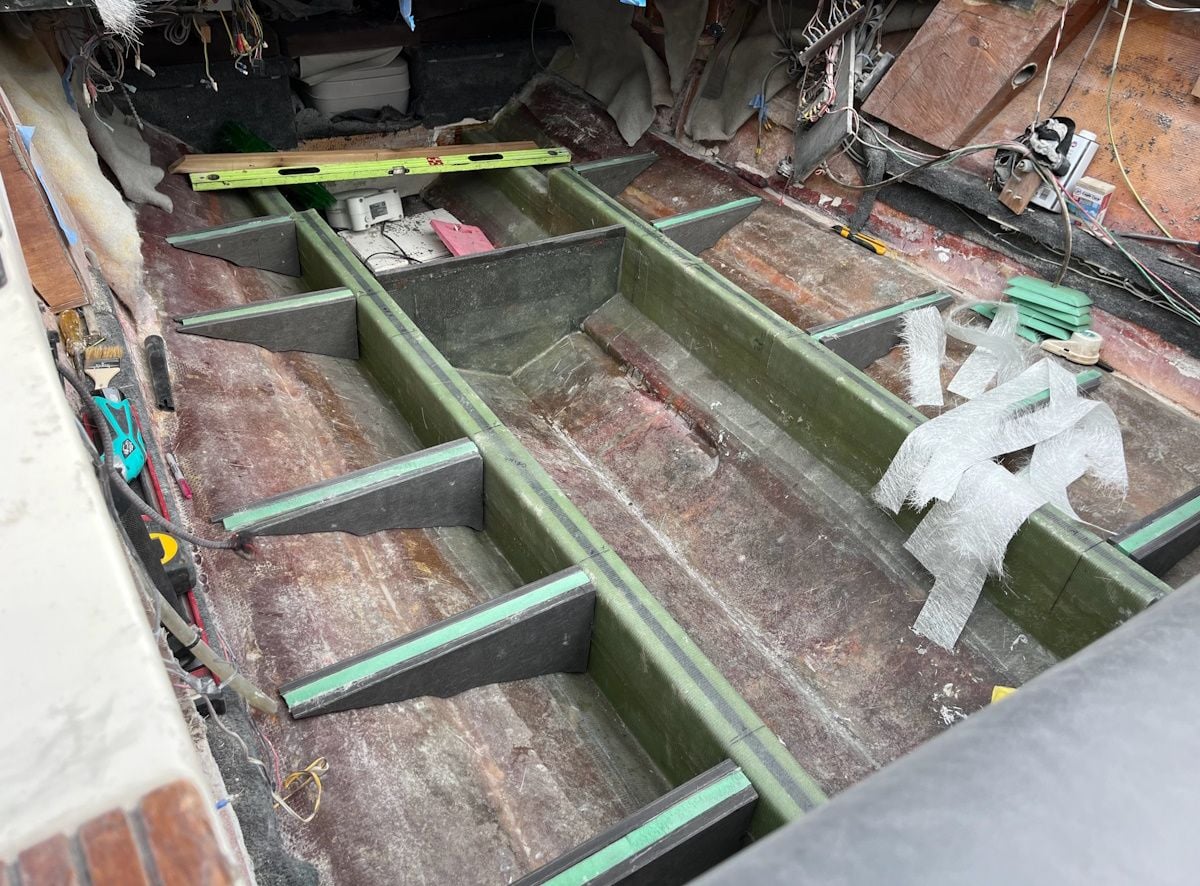
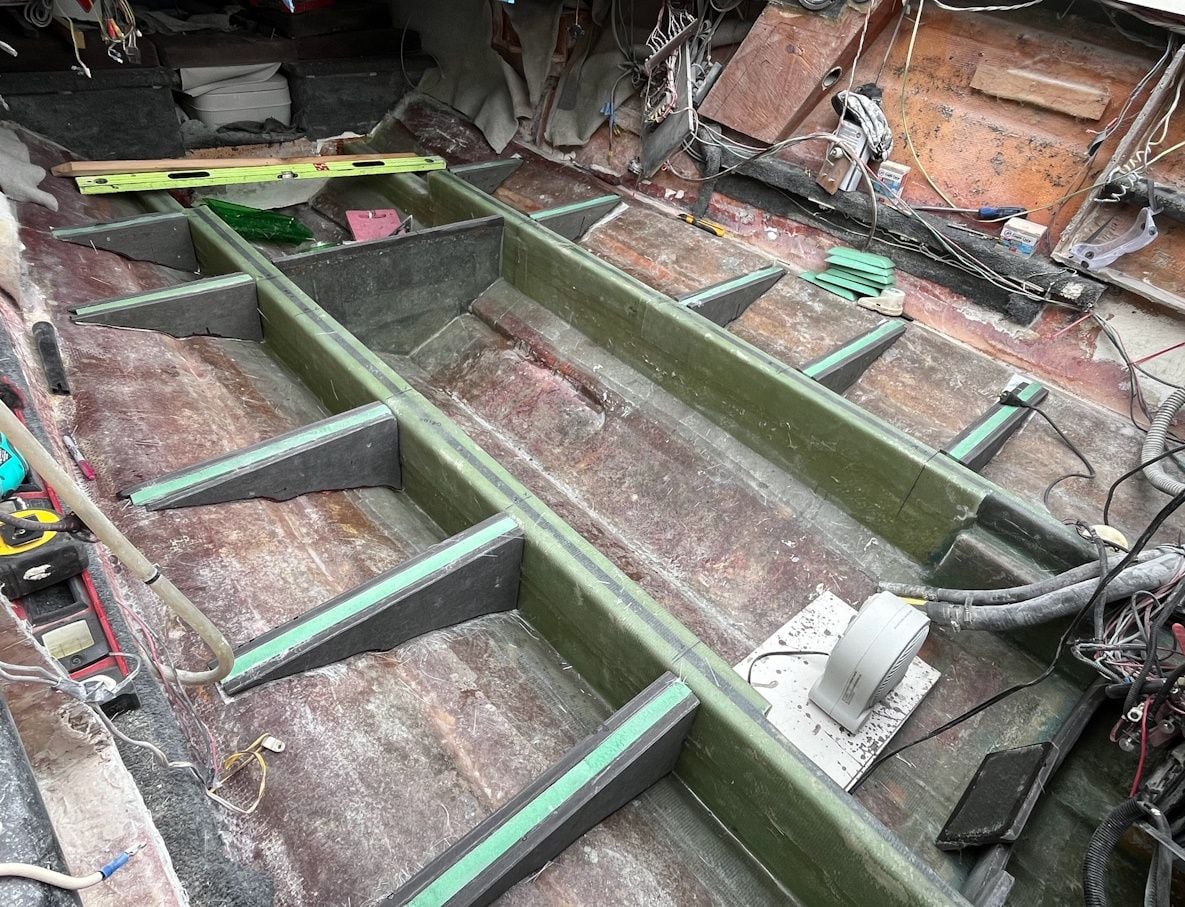
But laminated up the last bit of carbon core on the main stringers and radiused the top with a 1/2 router bit, so the mat and cloth will fold over nicely (I hope)
Starting to look like something
Just about ready for lots of fiberglass cloth
But laminated up the last bit of carbon core on the main stringers and radiused the top with a 1/2 router bit, so the mat and cloth will fold over nicely (I hope)
Starting to look like something
Just about ready for lots of fiberglass cloth
The following users liked this post:
87MirageIntruder (05-31-2024)
 06-01-2024, 11:22 PM
#39
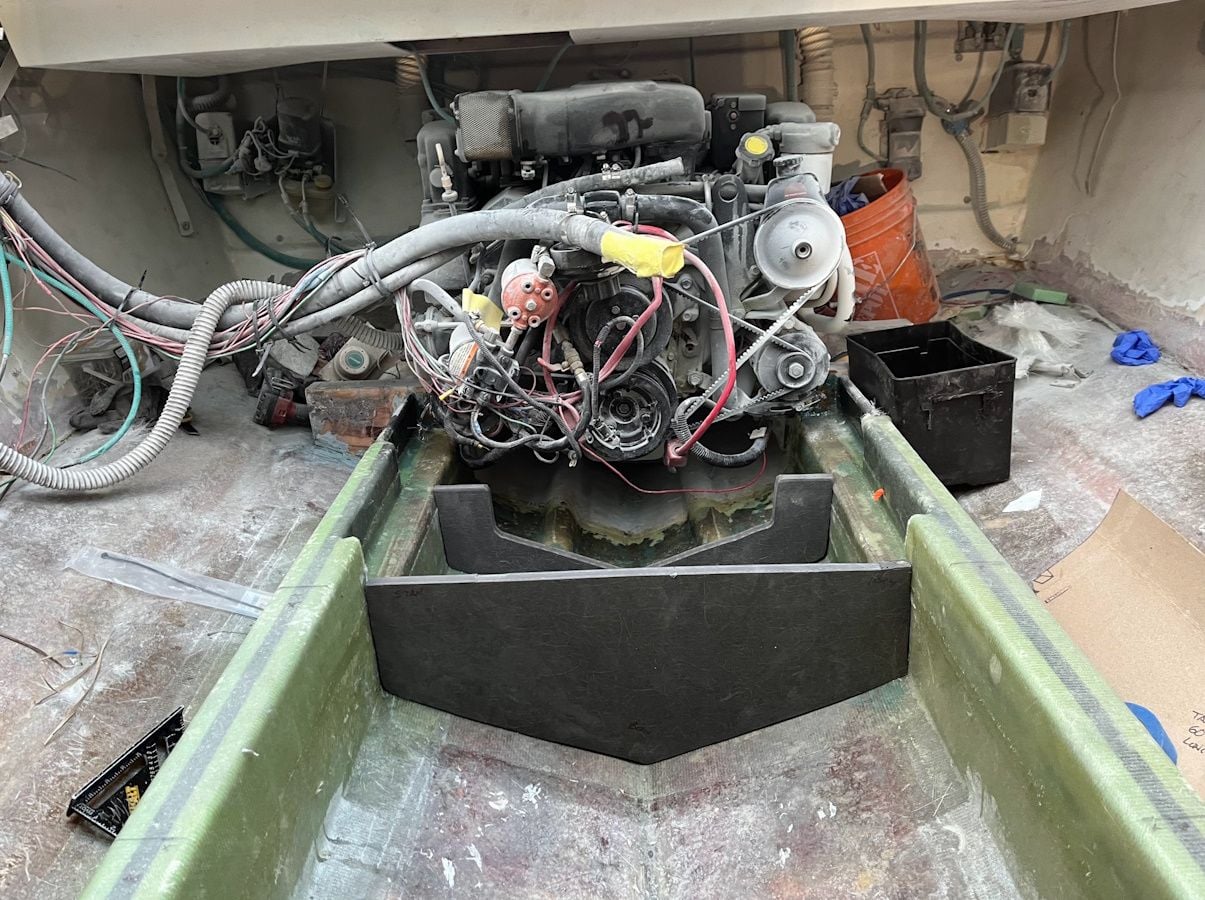
No matter how well planned, everything takes a heckuva lot longer than I think it will. Steady progress though. I am hoping to actually be working on installing the floor and foaming in the gas tank again by late in the week next week.
The electric scissors I bought for cutting the glass seem to be trying to work again, after they struggled a few days ago. That's good because some of the shapes are more complex.
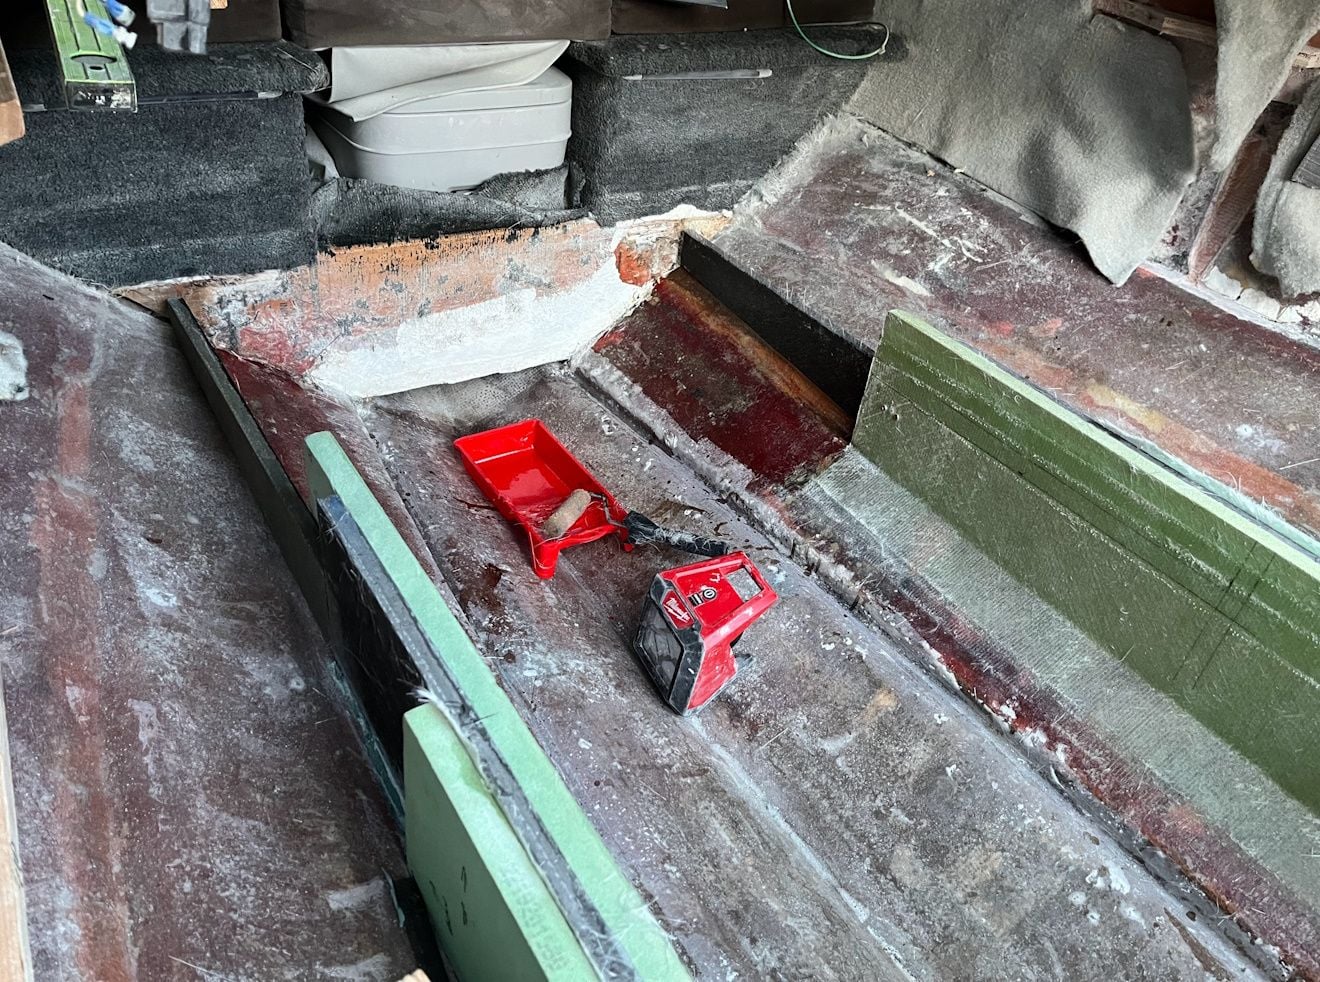
Anyway bedded the perimeter bulkheads, and glassed one half. Turned the heater on, should be cured tomorrow. Started a bit of re-gelcoating the front of the bilge and made a coosa support for the pump and float switch.
Hope to have a solid day tomorrow and set myself up for some easier little projects during the week next week.
The electric scissors I bought for cutting the glass seem to be trying to work again, after they struggled a few days ago. That's good because some of the shapes are more complex.
Anyway bedded the perimeter bulkheads, and glassed one half. Turned the heater on, should be cured tomorrow. Started a bit of re-gelcoating the front of the bilge and made a coosa support for the pump and float switch.
Hope to have a solid day tomorrow and set myself up for some easier little projects during the week next week.
Last edited by DougB; 06-01-2024 at 11:22 PM. Reason: text missing
The following users liked this post:
IGetWet (06-02-2024)
06-01-2024, 11:47 PM
#40
Registered
Coming together nicely.
Time appreciation is always a factor for projects like these. The big difference is that you take the time to do it right, vs a factory boat. Even a well made one won't have the care and time invested vs a custom owner refit.
Time appreciation is always a factor for projects like these. The big difference is that you take the time to do it right, vs a factory boat. Even a well made one won't have the care and time invested vs a custom owner refit.


