

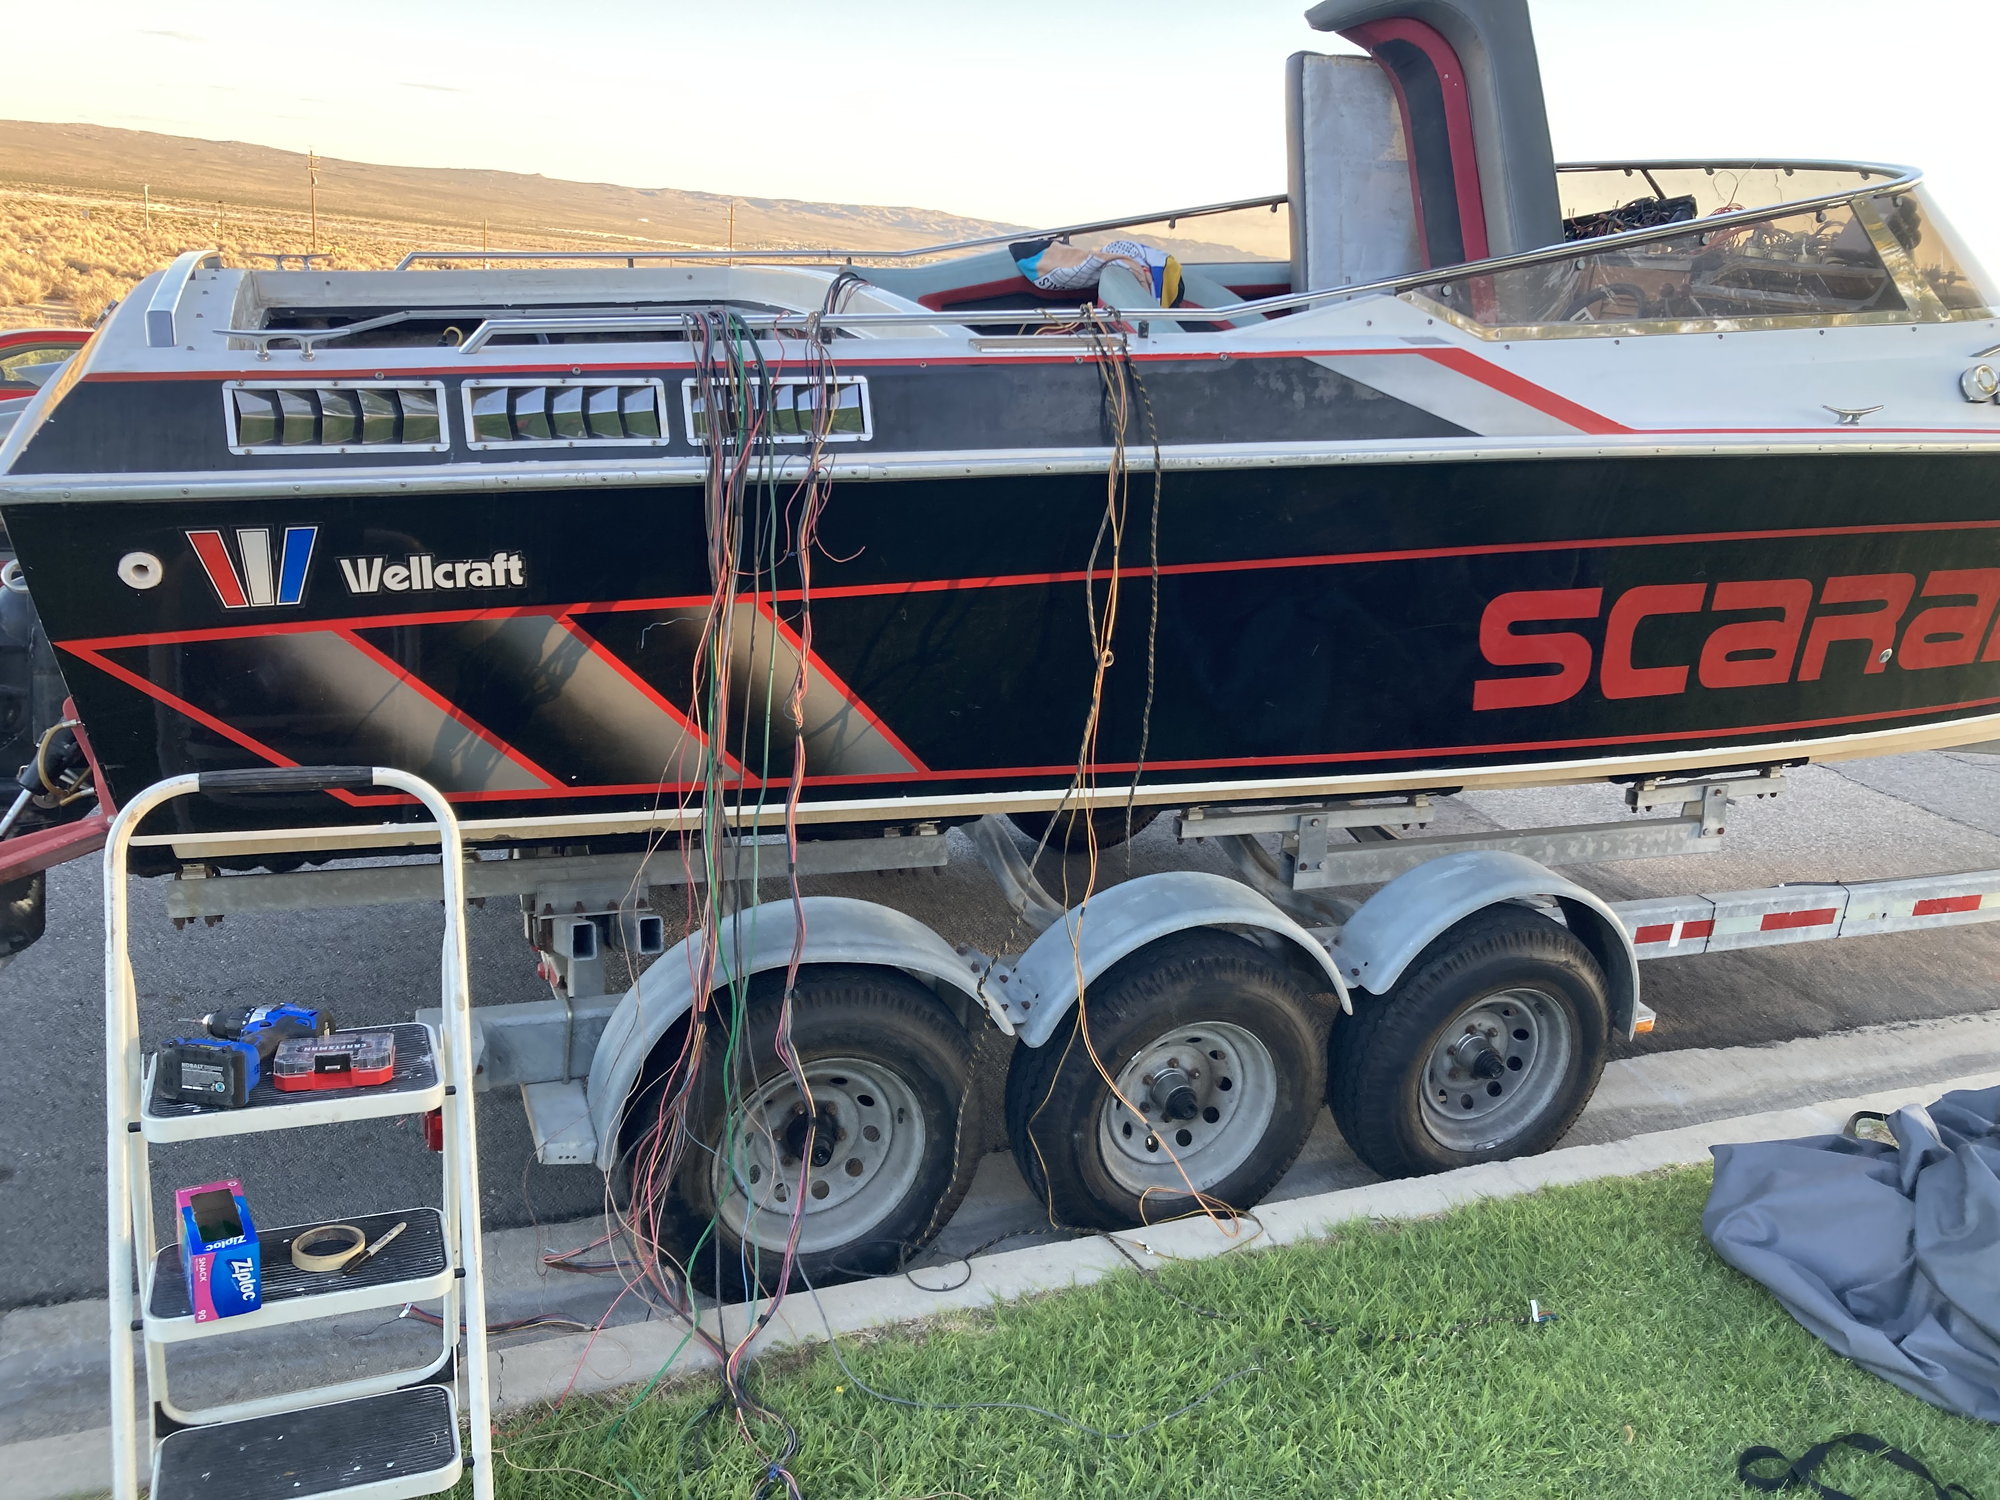
1986 Scarab II 29’ resto
 08-07-2023, 05:29 PM
#31
Registered
Congrats! Your boat has lots of potential. The cabin looks to be in great shape, and hopefully, your motors and drives are in excellent running condition too. These mid-'80s offshore performance boats, in the right colors, are now cool classics. Your guys' boat is i.m.h.o. in one of the best '80s color combinations. We've got a local Scarab III 340, in similar colors with twin 450 hp 502s and TRS drives, here in Newport Beach, SoCal, and it always gets thumbs way up. Your teak looks to be in good condition and I would certainly keep that classy look. The dash would be nice if you upgraded it, but I'd keep it black and definitely not put some carbon-looking, not period-correct stuff on this classic. Keep it ol' school and maybe even do the cockpit interior in a high-quality tuck-and-roll vinyl that maybe goes in matching white, red, silver, and black? Good luck with a very nice project.
https://youtu.be/aNz_QqXlddg?t=871
https://www.youtube.com/watch?v=uyn6ebdVg_w
https://youtu.be/aNz_QqXlddg?t=871
https://www.youtube.com/watch?v=uyn6ebdVg_w
+1 on the no Carbon Fibre.
A nice aluminum cut to size is pretty easy for a project. You could even get it anodized.
With the online software free...and the online inexpensive R&D places....you could map it out and they would build it and send it. Often for cheaper than buying the metals to fab it yourself. Obviously, a 1/8" small sheet of alum is pretty cheap to source, but shaped and welded pieces, there is merit.
Even to have stuff cut and sized, but sent unwelded. Often really economical. The CNC automation at smaller scale has really changed the industry.

The following users liked this post:
larslindroth (08-08-2023)
09-16-2023, 10:13 PM
#32
I’ve been in Europe for a while so the project sat for a month. I got to dig into it today.
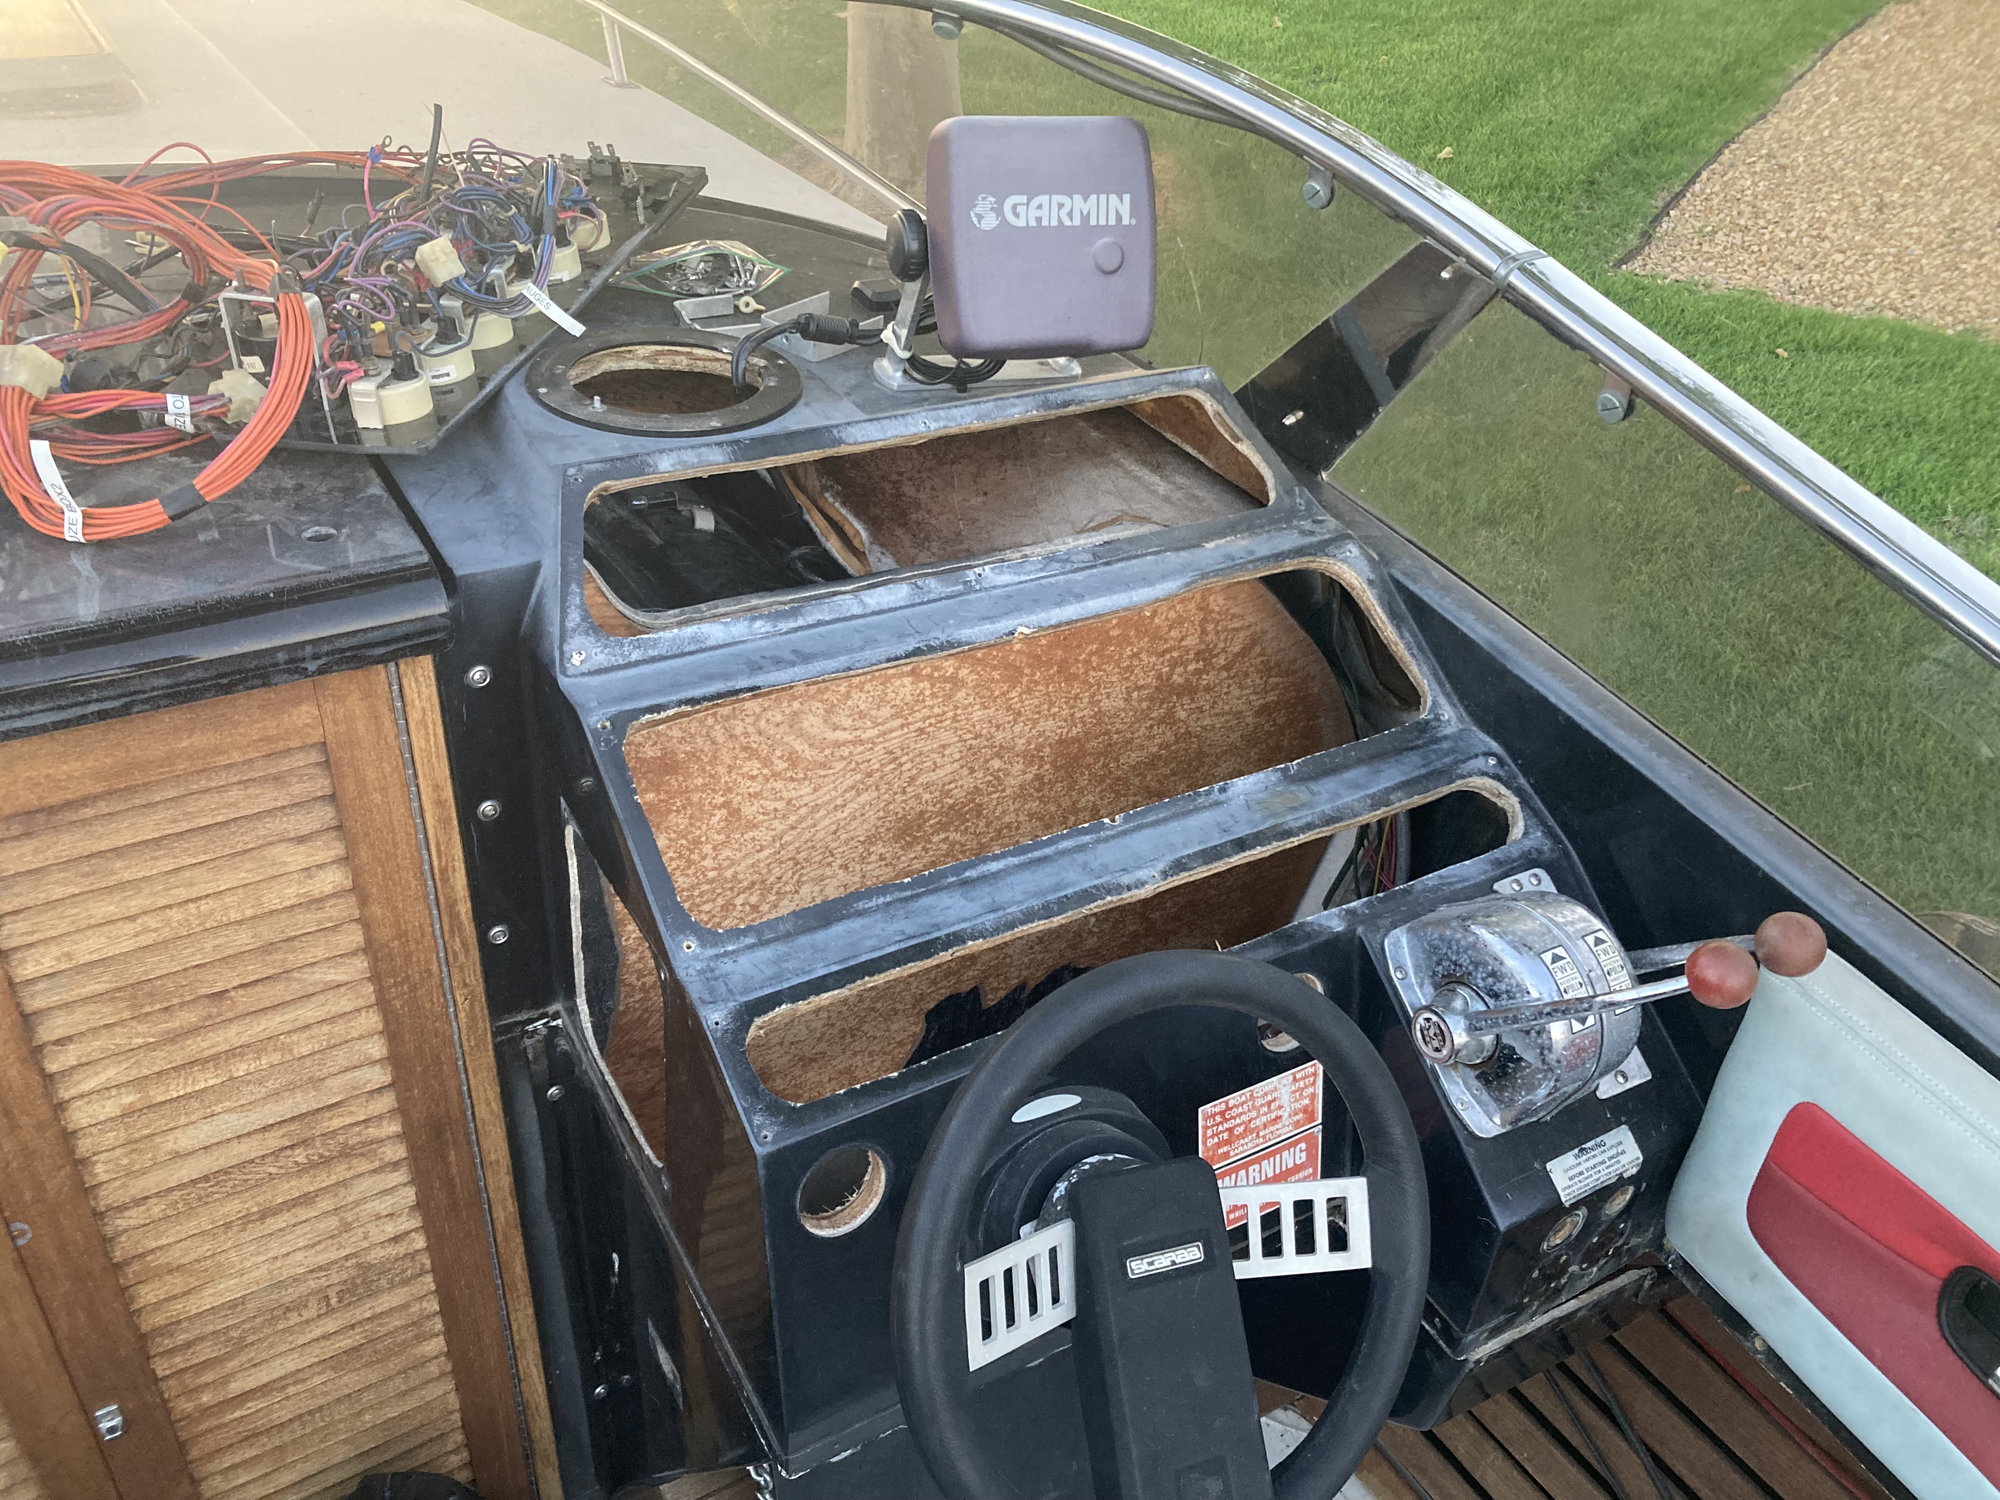
I gutted the boat’s wiring today. The amount of hot, loose, random wires in the helm and engine bay was alarming. I decided to start over from zero & cut everything out.
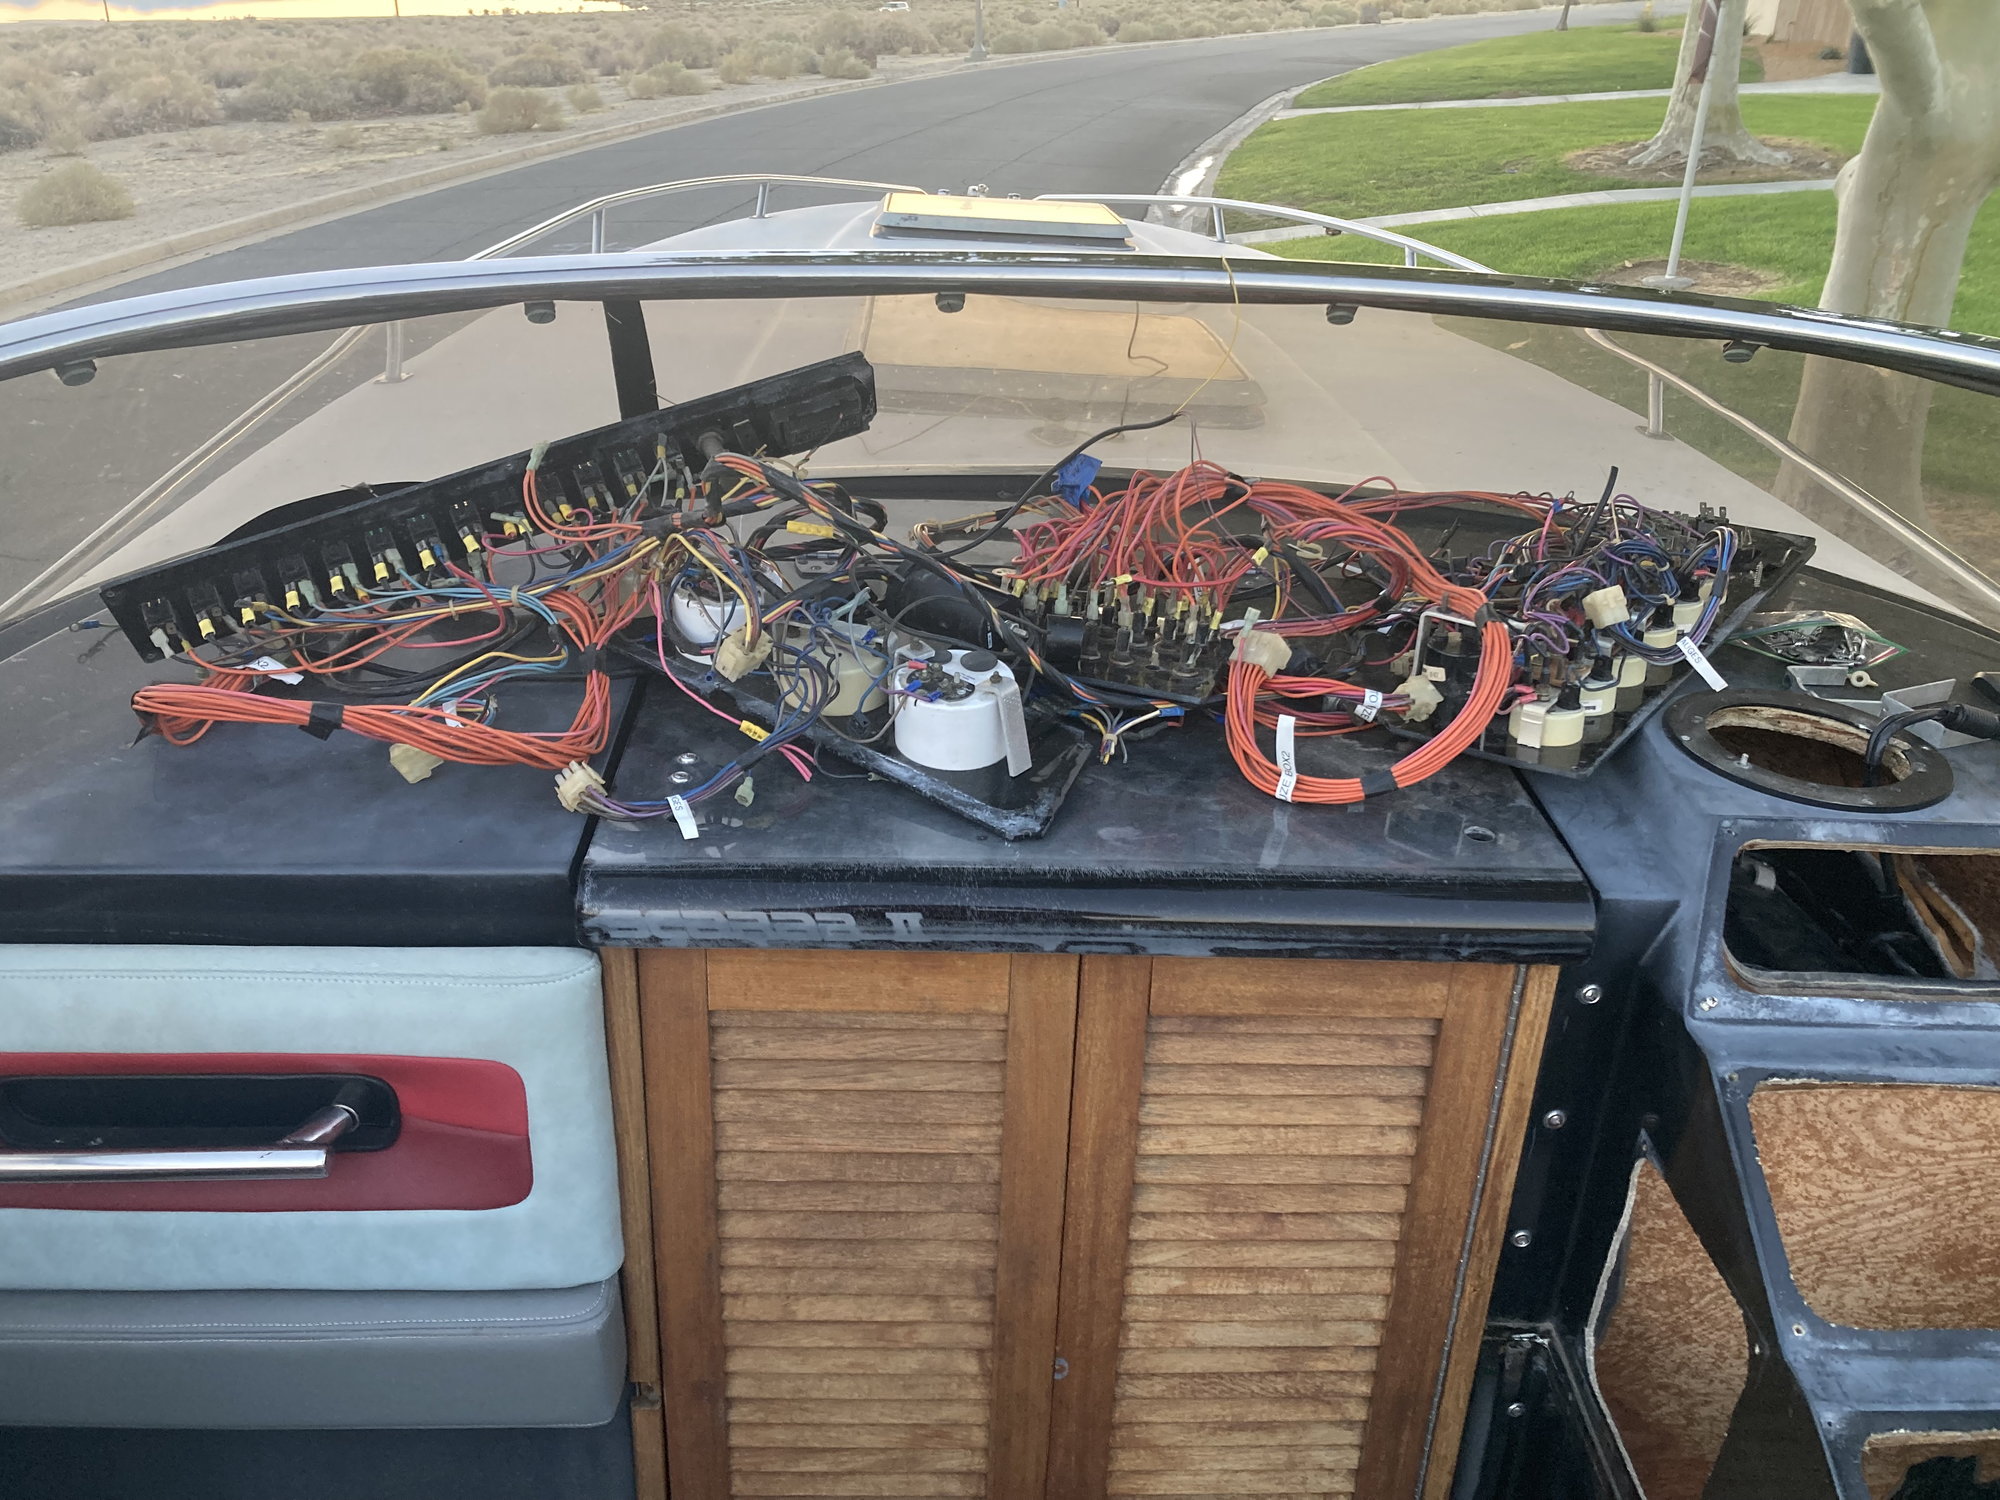
All the helm stuff was relatively easy to unplug, cut, and remove. I’m not gonna reuse any of it.
Once I pulled all the harnesses out of the gun whale & got them to the engine bay, they were relatively easy to identify between: Fuel sender Hatch opening ram L/R drive trim pumps L/R k plane Stereo (looked like a 15 year old installed the stereo) The actual engine harnesses are still a mystery. It’ll take a couple days to sort that out.
I gutted the boat’s wiring today. The amount of hot, loose, random wires in the helm and engine bay was alarming. I decided to start over from zero & cut everything out.
All the helm stuff was relatively easy to unplug, cut, and remove. I’m not gonna reuse any of it.
Once I pulled all the harnesses out of the gun whale & got them to the engine bay, they were relatively easy to identify between: Fuel sender Hatch opening ram L/R drive trim pumps L/R k plane Stereo (looked like a 15 year old installed the stereo) The actual engine harnesses are still a mystery. It’ll take a couple days to sort that out.
The following 2 users liked this post by Jumpjets:
hblair (09-18-2023), larslindroth (09-17-2023)
09-16-2023, 10:25 PM
#33
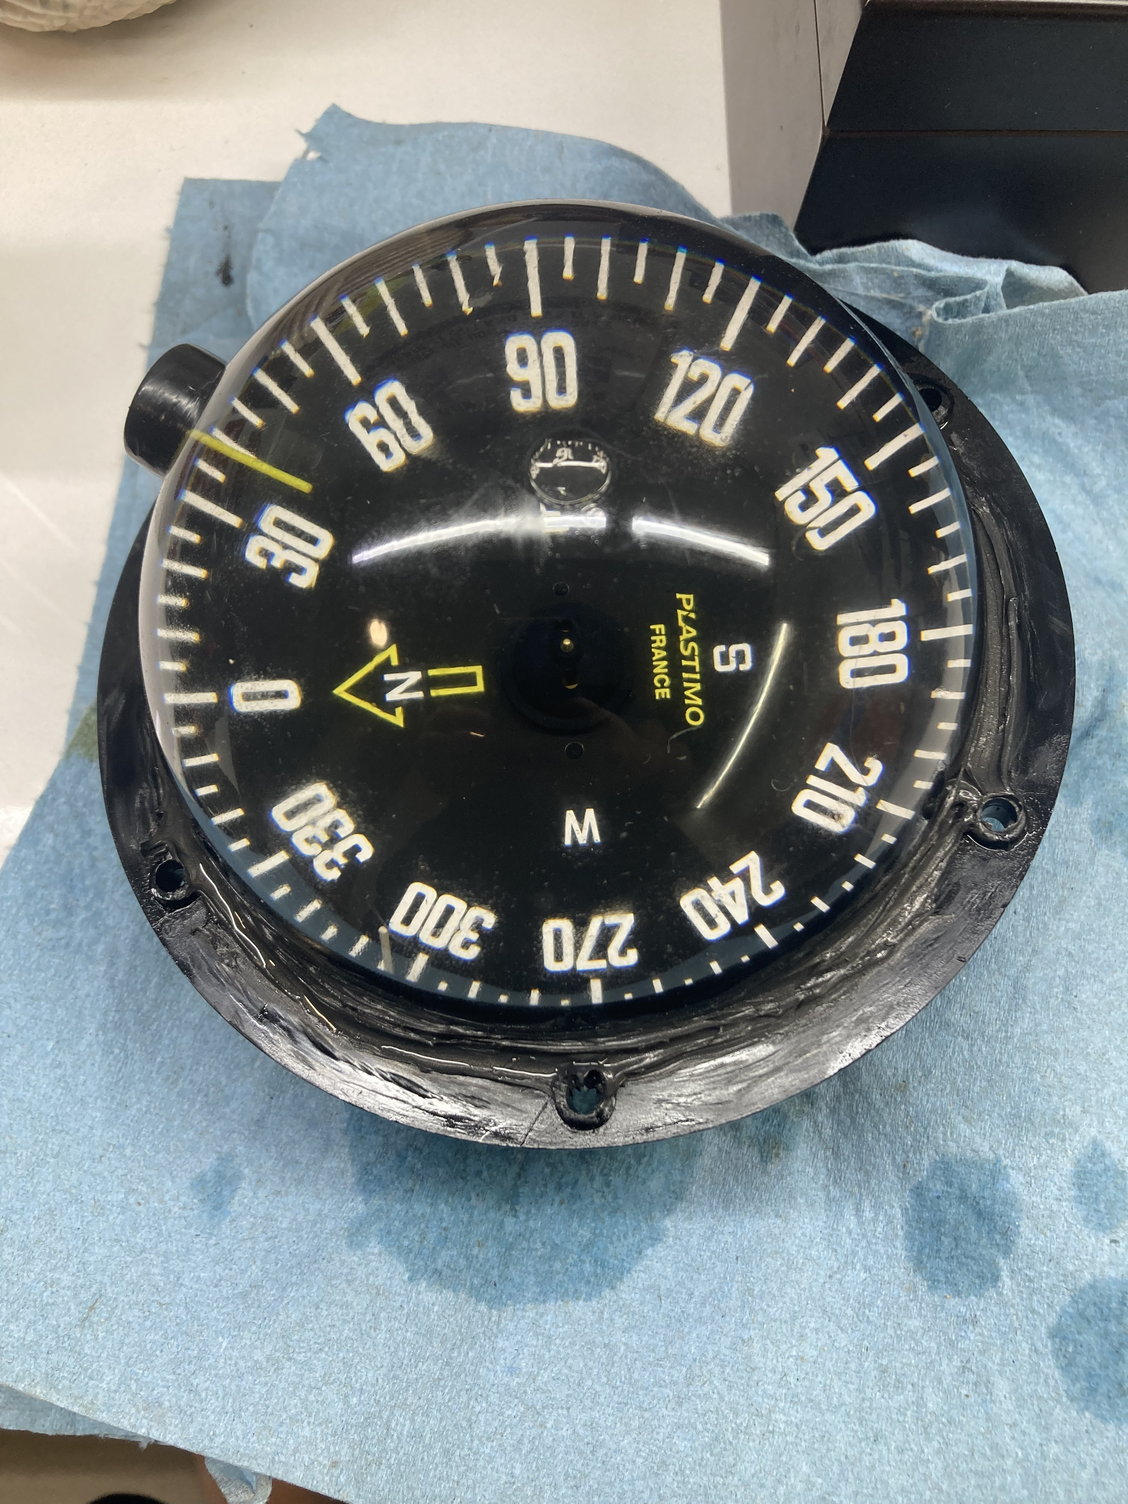
I also finished “rebuilding” my compass today. These things are like $300 new, which is asinine. I used a headlight restorer kit to cut & buff the acrylic. It was so yellowed & hazed you couldn’t see thru it initially. It took about 90 minutes.
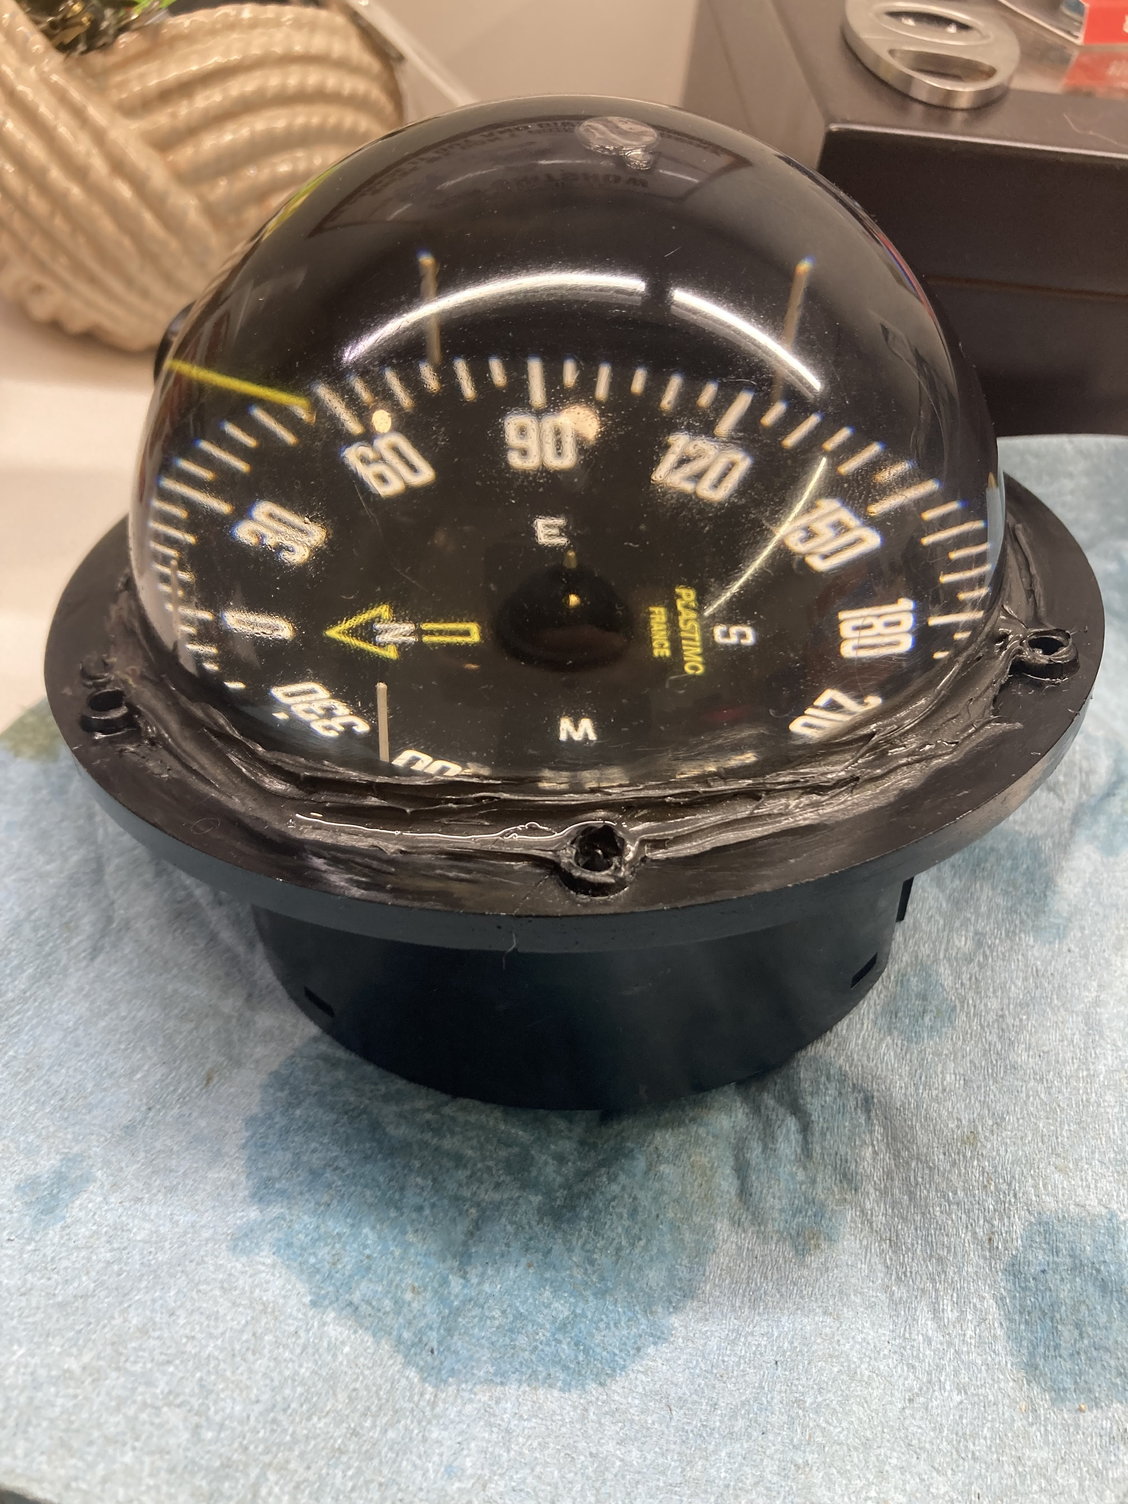
I sealed the acrylic to the plastic body using automotive RTV. It was leaking from the seam. I drained the nasty old oil, and refilled it with 3 little bottles of J&J baby oil. I had to use a med syringe to fill it. Total spent on the job was $12.
The following 2 users liked this post by Jumpjets:
1983ScarabIII (10-11-2023), ksalmine (10-11-2023)
10-08-2023, 11:04 PM
#34
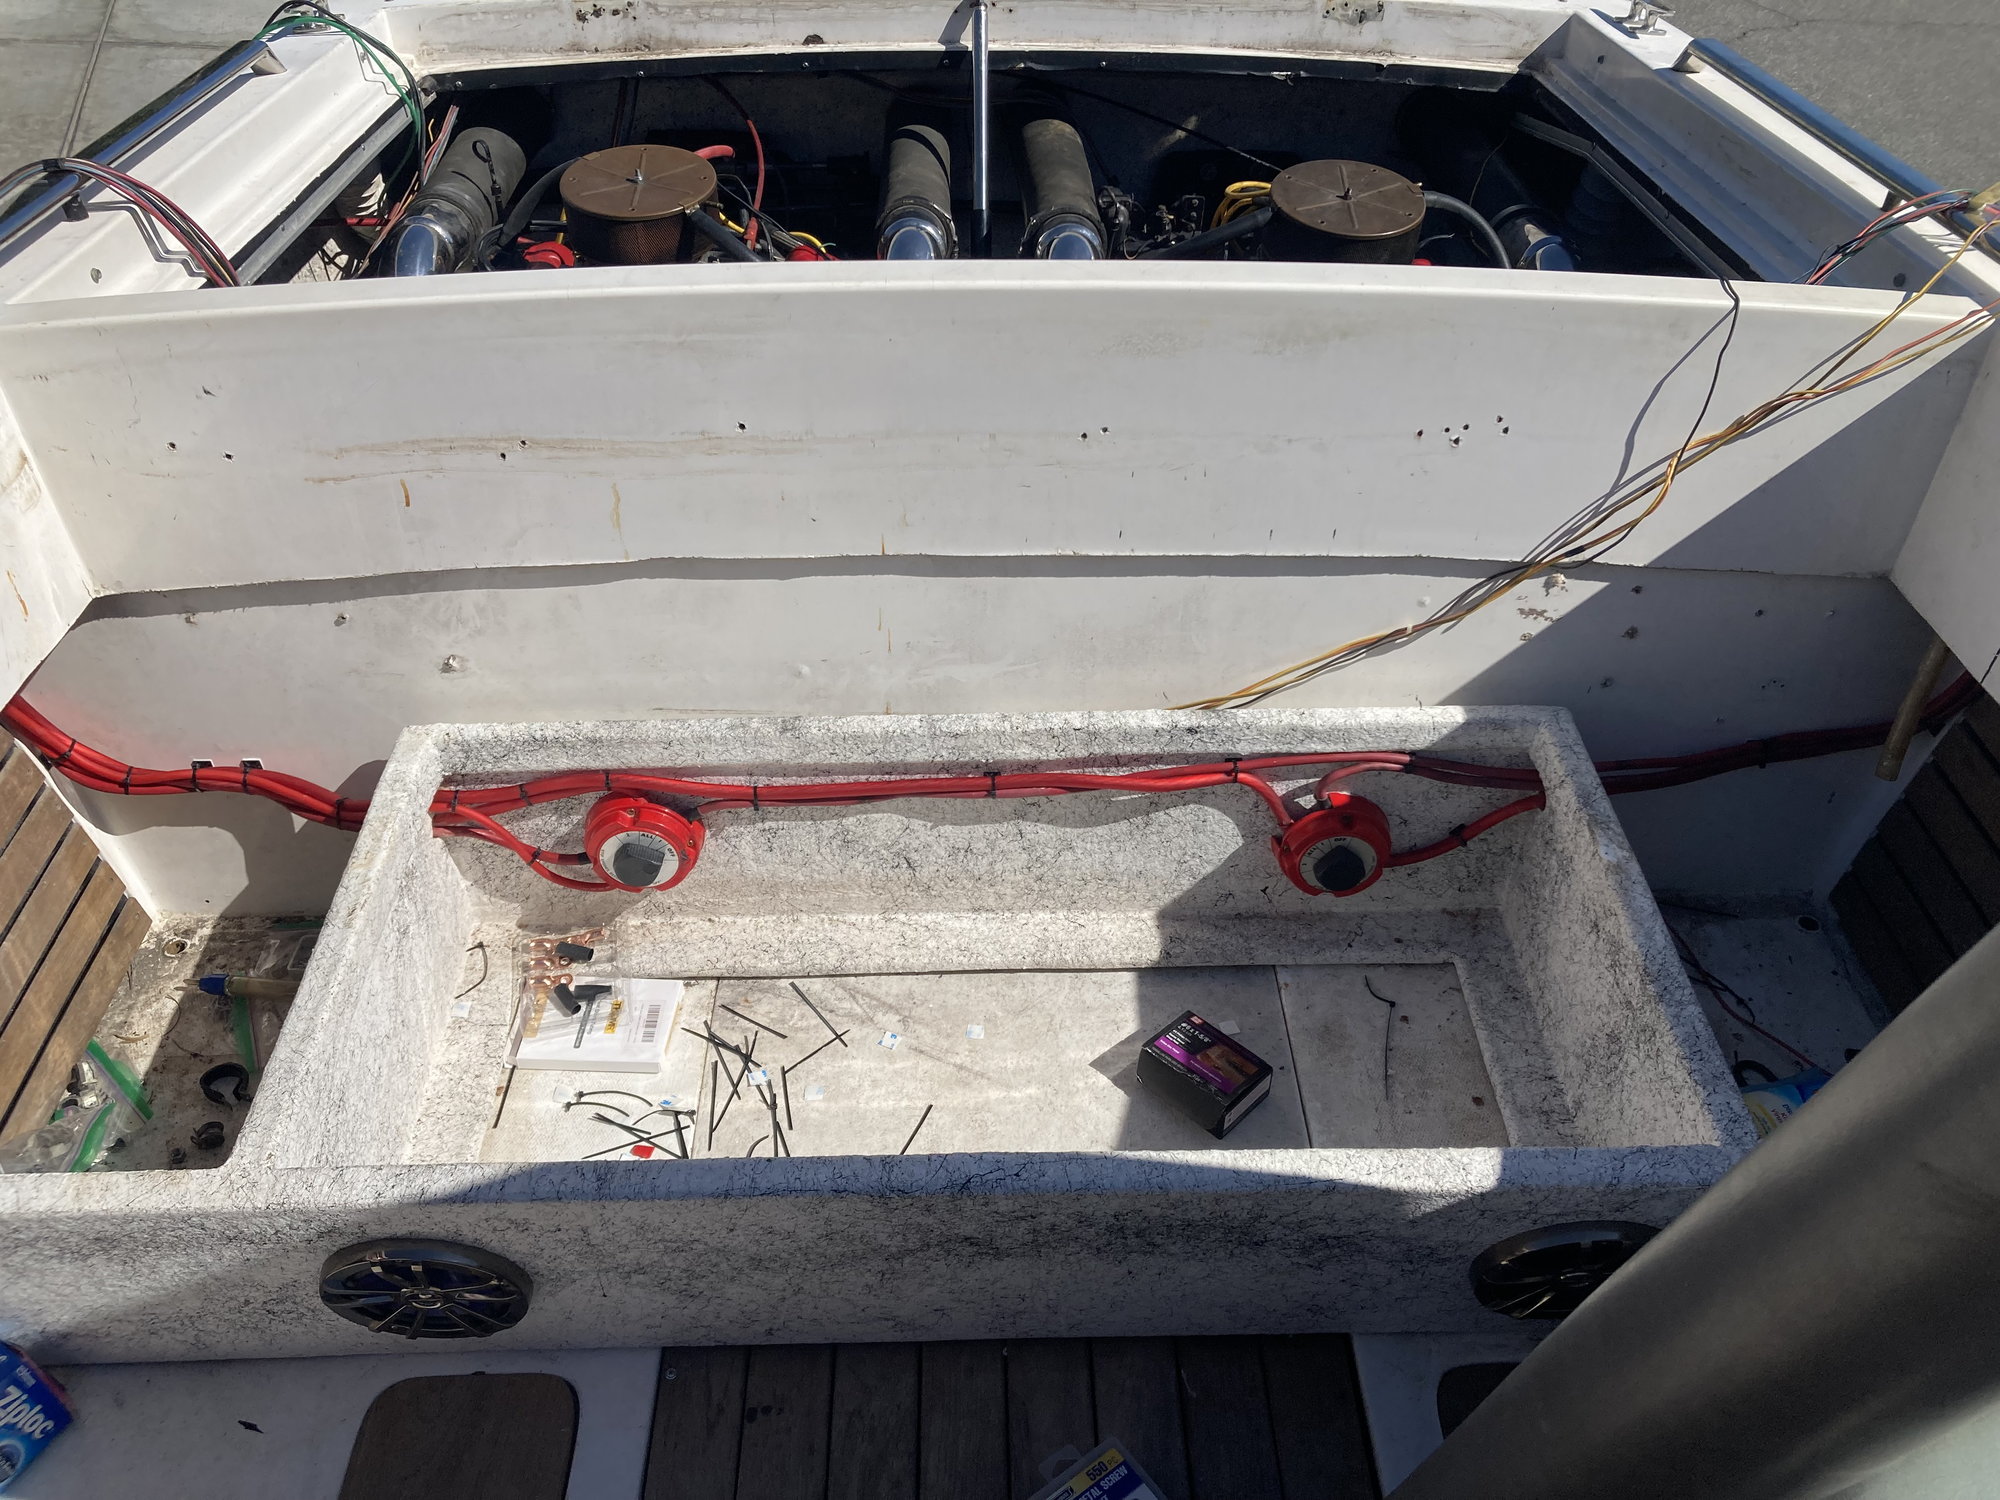
After gutting a half mile of useless & broken wires out of the boat, started rigging up new wiring. I moved the battery switches out of the engine bay and put them under the seat. I built new 0AWG cables and laced them more conveniently than they were before. I put shrink wrap on all the ends.
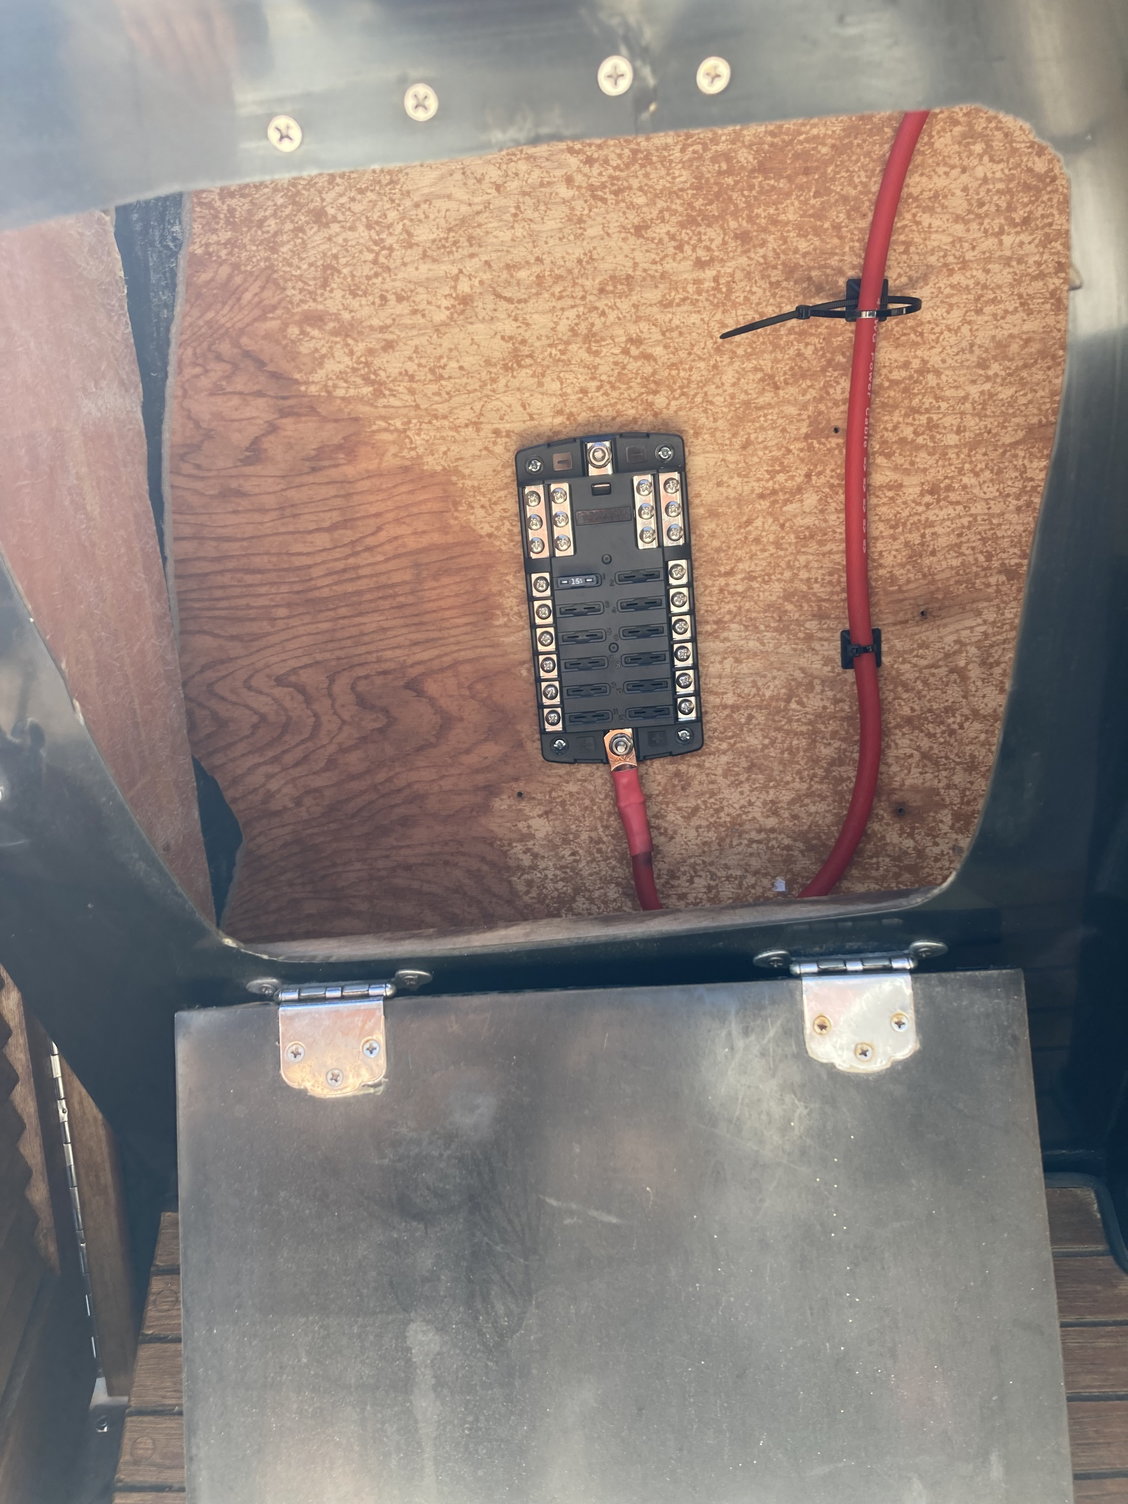
I started wiring up a more modern “blue sea systems” fuse box under the helm. I ran 4AWG cable from the battery switch to the fuse box. The boat previously had glass barrel fuses.
The following 3 users liked this post by Jumpjets:
10-11-2023, 08:10 AM
#35
Registered
Awesome project. Keep the updates coming!
10-11-2023, 08:44 AM
#36
Were doomed!
On the J&J mineral oil.......im not 100% sure of this but depending on its viscosity it may slow the reaction time of the compass....probably not a big deal in most cases but something to keep in mind.....also i know that Ritchie uses an product called Isopar L Its some sort of refined synthetic fluid. Most people use an odorless mineral spirits for them. DO NOT USE GLYCERINE! I found out the hard way.....that the stuff may not freeze solid, but it will not come back clear after it starts to solidify! Found that out the hard way 
__________________
-Wally
Money can't buy happiness, but it can buy horsepower. And I've never seen a sad person hauling a$$!
-Wally
Money can't buy happiness, but it can buy horsepower. And I've never seen a sad person hauling a$$!
12-25-2023, 07:35 PM
#37
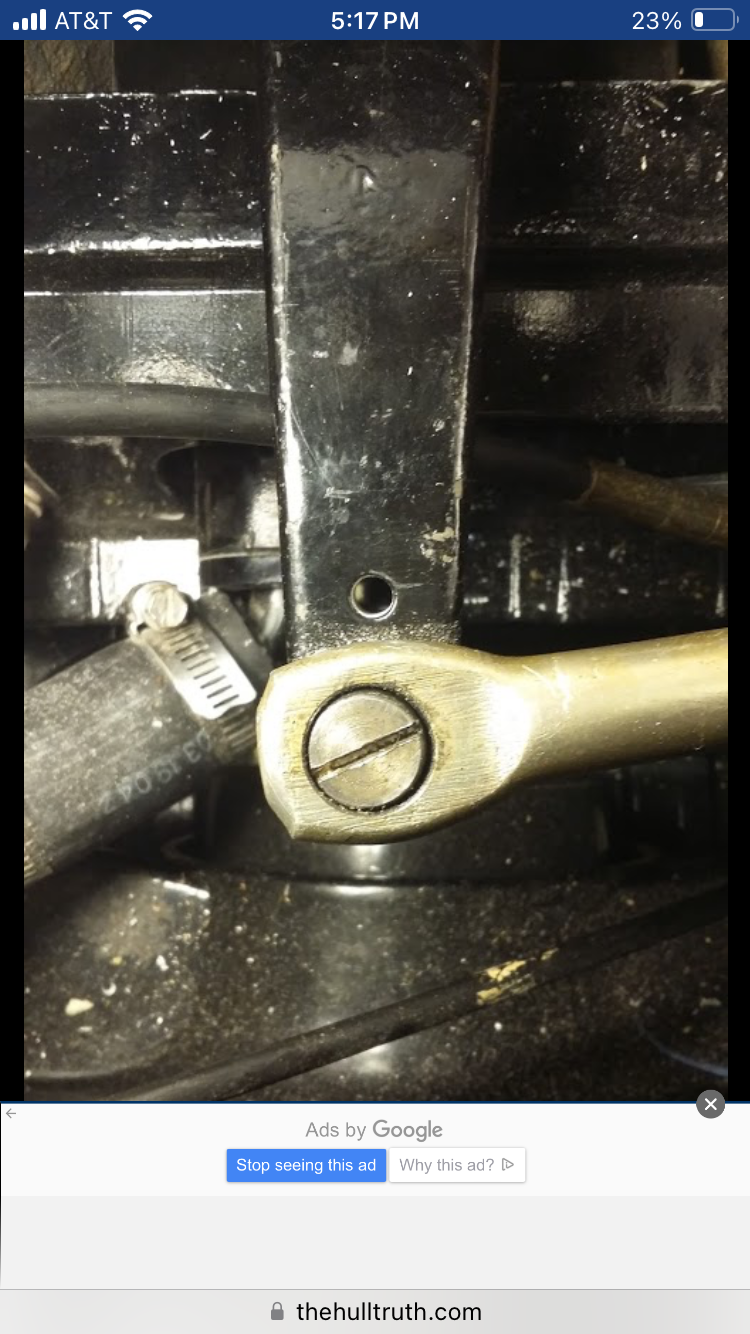
I dropped this screw/bolt/pin that connects the drive tiller arm to the steering Ram. It went into the transom assembly and it’s resting in there, bottom center. I saw it with a borescope. It doesn’t appear to be touching the driveshaft or any moving parts.
1. Can I leave it there? Is it gonna destroy things? Ive tried to fish it out for the last 2 days. I can get it with ANY tools, magnets, etc. I found the castle nut that goes to it while searching.
2. Can I buy a replacement? Anyone got a part # or link to a shop that sells them?
02-19-2024, 10:46 PM
#38
Long time without posting. I’ve got 95% of the wiring done. I used a couple ABS plastic sheets for the helm, and a set of SIERRA AMEGA gauges. The autometer set was way out of my budget. The switch panel is an MKING Chinese junk panel from Amazon.
I ought to be able to start the engines within a month, and sea trial in May.
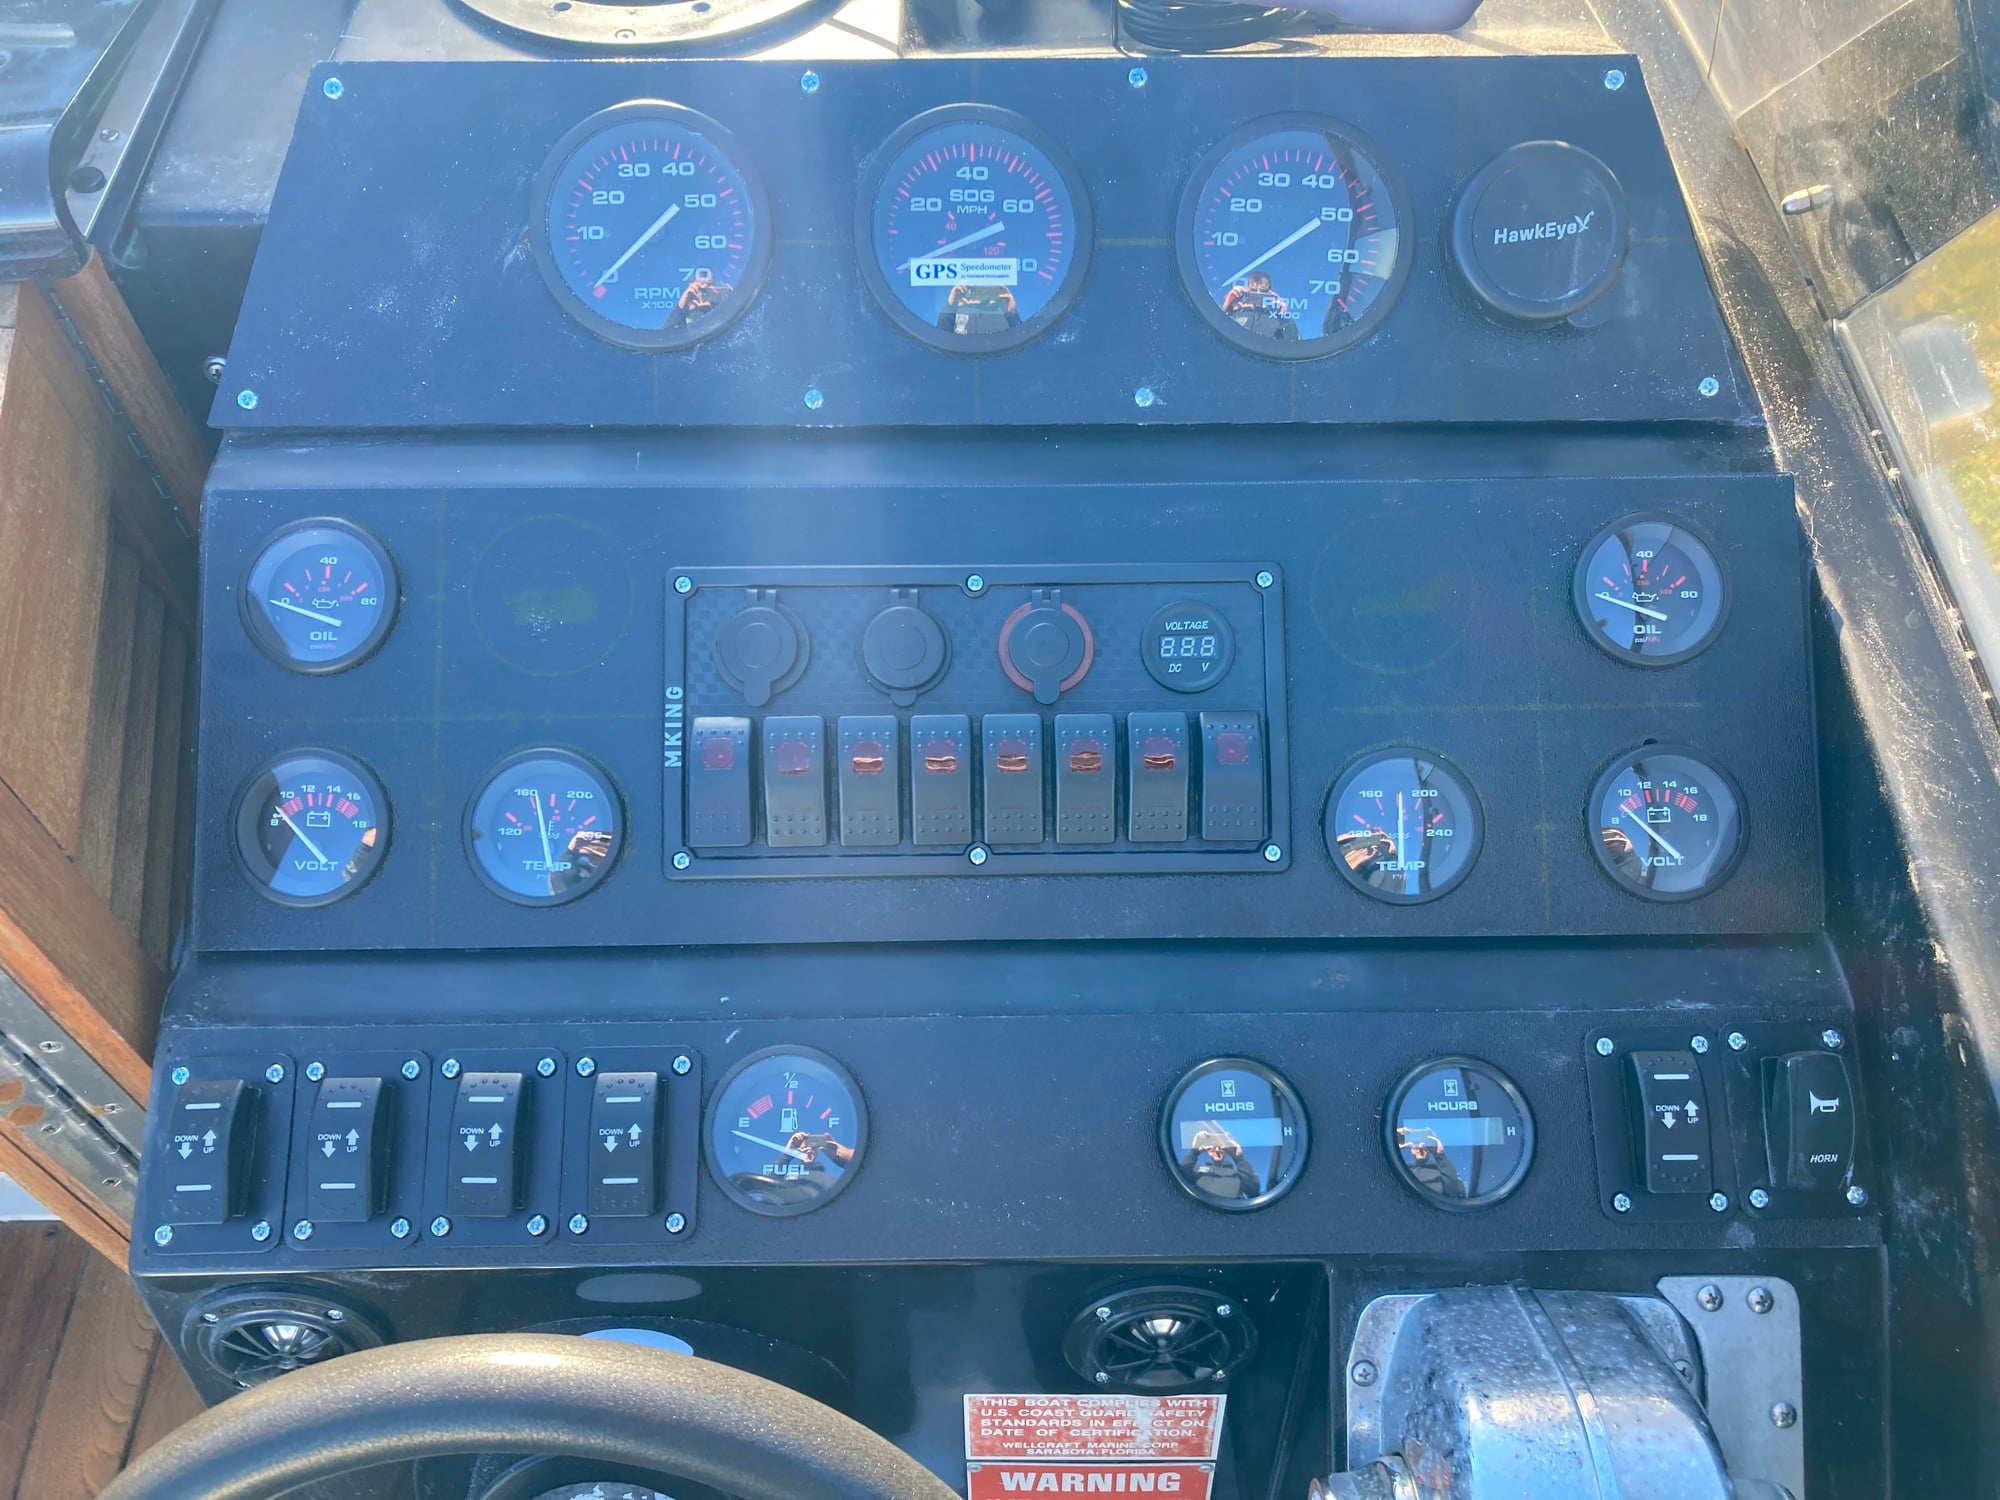
Here is the “nearly” finished helm. I still have a small bit of wiring left to do. The fuel gauge isn’t centered & looks kinda dumb, but oh well. I’m building this thing for family fun, not to win at boat shows.
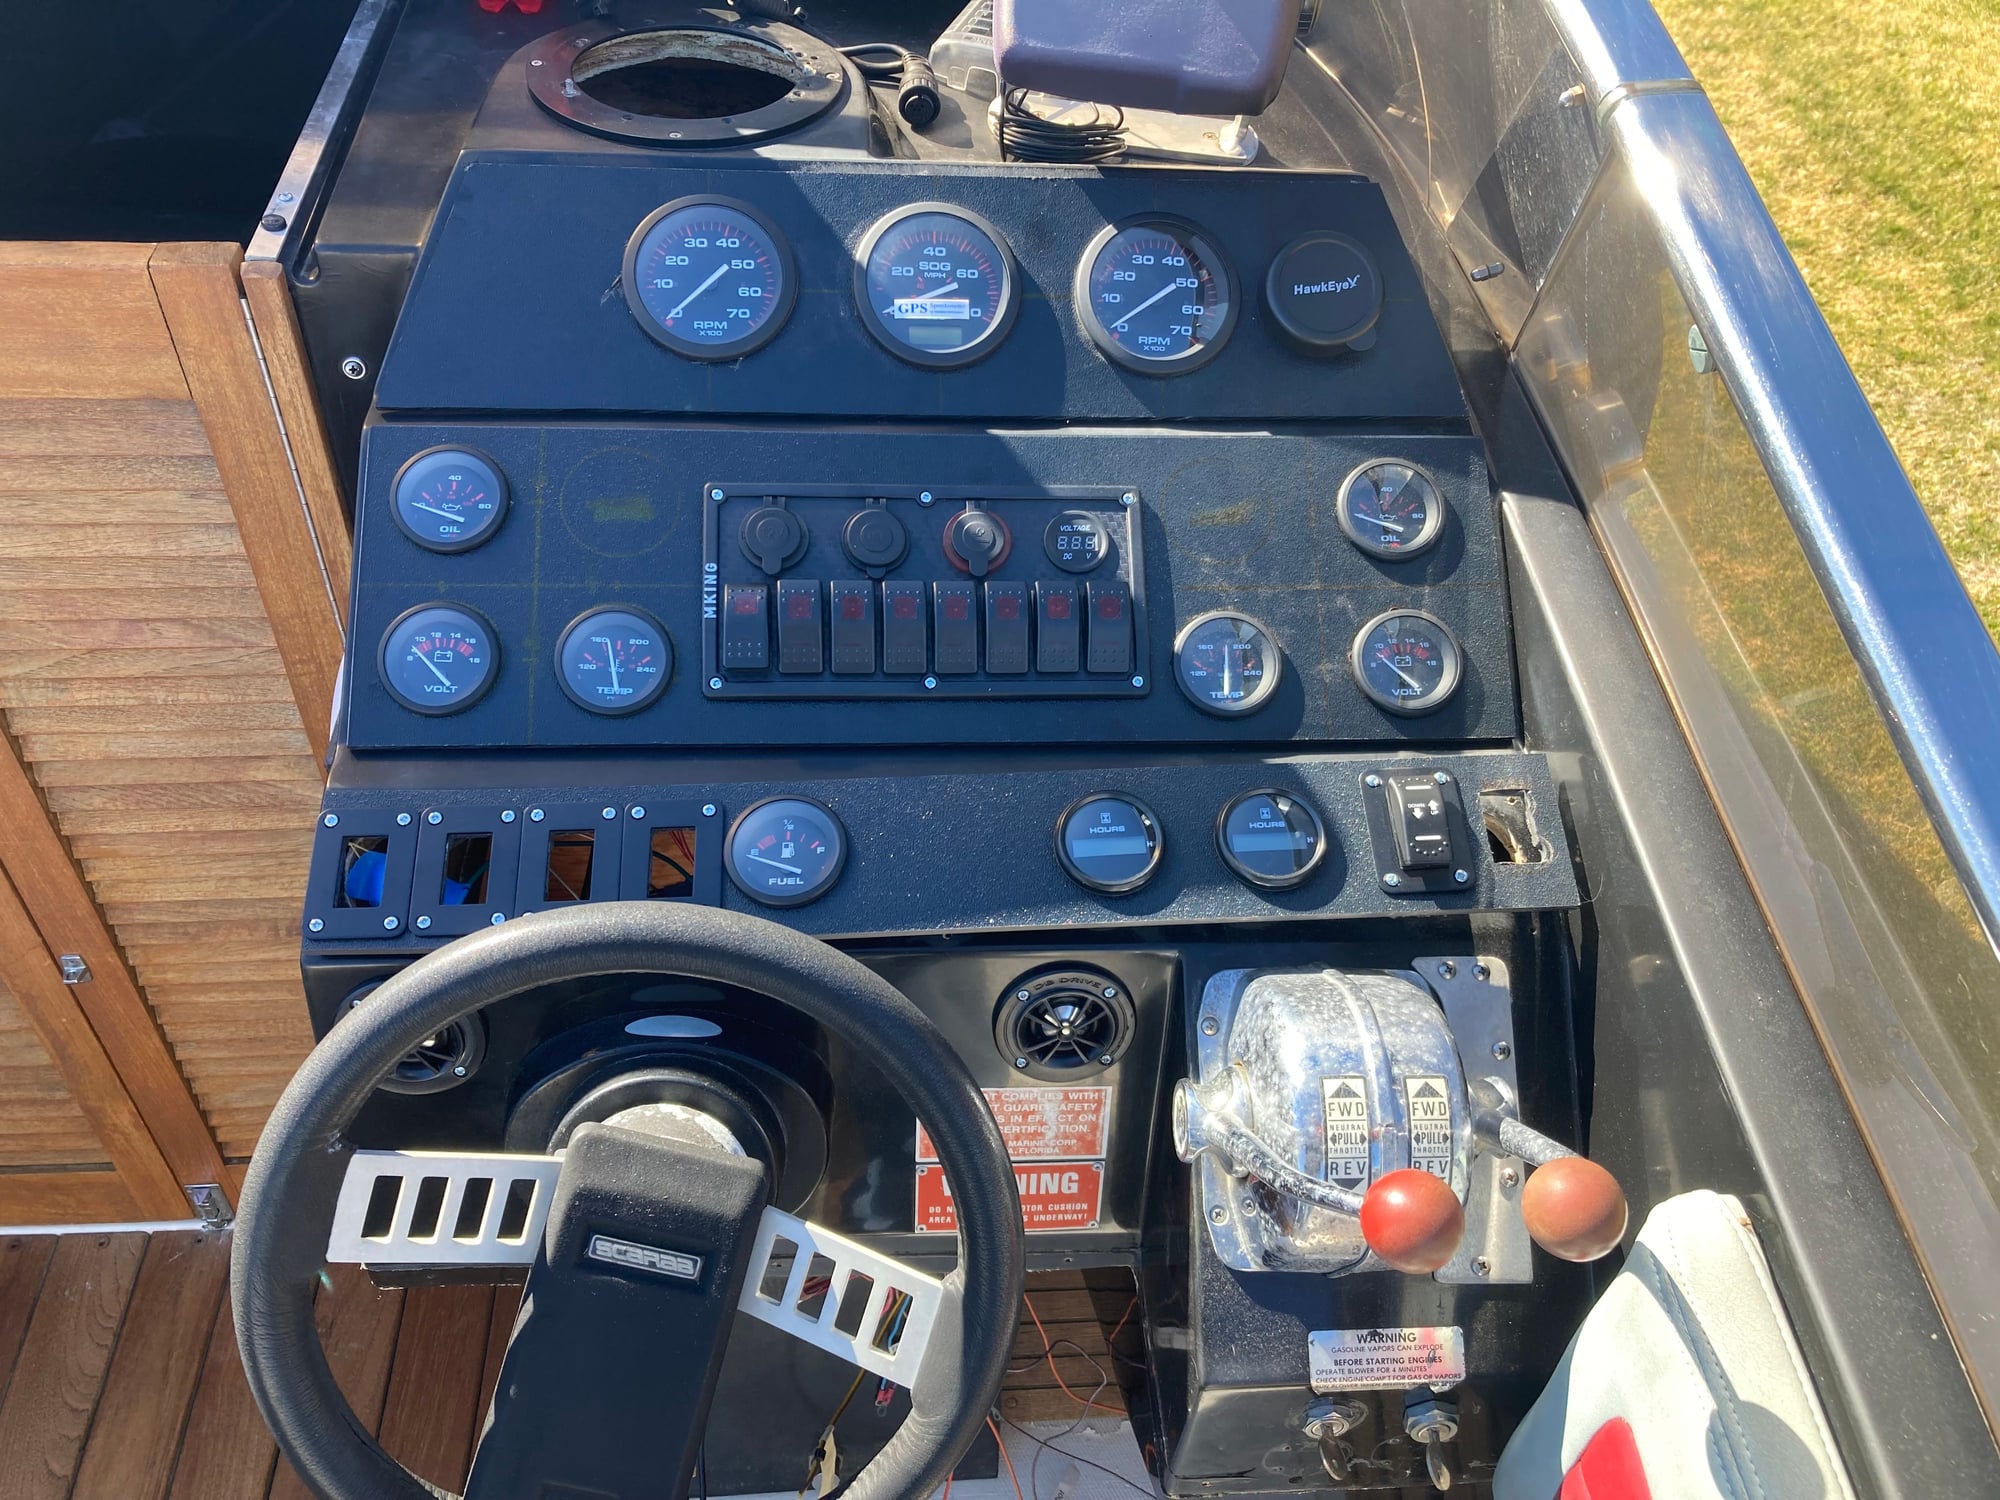
Same helm, partially assembled.
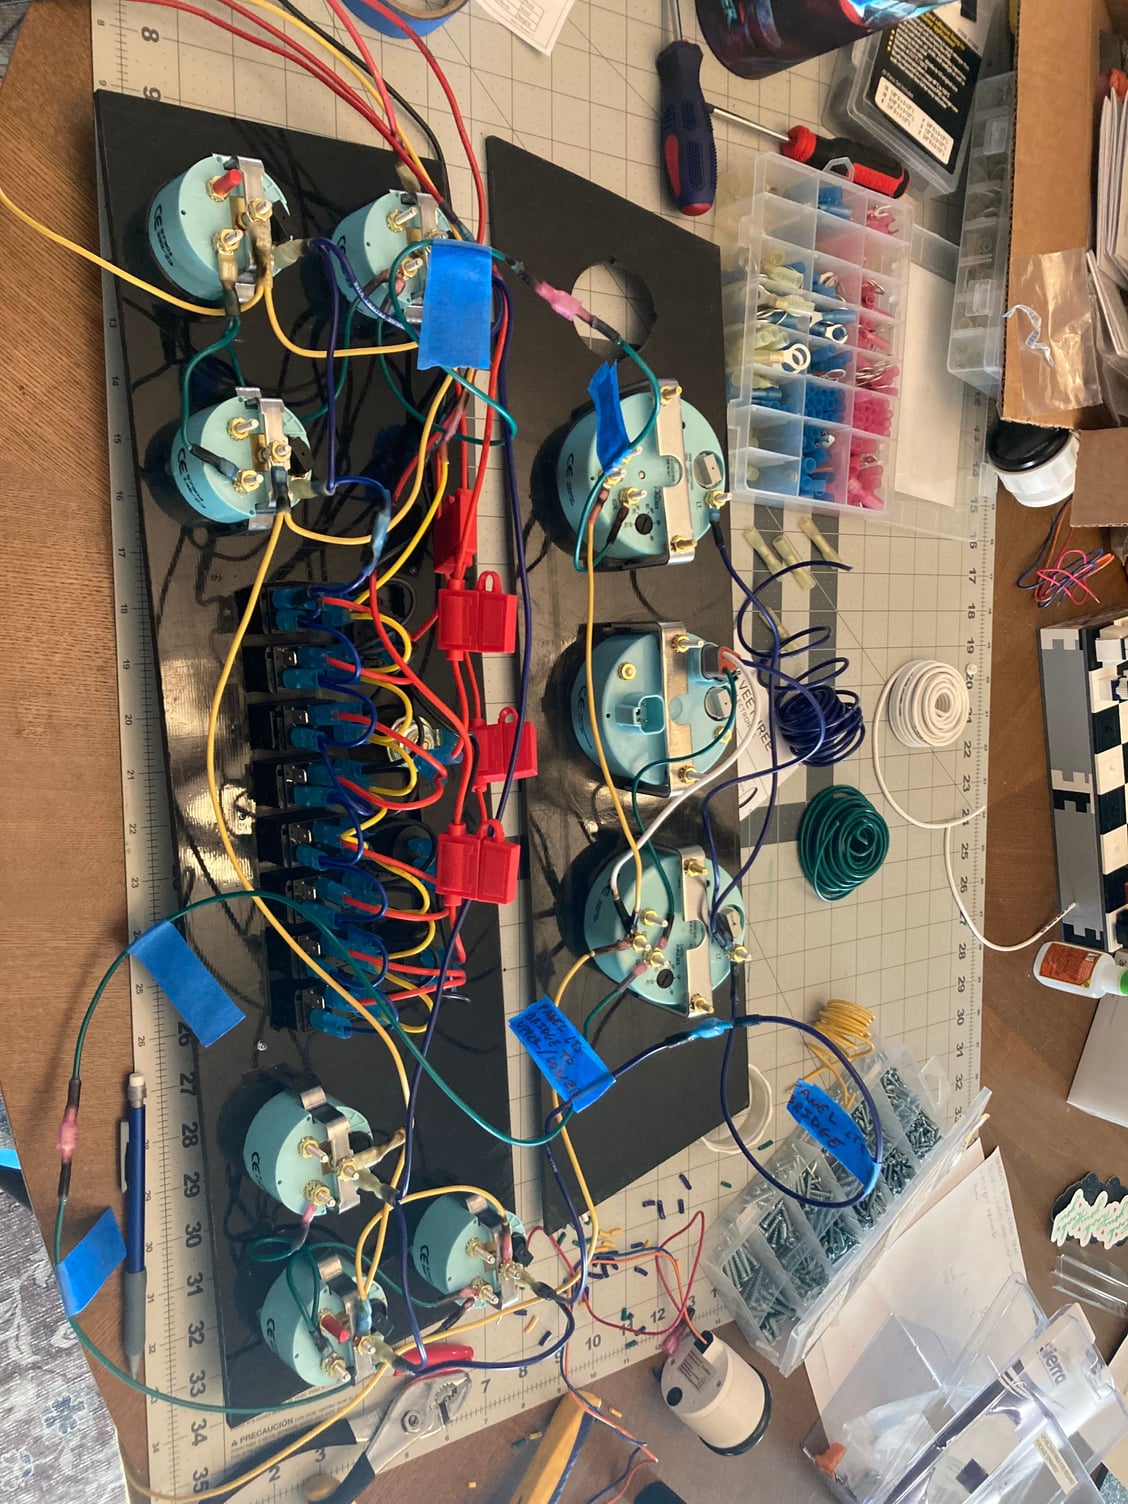
Back of the gauge clusters as I was assembling them.
I ought to be able to start the engines within a month, and sea trial in May.
Here is the “nearly” finished helm. I still have a small bit of wiring left to do. The fuel gauge isn’t centered & looks kinda dumb, but oh well. I’m building this thing for family fun, not to win at boat shows.
Same helm, partially assembled.
Back of the gauge clusters as I was assembling them.
The following 4 users liked this post by Jumpjets:
87MirageIntruder (02-20-2024), Hoodoo 2.0 (02-20-2024), jeff32 (02-20-2024), larslindroth (02-21-2024)
02-20-2024, 06:51 PM
#39
Registered
Long time without posting. I’ve got 95% of the wiring done. I used a couple ABS plastic sheets for the helm, and a set of SIERRA AMEGA gauges. The autometer set was way out of my budget. The switch panel is an MKING Chinese junk panel from Amazon.
I ought to be able to start the engines within a month, and sea trial in May.
Here is the “nearly” finished helm. I still have a small bit of wiring left to do. The fuel gauge isn’t centered & looks kinda dumb, but oh well. I’m building this thing for family fun, not to win at boat shows.
Same helm, partially assembled.
Back of the gauge clusters as I was assembling them.
Nice wiring work. I just saw a guy last eve with the Tide Nascar youtube site...I guess he bought it...but the wiring work was atrocious and all over the place.
Once on the water and functional, you can tweak as you go.
The wife mostly judges poorly when the boat never leaves the yard....lol.
The following 2 users liked this post by Tartilla:
hblair (04-13-2024), larslindroth (02-21-2024)
04-10-2024, 12:31 AM
#40
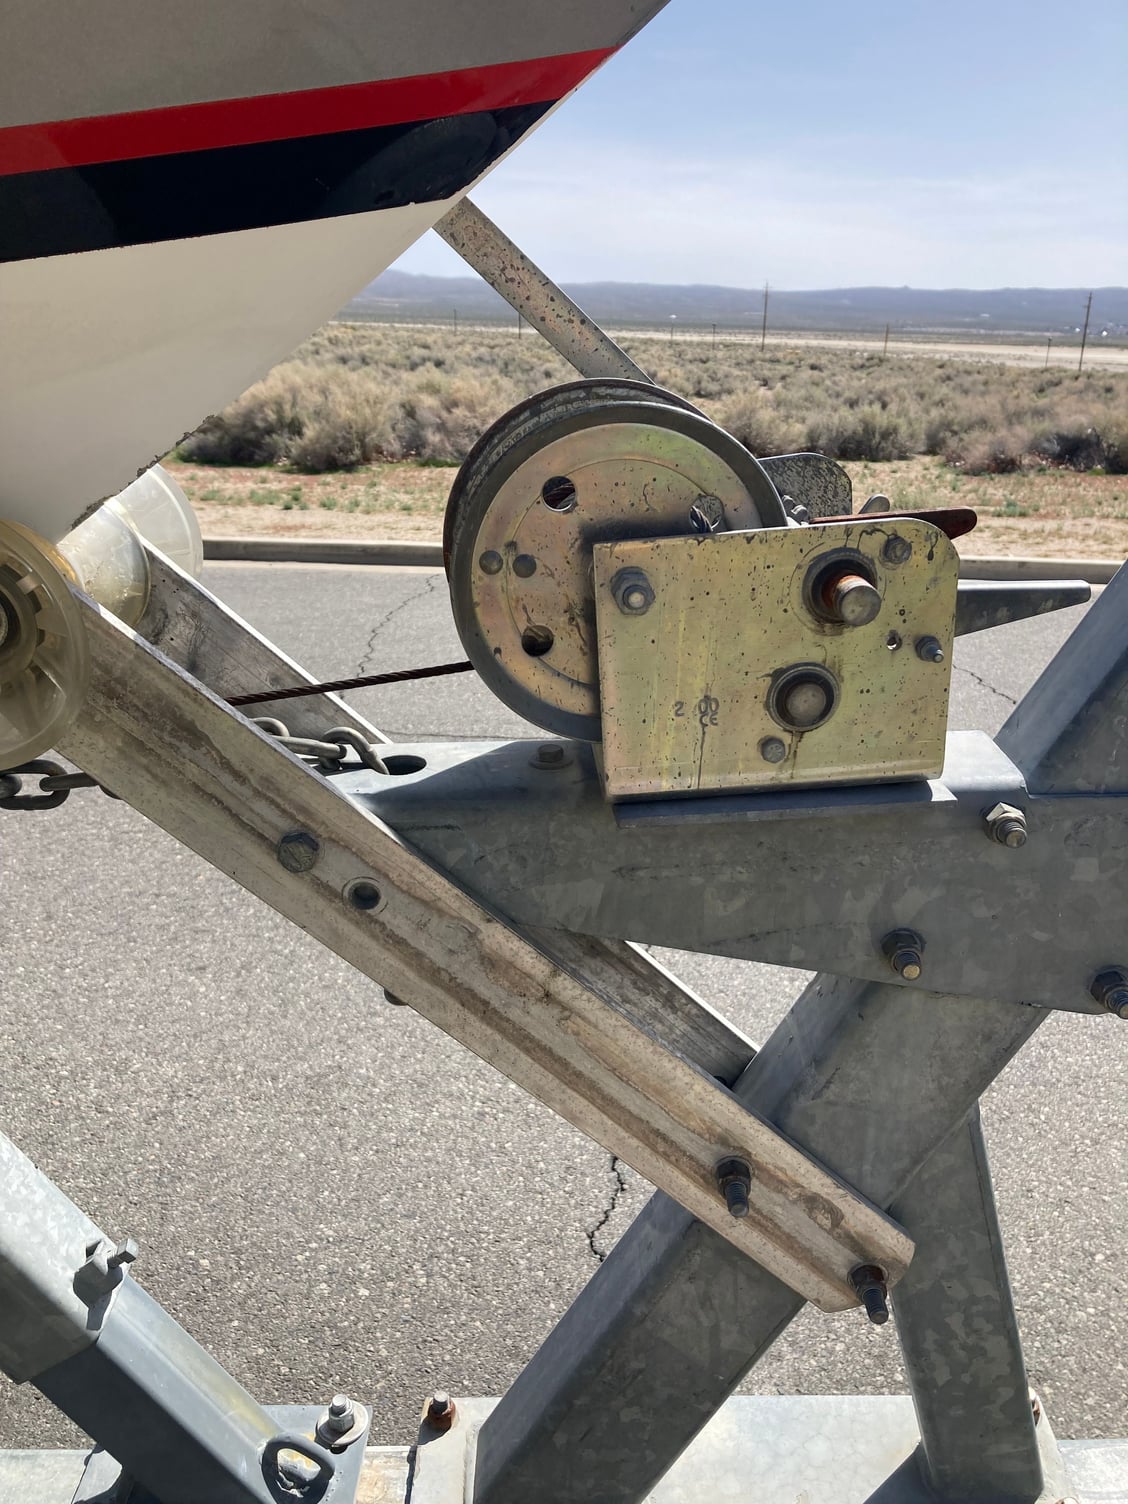
New, functional winch installed on the trailer.
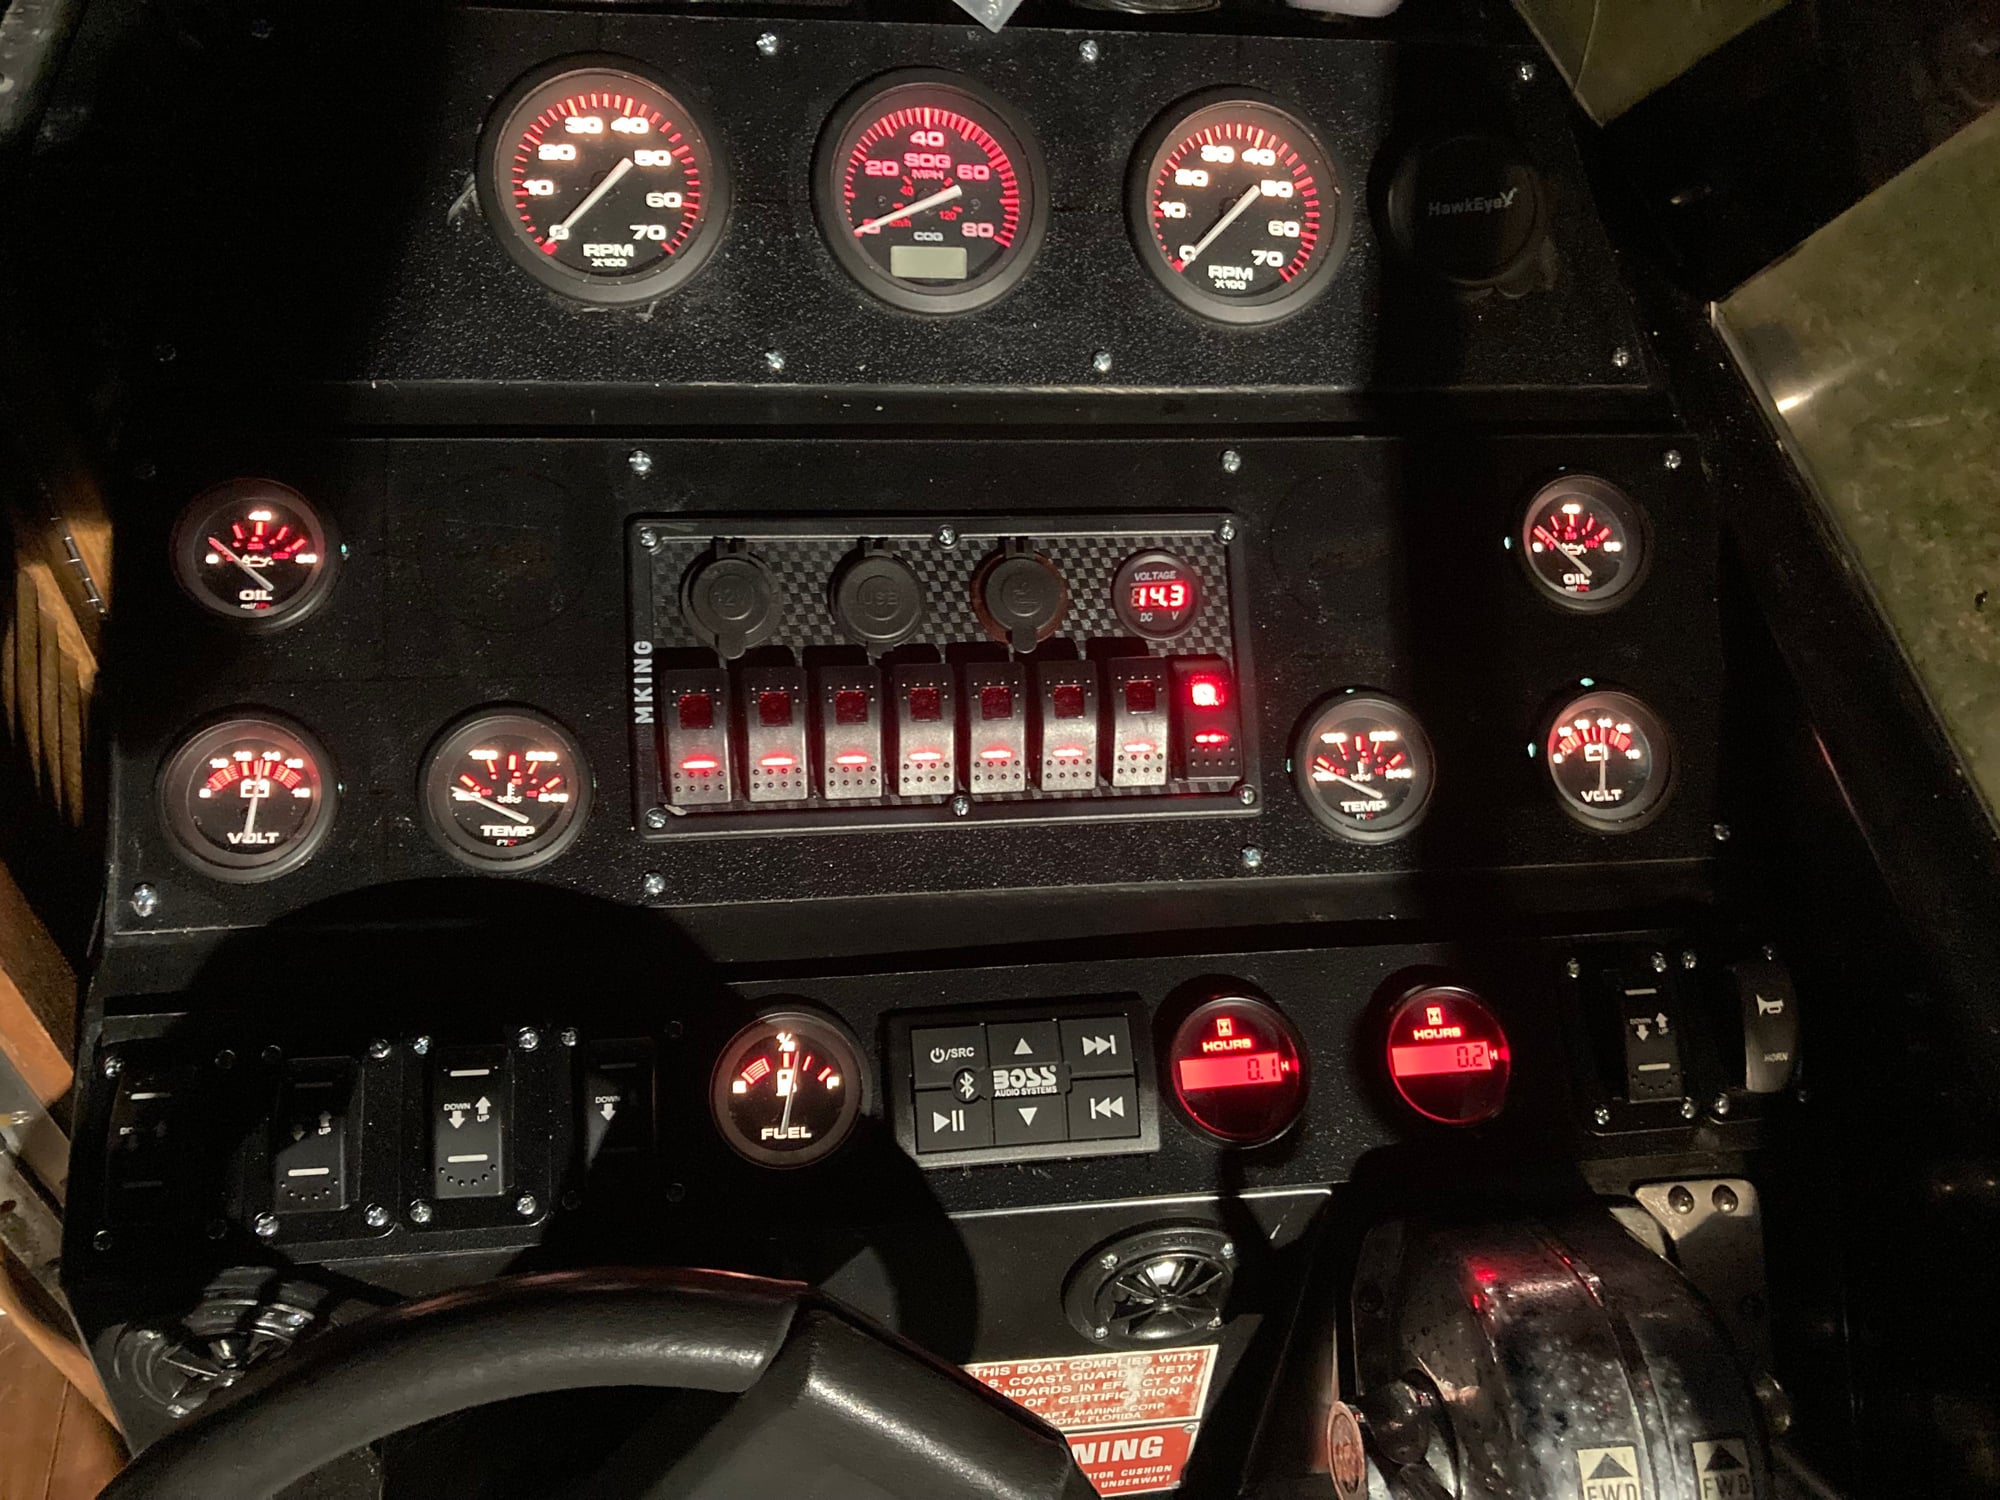
Gauges all in and op-checked. GPS speedo finally works. I tried to build my own gps antenna, but ended up needing one from the company that built the gauges. Bluetooth stereo in the bottom center sounds great.
The following users liked this post:
hblair (05-23-2024)

